Blog
Discovering the Art of Eco-Printing: A Sustainable Crafting Journey
As an artist who finds endless inspiration in the natural world, I’m always eager to explore new techniques that blend creativity with sustainability. That’s why I was instantly captivated by eco-printing, a process that uses natural materials like leaves, flowers, and bark to create stunning, one-of-a-kind prints on fabric and paper.
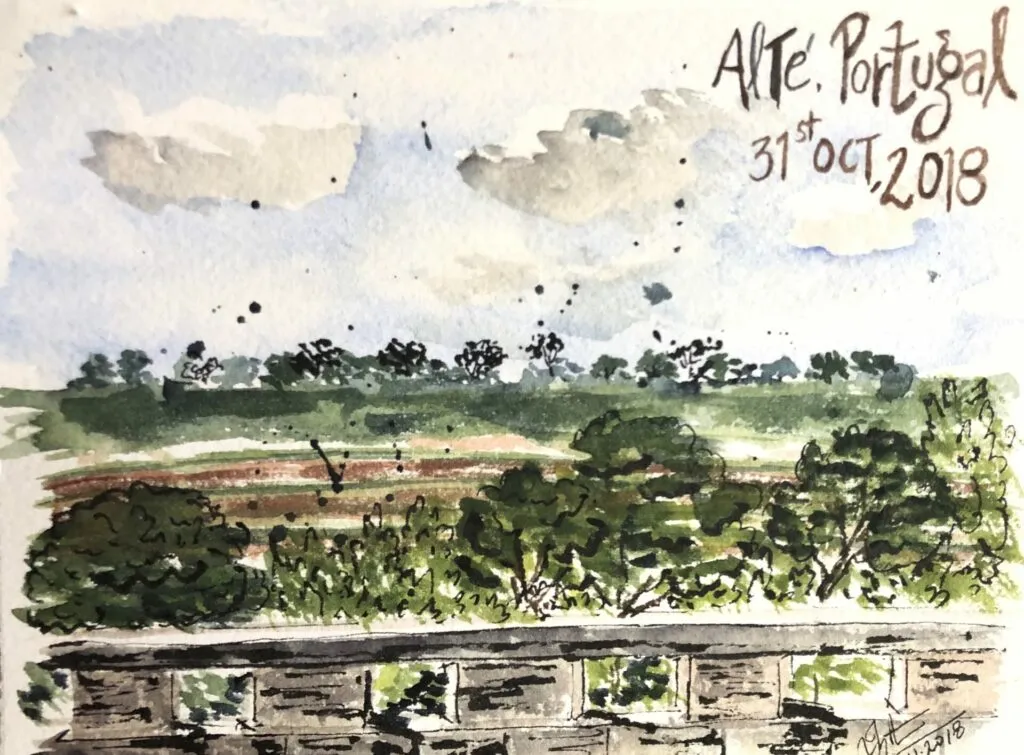
My journey with eco-printing began in 2019 during a trip to Portugal. While wandering the charming village of Alté, I stumbled upon Gadjodilo, an artist’s studio where the artist, Vanessa, used local plants to create beautiful, eco-printed clothing. The technique resonated with me, and I was eager to try it myself.
What Exactly is Eco-Printing?
Eco-printing, sometimes called botanical printing, is a natural dyeing technique that harnesses the beauty of nature to create unique patterns on various surfaces. It involves bundling plant materials with fabric or paper, then applying heat and pressure to transfer the natural pigments, tannins, and shapes of the plants onto the chosen medium.
While relatively new, the term “eco-printing” was coined in the early 2000s by Australian artist India Flint, a true pioneer in the field. Her work beautifully demonstrates the potential of this sustainable art form and has inspired countless others to connect with nature through eco-printing.
The Allure of Eco-Printing: Why It’s So Special
What truly sets eco-printing apart is the use of sustainable, readily available materials, making it a perfect choice for environmentally conscious crafters. Each print is a unique reflection of the natural world, with variations in plant type, leaf age, and mordanting techniques yielding a breathtaking array of patterns and colors. It’s a journey of experimentation and discovery, where every print tells a story.
Embarking on Your Eco-Printing Adventure: Essential Supplies
Ready to dive into the world of eco-printing? Here’s what you’ll need to begin:
Materials & Equipment:
- Fabric or Paper: Natural fibers like silk, cotton, and wool work beautifully for beginners. As you gain experience, you can explore plant-based fabrics for a truly sustainable approach.
- Natural Materials: Gather leaves, flowers, bark, or berries from your surroundings. Maple, eucalyptus, oak, and sumac leaves are excellent choices, as are roses, violets, and birch bark.
- Mordant: Mordants help the natural dyes adhere to the fabric. Alum is a common and easy-to-find mordant, while iron or tannin can create different color effects.
- Dye Pot: A large stainless steel pot or a pressure cooker works well for steaming or boiling your bundles.
- Rolling Pin or Press: Use these to apply even pressure and transfer the plant designs.
- String or Rubber Bands: These help secure your fabric and plant materials together.
- Scissors or Pruners: Use these to trim and shape your natural materials.
- Protective Gear: Gloves, a mask, and an apron protect you from mordants and dyes.
- Heat Source: A stove or hot plate is essential for heating your dye pot.
Safety First!
Before you begin, remember to prioritize safety:
- Always wear gloves and a mask when working with mordants and dyes.
- Ensure good ventilation or wear a mask while steaming.
- Keep materials out of reach of children and pets.
- Dispose of dyes and mordants responsibly.
- Research the toxicity of the plants you’re using.
A Beginner’s Guide to Eco-Printing
Here’s a simplified approach to get you started:
-
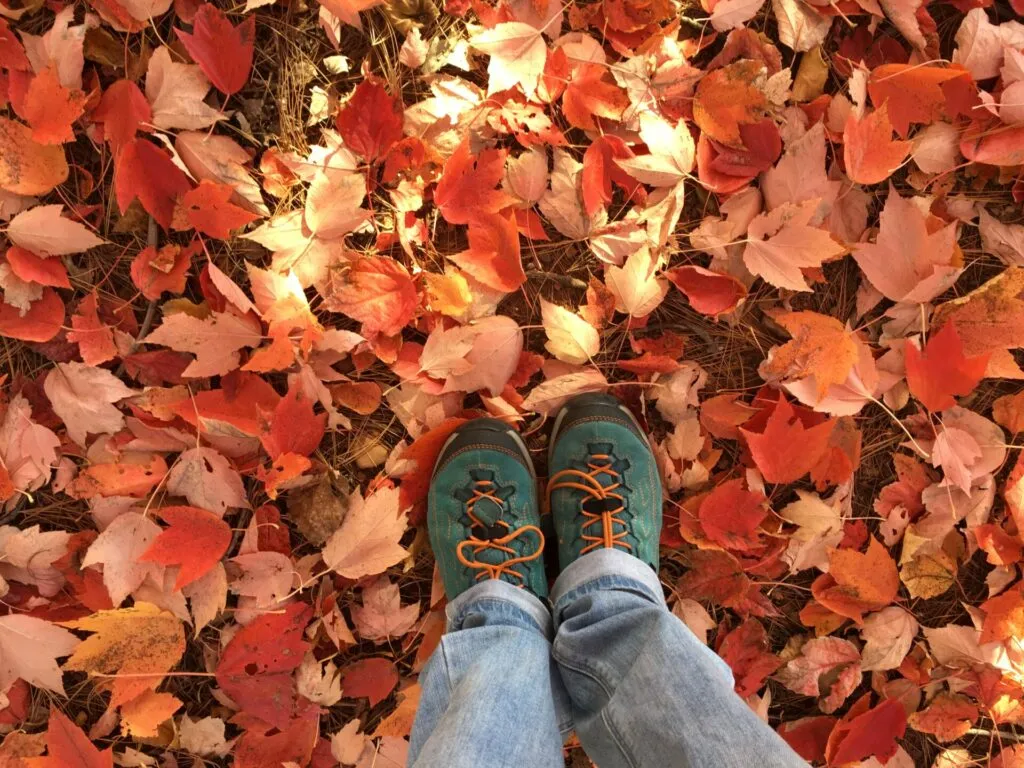
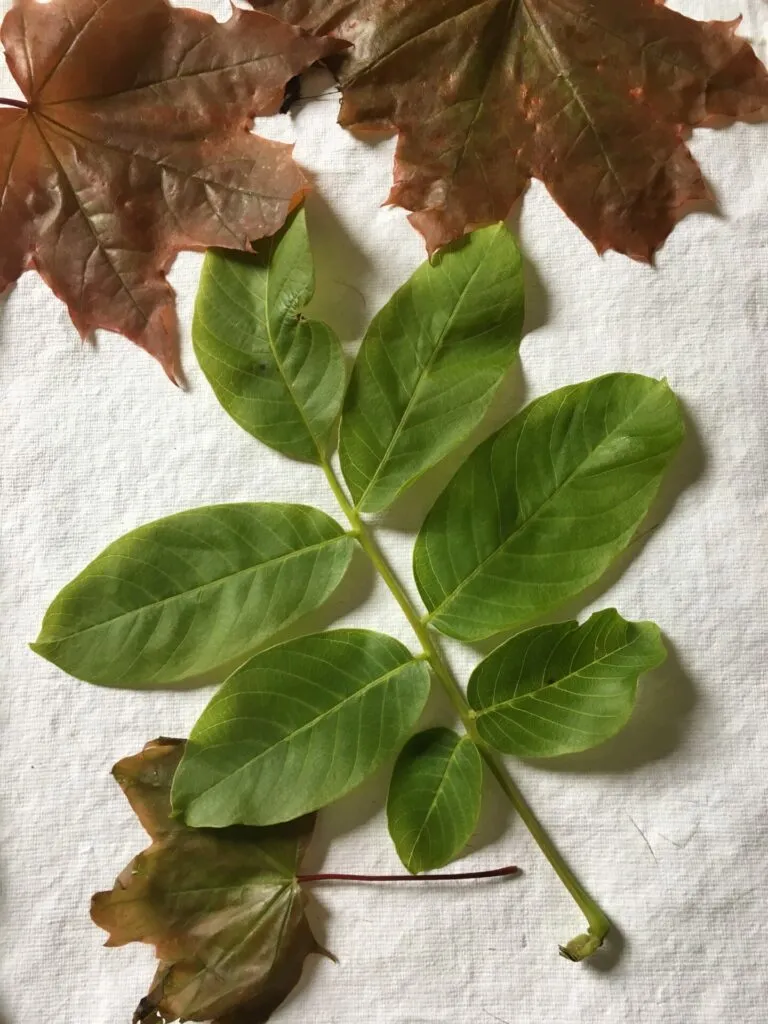
Gather Your Natural Treasures: Collect leaves, flowers, or other materials, keeping an eye out for those that have already left impressions on the ground – a good indication of their printing potential!
 Eco-printing materials
 -
Prepare Your Fabric or Paper: For paper, soak it in water. For fabric, pre-wash it to remove any finishes that might hinder dye absorption.
-
Mordant Your Materials: Soak your chosen plant materials in a 10% alum solution. This step helps the natural dyes bind to the cellulose fibers in the paper or fabric.
-
Arrange and Bundle: Place your mordanted materials on your paper or fabric, experimenting with layering, bundling, or folding to create different effects.
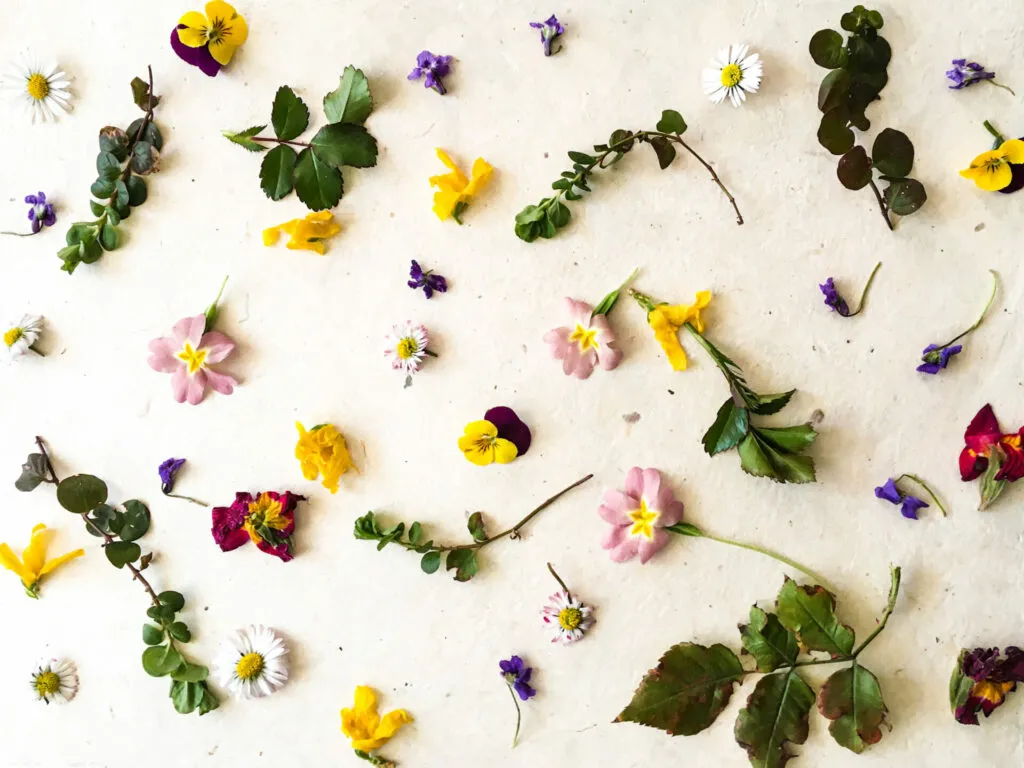 Arranging eco-printing materials
 -
Wrap and Secure: Sandwich your layered materials between two pieces of wood or cardboard and tightly bind them with string or rubber bands.
 Wrapping eco-printing bundle
 -
Steam or Boil: Gently steam or boil your bundle for about 30 minutes, adjusting the time based on the desired color intensity. Use weights to keep the bundle submerged.
 Steaming eco-printing bundle
 -
Unwrap and Reveal: Carefully unwrap your bundle to reveal the magic of the eco-print.
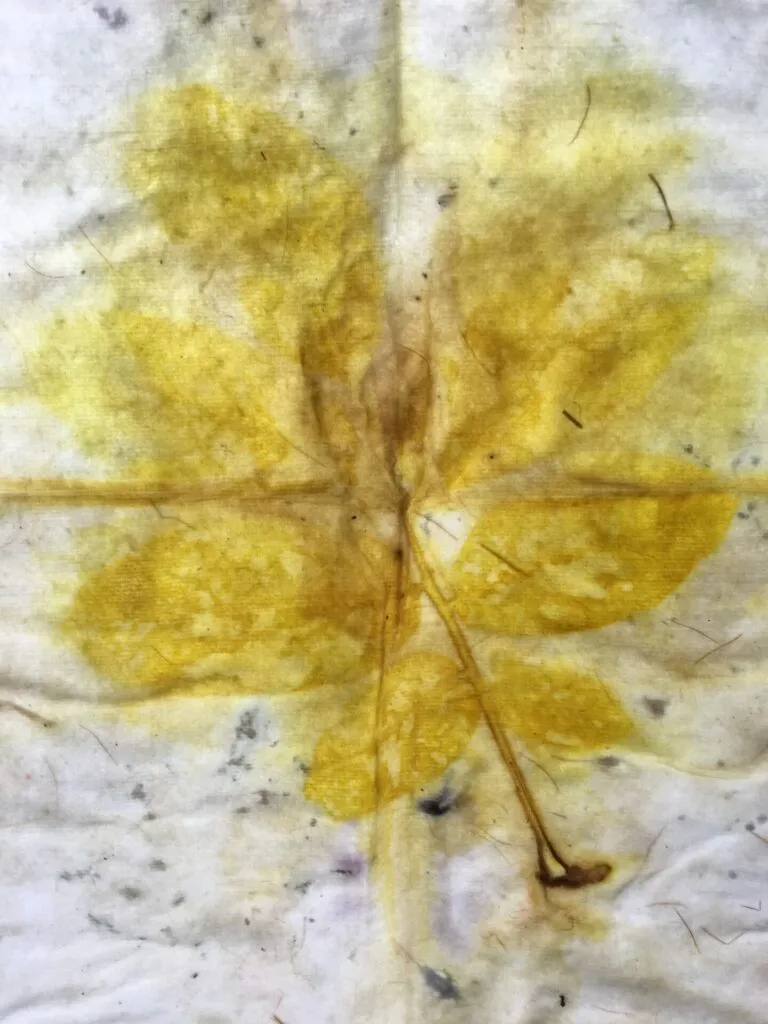 Unwrapping eco-printing bundle
 -
Final Rinse and Dry: Rinse your printed piece to remove excess mordant or dye, then air-dry it completely.
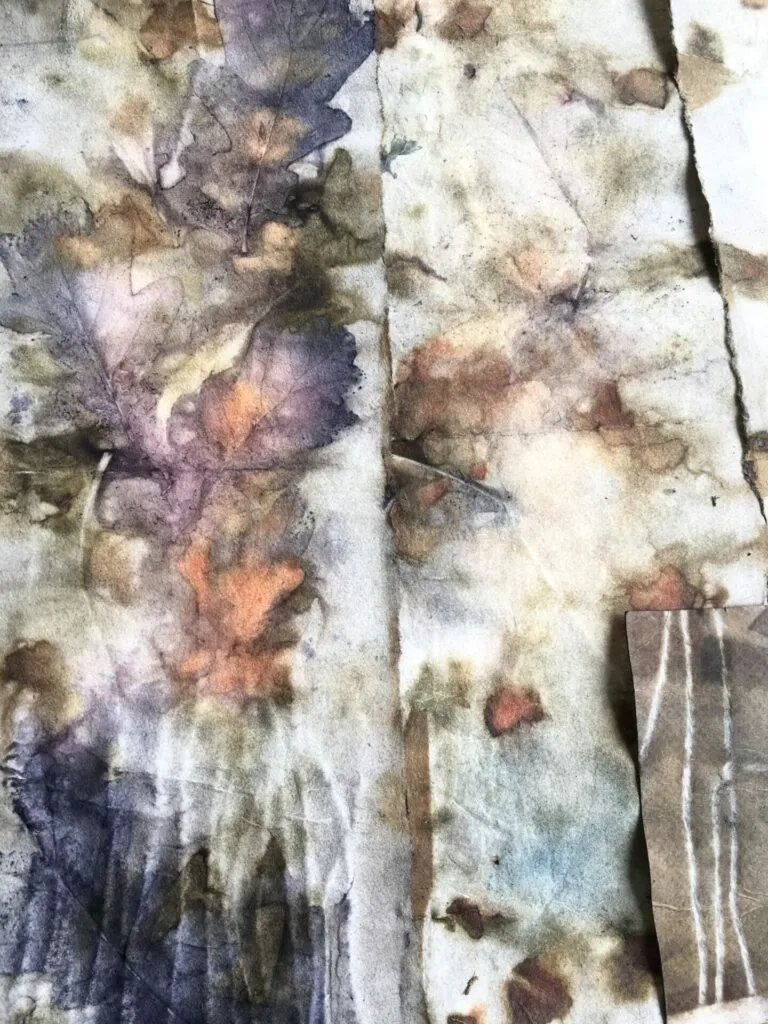 Eco-printed fabric
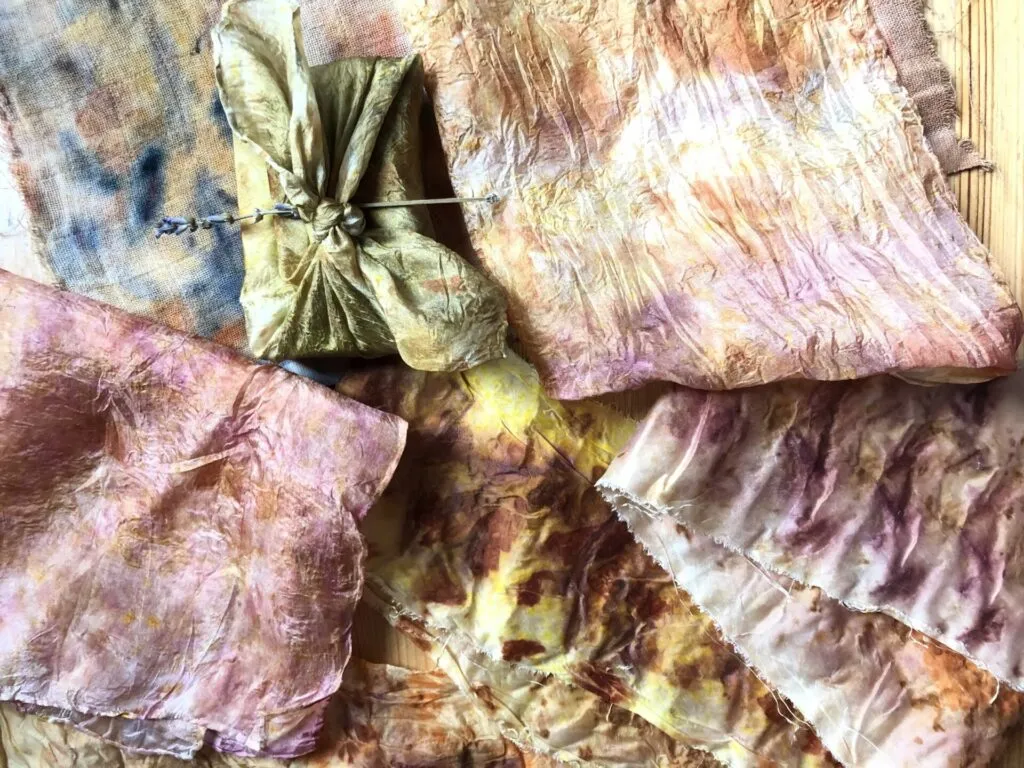 Eco-printed paper
A Journey of Discovery and Expression
Remember, eco-printing is an art form that embraces experimentation and celebrates the uniqueness of the natural world. Embrace the unexpected results, and don’t be afraid to try new plant combinations and techniques. With each print, you’ll deepen your connection with nature and create something truly special.
What are your favorite natural materials to use for eco-printing? Share your experiences and creations in the comments below! And be sure to explore the Robert Kline Art website for more inspiration and handcrafted treasures.
