Blog
Thoughtful DIY Gardening Gifts Made Easy with a Cricut

Spring is just around the corner, and for many of us, that means one thing: gardening season is upon us! It’s also a time to celebrate the amazing mother figures in our lives. What better way to do that than with a personalized, handcrafted gift that speaks to their love of gardening?
At Robert Kline Art, we believe in the power of handmade presents. That’s why I’m so excited to share some unique gardening gift ideas that you can easily create with a Cricut machine. From a rustic-chic garden sign to adorable plant markers and a personalized gardening tray, these projects are fun, meaningful, and sure to bring a smile to any gardener’s face.
Creative Garden Sign with a Custom Ombre Finish
Let’s start with a statement piece – a beautiful wooden garden sign that adds a touch of personalized charm to any outdoor space.
Building the Base
- Materials: 5/8″ poplar hobby wood (cut to 14″ long), garden stakes, finishing nailer, measuring tape, pencil.
- Instructions:
- Cut the poplar wood to your desired length using a miter saw.
- Place the wood across two garden stakes, ensuring they are evenly spaced.
- Securely nail the wood to the stakes using a finishing nailer.
Designing and Cutting the Stencil
- Materials: Cricut Maker 3, Cricut Design Space, Smart Stencil Vinyl, weeding tool.
- Instructions:
- Open Cricut Design Space and create a new project.
- Use the “Shapes” tool to design a rectangle matching the dimensions of your wooden sign.
- Choose a font you love and type “Mom’s Garden” (or any phrase you prefer). Adjust the size and placement within the rectangle for the perfect composition.
- Add decorative elements like flowers or leaves to enhance the garden theme.
- Select all elements and choose “Attach” to cut them from a single piece of vinyl.
- Load the Smart Stencil Vinyl into your Cricut Maker 3 (no mat required!).
- Send the design to your Cricut and let it work its magic.
- Once cut, carefully weed out the excess vinyl, leaving only the design you want to transfer.
Applying the Stencil and Creating the Ombre Effect
- Materials: Transfer tape, smoothing tool, painter’s tape, plastic sheeting, spray paint (three shades of green).
- Instructions:
- Cut a piece of transfer tape slightly larger than your stencil.
- Peel off the backing of the transfer tape and carefully position it over your weeded stencil.
- Use a smoothing tool to firmly burnish the transfer tape onto the vinyl, ensuring good adhesion.
- Gently peel away the transfer tape from the vinyl backing. Your stencil design should now be adhered to the transfer tape.
- Position the stencil on your wooden sign and carefully burnish it down, making sure all edges are firmly attached.
- Slowly peel back the transfer tape, leaving the vinyl stencil perfectly in place on the wood.
- Mask off the areas of the sign you want to protect from overspray using painter’s tape and plastic sheeting.
- Starting with the lightest shade of green, spray a light coat of paint onto the desired section of the sign.
- Gradually blend in the medium and darkest shades, creating a beautiful ombre effect.
- Allow the paint to dry completely.
- Carefully peel off the stencil to reveal your stunning personalized sign.
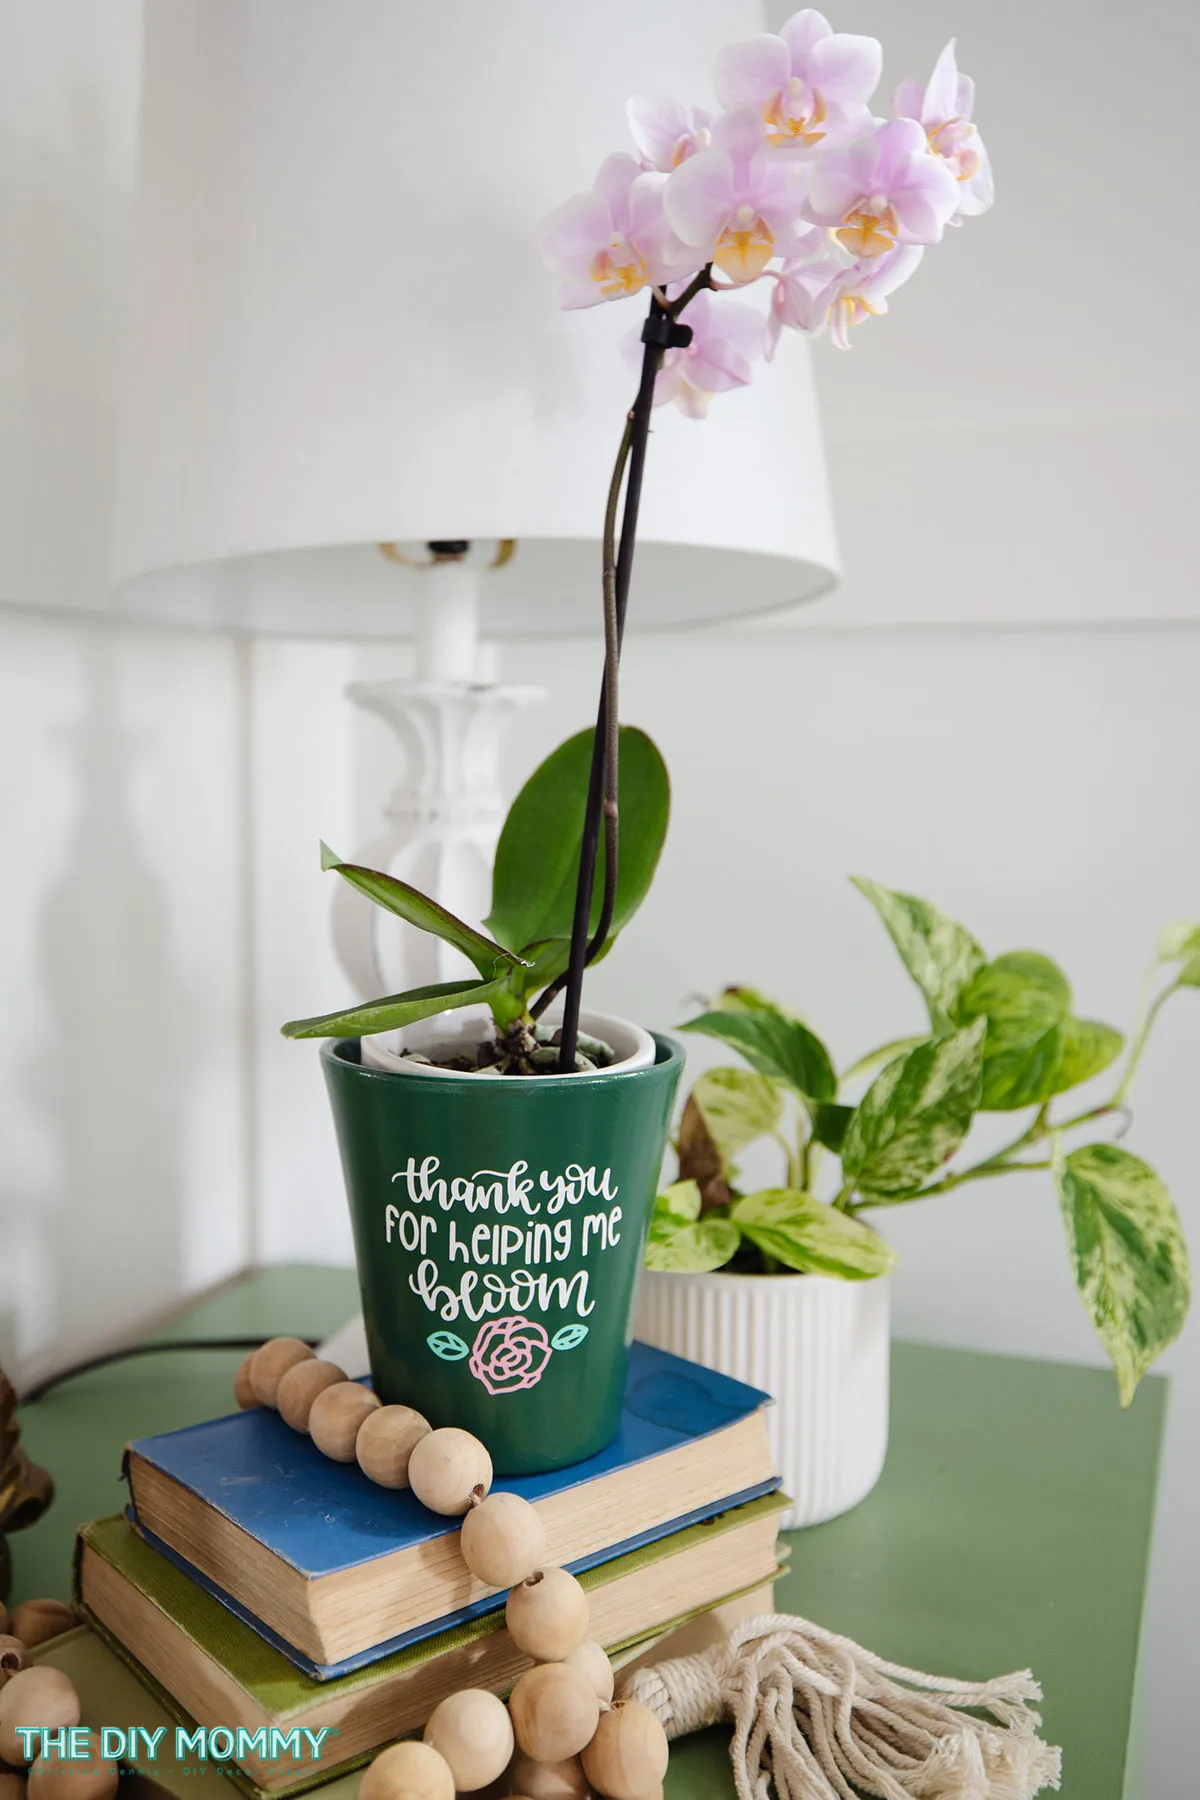
 A personalized gardening gift of an orchid in a plant pot. The pot is decorated with a decal that reads "Thank you for helping me bloom."
Chic and Simple Garden Markers
These DIY garden markers are as practical as they are pretty, adding a touch of organization and style to any garden.
Preparing the Wooden Stakes
- Materials: 1 1/4″ poplar hobby wood, miter saw, measuring tape, pencil.
- Instructions:
- Measure and mark the poplar wood into equal lengths for your desired marker size.
- Use a miter saw to cut the wood into the marked sections.
Designing and Cutting the Vinyl Markers
- Materials: Cricut Maker 3, Cricut Design Space, permanent Smart Vinyl (various colors), weeding tool.
- Instructions:
- Open Cricut Design Space and browse their extensive image library for vegetable or herb designs.
- Use the “Hide Contour” tool to remove unwanted elements from the designs and personalize your markers.
- Size the designs to fit perfectly onto your wooden stakes.
- Choose the desired colors of permanent Smart Vinyl and load them into your Cricut.
- Follow the prompts to cut the designs.
- Once cut, weed away the excess vinyl around each design.
Applying the Vinyl to the Stakes
- Materials: Transfer tape, smoothing tool.
- Instructions:
- Cut pieces of transfer tape slightly larger than each vinyl design.
- Peel off the backing of each transfer tape and carefully align it over the weeded vinyl designs.
- Use a smoothing tool to firmly adhere the transfer tape to the vinyl.
- Gently peel the transfer tape with the attached vinyl design from the backing sheet.
- Align the vinyl design on the wooden stake and carefully burnish it down, ensuring it adheres smoothly.
- Peel off the transfer tape, leaving a perfectly applied vinyl design on your garden marker.
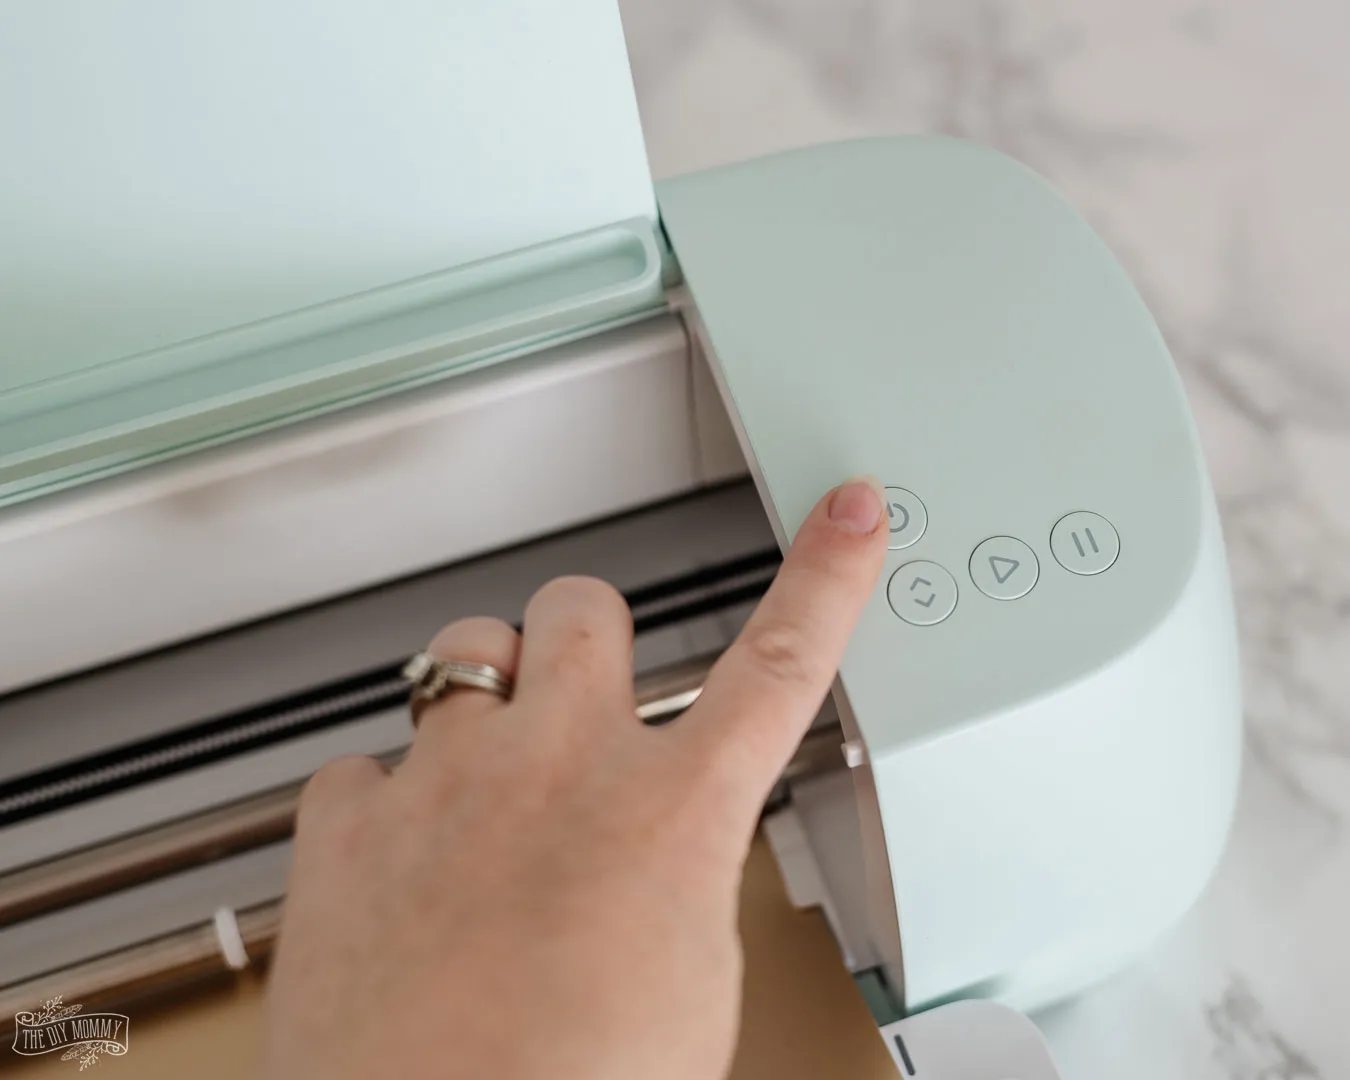
 Get everything you need to know about the new smart cutting machine in this Cricut Explore 3 Review
A DIY Personalized Gardening Tray: Upcycled and Oh-So-Chic!
This project combines functionality with a personal touch, making it a truly special gift for the avid gardener.
Constructing the Tray Base
- Materials: Garden stakes, miter saw, measuring tape, pencil, wood glue, finishing nailer.
- Instructions:
- Cut the pointed ends off nine garden stakes.
- Measure and cut seven stakes to the desired length for the bottom of the tray.
- Cut two more stakes to create the long sides of the tray.
- Apply wood glue to the edges of the two short side pieces and one long side piece.
- Arrange the pieces in a “C” shape, with the glued edges facing up.
- Align and nail the first bottom piece to the glued edges, securing it in place.
- Repeat for the remaining bottom pieces and the second short side piece, forming a rectangular tray.
Adding a Whitewash Finish
- Materials: Water, white latex paint, paintbrush, rag.
- Instructions:
- Mix equal parts of water and white latex paint to create a whitewash solution.
- Instructions:
- Dip a paintbrush into the whitewash and apply it evenly to the tray’s surface.
- Wipe off any excess paint with a clean rag, allowing the wood grain to peek through.
Personalizing with a Monogram
- Materials: Cricut Maker 3, Cricut Design Space, Smart Stencil Vinyl, weeding tool, transfer tape, smoothing tool, chalk paint (white), small paintbrush.
- Instructions:
- In Cricut Design Space, create a rectangle matching the dimensions of the tray bottom.
- Add a monogram or initial using a font you love.
- Enhance the design with delicate floral elements or borders.
- Cut the design from Smart Stencil Vinyl using your Cricut Maker 3.
- Weed away excess vinyl, leaving only the monogram and design elements.
- Apply transfer tape to the weeded design and carefully position it onto the tray’s bottom.
- Use a smoothing tool to burnish the design for proper adhesion.
- Peel off the transfer tape, leaving the stencil in place.
- Gently dab white chalk paint over the stencil, ensuring even coverage.
- Allow the paint to dry thoroughly before carefully removing the stencil.
The Finishing Touches
- Materials: Gold handles, drill, screws.
- Instructions:
- Attach the gold handles to the sides of the tray using a drill and screws.
- Fill the tray with gardening gloves, seed packets, a small trowel, or other thoughtful gardening gifts.
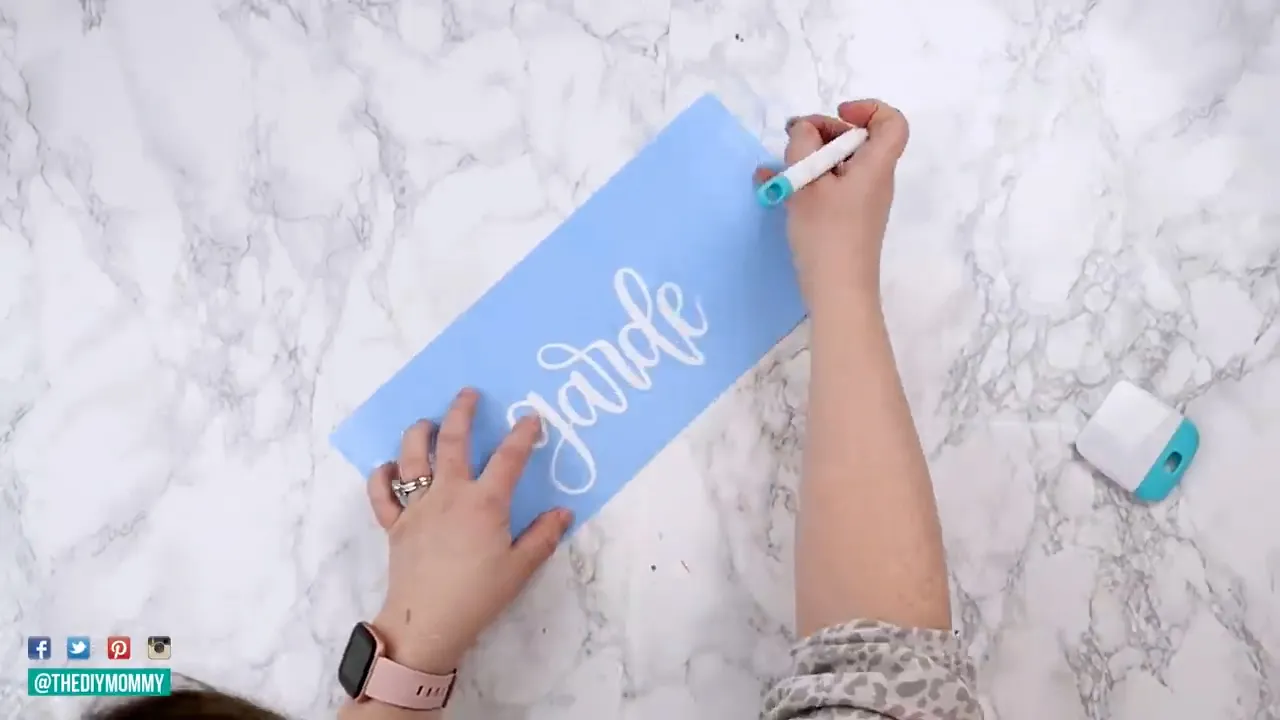
 Christina is weeding the vinyl around the phrase "garden".
Personalized Plant Pot: Simple Yet Significant
This quick and easy project is perfect for showcasing a beautiful plant and adding a heartfelt message.
Painting the Pot
- Materials: Ceramic plant pot, spray paint (your choice of color), painter’s tape (optional), plastic sheeting (optional).
- Instructions:
- Clean the ceramic pot thoroughly and allow it to dry completely.
- If desired, mask off any areas you don’t want to paint with painter’s tape.
- In a well-ventilated area, apply an even coat of spray paint to the pot.
- Allow the paint to dry completely before applying additional coats.
Creating and Applying the Vinyl Decal
- Materials: Cricut Maker 3, Cricut Design Space, permanent Smart Vinyl (various colors), weeding tool, transfer tape, smoothing tool.
- Instructions:
- Open Cricut Design Space and design a gardening-themed quote, phrase, or image to personalize your pot.
- Size the design to fit appropriately on the plant pot.
- Choose your desired colors of permanent Smart Vinyl and load them into your Cricut.
- Follow the prompts to cut the designs.
- Weed away the excess vinyl around each element of your design.
- Use transfer tape to carefully lift and apply each part of the design to the painted pot.
- Smooth out any air bubbles for a flawless finish.
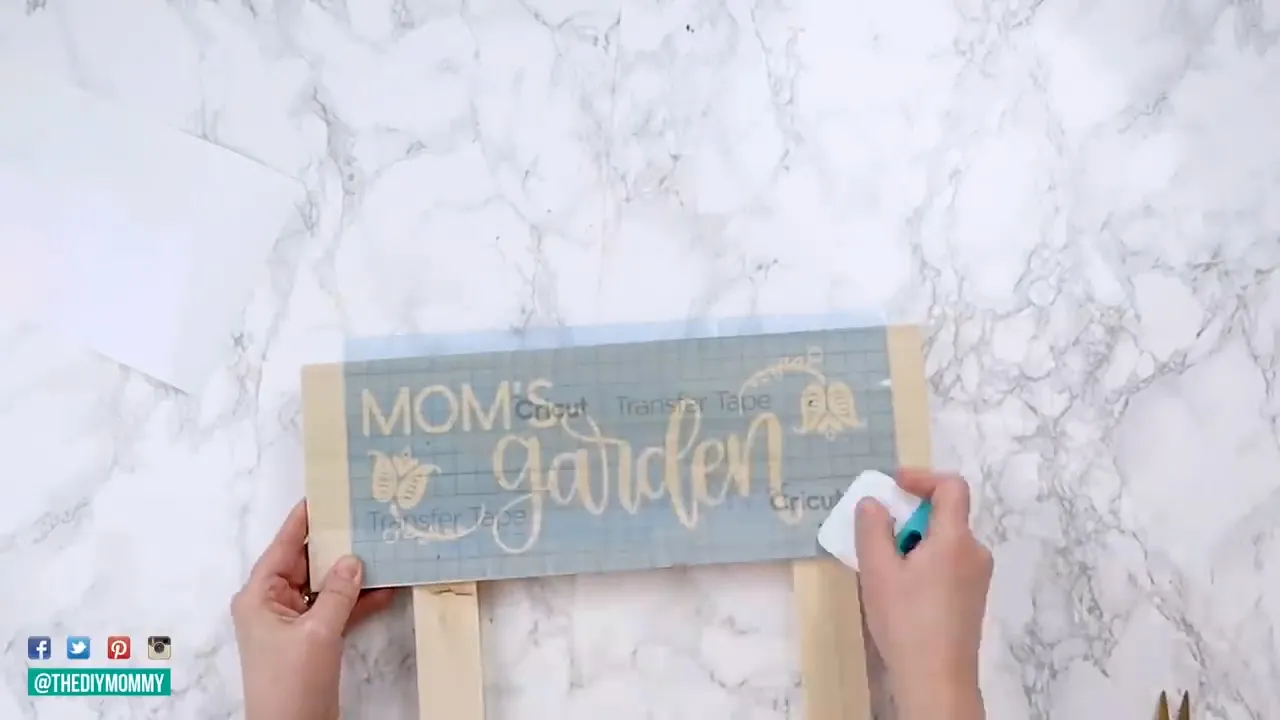
 A stencil, "mom's garden", is being applied with transfer tape to a wooden sign.
These personalized gardening gifts are just a starting point. With a bit of creativity and a Cricut machine, the possibilities are endless! We hope these projects inspire you to create handmade gifts that are both beautiful and meaningful.
Want to explore more unique, handcrafted gift ideas? Visit the Robert Kline Art website and discover a world of creativity!
