Blog
DIY Personalized Wooden Bath Caddy: The Ultimate Relaxation Essential
Hey there, fellow DIY enthusiasts! Remember that awesome bath tray I shared a while back? The one that doubled as a breakfast-in-bed tray? Well, today we’re diving into a brand-new bath tray project that’s even more luxurious and tailored for pure relaxation.
This project is perfect for those who love crafting beautiful and functional pieces for their homes. It’s surprisingly simple, customizable to your liking, and results in a spa-worthy addition to your bathroom. Let’s get started!
Gathering Your Materials
Before we begin, let’s gather our tools and materials. For this project, you’ll need:
- Cedar board (1″ x 10″)
- Cedar board (1″ x 2″)
- Handsaw or circular saw
- Measuring tape
- Pencil
- Power drill with 7/8″ spade bit and 3/32″ drill bit
- Jigsaw (optional)
- Sandpaper (100, 150, and 400 grit) or power sander
- Water-resistant glue or screws
- Clamps
- Teak oil or preferred wood finish
- Natural bristle brush or lint-free cloth
- Safety glasses
Step 1: Measure and Cut Your Cedar Boards
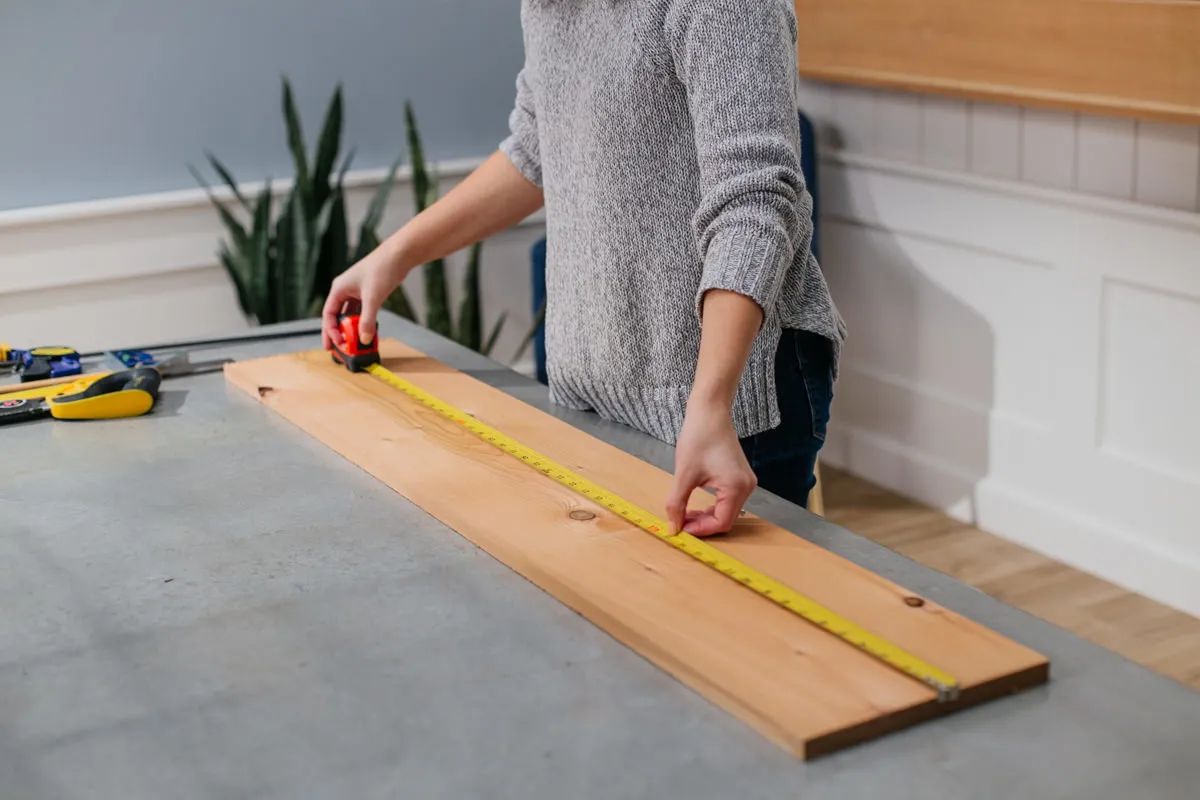
 measuring the width of cedar board
- Using your measuring tape, measure the width of your bathtub from one edge to the other.
- Mark the measurement on your 1″ x 10″ cedar board.
- Carefully cut the board to size using your preferred saw.
- Next, cut your 1″ x 2″ cedar board into two 9 1/4″ pieces for the bumpers.
- Cut two more 13″ pieces from the 1″ x 2″ board for the book holder.
Step 2: Crafting the Wine Glass Holder
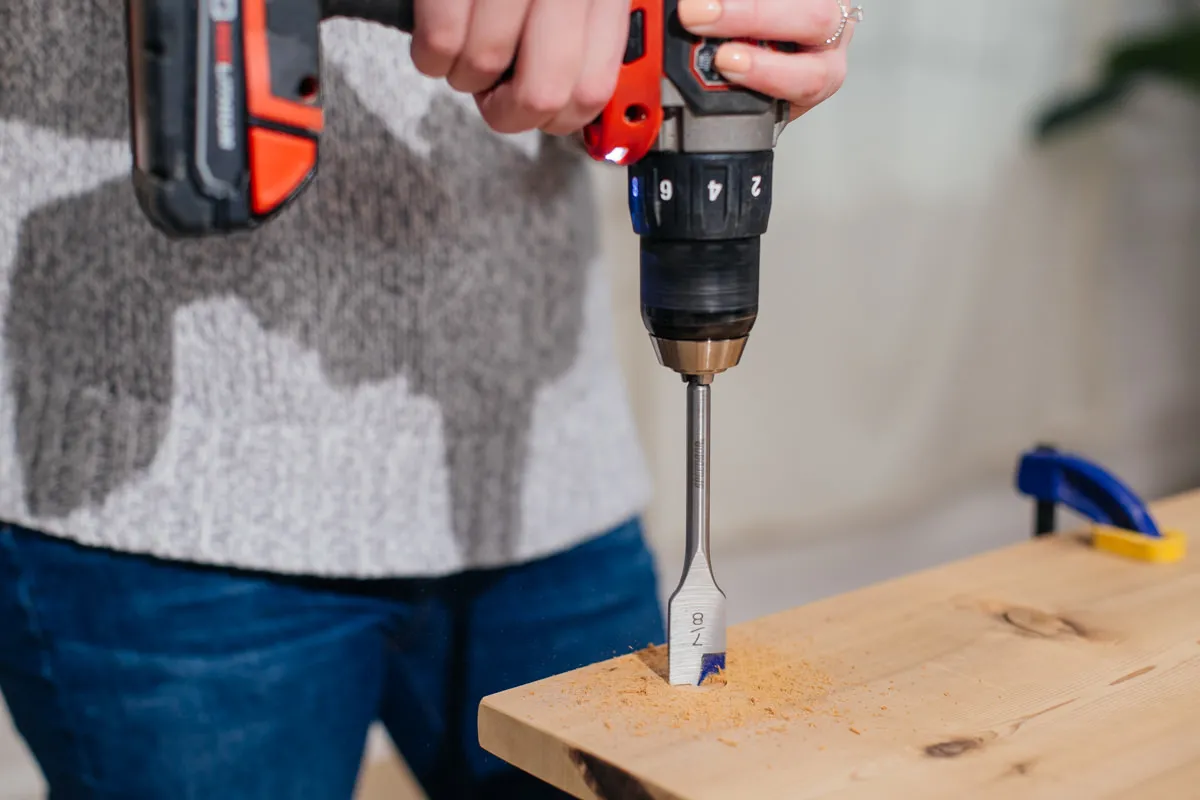 creating wine glass holder for bath caddy
- Determine where you want your wine glass to sit on the tray.
- Measure 1 1/4″ in from the front edge and mark the spot.
- Use the 7/8″ spade bit to drill a hole at the marked location.
- From the edge of the board, measure and mark two parallel lines (1/2″ apart) extending to the edge of the drilled hole.
- Using a jigsaw or handsaw, carefully cut along the marked lines to create the wine glass slot.
Step 3: Adding Candle Holders (Optional)
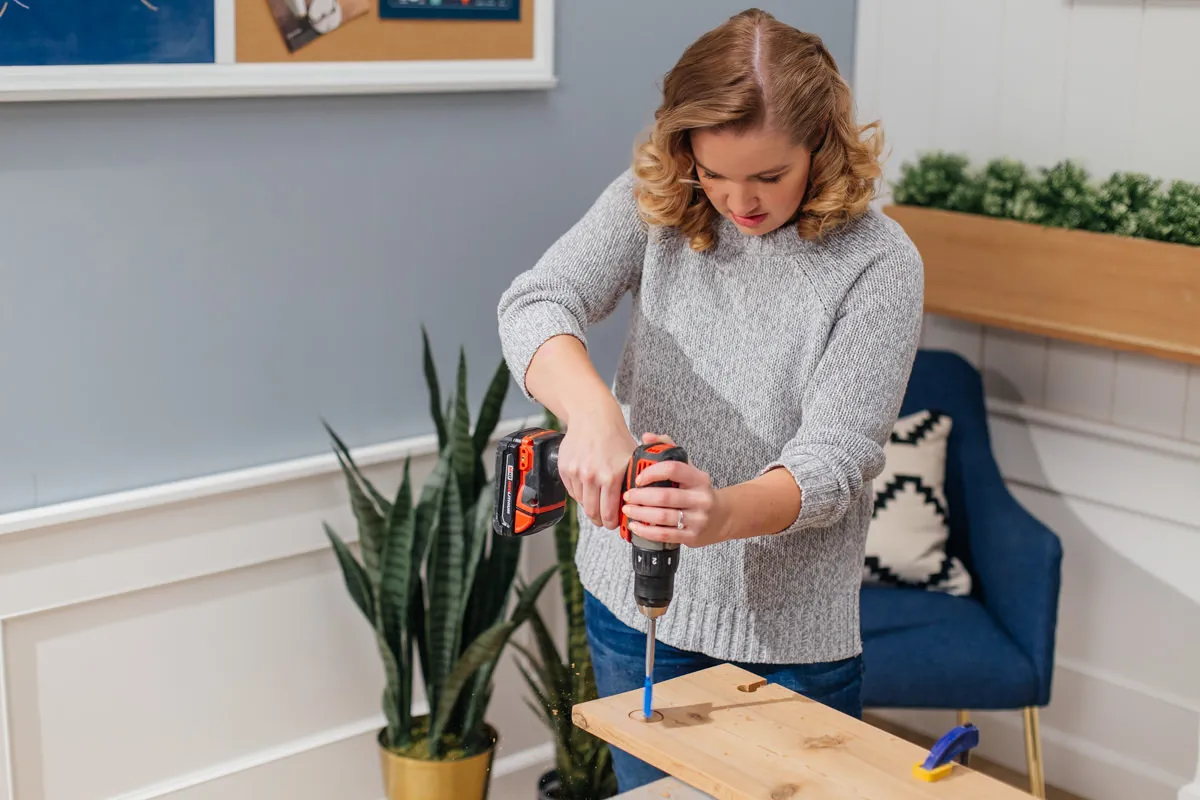 make candle holder for bath caddy tray
- Decide how many tea light holders you’d like and their placement on the tray.
- Wrap tape around a 1 1/2″ spade bit to control the drilling depth. Use a tea light as a guide to determine the desired depth.
- Drill your tea light holes at the marked locations.
Step 4: Smoothing with Sandpaper
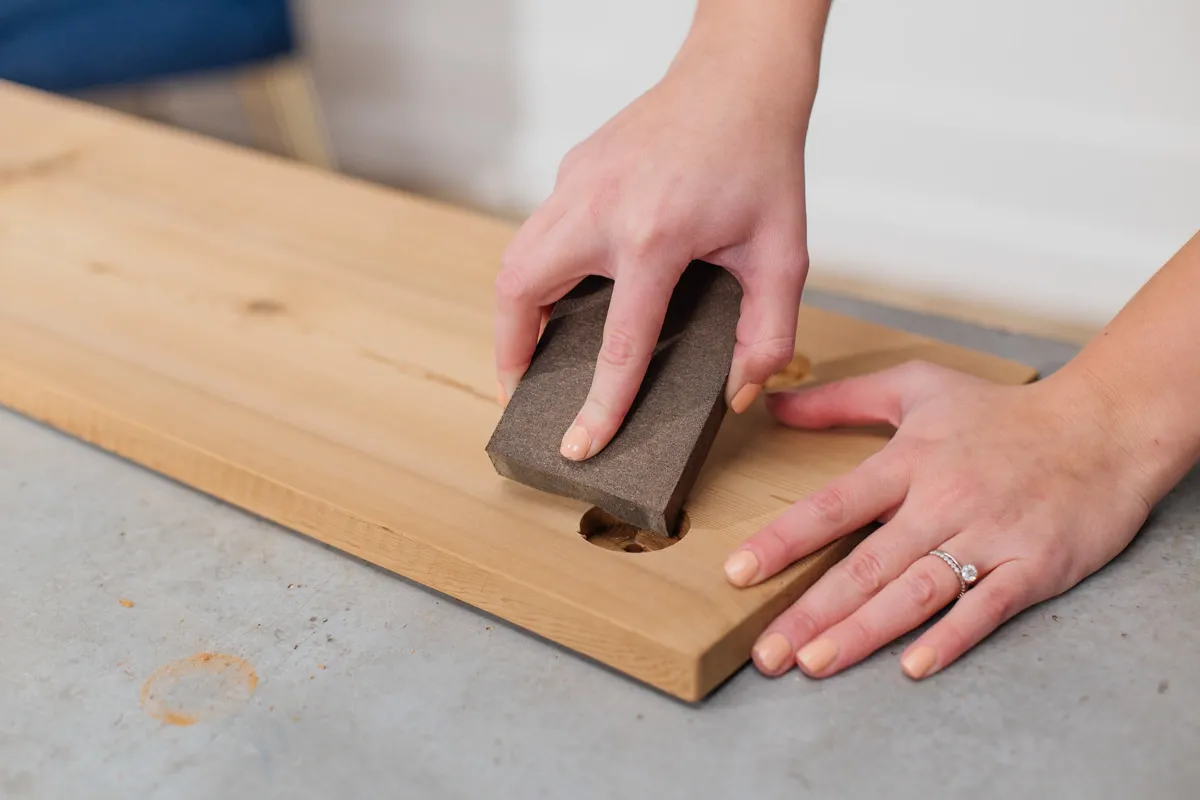 Sand Bath Caddy Cedar tray
- It’s time to achieve a silky-smooth finish.
- Using 100-grit sandpaper, sand down the entire surface of the tray and all pre-cut pieces.
- Repeat the sanding process with 150-grit sandpaper for an even smoother finish.
Step 5: Building the Book Holder
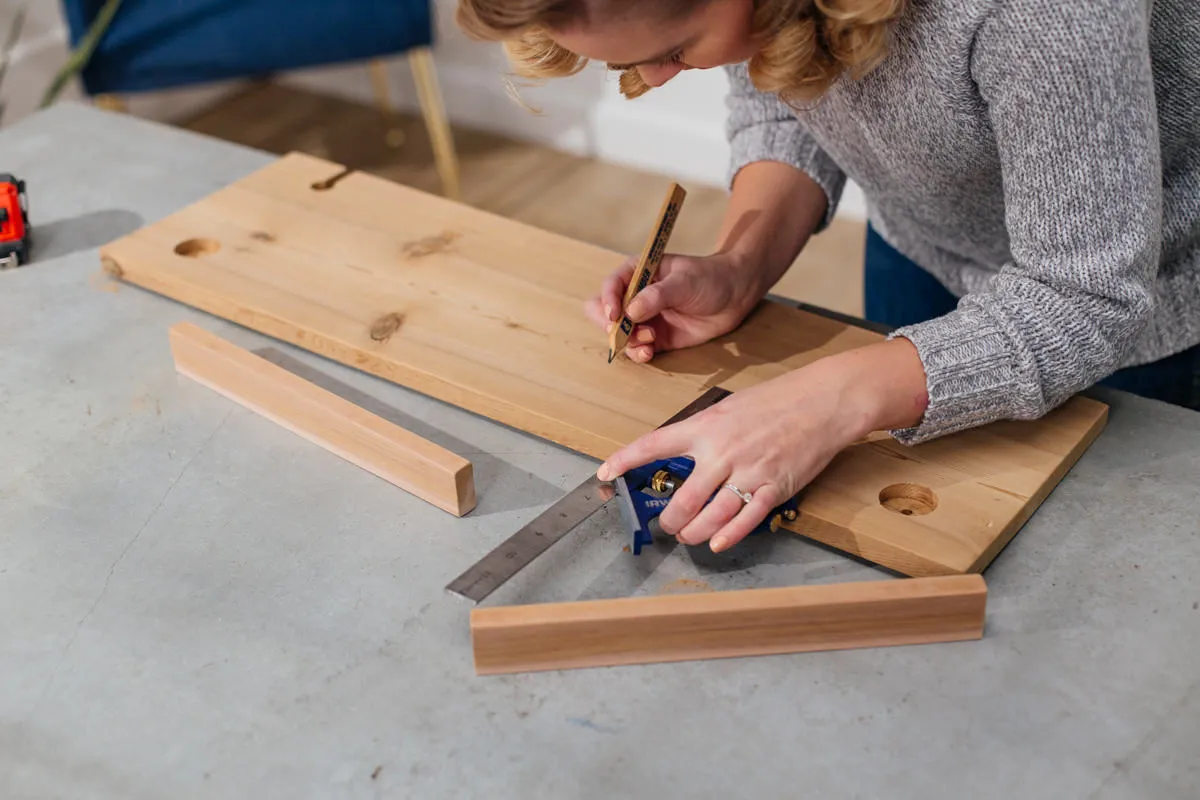 making book holder for bath tray
- Position your two 13″ 1″ x 2″ pieces on edge in the center of the bath tray.
- The first piece should be parallel to the tray’s edge, and the second piece should be 1 3/4″ away, creating a gap for your book.
- Mark the position of the boards.
- Pre-drill pilot holes using a 3/32” drill bit and then secure the boards to the tray using water-resistant glue or screws.
Step 6: Attaching the Bumpers
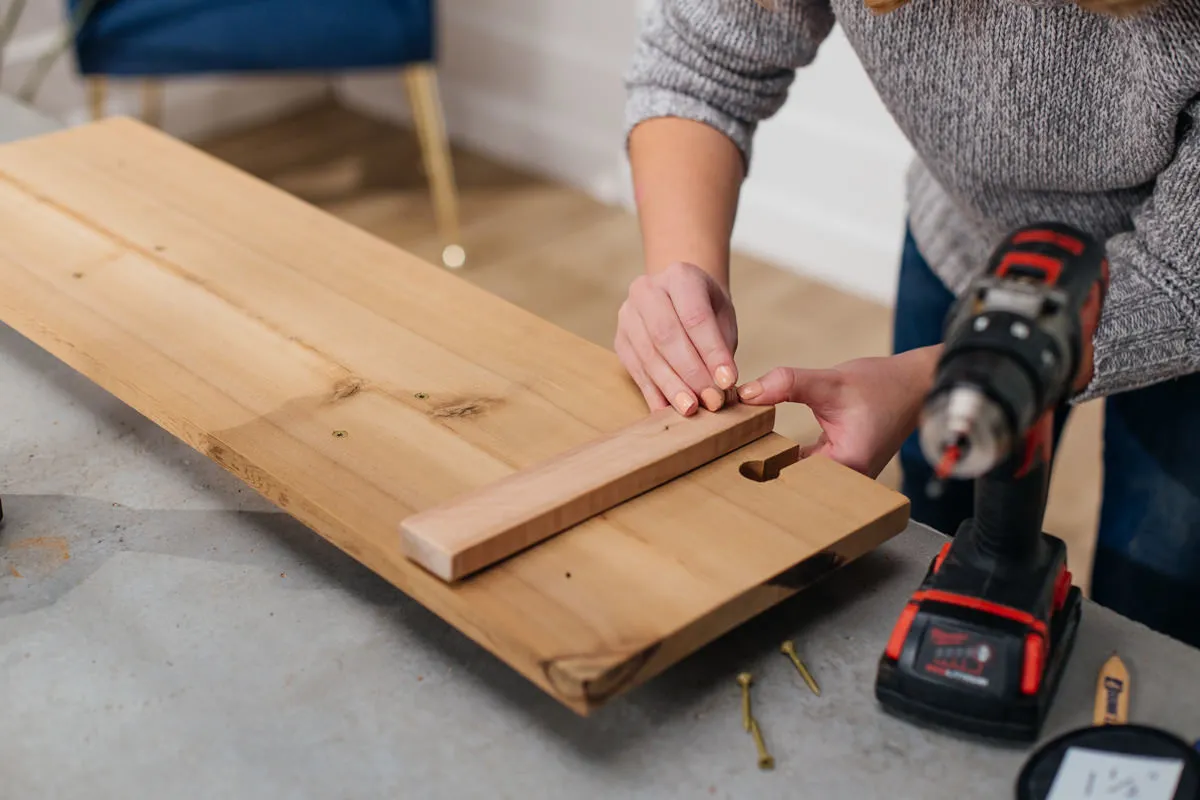 attach bumpers to bath tray
- Take your tray to the bathroom and place it on your bathtub.
- Carefully position the bumpers on the underside of the tray to prevent slipping. Make sure the bumpers don’t extend beyond the edges of the tub.
- Mark the bumper placement.
- Secure the bumpers to the tray using water-resistant glue or screws.
Step 7: Applying the Finish
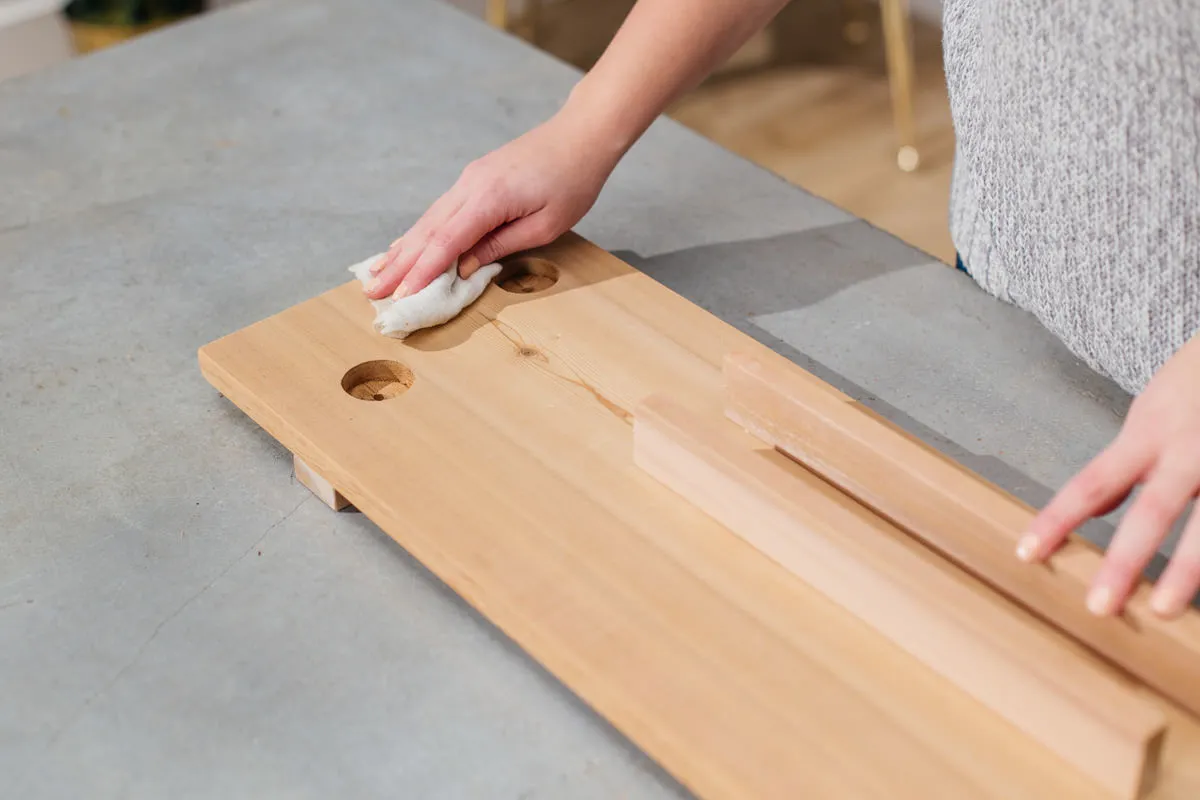 apply finish
- Before applying your finish, wipe down the entire tray with a tack cloth or slightly damp paper towel to remove any lingering sawdust.
- Dip your natural bristle brush or a lint-free cloth into the teak oil (or your preferred finish) and apply a thin, even coat to all surfaces of the tray.
- Allow the finish to penetrate the wood for 5-15 minutes.
- Gently sand the surface with 400-grit wet/dry sandpaper for a smooth and polished finish.
- Wipe off any excess oil and allow the tray to dry completely before use.
Conclusion
Congratulations! You’ve crafted your very own personalized wooden bath caddy, perfect for indulging in relaxing soaks. This project is incredibly versatile and can be customized to your preferences. Add more tea light holders, adjust the book holder for different sizes, or even create a special slot for your bath salts. Let your creativity flow and design the ultimate bath time companion!
For more inspiring DIY projects, check out the fantastic collection on Robert Kline Art. Don’t forget to share your creations and tag us on social media – we can’t wait to see what you come up with!
