Blog
Craft a Unique Gift: DIY Map Coordinates Pillow

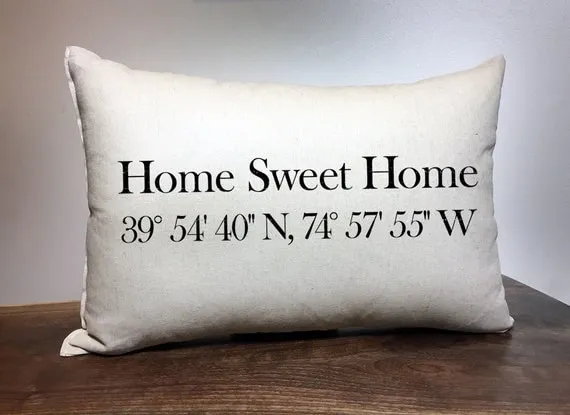
Hey there, fellow craft enthusiasts! Today, we’re diving into a project that’s both stylish and sentimental: creating a personalized map coordinates pillow! Just like a treasured monogram, a map coordinates pillow tells a story—your story. It’s a unique way to commemorate a special place, whether it’s your hometown, the location of a cherished memory, or the destination of your dreams.
Why Map Coordinates Pillows?
The beauty of map coordinates lies in their subtle personalization. They add a touch of intrigue and personality to your decor without being too overt. Plus, they’re incredibly versatile. Imagine these pillows accenting a cozy reading nook, adding a personal touch to a guest room, or even making a statement piece on your living room sofa.
Choosing Your Canvas
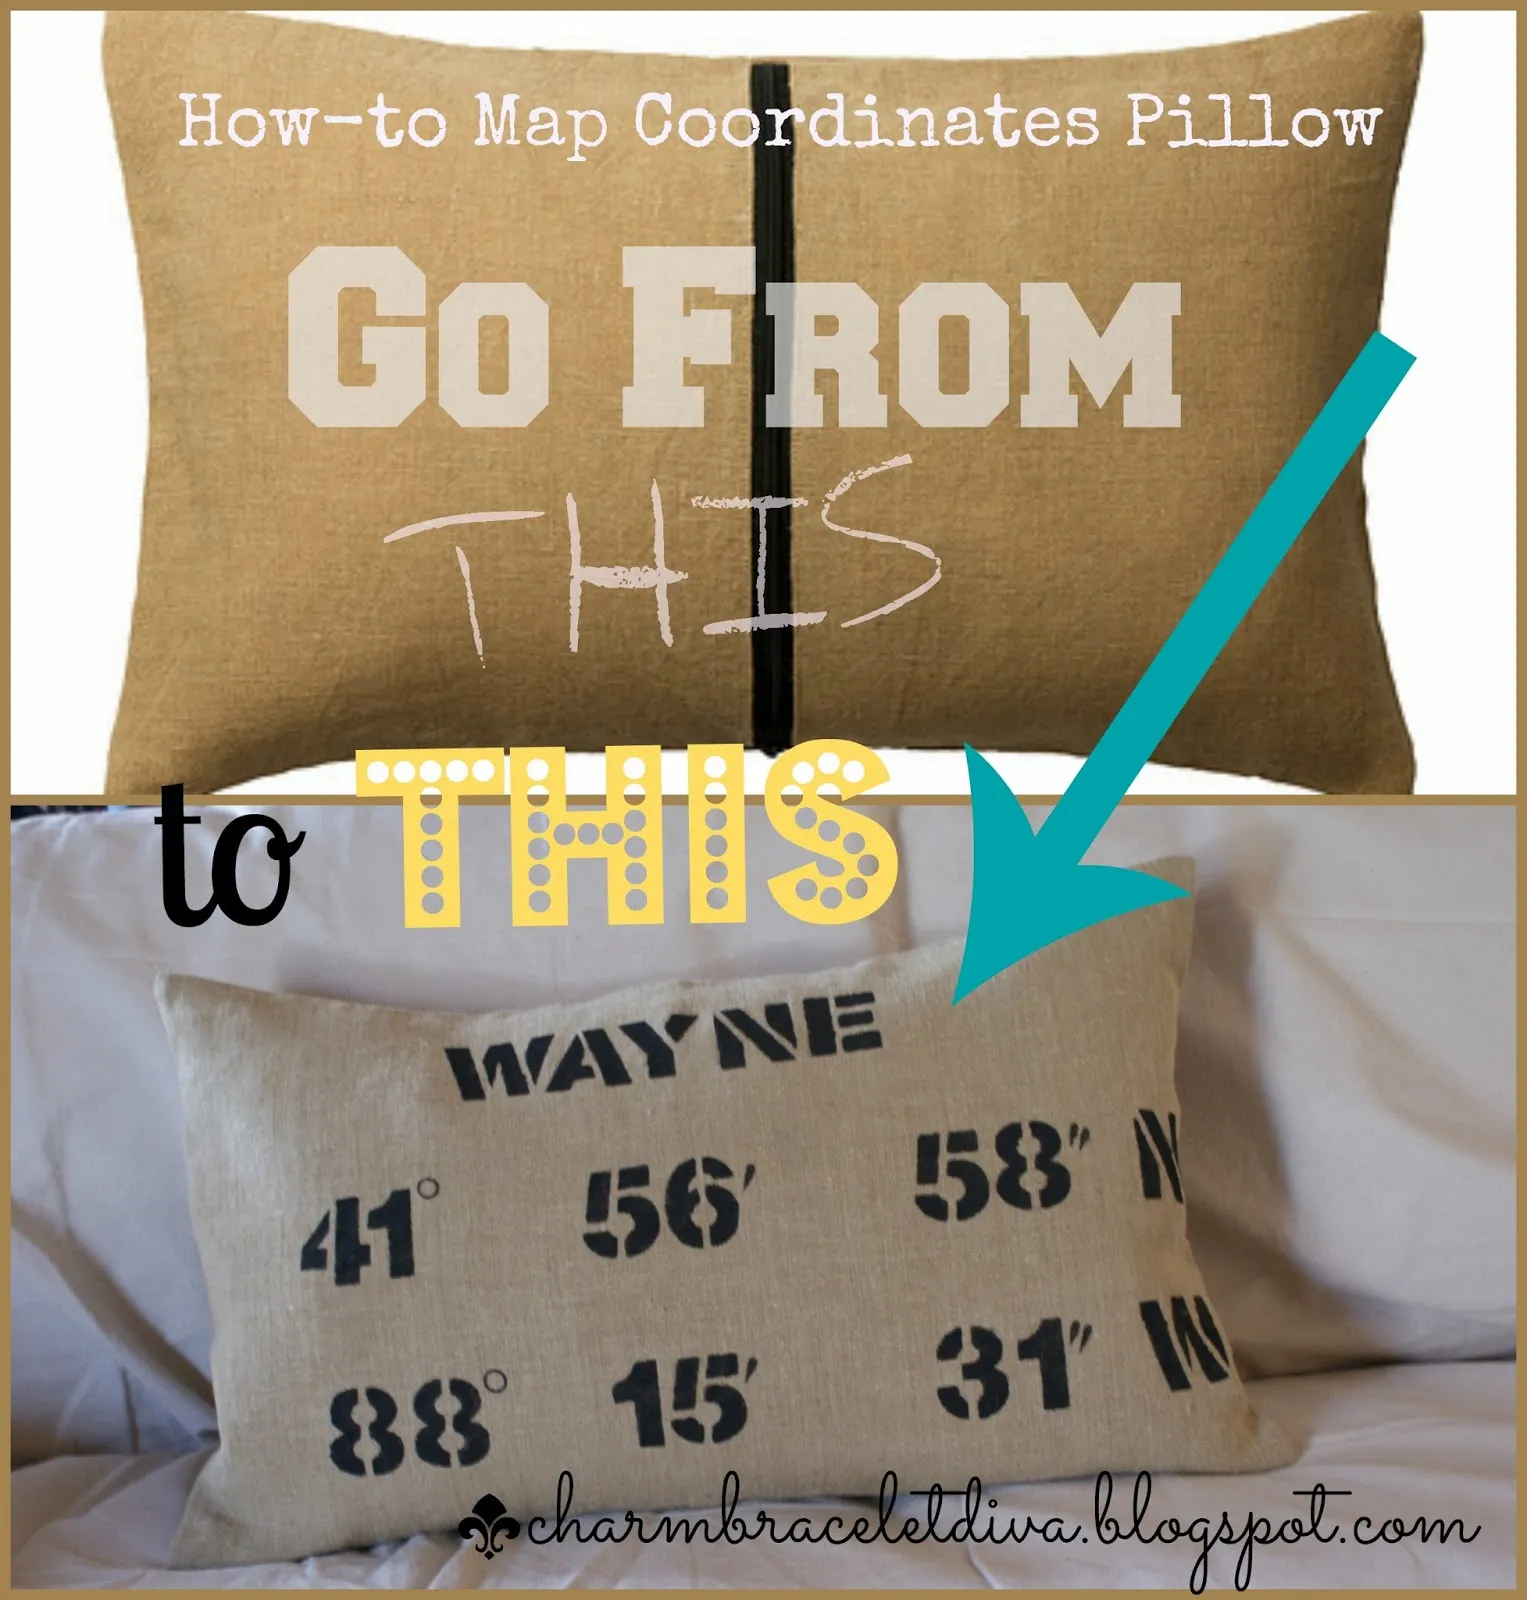
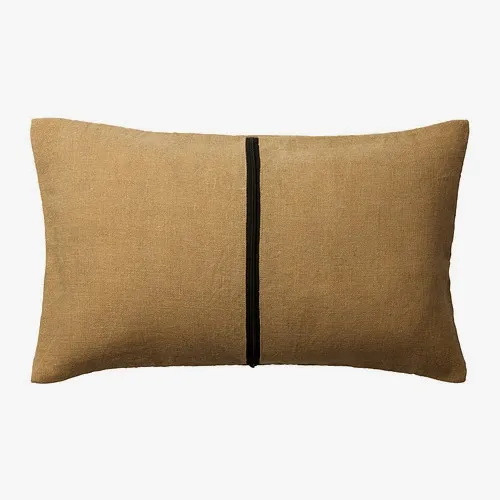
For this project, we’ll be using a plain jute pillow cover, much like the affordable Helgonort cover from Ikea. The natural texture of jute lends a rustic charm, while its neutral tone provides the perfect backdrop for our coordinates.
Pro Tip: Iron the pillow cover before you begin to ensure a smooth painting surface. A light spray of water can help remove any stubborn creases.
Gather Your Supplies
Before we get started, let’s gather our crafting arsenal:
- Pillow cover: A plain jute or cotton cover works best (approximately 16″ x 26″ or similar).
- Pillow form: Choose a size that fits your cover snugly.
- Acrylic/craft paint: Opt for colors that complement your decor. Black or white are classic choices for a minimalist look.
- Paintbrushes: Have a variety of sizes handy for different parts of the lettering.
- Stencils: Use 2″ alphabet stencils for a bold look, or experiment with different fonts and sizes.
- Masking tape or painter’s tape: This will help achieve clean lines and prevent smudging.
- Cardboard: Insert this inside the pillow cover to prevent paint from bleeding through.
Finding Your Coordinates
Finding the coordinates of your chosen location is easier than you might think! A simple Google search (e.g., “My Town USA coordinates”) will do the trick.
Stenciling Your Coordinates
Now for the fun part—stenciling!
- Plan Your Layout: Experiment with different layouts for your coordinates. You can have them run in a single line or break them into two lines for a visually appealing design.
- Secure the Stencils: Place a piece of cardboard inside the pillow cover to prevent paint bleed-through. Then, use masking tape to secure the stencils in your desired arrangement.
- Apply the Paint: Dip your brush into the paint, dab off any excess, and apply a thin, even coat onto the fabric through the stencil. It’s better to apply multiple thin coats than one thick coat to prevent bleeding.
- Allow to Dry: Let the paint dry completely before carefully removing the stencils.
 DIY map coordinates pillow
Pro Tip: For an aged or distressed look, lightly sand the painted areas once the paint is completely dry.
Personalizing Your Pillow
Get creative with your design! Here are some ideas to spark your imagination:
- Add a Town Name: Personalize the pillow further by stenciling the town or city name above or below the coordinates.
- Experiment with Fonts: From sleek and modern to whimsical and playful, choose a font that reflects your style.
- Incorporate Design Elements: Add a small heart or compass design alongside the coordinates for an extra touch of personality.
Showcasing Your Masterpiece
Once your pillow is complete, stuff it with the pillow form and give it a good fluff. Now you have a unique and meaningful piece of home decor that’s sure to be a conversation starter. Place it on a bed, sofa, or armchair to add a touch of personalized charm to your space.
 longitude and latitude pillow, coordinates pillow
Explore More Creative DIY Projects
Looking for more handcrafted gift ideas? Visit Robert Kline Art for a collection of unique and inspiring DIY projects, perfect for adding a personal touch to your home or surprising someone special.
 Map Coordinates Burlap Pillow – First Home Pillow
Ready to show off your creations? Share your map coordinates pillow with us! We’d love to see your unique take on this personalized project.
