Blog
The Art of Making Scented Candles at Home

There’s a certain magic to candles. They flicker with a gentle light, cast captivating shadows, and fill the air with evocative scents. But what if I told you that you can capture this magic yourself? That’s right, making your own scented candles at home is easier than you think! Not only is it a fun and rewarding craft, but it’s also a wonderful way to personalize your space with unique fragrances.
Gathering Your Candle-Making Supplies
Just like an artist gathers their brushes and paints, we’ll need a few key ingredients to create our aromatic masterpieces:
Essential Materials:
- Soy Wax Flakes: Soy wax is a natural, renewable resource that burns cleaner than traditional paraffin wax, making it a healthier choice for you and the environment.
- Natural Wicks: Opt for natural wicks made from hemp or cotton. These burn cleaner and are free of harmful chemicals.
- Essential Oils: This is where the magic of scent comes alive! Lavender, eucalyptus, grapefruit – the possibilities are endless! Choose oils that resonate with you and create the ambiance you desire.
- Mason Jars or Heat-Safe Containers: These will serve as vessels for your candles. Get creative! Repurposed teacups or vintage jars can add a touch of personality.
- A Disposable Stirring Device: Wooden chopsticks work perfectly!
- Chopsticks or Pencils: These will help anchor the wicks in place.
- A Pot and Stovetop: For melting the wax.
A Word of Caution: Always handle hot wax with care and never leave a melting candle unattended.
A Step-by-Step Guide to Candle Making
Now that we have our supplies, let’s dive into the process:
Step 1: Melting the Wax
Place the soy wax flakes in your pot and melt them over low to medium heat. Stir gently with your wooden chopstick until the wax is completely melted and smooth.
Expert Tip: Consider using a double boiler to prevent the wax from scorching or sticking to the pot.
Step 2: Infusing with Essential Oils
Once the wax is melted, remove it from the heat. Now it’s time to add your chosen essential oils. Add about 80-100 drops, depending on the strength of the scent you desire. Stir well to distribute the oils evenly.
Robert Kline Art Recommends: For a calming lavender candle, try adding a few drops of chamomile essential oil as well.
Step 3: Anchoring the Wicks and Pouring the Candles
Secure your wicks to the bottom of your jars using a dab of melted wax or wick stickers. Center the wick and tape it to a chopstick placed horizontally across the top of the jar to keep it upright.
Carefully pour the fragrant wax into the jars, leaving a bit of space at the top.
Important Note: Avoid pouring any leftover wax down the drain as it can solidify and cause clogs.
Step 4: Cooling and Curing
Let your candles cool and harden completely. This may take several hours or overnight. Once the candles are solid, trim the wicks to about ¼ inch.
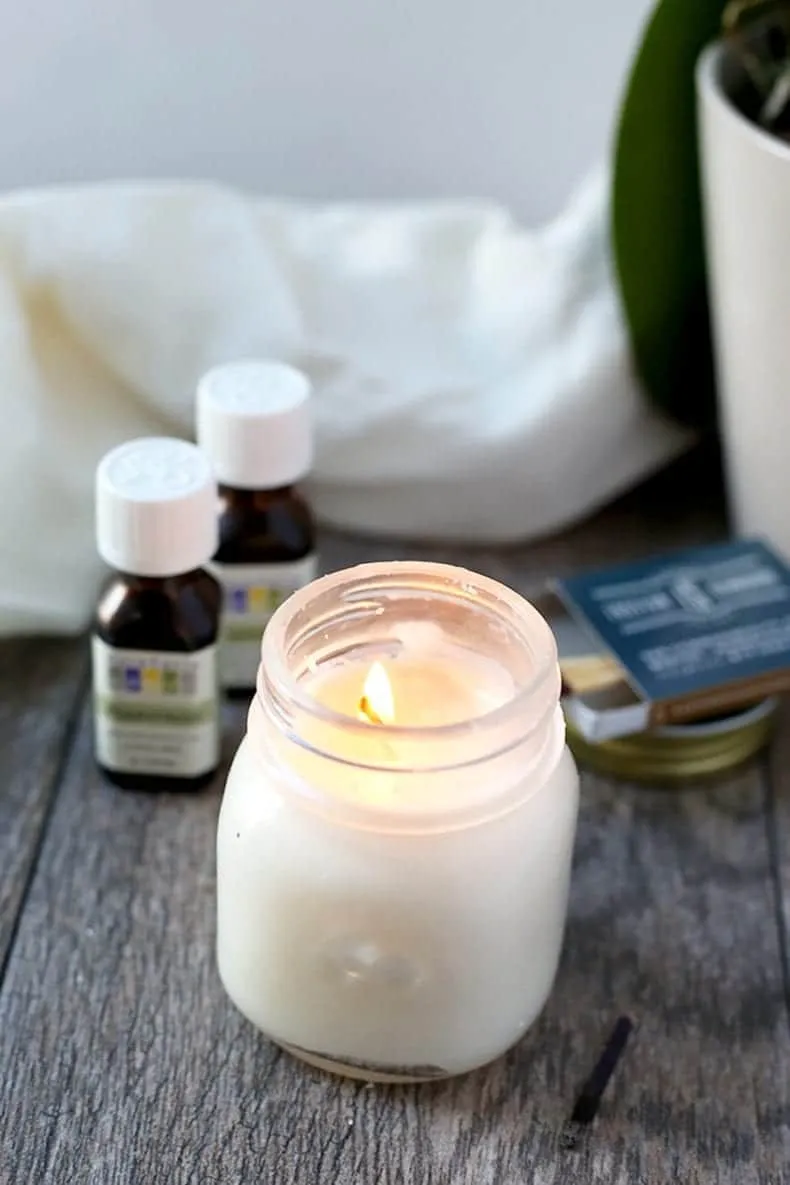
 a tutorial for how to make candles at home with a homemade candle in a mason jar
Common Candle-Making Mistakes and How to Avoid Them
- Cutting Wicks Too Short: Always start with a longer wick and trim it down after the candle has set.
- Unsecured Wicks: Make sure your wicks are properly anchored to prevent them from shifting during pouring.
- Uneven Burning: Use a chopstick or pencil to keep the wick centered while the wax hardens.
The Joy of Handmade Candles
Congratulations! You’ve just created your very own scented candles. Not only are they beautiful and aromatic, but they also make thoughtful gifts. Experiment with different essential oil blends to create unique fragrances for every mood and occasion.
Ready to explore more handmade creations? Browse the Robert Kline Art website for more inspiring DIY projects and unique handcrafted gifts. Let’s ignite our creativity together!
