Blog
Unleash Your Inner Artist with Homemade Modeling Clay

Have you ever wanted to try your hand at sculpting, but the thought of harsh chemicals in commercial clay turned you off? Or perhaps you’re looking for a fun and engaging activity to do with your kids? Well, gather ’round, fellow art enthusiasts, because I’m about to let you in on a little secret: you can make beautiful, all-natural modeling clay right in your own kitchen!
The Magic of Baking Soda Clay
Years ago, during one of our annual Christmas ornament crafting sessions at Robert Kline Art, we stumbled upon the wonder that is baking soda clay. This simple, three-ingredient recipe has become a staple in our studio ever since. It’s incredibly versatile, perfect for everything from delicate ornaments to whimsical sculptures. The best part? It air dries to a beautiful, hard finish, making it perfect for creating lasting keepsakes.
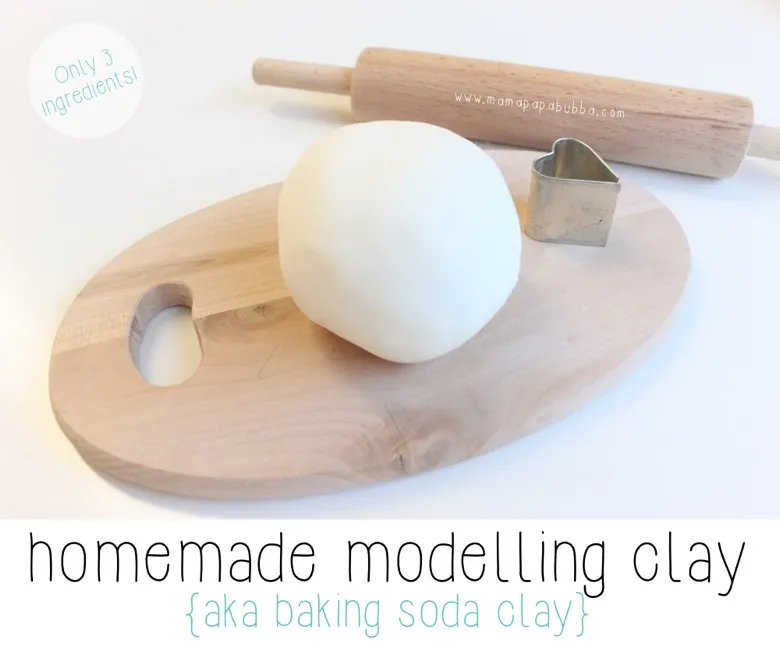
 Homemade Modeling Clay
Crafting Your Clay: A Step-by-Step Guide
Ready to get your hands dirty? This recipe is so easy, you’ll be amazed!
Ingredients You’ll Need:
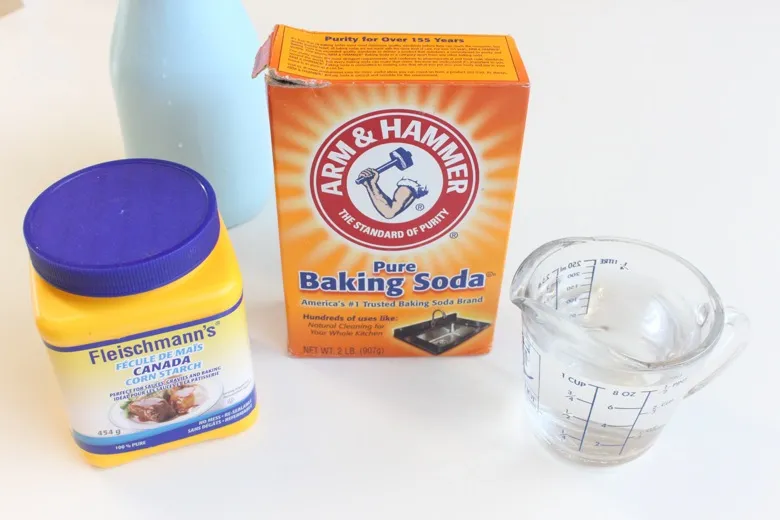
- 2 cups baking soda (remember, baking powder won’t work!)
- 1 cup cornstarch
- 1 1/4 cups water
Instructions:
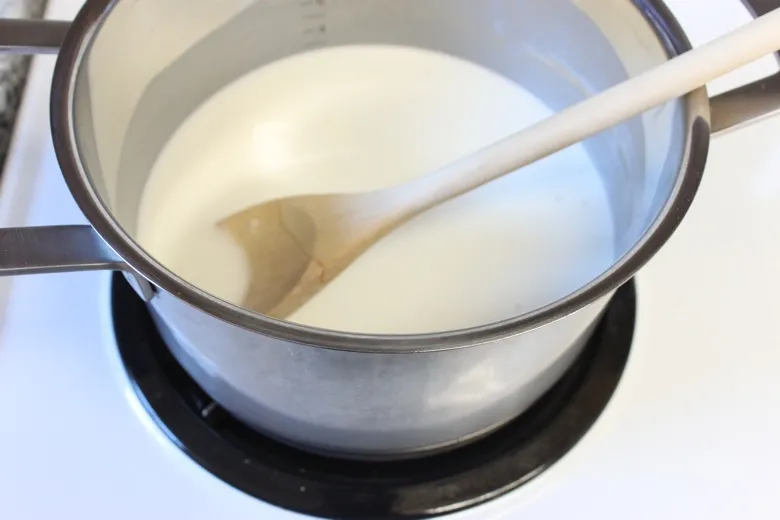
- Combine and Cook: In a medium-sized pot, combine all ingredients. Place the pot over medium heat and stir constantly.
- Thicken to Perfection: Continue stirring until the mixture thickens to the consistency of mashed potatoes. You want it to be pliable, but not runny.
- Cool and Knead: Remove the pot from heat and let the mixture cool for a few minutes, or until it’s cool enough to handle. Turn it out onto a clean surface and knead it until smooth and no longer sticky.
 Kneading Baking Soda Clay
Tips from Robert Kline Art for Clay Mastery
Over the years, we’ve picked up a few tricks for working with this fantastic DIY clay:
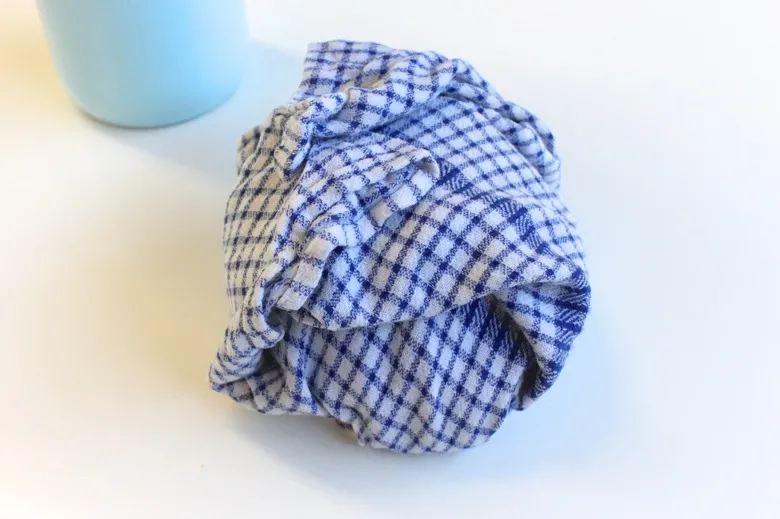
- Store it Right: When not in use, keep your clay wrapped in a damp towel to prevent it from drying out.
- Think Thin: Thicker pieces are more prone to cracking during drying, so aim for a thickness of about 0.75-1 centimeter.
- Parchment Paper is Your Friend: Rolling your clay between two sheets of parchment paper prevents sticking and makes for smoother creations.
- Slow and Steady Drying: Air drying is key to preventing cracks. Find a cool, dry place away from direct heat or sunlight. Turning your pieces occasionally ensures even drying.
 Rolling Out Baking Soda Clay
Unleash Your Creativity: Decorating Your Masterpieces
Once your creations are completely dry, it’s time to let your artistic spirit shine! Here are just a few decorating ideas to get you started:
- Paint It: Acrylics and watercolors adhere beautifully to baking soda clay.
- Sparkle and Shine: Add a touch of glamour with glue and glitter.
- Make Your Mark: Permanent markers and Sharpies are perfect for adding details and designs.
- Embellish Away: Glue on beads, buttons, or other found objects for a unique touch.
 Decorating Baking Soda Clay Ornaments
Baking Soda Clay: The Gift That Keeps on Giving
From personalized ornaments to charming handmade gifts, the possibilities with baking soda clay are endless. It’s a wonderful way to tap into your creativity, have fun with the whole family, and create beautiful, lasting works of art.
So what are you waiting for? Head to your kitchen, whip up a batch of this magical clay, and let your imagination soar! Don’t forget to share your creations with us in the comments below – we can’t wait to see what you come up with!
And for even more handmade gift ideas and artistic inspiration, be sure to explore the rest of the Robert Kline Art website. Happy crafting!
