Blog
Dyeing Fabric with Onion Skins: A Comprehensive Guide

By Robert Kline Art
Introduction: Unveiling the Magic of Natural Dyes
In the realm of art, inspiration often lies in the most unexpected places. As artists, we are constantly seeking ways to infuse our creations with unique and vibrant colors. And what could be more enchanting than harnessing the power of nature to dye our fabrics? In this comprehensive guide, we will embark on a colorful journey exploring the art of dyeing fabric with onion skins. Yes, you read that right! Those humble, papery layers we typically discard after cooking hold the key to unlocking a spectrum of beautiful, earthy hues.
 " data-load=
Gathering and Storing Onion Skins: From Kitchen Scrap to Artistic Treasure
The beauty of dyeing with onion skins lies in its simplicity and accessibility. Begin by designating a container, like a jar or bag, as your onion skin repository. Every time you use onions in your cooking, simply toss the dry, papery skins into your designated container. Avoid including any fleshy or wet pieces, as these can lead to mold growth.
Expert Tip: “I keep a separate bin for my compost and my onion skins. It helps to keep things organized and ensures that I am only using the driest skins for dyeing,” says renowned textile artist, Emily Carter.
 " data-load=
Preparing Your Fabric for Dyeing: The Foundation of Vibrant Color
Before we delve into the dyeing process, it’s crucial to prepare our fabric properly. This ensures optimal dye absorption and colorfastness.
1. Scouring: A Clean Slate for Your Fabric
Think of scouring as giving your fabric a deep clean. This process removes any dirt, oils, or residues that may hinder the dye’s ability to penetrate the fibers evenly.
Expert Tip: “Scouring is essential, even for brand new fabric. You’d be surprised how much residue can linger on seemingly clean textiles,” advises textile expert, Sarah Thompson.
2. Mordanting: Enhancing Dye Uptake and Colorfastness
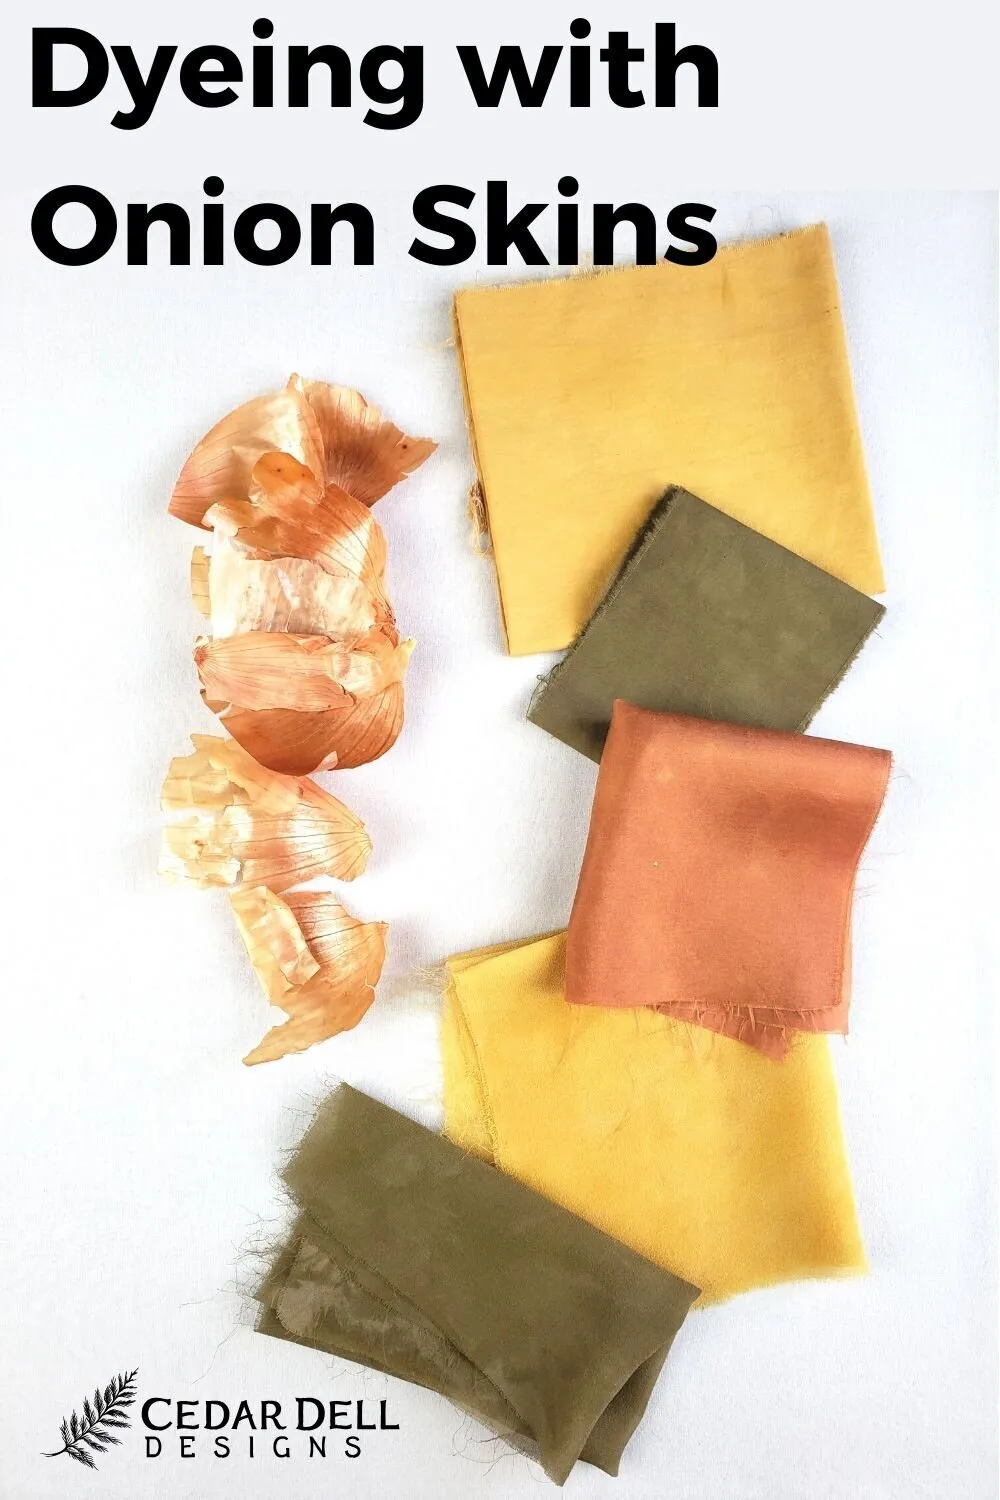
Mordanting involves treating the fabric with a substance that helps bind the dye molecules to the fibers, resulting in more vibrant and long-lasting colors. While silk and wool fibers don’t necessarily require mordanting with onion skins, using a mordant can yield a broader range of colors.
 " data-load=
Alum: A common mordant readily available in the spice aisle of most grocery stores. It imparts a beautiful yellow hue to silk and wool.
Iron (ferrous sulfate): Shifts the yellow and orange tones towards olive green, adding depth and complexity to your palette.
Cotton and Cellulose Fibers: For cotton, linen, hemp, and other plant-based fibers, aluminum acetate is the preferred mordant, ensuring optimal dye absorption.
 " data-load=
The Art of Dyeing with Onion Skins: Unleashing a Spectrum of Earthy Hues
Now comes the exciting part—transforming those humble onion skins into a vibrant dye bath!
1. Creating Your Dye Bath:
- Choose a dedicated dyeing pot (avoid using cookware used for food preparation).
- Add a generous amount of onion skins to the pot. The more skins you use, the more intense the resulting color.
- Cover the onion skins with water.
2. Dyeing Methods: Two Approaches for Unique Results
Method 1: Dyeing Fabric and Onion Skins Together:
- Add your prepared fabric directly to the pot containing the onion skins and water.
- Ensure there’s ample space for the fabric to move freely in the dye bath.
- Heat the mixture to a simmer, allowing the color to leach out of the skins and into the fabric.
- Simmer for 30-60 minutes, stirring occasionally to ensure even color distribution.
- For deeper, more saturated hues, leave the fabric in the dye bath overnight.
Note: This method may result in slightly uneven color distribution due to direct contact between the onion skins and fabric.
Method 2: Creating a Dye Bath and Then Adding Fabric:
- Follow the initial steps of Method 1 but do not add the fabric yet.
- Simmer the onion skins and water mixture, allowing the color to fully extract.
- Let the dye bath cool and strain out the onion skins.
- Add your prepared fabric to the strained dye bath, ensuring it has enough space to move freely.
- Gently heat the dye bath again to promote dye absorption.
Note: This method typically yields more uniform color results as the fabric doesn’t come into direct contact with the onion skins.
 " data-load=
Finishing Touches: Preserving Your Naturally Dyed Masterpieces
- Once you’ve achieved your desired color, carefully remove the fabric from the dye bath.
- Hang it to dry or rinse it immediately. Some of the dye may rinse off, which is normal.
- Soak the fabric in water and rinse thoroughly until the water runs clear.
- Gently wash the fabric according to its fiber content.
 " data-load=
Conclusion: Embracing the Art of Natural Dyeing
Congratulations! You’ve embarked on a journey of transforming ordinary onion skins into extraordinary works of art. As you continue your exploration of natural dyeing, remember that experimentation is key. Embrace the subtle variations and unique effects that nature provides.
 " data-load=
We encourage you to share your experiences and creations with us in the comments below. And be sure to explore the exquisite collection of handmade gifts available on Robert Kline Art, perfect for adding a touch of handcrafted beauty to your life or surprising someone special.
