Blog
The Joy of Crafting: Making Homemade Soap with Essential Oils

Hey there, fellow craft enthusiasts! Robert Kline here, and I’m absolutely thrilled to share my latest artistic endeavor with you: crafting homemade soap infused with the invigorating scents of essential oils. You might be thinking, “Homemade soap? That sounds complicated!” But trust me, it’s much simpler than you think, even for a beginner. I’m living proof!
A while back, I became increasingly aware of the countless, often unpronounceable, ingredients lurking in our everyday products. It sparked a desire to embrace a more natural approach, starting with something as fundamental as soap.
This journey led me to explore the world of soap making, and to my surprise, it turned out to be an incredibly rewarding experience. The ability to handcraft something so practical yet luxurious, with completely customizable scents and ingredients, is truly empowering.
Aromatic Adventures in Soap Making: My First Foray
For my inaugural soap-making adventure, I decided to craft three distinct varieties using a simple melt-and-pour method:
- Goatsmilk Soap with Valor and Oatmeal: This combination aimed for a soothing and gently exfoliating bar, perfect for sensitive skin.
- Shea Butter Soap with Peppermint: I envisioned this soap as a revitalizing morning pick-me-up, infused with the refreshing aroma of peppermint essential oil.
- Goatsmilk Soap with Honey, Oatmeal, and Christmas Spirit: This festive blend promised a warm, comforting scent, reminiscent of cozy holidays.
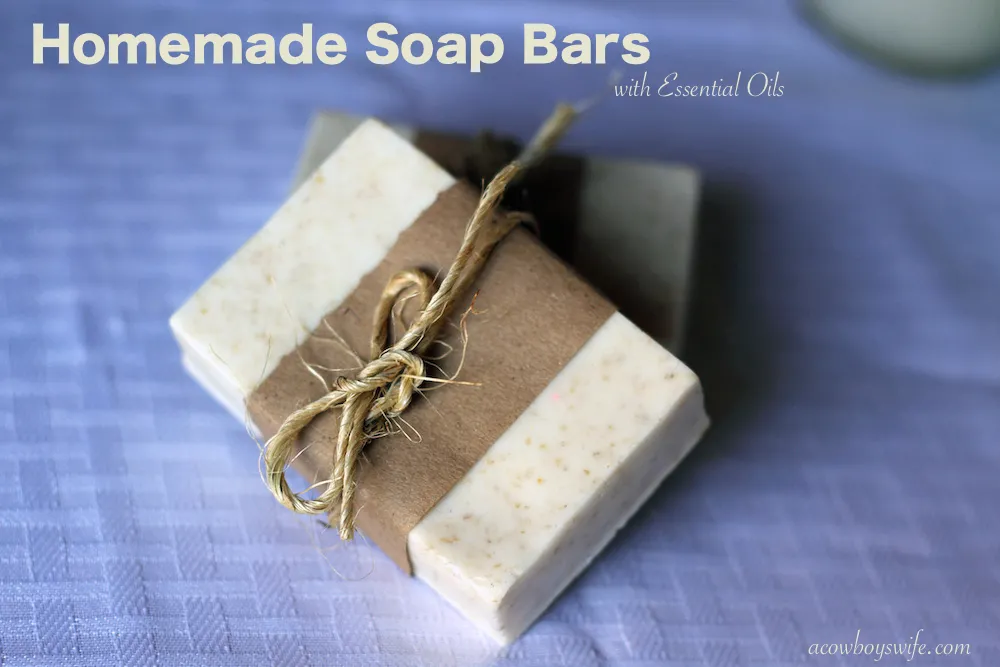
 Homemade Soap Bars with Essential Oils
Crafting Your Own Aromatic Masterpieces: Gathering Your Supplies
One of the aspects I love about soap making is its accessibility. You can find most of the necessary ingredients and supplies at your local craft stores or online. Here’s what you’ll need:
- Soap Base: Opt for a melt-and-pour base, like goatsmilk or shea butter, for ease of use.
- Essential Oils: Select your favorite essential oils to infuse your soaps with unique aromas and therapeutic benefits. Lavender, rosemary, and citrus oils are all popular choices.
- Vitamin E Oil: This acts as a natural preservative and adds a touch of moisture to your soap.
- Add-ins: Get creative with additional ingredients like oatmeal for gentle exfoliation, honey for extra moisture, or dried herbs for a touch of rustic charm.
- Soap Molds: Choose from a variety of shapes and sizes to suit your preference. Silicone molds are particularly convenient as they allow for easy release.
- Heat-safe Bowl and Spatula: For melting and mixing your soap base.
- Microwave or Double Boiler: To gently melt your soap base.
Step-by-Step Guide: Creating Your Own Handmade Soap
Now, let’s dive into the fun part – the actual soap making process!
- Prepare Your Workspace: Cover your work surface and gather all your materials.
- Melt the Base: Cut your soap base into small cubes and melt it using either a double boiler or the microwave. If using a microwave, heat in short bursts, stirring between each interval to ensure even melting.
- Infuse with Essential Oils: Once melted, remove from heat and stir in your chosen essential oils and vitamin E oil.
- Add Your Personal Touch: Now’s the time to incorporate any additional ingredients, like oatmeal, honey, or dried herbs.
- Pour and Set: Carefully pour your soap mixture into your chosen molds. Gently tap the molds on the counter to release any air bubbles.
- Cool and Unmold: Allow the soap to cool and harden completely. This usually takes several hours or overnight. Once set, gently pop the soap out of the molds.
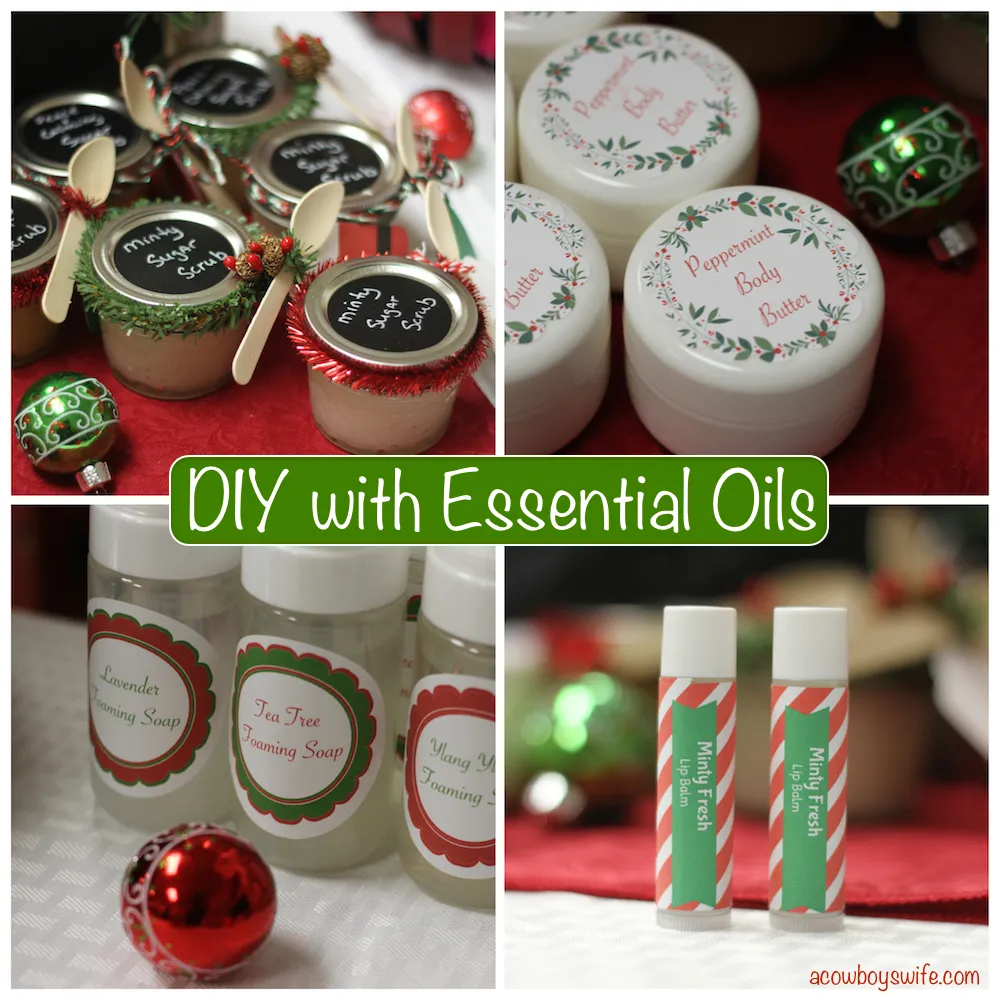
 DIY with essential oils
Tips for Crafting Exquisite Homemade Soap
- Essential Oil Concentration: Start with a few drops of essential oil per ounce of soap base and adjust to your liking. Remember, a little goes a long way!
- Coloring Your Creations: Add a drop or two of soap-safe coloring to create visually appealing soaps. Natural colorants like clays and spices can also be used.
- Creative Swirls and Layers: For a unique touch, experiment with swirling different colored soap batters together or layering them for a visually stunning effect.
- Curing Your Soap: Allow your soap to cure in a cool, dry place for 4-6 weeks to allow excess moisture to evaporate. This results in a harder, longer-lasting bar.
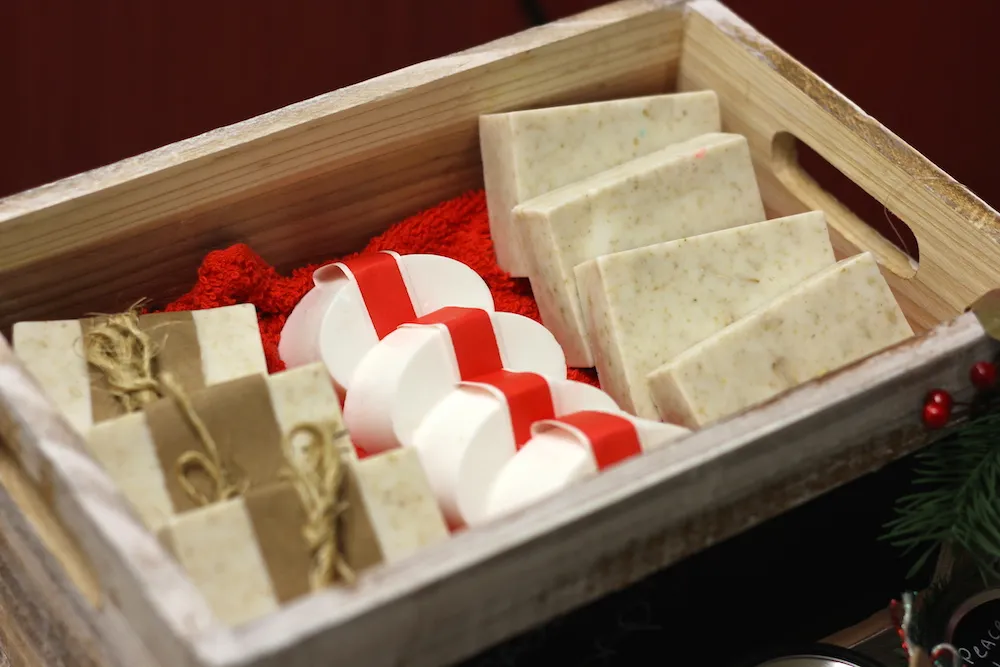
 DIY handmade Soap bars
The Gratifying Rewards of Crafting Homemade Soap
The true magic of crafting homemade soap lies not just in the final product but in the entire creative journey. It’s a process that engages the senses, sparks joy, and allows for endless personalization. Plus, there’s nothing quite like the satisfaction of using a bar of soap you’ve lovingly crafted by hand.
So, why not gather your supplies and embark on your own soap-making adventure? Trust me, it’s an experience you won’t soon forget!
And be sure to share your experiences and creations with me in the comments below! I’m always eager to connect with fellow craft enthusiasts and hear about your artistic endeavors.
If you’re looking for more handcrafted treasures and unique gift ideas, be sure to explore the wonderful selection available on Robert Kline Art.
