Blog
Unveiling the Art of Creamy Homemade Ricotta Cheese

Have you ever dreamt of crafting your own fresh, creamy ricotta cheese? That dream can be a delicious reality! This isn’t just a recipe; it’s an invitation to experience the magic of transforming simple ingredients into a culinary masterpiece. Let’s embark on this journey together, where I’ll guide you through each step, sharing my personal tips and insights. By the end, you’ll be savoring the fruits of your labor and wondering why you haven’t tried this sooner!
The Allure of Homemade Ricotta
Ricotta cheese, with its delicate texture and subtle tang, is a true culinary chameleon. Its versatility shines through in both sweet and savory dishes. Imagine biting into a slice of ricotta cheesecake, the creamy filling melting in your mouth, or twirling a forkful of ricotta cavatelli, each piece coated in a luscious tomato sauce.
Making your own ricotta isn’t just about the final product; it’s about the experience. It’s about feeling the warmth of the milk as it heats, witnessing the magical separation of curds and whey, and savoring the aroma of fresh, homemade goodness.
Gathering Your Ricotta-Making Arsenal
Before we dive in, let’s gather our ingredients and tools. Don’t worry; you won’t need a fancy cheese-making setup!
Ingredients:
- Whole Milk: Full-fat (3.25%) milk is key to achieving the perfect texture.
- Salt: A pinch enhances the flavor; adjust to your liking.
- Lemon Juice: The acidity works wonders in forming those beautiful curds. Regular lemons are ideal, as Meyer lemons lack the necessary acidity.
Tools of the Trade:
- Heavy-Bottomed Saucepan with Lid: Ensures even heating and prevents scorching.
- Wooden Spoon: Your trusty sidekick for stirring.
- Slotted Ladle: For gently transferring the curds.
- Bowl: To collect the whey.
- Strainer: To separate the curds.
- Cheesecloth: The traditional way to drain the ricotta, folded over multiple times.
- Ricotta Basket: A convenient alternative for draining.
Crafting Ricotta: A Step-by-Step Saga
-
Preparing the Draining Station: Line your colander with the dampened cheesecloth or place your ricotta basket over a bowl. This setup ensures you capture all the precious curds.
-
The Milk’s Transformation: In your saucepan, combine the milk and salt. Over medium heat, gently warm the milk to 185°F (85°C), stirring occasionally. If you don’t have a thermometer, look for steam, small bubbles around the edges, and a thin film forming on the surface.
-
The Magic of Curdling: Reduce the heat to low and slowly add your lemon juice (or white vinegar). Watch in awe as the milk transforms, forming delicate curds. Gently stir for about 2 minutes, then remove from the heat and let it rest, covered, for 20 minutes. This allows the curds to fully develop.
-
Straining for Success: Carefully ladle the curds and whey into your prepared colander or basket. The whey will drain into the bowl below. Did you know that “ricotta” means “recooked”? Traditionally, ricotta was made using the leftover whey from other cheese production.
-
Finding Your Perfect Consistency: The draining time determines your ricotta’s texture. For a creamier ricotta, drain for 3-5 minutes. If you prefer a firmer texture, suitable for cheesecake or stuffed pasta, drain for at least 20 minutes.
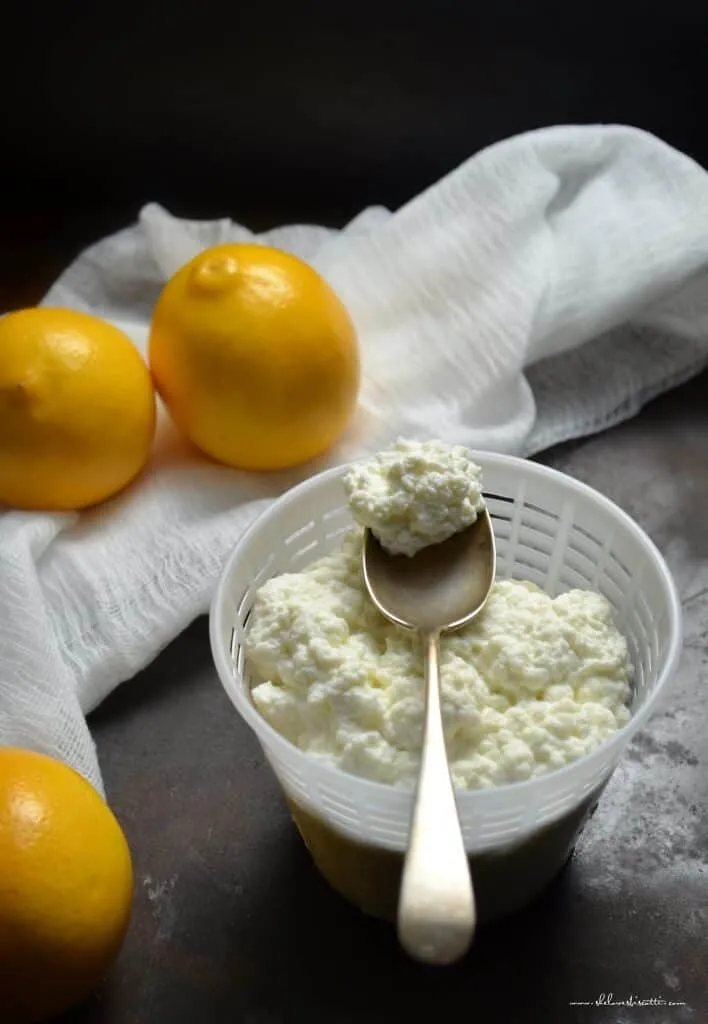
 A spoonful of fresh homemade ricotta cheese placed on a cheese basket surrounded by lemons.
Tips from My Ricotta Journey
- For a richer ricotta, substitute 1-2 cups of milk with cream.
- White vinegar can replace lemon juice, especially for savory dishes.
- Ultra-pasteurized milk won’t work for this recipe, so check your labels carefully.
- Enjoy your homemade ricotta immediately or store it, covered, in the refrigerator for up to 3 days.
Exploring the World of Whey
Don’t discard that leftover whey! It’s a treasure trove of nutrients and flavor. Use it to enrich your bread, pizza dough, pasta sauces, or even soups.
The Question of Freezing
While ricotta is best enjoyed fresh, you can freeze it for later use. However, freezing can slightly alter the texture, making it crumblier. To freeze, store in an airtight container for up to 3 months. Thaw overnight in the refrigerator and mix well before using.
Embracing the Art of Homemade
Making your own ricotta cheese is a journey of discovery, a celebration of simple ingredients, and a testament to the joy of handcrafted food. At Robert Kline Art, we believe that creativity extends beyond paint and clay. It’s about infusing every aspect of life, even our kitchens, with passion and artistry.
So, gather your ingredients, roll up your sleeves, and experience the magic of making your own ricotta. Share your creations, your stories, and your newfound love for this versatile cheese. And remember, the most important ingredient is always a dash of creativity and a whole lot of heart!
