Blog
The Ultimate Guide to Making Delicious Homemade Nut Milk
Hey there, fellow art enthusiasts! Robert Kline here, and today we’re diving into a different kind of art – the art of crafting delicious homemade nut milk. Just like mixing paint to find the perfect hue, blending nuts and water creates a canvas of creamy goodness. Trust me, once you experience the fresh, vibrant flavors of homemade nut milk, you’ll never go back to the store-bought kind!
Why Choose Homemade Nut Milk?
You might be wondering, why go through the effort when I can easily buy a carton at the grocery store? Let me tell you, the difference in taste and quality is astounding.
Homemade nut milk is:
- Fresher: You control the ingredients and the process, ensuring a purer, more flavorful milk.
- Healthier: Skip the preservatives, additives, and thickeners often found in commercial brands.
- Tastier: Flash pasteurization, a common process used to extend shelf life in store-bought nut milks, can leave a slightly bitter aftertaste. Homemade milk retains the natural sweetness and subtle nuances of the nuts.
- Customizable: Adjust the creaminess, add flavors like vanilla or cinnamon, or experiment with different nut combinations to create your signature blend.
Ready to embark on this delicious journey? Let’s get started!
Gathering Your Tools and Ingredients
Just like any art project, you’ll need the right tools. For homemade nut milk, gather the following:
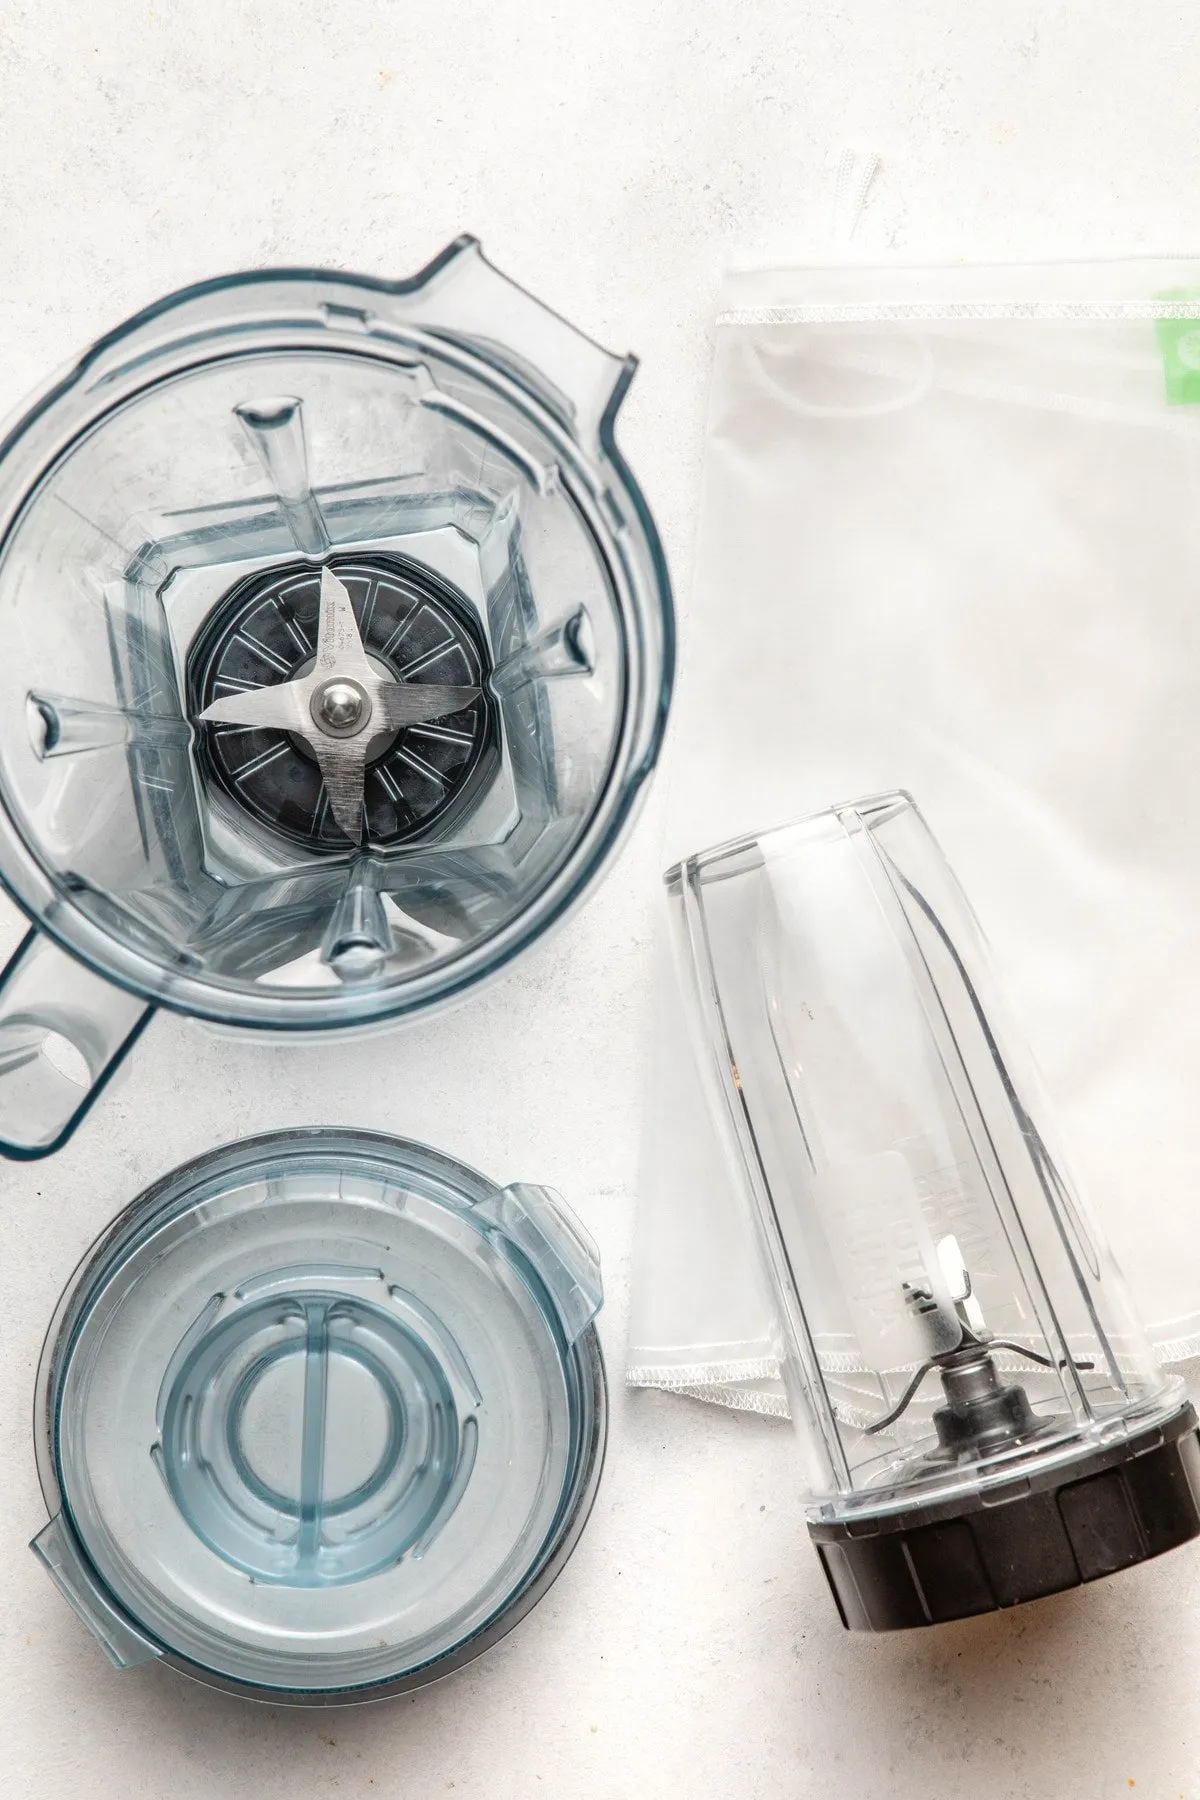
- High-speed blender: A Vitamix or Blendtec works best, but a bullet-style blender can also do the trick for some nuts and seeds.
- Fine-mesh nut milk bag: This is essential for straining and achieving that smooth, creamy texture.
- Mason jar funnel and glass jars: Optional, but make storing your homemade milk a breeze.
- Nuts or seeds of your choice: Opt for unsalted, raw, and organic whenever possible for the best flavor and nutritional value.
 A blender, nut milk bag, and bullet blender on white background
A word about nuts:
While raw nuts are generally recommended, you can experiment with lightly toasting some varieties like pecans, hazelnuts, or coconut to enhance their flavor. Just be mindful of the roasting process as excessive heat can diminish their nutritional value.
The Art of Soaking (Optional but Beneficial)
Soaking your nuts isn’t strictly necessary, especially with a powerful blender. However, it offers several benefits:
- Improved Digestibility: Soaking breaks down enzyme inhibitors and phytic acid, which can hinder nutrient absorption.
- Enhanced Flavor: Some nuts develop a sweeter, more pronounced flavor after soaking.
- Creamier Texture: Soaking helps soften the nuts, resulting in a smoother milk.
To soak, simply cover your chosen nuts with twice the amount of water and refrigerate for 4 to 12 hours. Remember to rinse them thoroughly before blending.
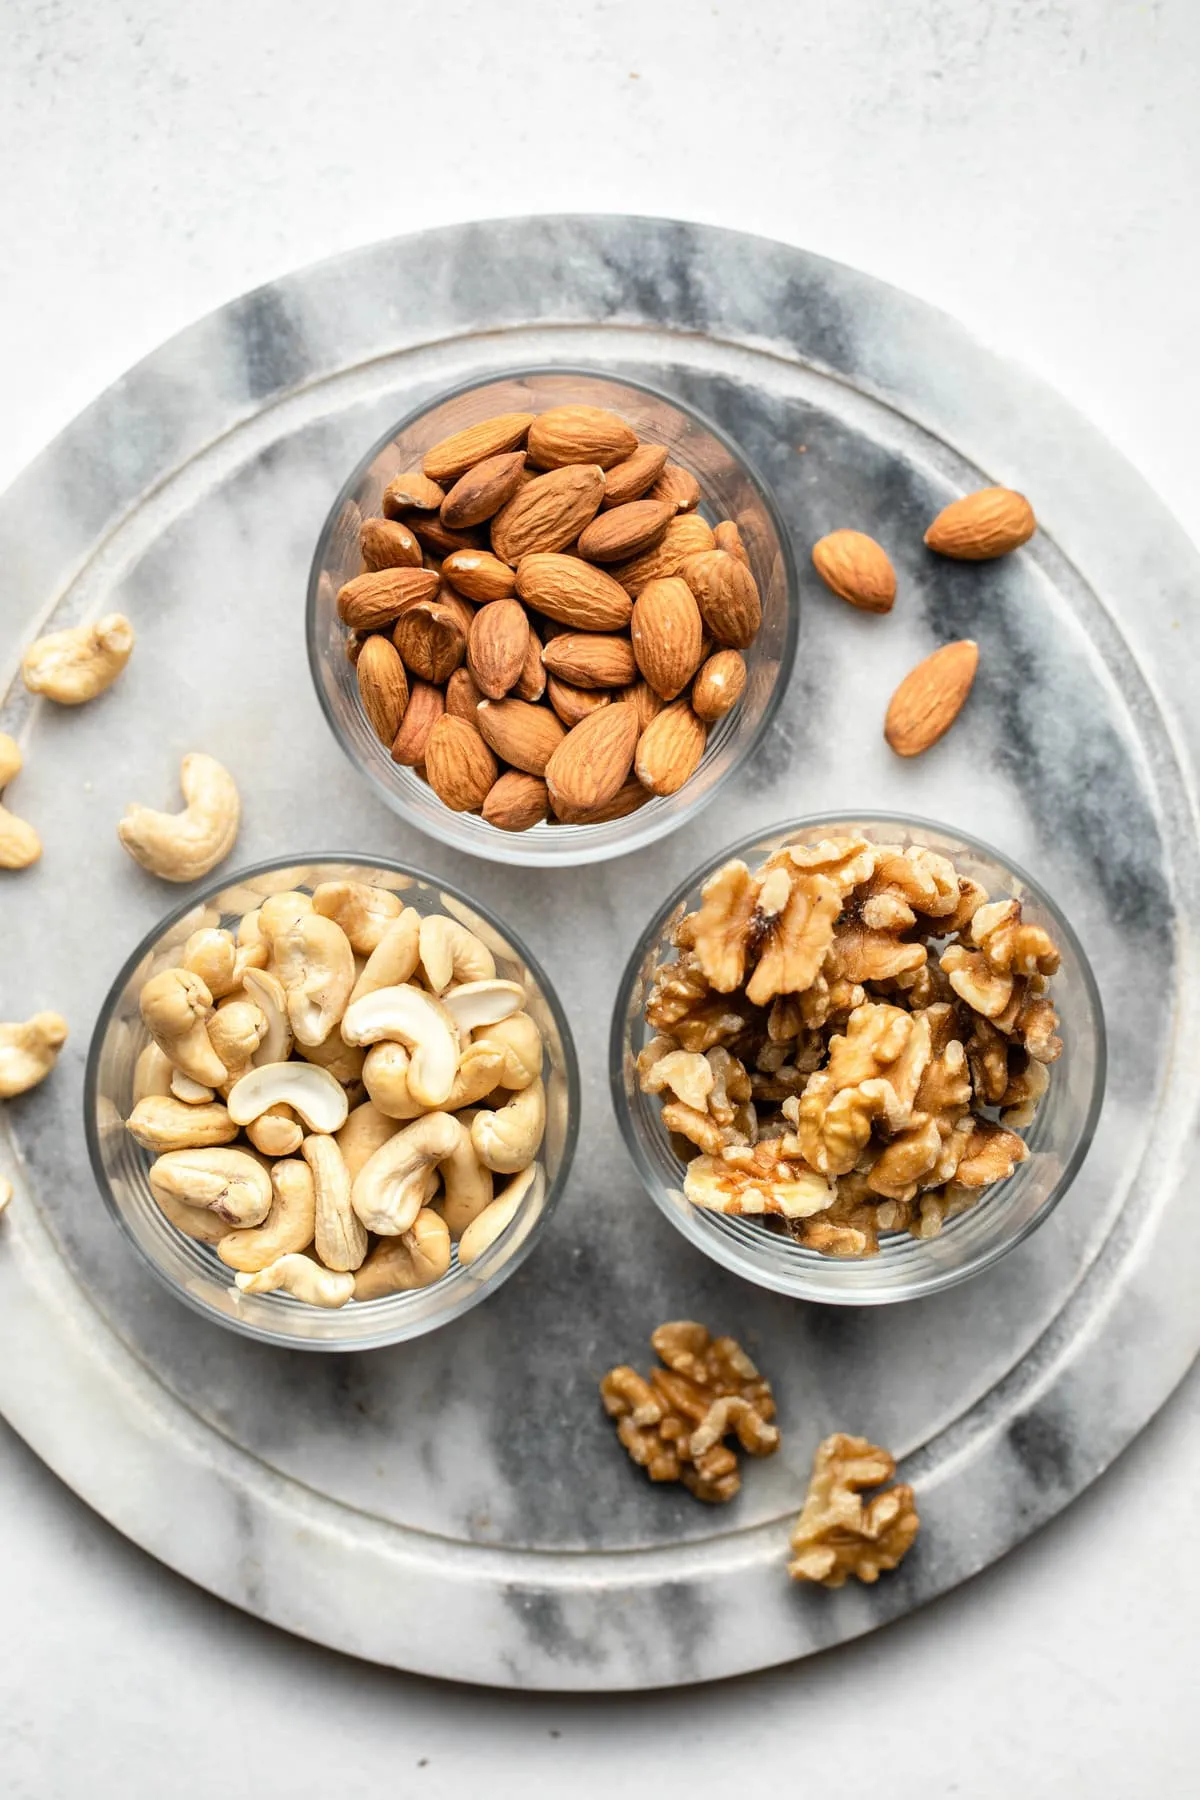 Glass bowls of almonds, walnuts, and cashews
Creating Your Masterpiece: The Blending Process
Now for the fun part – transforming those humble nuts into liquid gold!
- Combine and Blend: Add your chosen nuts or seeds, water, and a pinch of salt to your blender. Start with a ratio of 1/2 cup nuts to 4 cups water for a creamy consistency similar to store-bought milk. You can adjust this ratio based on your preference.
- Blend it Up: Secure the lid tightly and blend on high speed for about 90 seconds or until the mixture is smooth and frothy.
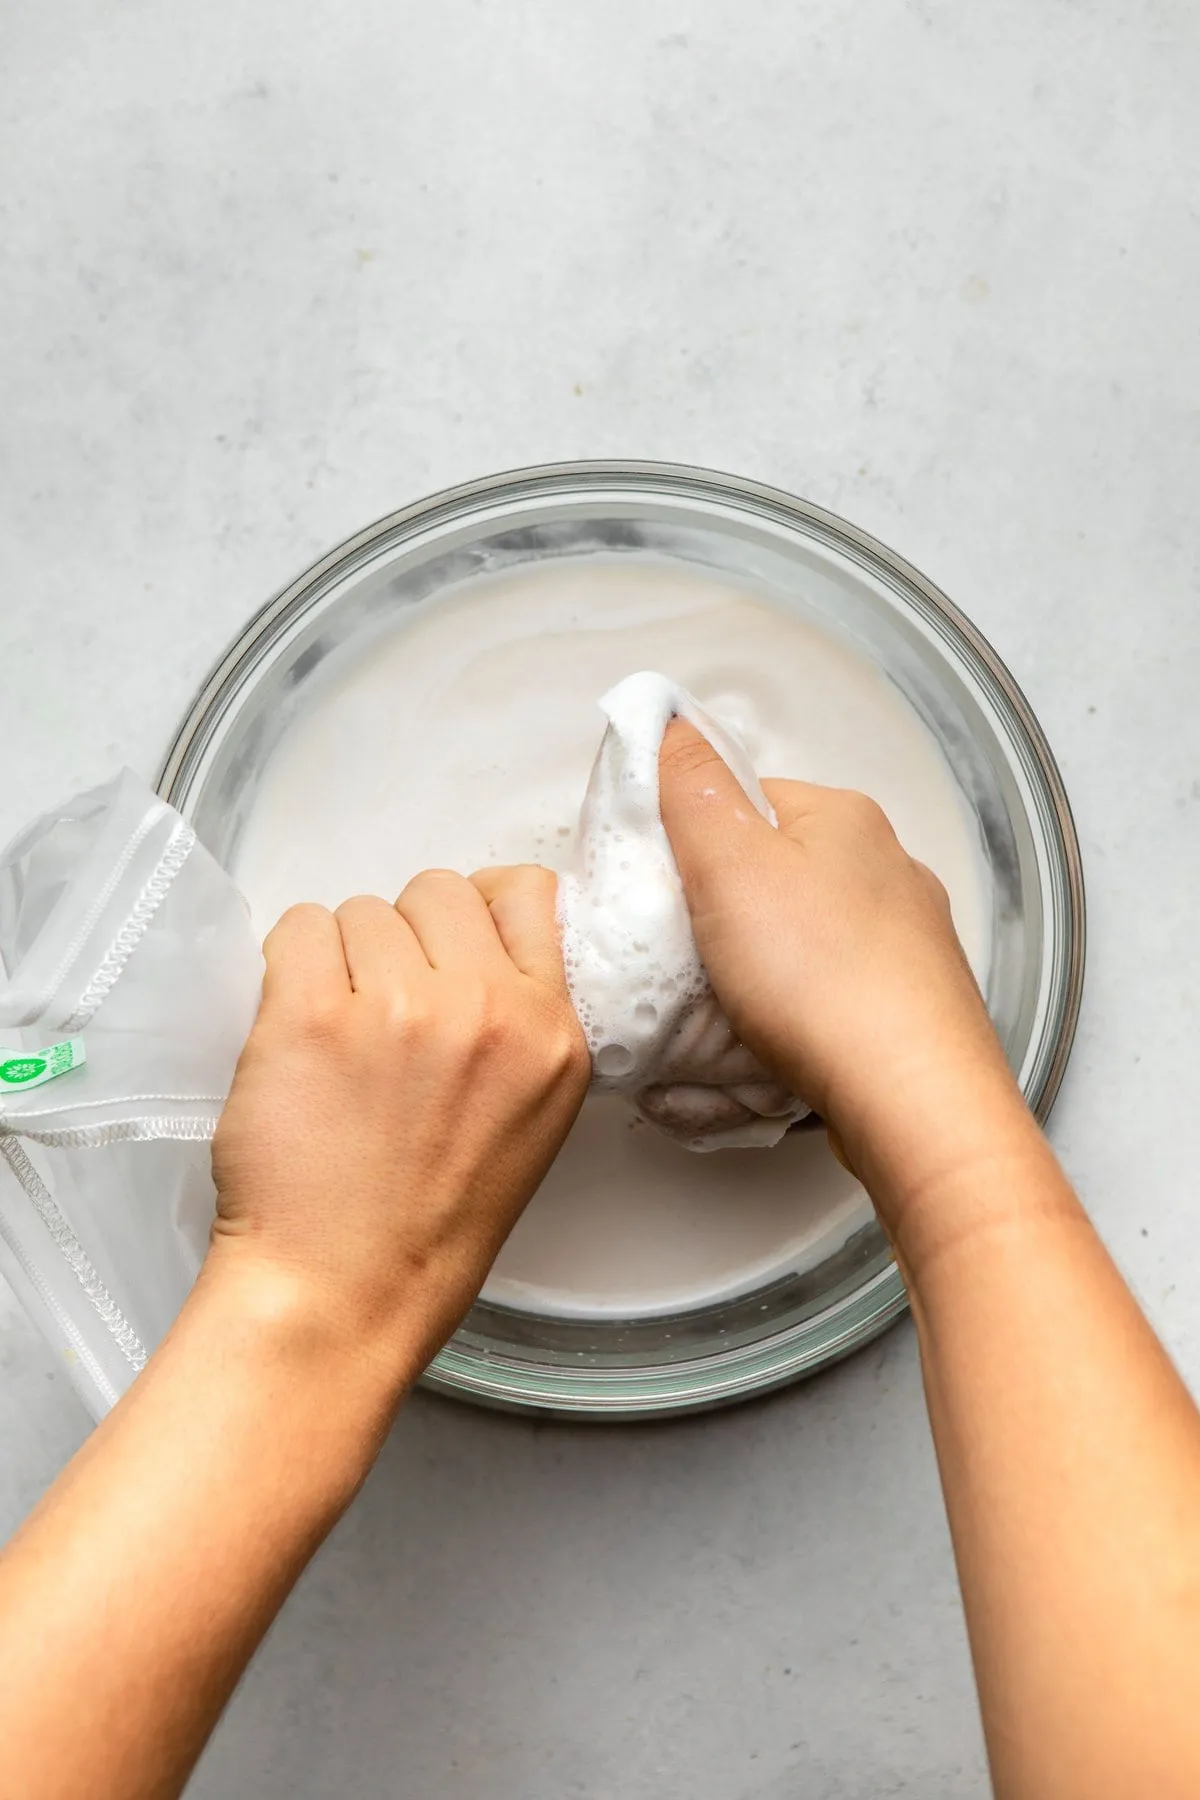 Hands twisting nut milk bag and straining into large glass bowl
The Finishing Touch: Straining for Smoothness
Straining is crucial for achieving that silky-smooth texture we all love.
- Nuts with Tough Skins: Almonds, hazelnuts, pistachios, brazil nuts, and walnuts benefit from straining as their skins can create a gritty texture.
- Softer Nuts: Pecans, macadamia nuts, and peanuts can be strained for a smoother result, but their pulp is generally finer and might be acceptable to some.
- Skip the Straining: Cashews, pumpkin seeds, and hemp hearts blend so finely that straining is unnecessary.
To strain, simply place your nut milk bag over a bowl and pour in the blended mixture. Gently squeeze the bag to extract all the liquid. Don’t discard that precious nut pulp! It’s packed with nutrients and can be used in various recipes like cookies, crackers, or added to smoothies for a nutritional boost.
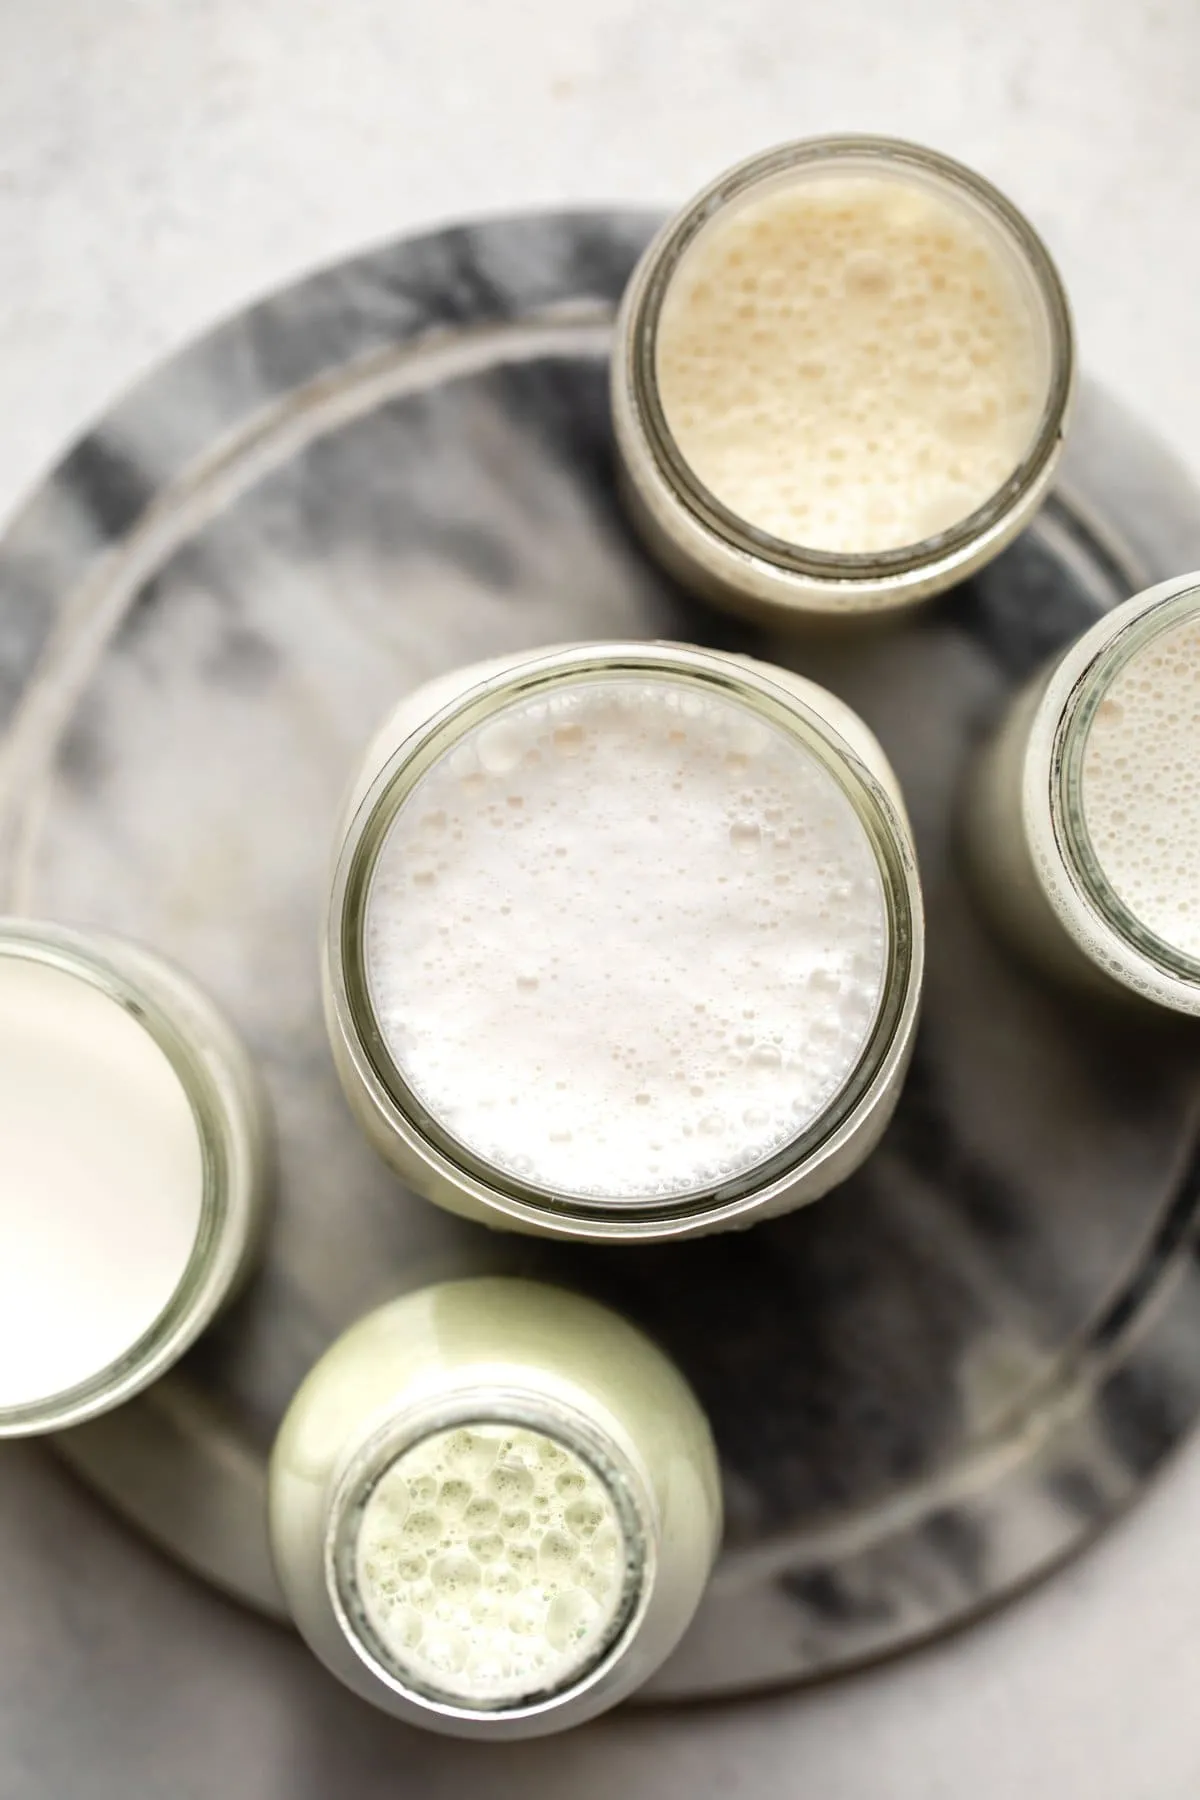 5 different jars of frothy nut milks
Storing and Enjoying Your Creation
Pour your freshly made nut milk into a glass jar with a tight-fitting lid. Homemade nut milk can be stored in the refrigerator for up to 5 days.
Remember to give it a good shake before each use as separation is natural.
A World of Flavors Awaits: Exploring Different Nuts and Seeds
Now that you’ve mastered the art of making nut milk, let your creativity flow! Each nut and seed variety brings a unique flavor profile to the table.
Here’s a quick rundown of some popular choices:
- Almonds: Offer a neutral, versatile flavor.
- Cashews: Naturally sweet and creamy, perfect for both sweet and savory dishes.
- Hazelnuts: Subtly sweet with a hint of chocolatey richness.
- Macadamia Nuts: Buttery and indulgent with a slightly sweet finish.
- Pecans: Toasty and buttery, reminiscent of warm baked goods.
- Walnuts: Earthy and subtly bitter, best for savory applications or adding depth to desserts.
Don’t shy away from experimenting with nut-free options like:
- Hemp Seeds: Mildly nutty and earthy, a great all-around option.
- Pumpkin Seeds: Offer a subtly sweet and earthy flavor.
- Coconut: Provides a distinctly tropical and refreshing taste.
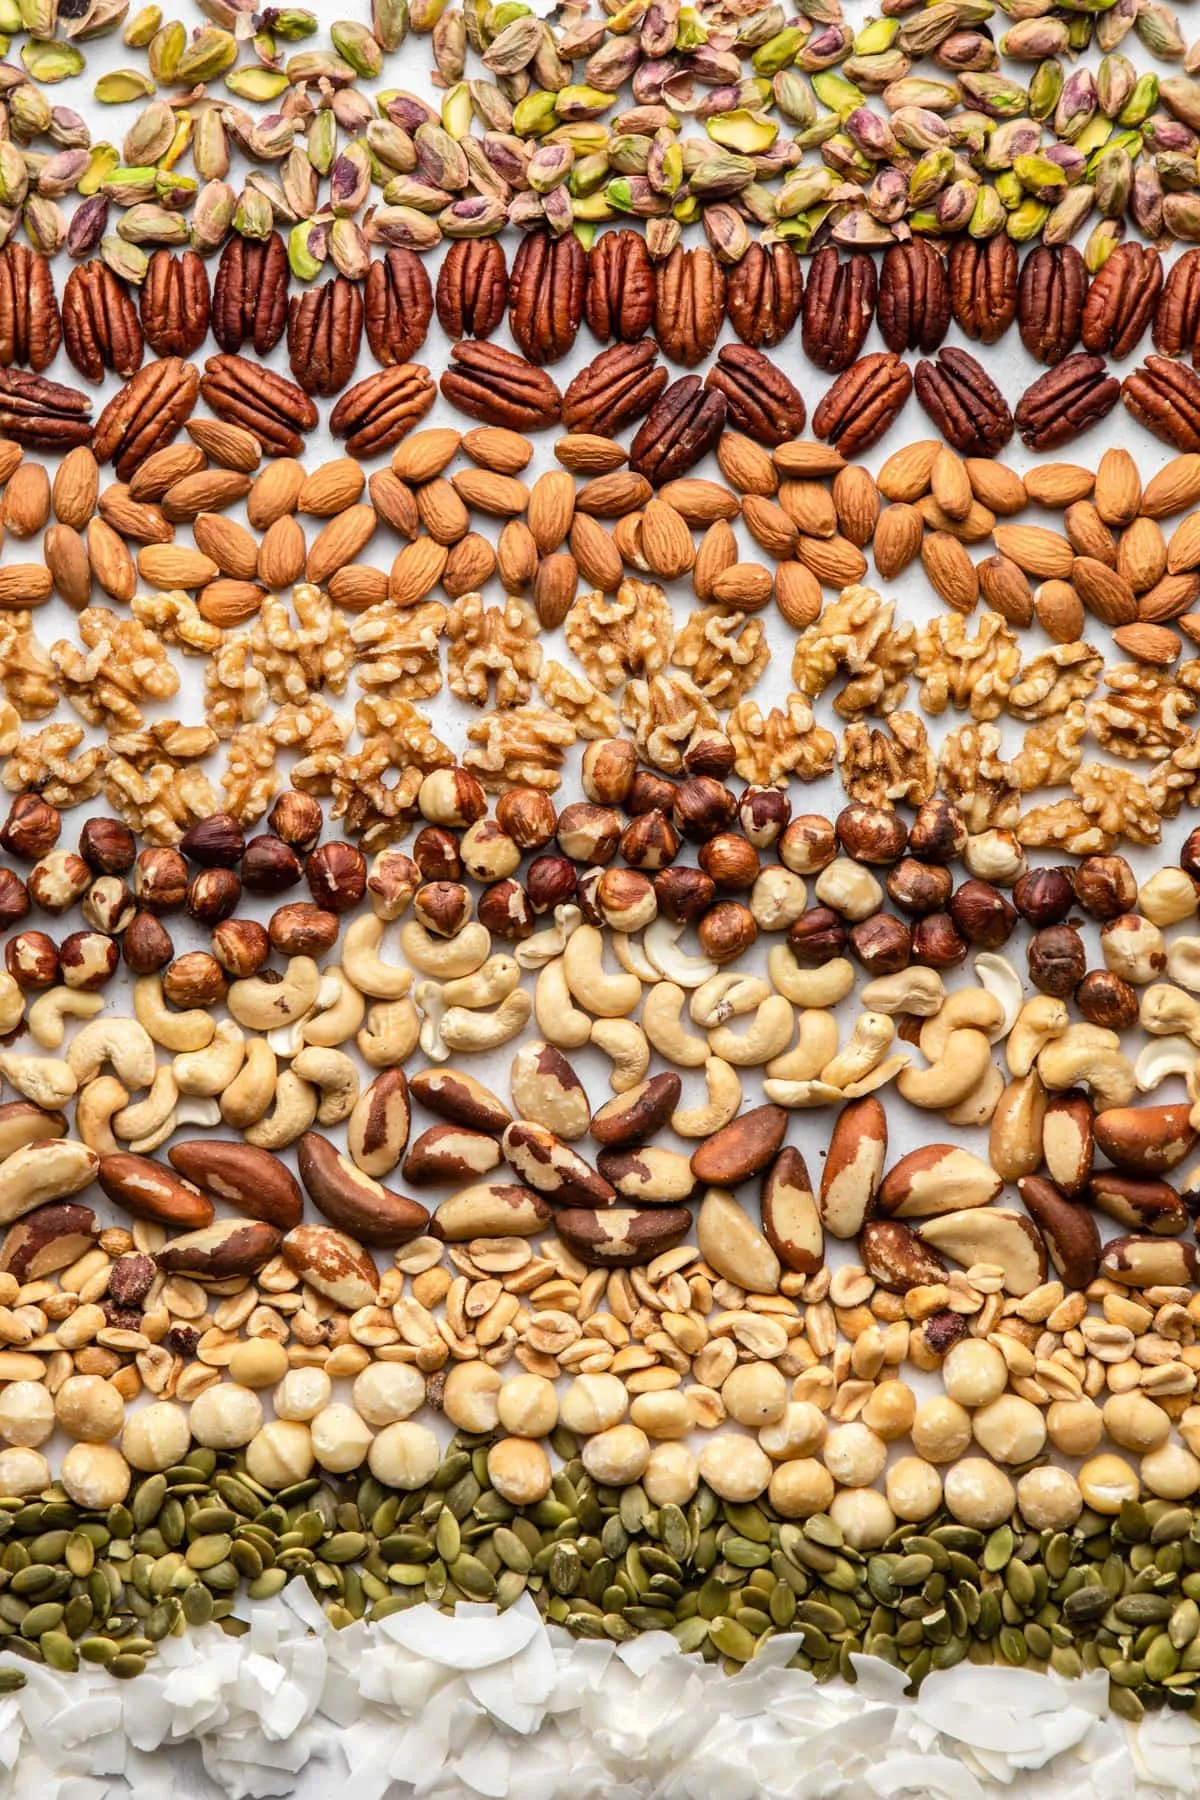 collage of nuts and seeds on white background
Robert Kline Art: Encouraging Your Inner Artist
Making homemade nut milk is more than just following a recipe, it’s about exploring flavors, experimenting with textures, and discovering new favorites. Just like art, it’s a journey of creativity and personal expression.
So, unleash your inner artist and start blending your way to a world of deliciousness!
What are your favorite nut milk combinations? Share your creations and experiences in the comments below. And for more handcrafted inspiration, be sure to explore the unique treasures on the Robert Kline Art website!
