Blog
The Joys of Making Your Own Natural Lip Balm

For years, I’ve been a passionate advocate for handmade creations, and crafting my own natural lip balm has become a cherished ritual. This journey began when I noticed my go-to “healthy” lip balm brand had added soy and canola oil to their formula – a big no-no for me! That’s when I decided to take matters into my own hands and haven’t looked back since.
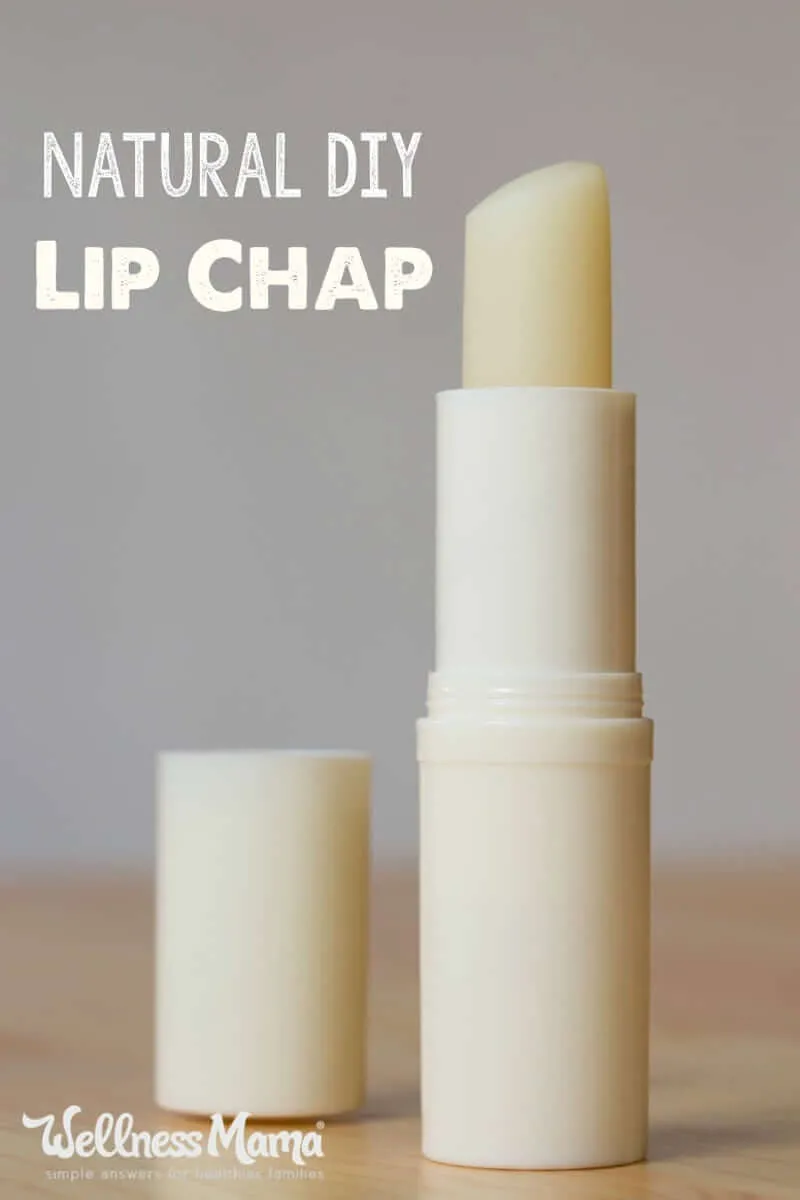
This homemade lip balm recipe is incredibly easy, requiring just a handful of natural ingredients. The result? A deeply moisturizing and hydrating balm that combats dry lips all year round.
Why DIY Lip Balm?
Beyond the satisfaction of creating something with your own hands, making your own lip balm offers a world of benefits:
- Control Over Ingredients: You choose what goes on your lips, ensuring it aligns with your values and sensitivities.
- Customization: The possibilities are endless! Tailor the scent, color, and texture to your liking.
- Cost-Effective: DIY lip balm is surprisingly budget-friendly, especially when compared to organic store-bought options.
- Thoughtful Gifts: Share your creations with loved ones – they make fantastic presents for any occasion.
 This lip chap is easy to make and completely natural. There are endless variations and you can use the same ingredients to make many other recipes!
Essential Ingredients for Luscious Lips
The beauty of this recipe lies in its simplicity. Here’s what you’ll need:
Base Ingredients:
- Beeswax: This natural wax provides a protective barrier and helps to solidify the balm.
- Coconut Oil: A nourishing and moisturizing oil that’s solid at room temperature, adding firmness to the balm.
- Cocoa Butter: Deeply moisturizing and adds a luxurious feel. You can substitute shea butter or mango butter if desired.
Enhancing the Experience:
- Essential Oils: These aromatic powerhouses add a therapeutic touch. Opt for lip-safe options like peppermint, sweet orange, lavender, or frankincense.
- Vitamin E Oil: A natural preservative that extends the shelf life of your lip balm (optional).
Creating Your Lip Balm Masterpiece
- Melt and Combine: Create a double boiler by placing a heat-safe jar in a pot of simmering water. Add the beeswax, coconut oil, and cocoa butter, stirring until fully melted.
- Infuse with Scent: Once the mixture is melted, remove from heat and stir in your chosen essential oils.
- Pour and Set: Carefully pour the liquid balm into lip balm tubes or small containers. Allow the balm to cool and harden completely.
Tips and Tricks for Lip Balm Perfection
- Consistency is Key: Adjust the beeswax amount to control the firmness of your balm. More beeswax yields a firmer balm, while less creates a softer texture.
- Exploring Carrier Oils: Experiment with other liquid oils like olive, avocado, or jojoba oil for a personalized touch.
- Essential Oil Safety: Always research essential oils before using them on your lips. Some oils can be irritating or cause photosensitivity.
- Creative Containers: Repurpose small jars, tins, or even empty lip balm tubes to store your creations.
Conclusion
Making your own natural lip balm is a rewarding and enjoyable experience. It’s a chance to unleash your creativity, prioritize natural ingredients, and craft something truly special.
So, gather your supplies, embrace the process, and enjoy the satisfaction of creating your own lip-loving masterpieces. Don’t forget to share your experiences and favorite flavor combinations in the comments below!
Ready to explore more handmade treasures? Discover a curated collection of unique and heartfelt craft gifts on the Robert Kline Art website.
