DIY Natural Hair Conditioner: Embrace Soft, Tangle-Free Hair

Hey there, fellow art enthusiasts and DIY lovers! Robert Kline, your trusted guide in the world of crafting, here. Today, we’re diving headfirst into the fascinating realm of homemade beauty products with an easy DIY hair conditioner recipe. Get ready to transform your hair care routine using natural ingredients that will leave your hair feeling soft, manageable, and simply fabulous.
The Allure of Homemade Conditioner
Why go homemade when store shelves are overflowing with hair products? Well, let me enlighten you with a few compelling reasons:
Ingredient Control:
As artists, we crave control over our creations, and the same principle applies to what we put on our bodies. Making your own hair conditioner empowers you to ditch the questionable chemicals and embrace natural, wholesome ingredients.
“I always tell my students that knowledge is power,” remarks renowned beauty expert Sarah Thompson. “Understanding the ingredients in your hair products gives you the power to make healthier choices for yourself and the environment.”
Cost-Effectiveness:
Let’s face it, those fancy-schmancy hair products can put a serious dent in your crafting budget. By concocting your own conditioner, you’re essentially crafting liquid gold without the hefty price tag. That means more funds for art supplies!
Sustainable Living:
Reducing our environmental footprint is more crucial than ever. Opting for homemade conditioner allows you to repurpose containers or utilize eco-friendly packaging options, minimizing waste and contributing to a greener planet.
Unveiling the Magic Ingredients
This DIY hair conditioner is like a simple yet elegant sculpture, crafted with just a handful of key ingredients:
The Power of BTMS
At the heart of our conditioner lies the remarkable BTMS, short for Behentrimonium Methosulfate. Derived from rapeseed oil, this cationic emulsifier is a true hair hero. It conditions, detangles, and imparts a silky-smooth feel, making it ideal for both rinse-out and leave-in conditioners.
Think of BTMS as the binding agent in a mosaic, holding all the other elements together to create a cohesive and beautiful final product.
The Oil Phase: Nourishment and Shine
We’ll be infusing our conditioner with the nourishing goodness of argan oil. Renowned for its emollient properties, argan oil adds shine and combats frizz, leaving your hair looking healthy and vibrant.
Feel free to explore other hair-loving oils like jojoba, coconut, or avocado oil to customize your blend.
The Water Phase: Hydration is Key
Water is the lifeblood of our conditioner, providing essential hydration to thirsty strands. Distilled water is the preferred choice as it’s free from impurities that can compromise the quality of our homemade concoction.
To elevate the sensory experience, consider incorporating floral waters like rose or lavender water. They impart a delicate fragrance while offering potential therapeutic benefits.
Preserving the Goodness
Since our conditioner contains water, it’s susceptible to bacterial growth, which can shorten its shelf life and potentially lead to unwanted issues. To combat this, we’ll be adding a natural preservative.
Rest assured, we’re not talking about harsh chemicals here. Many natural preservatives, like those approved by Ecocert, effectively keep your conditioner fresh and safe to use for several months.
Crafting Your Natural Hair Conditioner
Gather your artistic spirit and let’s embark on this crafting adventure!
 Take control of the ingredients that go into your hair products by making them at home. This easy, DIY hair conditioner uses natural ingredients to leave your hair feeling soft and tangle free, and is light enough to use as a leave-in conditioner too.
You will need:
- Immersion blender
- Silicone travel tubes or a pump bottle
- Double boiler insert
- Distilled water
- BTMS
- Glycerin
- Argan oil (or your preferred oil blend)
- Natural preservative (e.g., Sharomix 705)
- Lavender essential oil (or your favorite essential oil)
Instructions:
-
Sanitize: Begin by sanitizing your work area, utensils, and containers to prevent contamination.
-
Heat the Phases: In separate heat-safe containers, gently heat the water phase (water, glycerin) and the oil phase (oil, BTMS) using a double boiler.
-
Combine and Emulsify: Once the BTMS has fully melted, slowly pour the hot water phase into the hot oil phase while continuously stirring with your immersion blender. Continue blending until the mixture thickens and becomes emulsified.
-
Cool and Add Delicates: Allow the mixture to cool down to around 90°F (30°C) before incorporating heat-sensitive ingredients like the preservative and essential oil.
-
Check pH: Using pH strips, test the acidity of your conditioner. The ideal pH range for hair is between 4.5 and 5. Adjust if needed using lactic acid (to lower pH) or a solution of sodium hydroxide (to raise pH).
-
Bottle and Enjoy: Pour your freshly made conditioner into your chosen containers. To prevent condensation, avoid capping the bottles until the conditioner has completely cooled to room temperature.
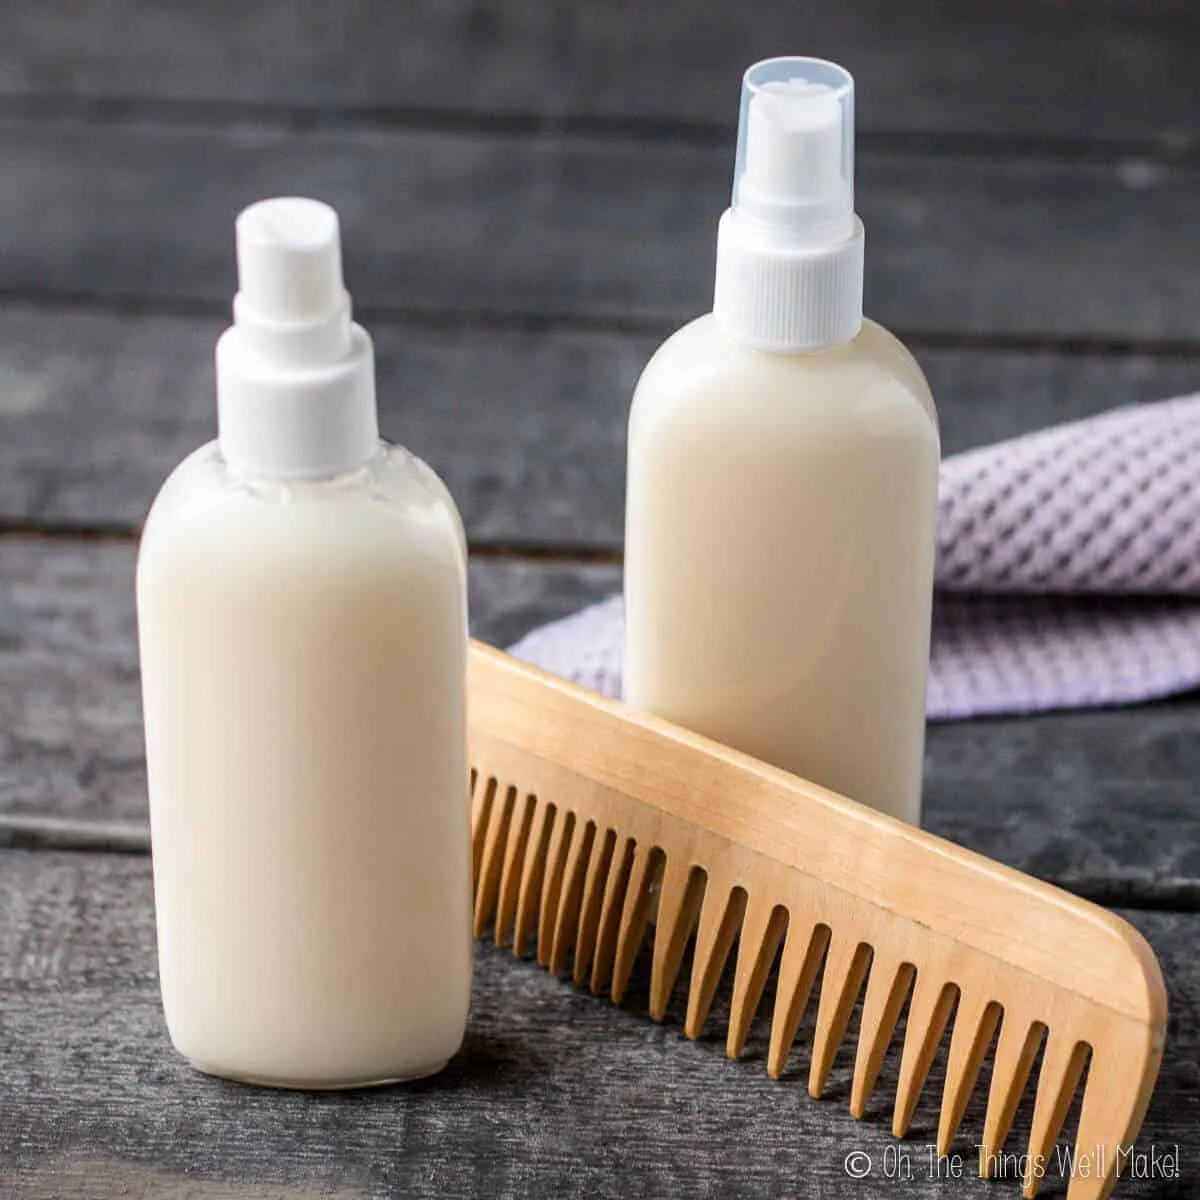
 Two bottles of a homemade conditioner next to a wooden comb and a washcloth.
Exploring the Versatility of Your DIY Conditioner
This DIY hair conditioner is incredibly versatile, catering to various hair needs and preferences:
Rinse-Out Conditioner:
Apply a generous amount to clean, damp hair, focusing on the mid-lengths and ends. Let it work its magic for a few minutes before rinsing thoroughly.
Leave-In Conditioner:
For added moisture and manageability, apply a small amount to towel-dried hair, focusing on the ends. Style as usual.
Cleansing Conditioner (Co-Wash):
Gently massage a generous amount onto your scalp and hair. Rinse thoroughly, repeating if necessary. Remember, not all hair types benefit from co-washing.
Embracing the Art of Customization
Like any good work of art, this DIY hair conditioner recipe is open to interpretation and customization!
-
Oil Variations: Experiment with different oils like jojoba, coconut, avocado, or even shea butter to find the perfect blend for your hair type.
-
Herbal Infusions: Add a therapeutic touch by incorporating herbal infusions into the water phase. Chamomile, calendula, and nettle are excellent choices.
-
Nourishing Boosters: Enhance your conditioner with additional nourishing ingredients like aloe vera gel, d-panthenol, or silk protein.
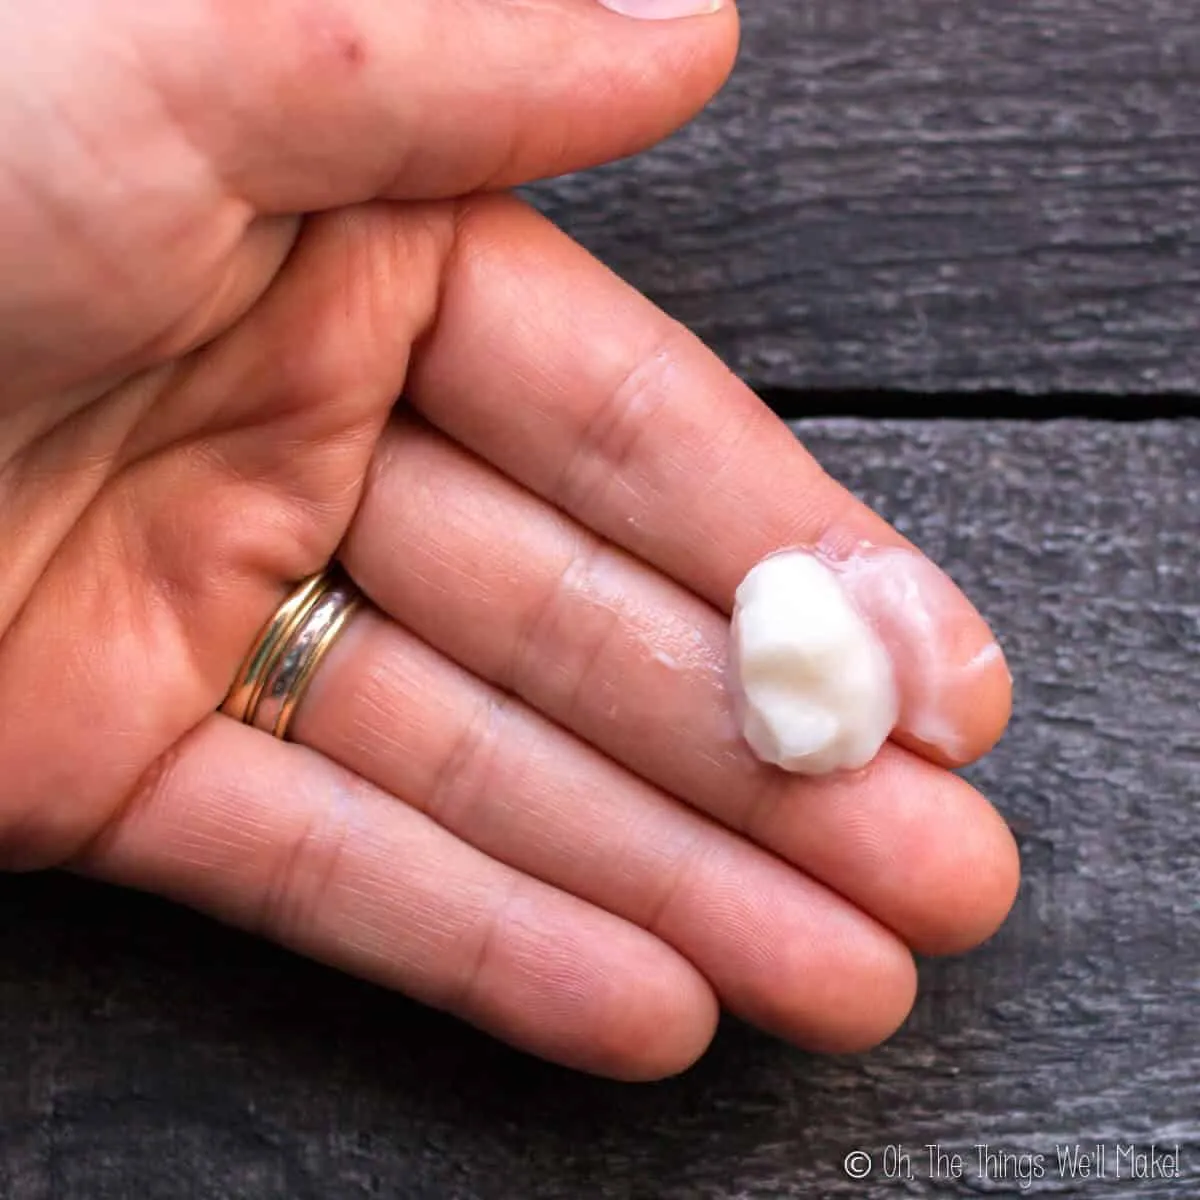
 A dab of homemade conditioner in a person's hand
Final Thoughts on Your DIY Journey
As with any artistic endeavor, crafting your own hair conditioner is a journey of experimentation, discovery, and endless possibilities. Don’t be afraid to adjust the recipe, try new ingredients, and personalize it to your liking.
Remember, the most beautiful creations are often those crafted with love, care, and a dash of creative flair.
I’d love to hear about your experiences with this DIY natural hair conditioner! Share your results, variations, and any questions you might have in the comments below.
And as always, keep exploring the beautiful world of handmade creativity with Robert Kline Art!
P.S. Looking for more unique handmade gifts for your loved ones? Explore the exquisite selection of handcrafted treasures on our website!
