Blog
Indulge Your Skin with Luxurious Homemade Natural Body Butter

As an artist, my hands are my tools. And just like any tool, they deserve the best care! That’s why I’m so passionate about using natural, homemade products, especially body butter. There’s nothing quite like slathering on a dollop of rich, creamy body butter after a long day. It’s a luxurious treat for your skin, leaving it feeling soft, supple, and oh-so-touchable.
But here’s the thing: store-bought body butters can often be loaded with chemicals and artificial ingredients that you might not want to put on your skin. The better alternative? Making your own!
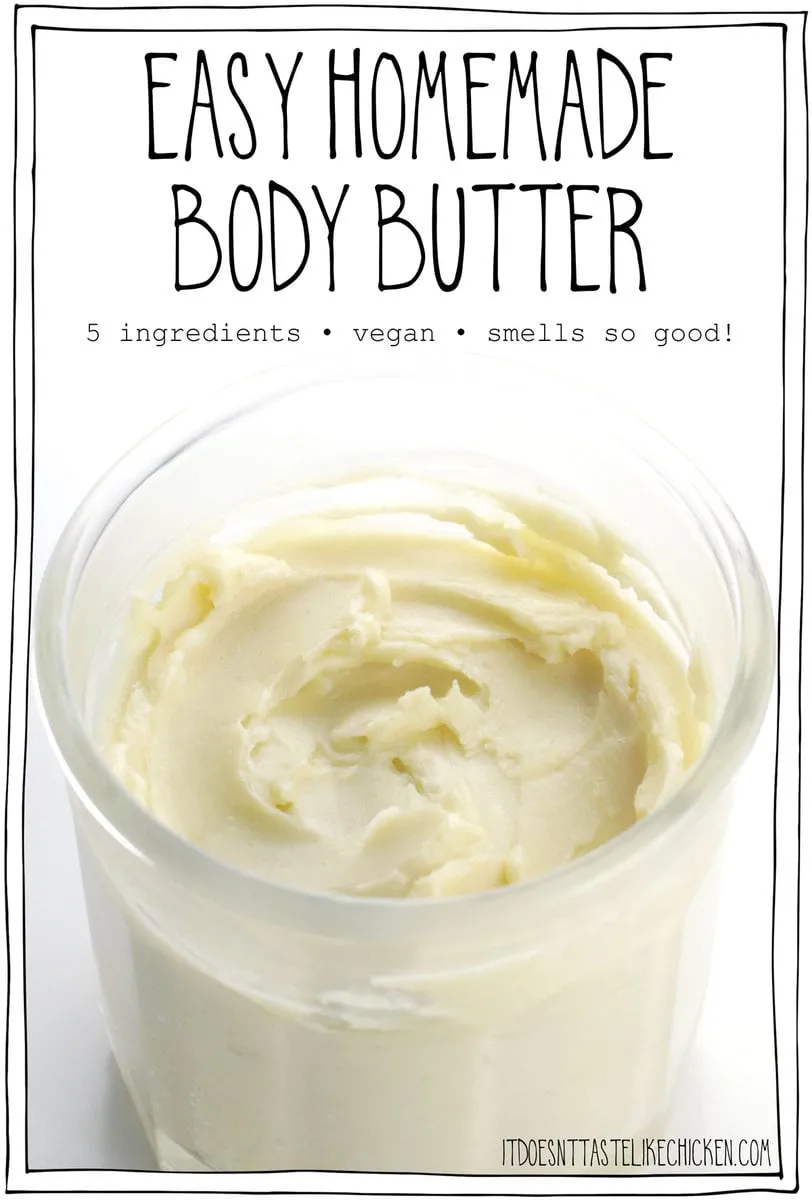
Today, I’m excited to share my tried-and-true recipe for homemade natural body butter. It’s surprisingly easy to whip up, and the result is a luxurious product that’s good enough to eat (but please don’t!).
Gathering Your Ingredients: A Symphony of Natural Goodness
This recipe calls for just a handful of natural ingredients, each chosen for its unique skin-loving properties.
Base Butters: The Foundation of Your Body Butter
- Shea Butter: Known for its deep moisturizing properties and ability to soothe dry, irritated skin.
- Cocoa Butter: Adds a luxurious richness and a subtle, chocolatey aroma.
These butters are solid at room temperature, so we’ll use liquid oil to make our body butter smooth and spreadable.
Liquid Oils: Adding Slip and Slide to Your Butter
- Jojoba Oil: Closely mimics the skin’s natural sebum, making it great for all skin types.
- Grapeseed Oil: Lightweight and non-comedogenic, making it perfect for even sensitive skin.
- Coconut Oil: Deeply moisturizing, but can be comedogenic for some. Opt for refined coconut oil for a neutral scent.
- Almond Oil: Rich in Vitamin E and great for soothing dry and irritated skin.
- Olive Oil: Packed with antioxidants, but can be heavy for some skin types.
- Sunflower Seed Oil: Helps the skin retain moisture and strengthens its natural barrier function.
Additional Ingredients for Extra Pizzazz
- Cornstarch/Arrowroot/Tapioca Starch: Helps to create a less greasy feel.
- Essential Oils (optional): Add a few drops of your favorite essential oil for a customized aromatherapy experience. Lavender, vanilla, and citrus scents are always lovely choices!
Creating Your Masterpiece: The Art of Body Butter Making
Making body butter is like mixing paint – it’s all about combining ingredients in the right way to create something beautiful and functional. Here’s my step-by-step guide:
Step 1: Melting the Butters and Oil
-
Double Boiler Method: Fill a pot with a couple of inches of water and bring it to a simmer. Place a heatproof bowl on top, ensuring it doesn’t touch the water. Add the shea butter, cocoa butter, and your chosen liquid oil to the bowl and stir gently until melted.
-
Microwave Method: Combine the shea butter, cocoa butter, and liquid oil in a microwave-safe bowl. Microwave in 20-second increments, stirring between each interval, until fully melted.
Step 2: Chilling and Whipping
-
Chilling Time: Pour the melted mixture into a bowl and refrigerate for 45-60 minutes, or until the edges are solid but the center is still slightly soft.
-
Whipping Time: Add the starch and essential oils (if using) to the chilled mixture. Use a stand mixer, hand mixer, or whisk to whip the body butter until it’s light, fluffy, and pale in color (think whipped cream!).
Step 3: Jarring and Storing Your Creation
-
Choosing Your Vessel: Transfer the whipped body butter into a clean, airtight jar.
-
Storage: Store your body butter at room temperature, or in the fridge during warmer months to prevent melting.
 "Make"
Tips from My Artist’s Palette:
- Patch Testing is Key: Always test a small amount of any new body butter on a discreet area of skin before applying it more liberally. This will help you identify any potential allergies or sensitivities.
- Less is More: Start with a small amount of body butter and add more as needed. A little goes a long way!
- Experiment with Scents: Don’t be afraid to get creative with essential oils! You can create custom blends to suit your mood or preference.
Conclusion: Enjoy the Art of Soft, Radiant Skin
There’s something incredibly satisfying about creating your own skincare products, especially when they’re as luxurious and nourishing as this homemade natural body butter. It’s a true act of self-care, a way to pamper your skin with the goodness of nature.
So go ahead, gather your ingredients, and unleash your inner artist! Your skin will thank you for it.
Now, I’d love to hear from you! Have you ever tried making your own body butter? What are your favorite combinations of butters and oils? Share your thoughts and experiences in the comments below.
And don’t forget to explore the rest of Robert Kline Art for more creative inspiration and unique handmade gifts. Happy crafting!
