Blog
Craft Your Own Fiery Masterpiece: A Guide to Homemade Hot Sauce
At Robert Kline Art, we believe in the power of handmade creations, and what better way to spice up your life than with a homemade hot sauce crafted with your own two hands? Forget the store-bought bottles and embark on a culinary adventure that will tantalize your taste buds and impress your friends. This isn’t just about making condiments; it’s about unlocking a world of flavor, and trust me, the homemade stuff is infinitely more rewarding.
From Garden to Bottle: The Art of Homemade Hot Sauce
Making your own hot sauce is easier than you might think. It’s a simple process of fermentation and blending, allowing you to control the ingredients and customize the heat level to your liking.
The Building Blocks of Flavor
- Choosing Your Chilis: The type of peppers you choose will dictate the flavor profile and heat of your hot sauce. For a milder sauce, opt for jalapeños or serrano peppers. Crank up the heat with cayenne, habanero, or even ghost peppers if you dare!
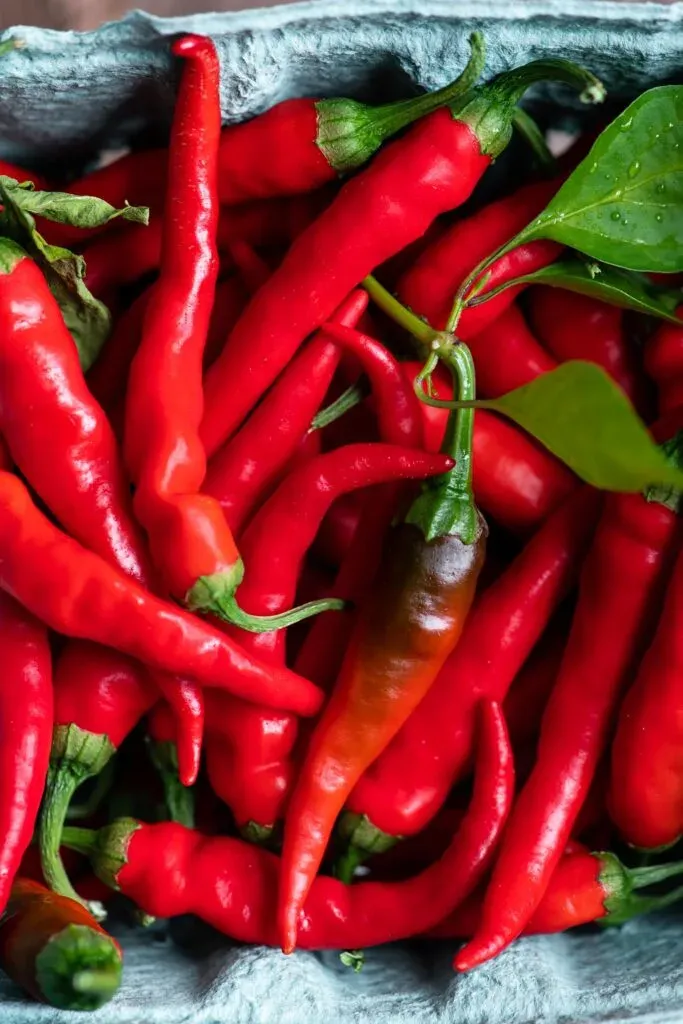
 cayenne peppers in green produce pint container
“Cayenne peppers add a vibrant red hue and a satisfying kick to homemade hot sauce.” - Beyond the Heat: Garlic is a must-have for its pungent kick, but don’t be afraid to experiment. Onions add a touch of sweetness, while carrots offer an earthy depth. Get creative and try incorporating other ingredients like mango for a tropical twist or spices like cumin and coriander for an added layer of complexity.
The Magic of Fermentation: A Simple Process
- Chop and Combine: Roughly chop your peppers, garlic, and any additional vegetables. A food processor can be your best friend here.
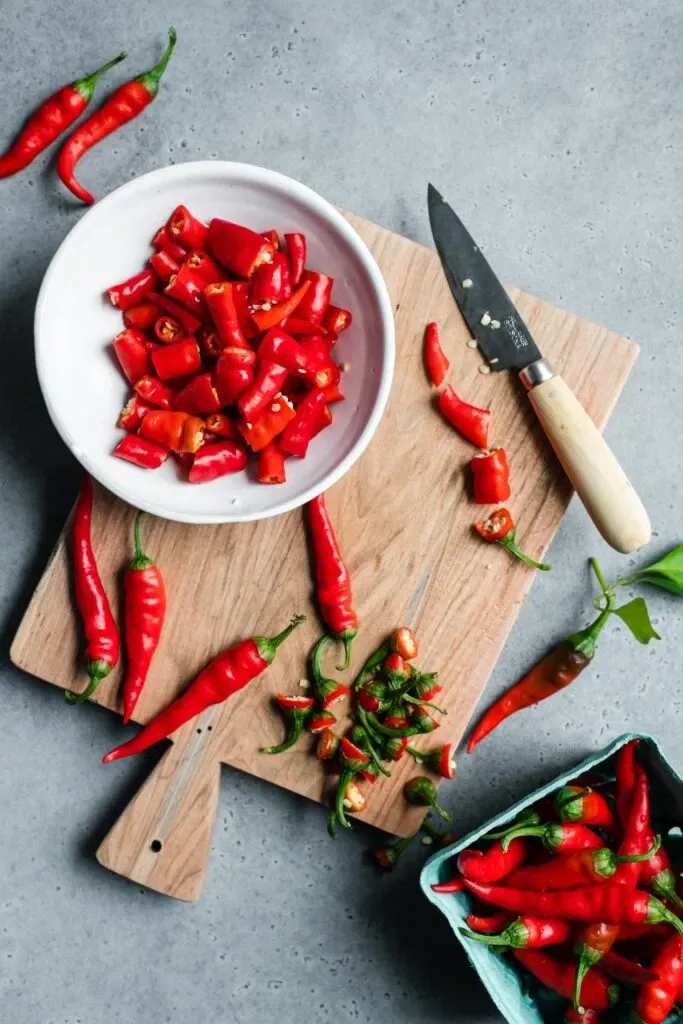 cutting stems and cutting cayenne peers into pieces
“Prepare your peppers: Removing the stems and roughly chopping ensures even fermentation and blending.” - Salt and Ferment: Toss the mixture with salt and water, then transfer it to a clean glass jar. Cover the jar with cheesecloth and secure it with a rubber band, allowing for airflow. Let it sit at room temperature for 24-48 hours to kickstart the fermentation process.
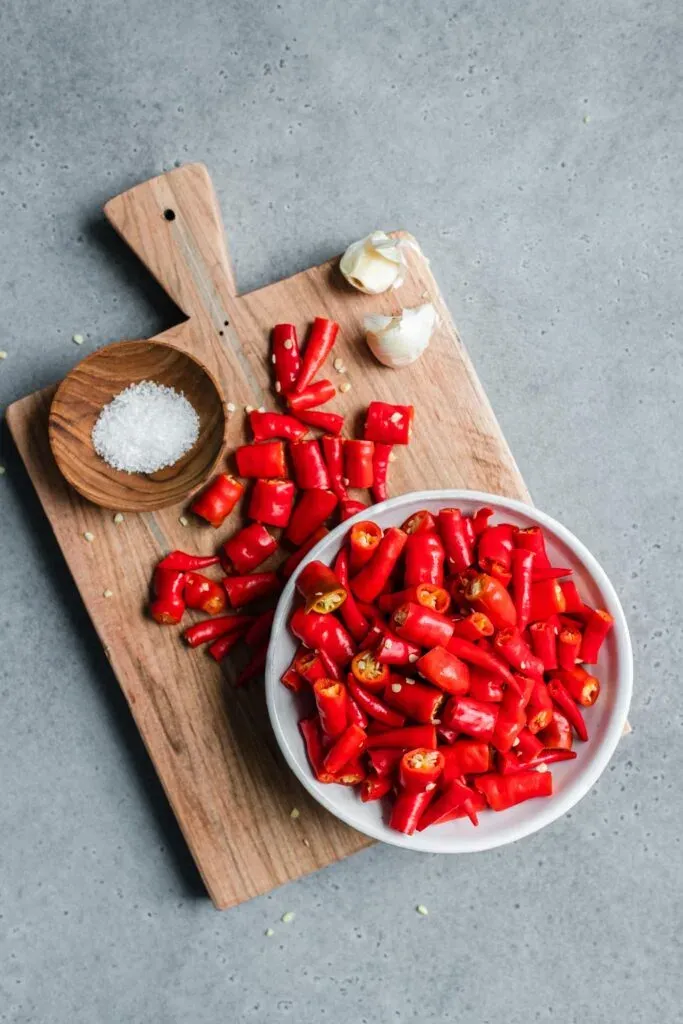 chopped cayenne peppers , garlic, and salt on cutting board
“The perfect trio: Cayenne peppers, garlic, and salt, ready to embark on their flavor-enhancing fermentation journey.”
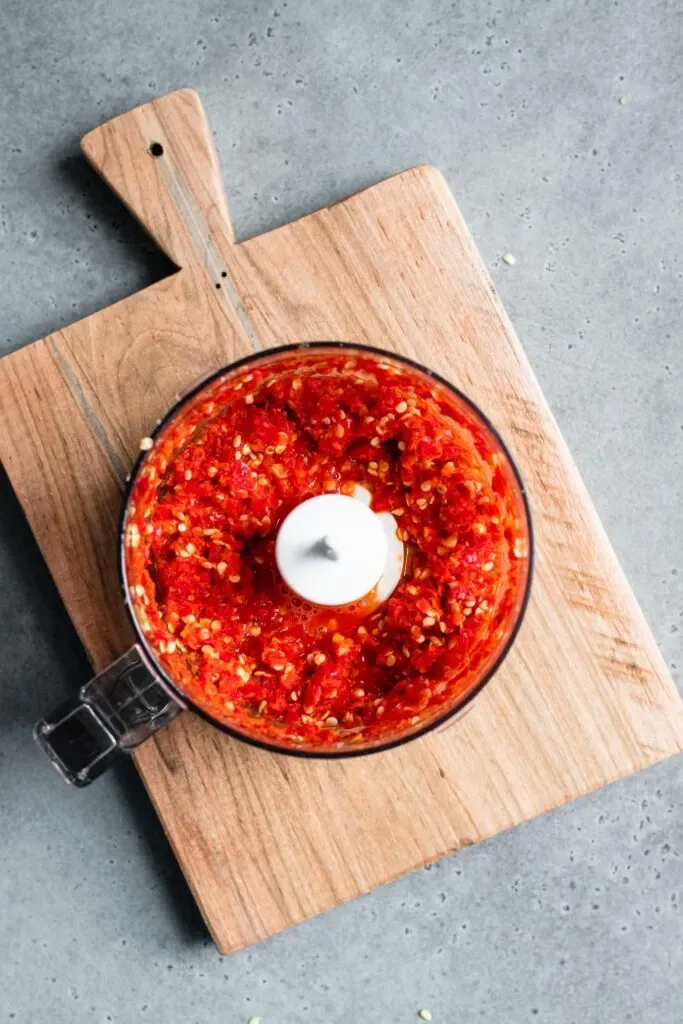 chili's chopped in mini-food processor sitting on a cutting board
“A food processor simplifies the process, effortlessly chopping the peppers and garlic into a coarse mixture.”
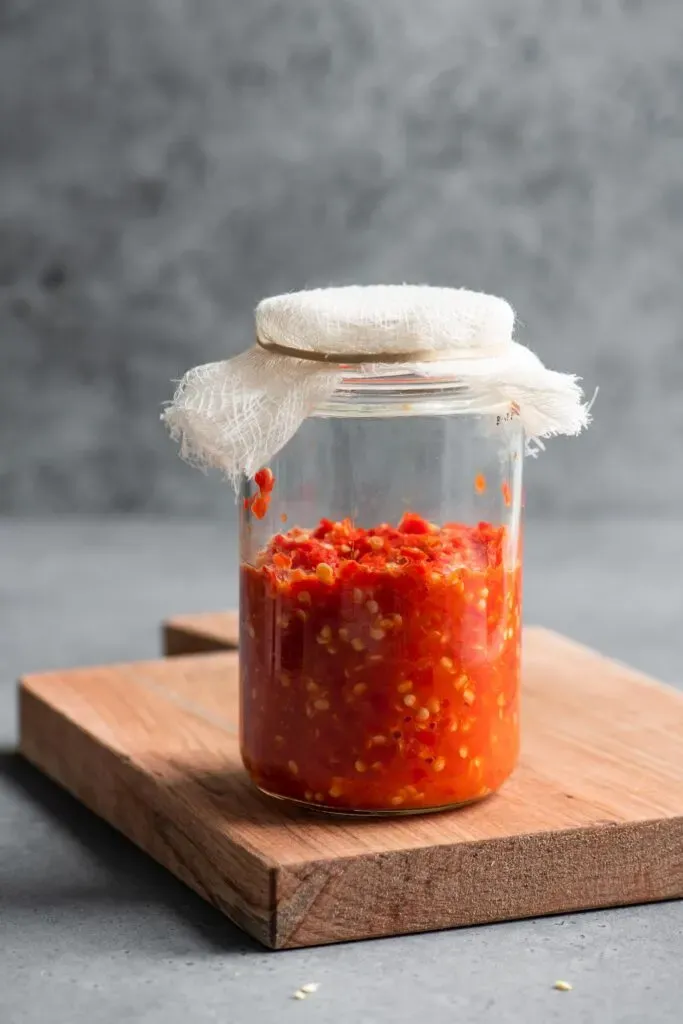 blended chili pulp before fermenting
“Ready for fermentation: The vibrant chili blend, brimming with flavor, awaits its transformation in a clean glass jar.”
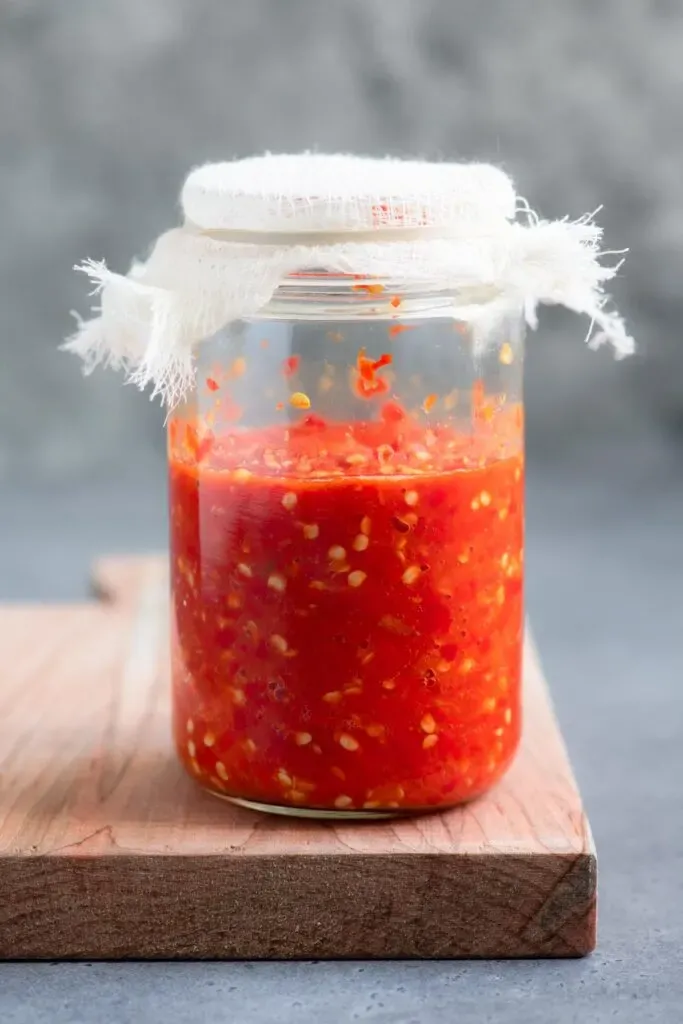 fermented chilies after 1 week
“Fermentation magic: After a week, the chili mixture develops a tangy complexity, a testament to the wonders of natural processes.” - Vinegar Boost: After a couple of days, stir in your choice of vinegar – apple cider, white wine, or rice vinegar all work beautifully. Continue fermenting for another 5-7 days, allowing the flavors to meld and deepen.
Blending and Bottling: Your Masterpiece Awaits
- Blend to Perfection: Transfer the fermented mixture to a blender and blitz until smooth. If you prefer a thinner sauce, you can strain it through a fine-mesh sieve or cheesecloth.
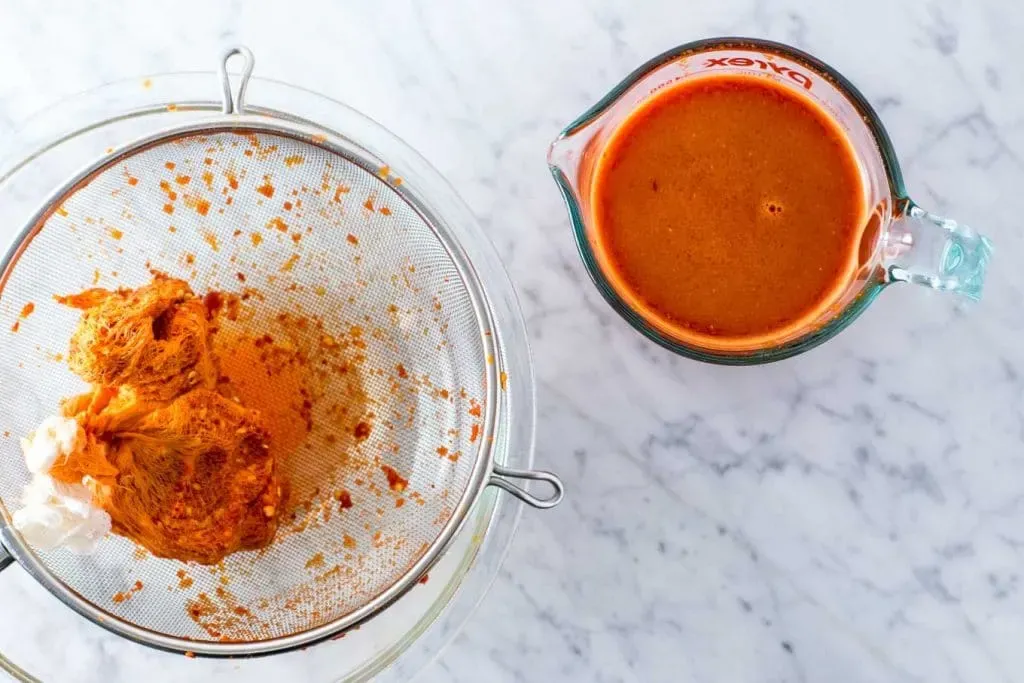 easy homemade hot sauce
“The fruits (or rather, chilies) of your labor: A jar of vibrant, flavorful homemade hot sauce, ready to elevate your meals.”
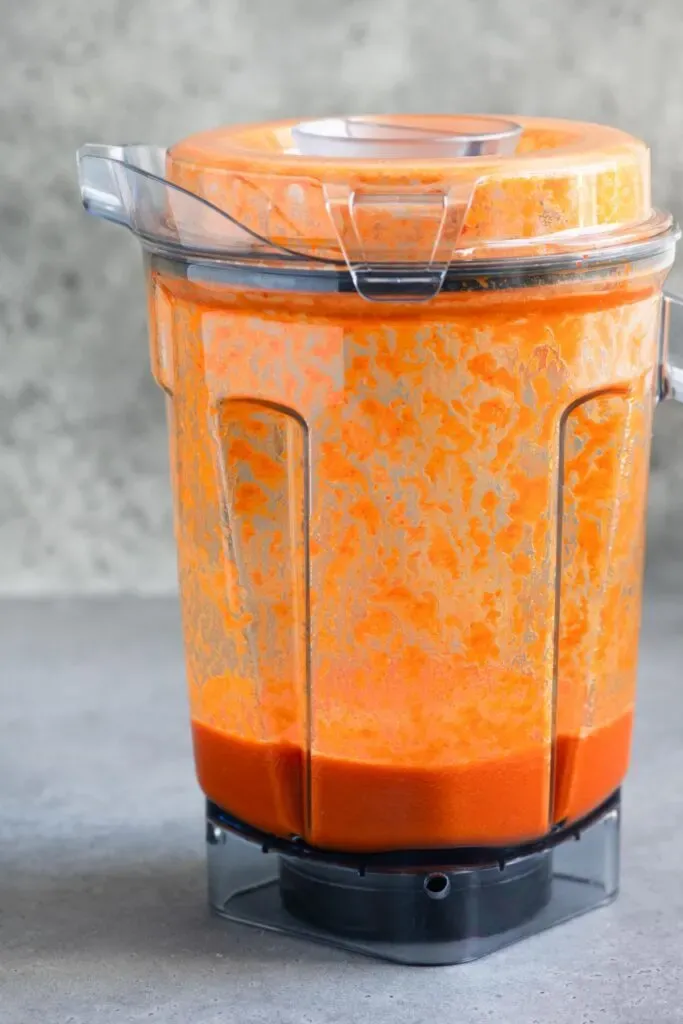 blended hot sauce in blender jar
“Blending the fermented mixture: The final step in transforming the fermented chilies into a smooth and fiery hot sauce.” - Bottle and Enjoy: Pour your hot sauce into sterilized bottles or jars, seal tightly, and store in the refrigerator. Your homemade masterpiece will last for several months, but chances are you’ll devour it long before then!
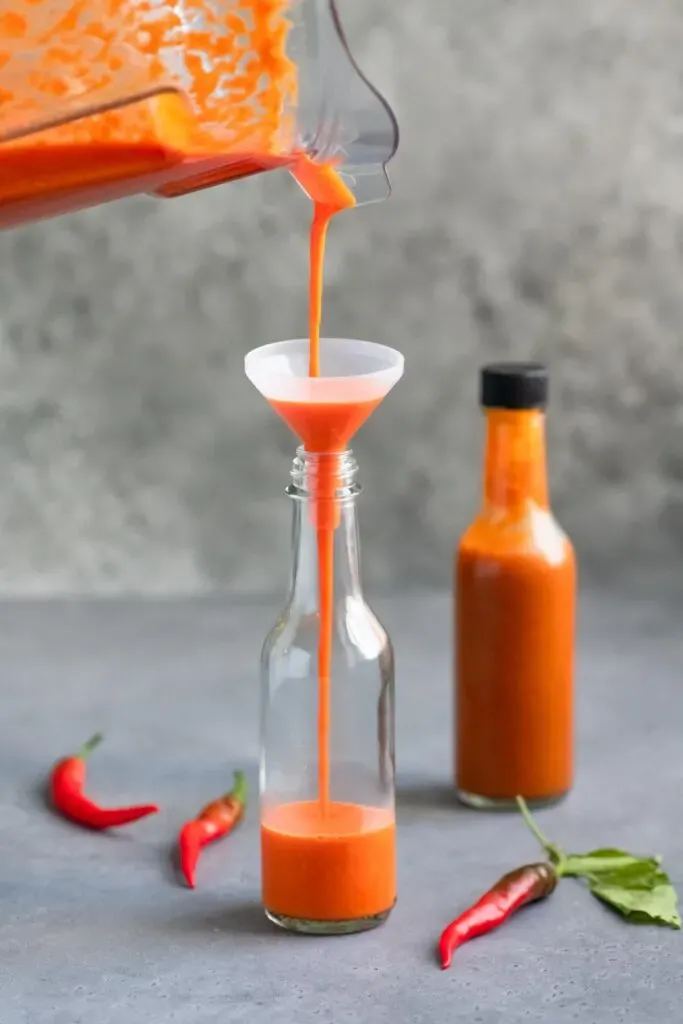 pouring hot sauce into a bottle with a small funnel
“Bottling your fiery creation: Carefully pouring the blended hot sauce into a jar, ready to be savored.”
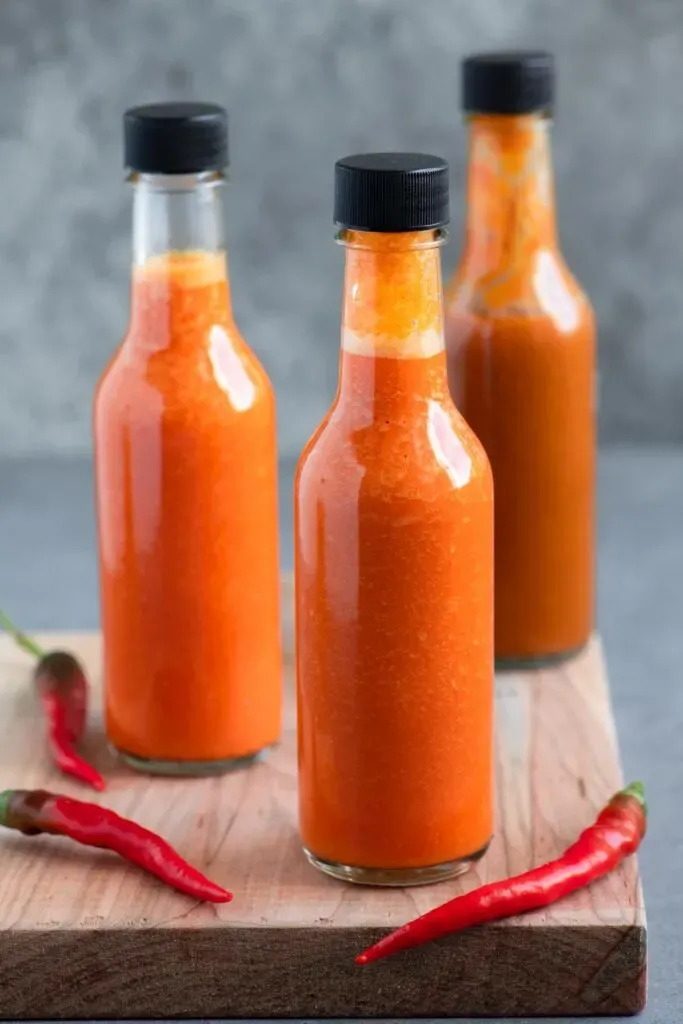 bottled homemade hot sauce on a cutting board with 3 red chilies
“A fiery masterpiece bottled to perfection: Homemade hot sauce, a testament to culinary creativity, awaits its moment to shine.”
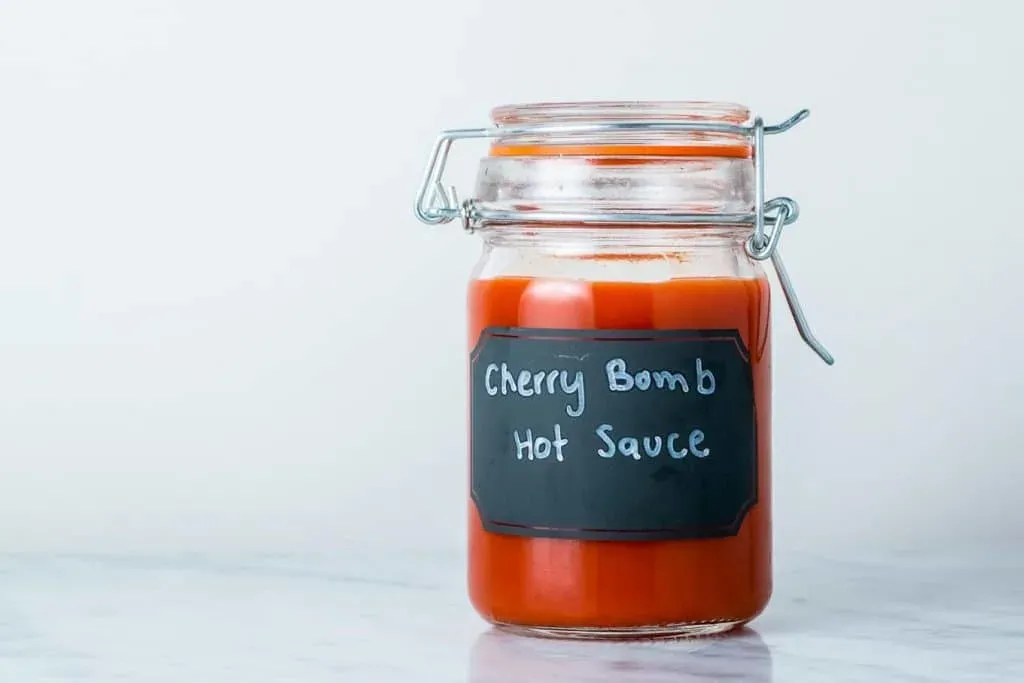 easy homemade hot sauce
“Homemade hot sauce, a culinary triumph: Vibrant, flavorful, and ready to elevate any dish with its fiery kick.”
Robert Kline Art: Embrace the Handmade Revolution
At Robert Kline Art, we’re passionate about the joy of creating with your hands. Homemade hot sauce is just one example of the endless possibilities that await when you embrace the world of DIY. From handcrafted gifts to unique home décor, let your creativity run wild and discover the satisfaction of making something truly special.
So why not grab some chili peppers and get started on your own hot sauce adventure? Share your creations and experiences with us in the comments below!
