Blog
The Simple Joy of Making Homemade Fruit Jam

There’s a certain magic to transforming nature’s bounty into jars of jewel-toned deliciousness. As an artist, I’m drawn to the vibrant colors and textures of fresh fruit, but as a lover of all things handmade, it’s the process of making jam that truly captivates me.
The sights, the smells, the anticipation of that first spoonful – it’s a sensory experience that goes beyond simply following a recipe. Today, I’m going to share my go-to method for making homemade fruit jam, a simple and rewarding process that will have you ditching the store-bought stuff for good.
Gather Your Supplies: The Essentials for Jam Making
Before we embark on our jam-making journey, let’s gather our tools and ingredients. Don’t worry, you won’t need a fancy arsenal of equipment! Here’s what you’ll need:
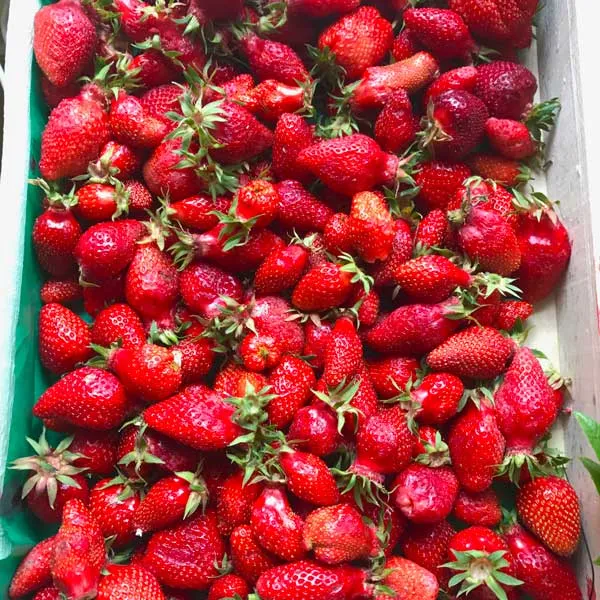
- Fresh, ripe fruit: Approximately 2 pounds (900g) of your favorite fruit. Remember, the quality of your ingredients will shine through in the final product.
- Sugar: 1 1/2 to 2 pounds (3-4 cups) of white sugar. We’ll delve into the role of sugar and the fruit-to-sugar ratio later.
- Lemon: One organic lemon will work wonders in helping our jam set and adding a bright citrusy note.
- Jars: You’ll need 3 to 4 sterilized 8-ounce wide-mouth jars with clean lids.
- Large pot or saucepan: Stainless steel or enameled pots are ideal for jam making.
- Other essentials: A wooden spoon or spatula, a ladle, and a few clean dishcloths.
The Art of Jam: A Step-by-Step Guide
Now that we have our ingredients prepped and our equipment at the ready, let’s dive into the heart of jam making:
1. Preparing the Fruit:
Begin by washing, peeling (if necessary), and chopping your fruit into even-sized pieces. Remember to weigh your fruit after it’s been prepped to ensure the right fruit-to-sugar ratio.
2. Macerating with Sugar and Lemon:
Place your prepared fruit in your pot and add the sugar. Squeeze the juice of one lemon into the mixture and toss in the lemon halves as well. This simple trick, which I learned from a French jam-making master, helps the jam set and adds a subtle citrusy flavor. Stir well and let the mixture sit at room temperature for at least 30 minutes, or up to 24 hours. This allows the sugar to draw out the fruit’s natural juices and dissolve, resulting in a smoother jam.
3. The Simmering Stage:
After the maceration period, give your jam mixture a good stir to ensure there are no sugar clumps at the bottom of the pot. Place the pot on the stove and bring it to a boil over medium heat, stirring occasionally to prevent sticking.
4. Testing for Doneness: The Art of Knowing When Your Jam is Ready
Knowing when your jam has reached the perfect consistency is crucial. While an instant-read thermometer is a handy tool for this (220°F or 104-105°C is the magic number), there are other ways to test for doneness. The jam will thicken, the foam will dissipate, and the lemon halves will become translucent with candied pulp. A spoonful of jam placed on a chilled plate should set and wrinkle when pushed.
5. Jarring and Sealing:
Once your jam has reached the setting point, remove it from the heat. Ladle the hot jam into your sterilized jars, leaving about 1/8 inch of headspace. Wipe the jar rims clean, seal tightly with the lids, and turn the jars upside down to cool.
 " width=
 " width=
The Beauty of Homemade Jam: A Labor of Love
Making your own jam is a rewarding experience that fills your kitchen with incredible aromas and your pantry with delicious, homemade goodness. Whether you’re a seasoned jam maker or a curious beginner, I encourage you to give this recipe a try.
Remember, there’s no right or wrong way to make jam as long as you’re using quality ingredients and enjoying the process. Each batch is unique, just like a piece of art.
What are your favorite fruit combinations for homemade jam? Share your experiences and tips in the comments below! And if you’re looking for unique, handmade gifts, be sure to browse the selection of handcrafted treasures on the Robert Kline Art website.
