Blog
Craft Your Own Delicious Fruit Vinegar at Home

Hey there, fellow art enthusiasts! Robert Kline here, and today, we’re diving headfirst into the vibrant world of homemade fruit vinegar. That’s right, we’re transforming those often-discarded fruit scraps into liquid gold! Forget store-bought – this DIY vinegar is bursting with flavor and puts your creativity on full display.
Transforming Scraps into Treasure: The Beauty of Homemade Vinegar
As an artist, I find beauty in the unexpected. Much like repurposing vintage materials in a masterpiece, crafting vinegar from fruit scraps showcases resourcefulness and a touch of magic. This easy fermentation process requires only two key ingredients: fruit and water. It’s the perfect way to use up those apple cores, berry tops, and overripe fruits that might otherwise end up in the compost bin.
“Fruit vinegar is like a blank canvas,” says renowned culinary artist, Chef Elena Garcia. “The variety of fruits and herbs you can use allows for endless flavor combinations, making each batch uniquely your own.”
Gathering Your Supplies: Simple Tools for a Flavorful Journey
You won’t need an art studio full of fancy equipment for this project! Here’s what you need to get started:
- A Clean Glass Jar: A 2-quart jar is ideal, but feel free to adjust the size based on your fruit bounty.
- Fruit Scraps: Embrace imperfection! Bruised, overripe, or slightly past-their-prime fruits are perfect candidates. Apple peels, strawberry tops, cherry pits, and citrus peels are just a few delicious options.
- Water: Use unchlorinated water for the best results.
- Optional Equipment: If pesky fruit flies are a concern, consider using airlock fermenting lids. These nifty lids create a barrier while still allowing the vinegar to breathe.
Creating Your Masterpiece: A Step-by-Step Guide to Fruit Vinegar
Ready to unleash your inner culinary artist? Let’s dive into the process:
Phase 1: The First Ferment
-
Fill Your Canvas: Fill your jar about ¾ full with your chosen fruit scraps and herbs. Don’t pack it too tightly, as we need room for the magic to happen!
 Fill a Jar ¾ Full with Scraps and Herbs.
Alt text: A glass jar filled with fruit scraps and water, ready for the first stage of vinegar fermentation. -
Submerge the Fruit: Add enough unchlorinated water to cover the fruit, leaving about 2-4 inches of space at the top of the jar.
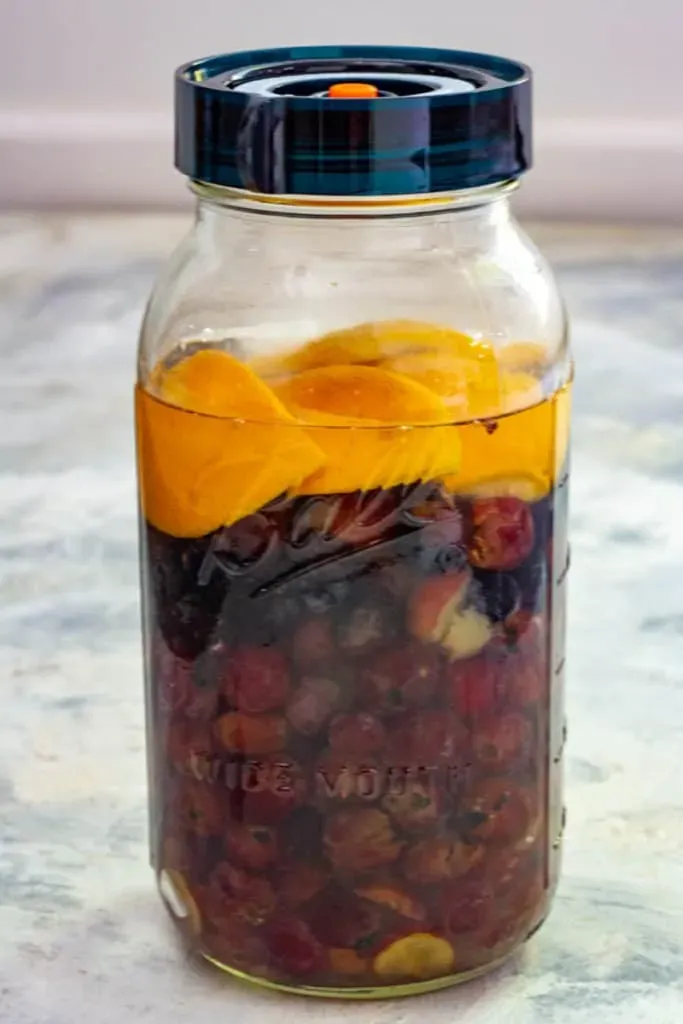 Cover Scraps with Water.
Alt text: Adding water to the jar of fruit scraps for homemade fruit vinegar.
 Cover Scraps with Water.
Alt text: A close-up of the fruit scraps submerged in water, ready to begin the fermentation process. -
Secure the Lid: Cover the jar with an airlock lid or a breathable cover like a paper towel secured with a rubber band. Avoid using an airtight lid, as the vinegar needs to breathe during fermentation.
-
Patience, Young Artist: Place the jar out of direct sunlight and let it ferment for 1-2 weeks. The water will transition from clear to cloudy and back to clear again, signaling the end of the first ferment.
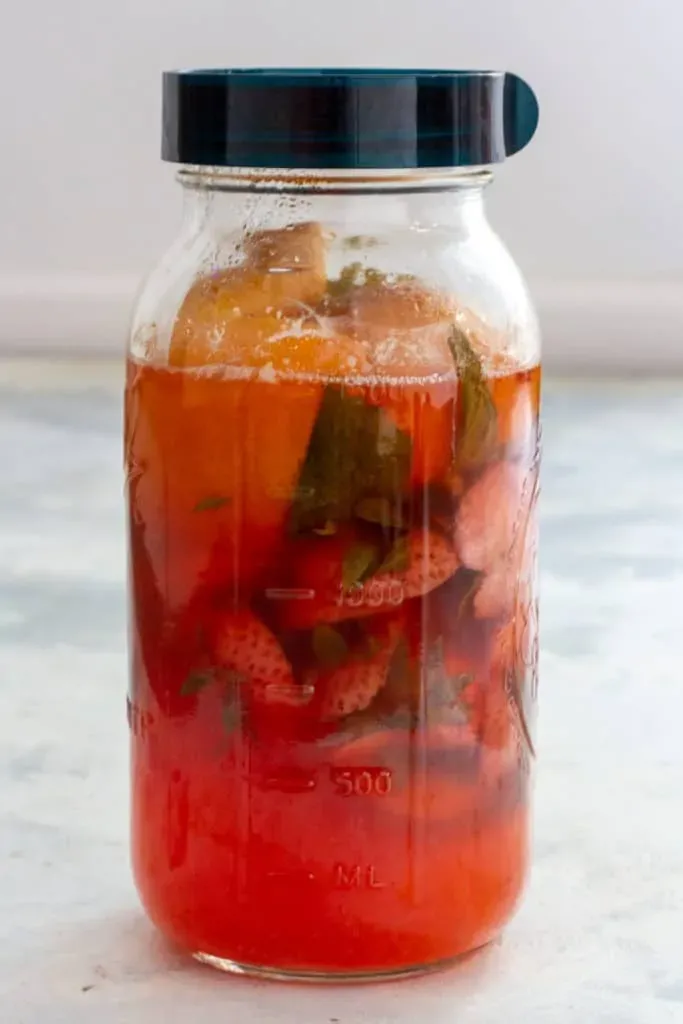 Strawberry Vinegar at the End of the Second Ferment.
Alt text: Strawberry vinegar at the end of the first fermentation stage, showing a clear liquid.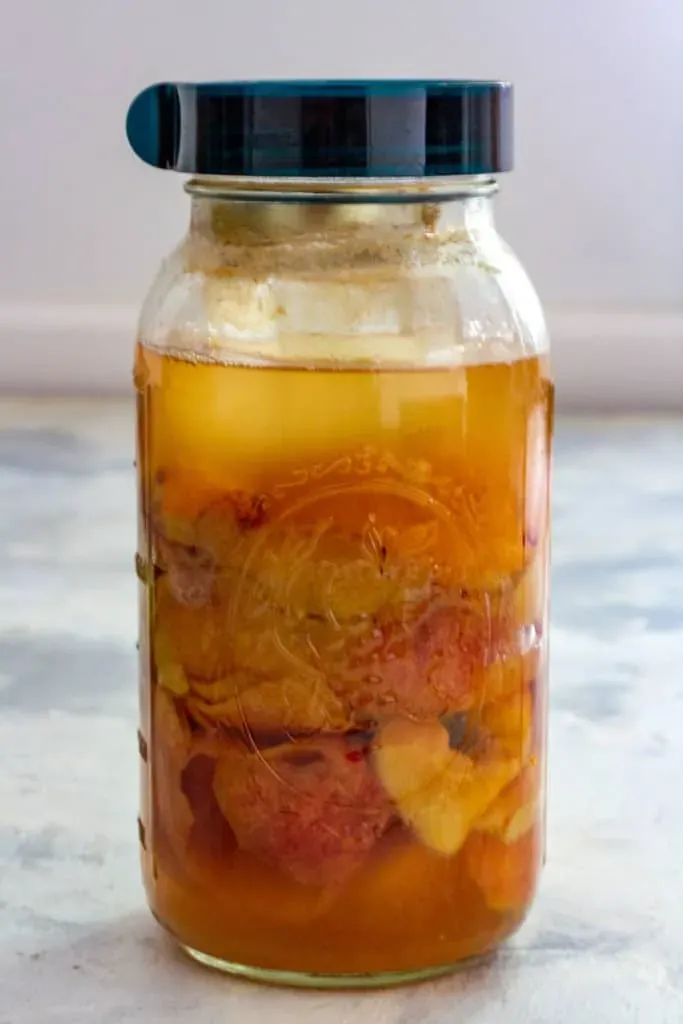 Apple Cider Vinegar at the End of the First Ferment.
Alt text: Apple cider vinegar after the initial fermentation period, displaying a slightly cloudy appearance.
Phase 2: The Second Ferment
-
Strain and Separate: After the first ferment, strain the fruit from the liquid using a fine-mesh sieve.
-
A Clean Canvas: Thoroughly wash and dry the jar before returning the strained liquid.
-
Back to Rest: Cover the jar as before and let it ferment for another 2 weeks to several months. The longer you let it ferment, the more acidic it will become.
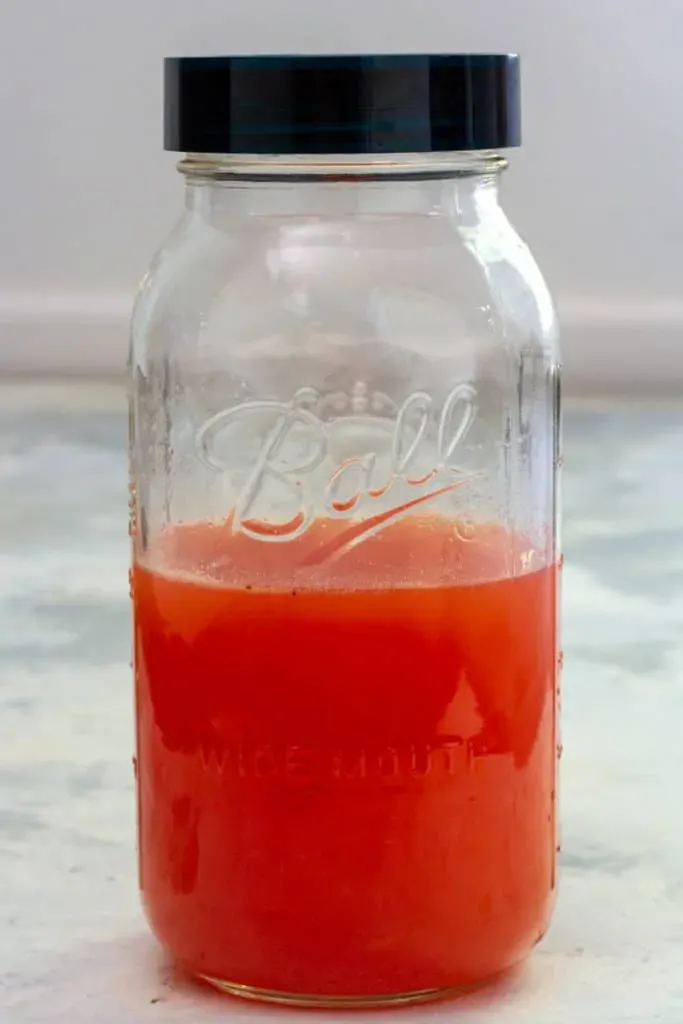 Strawberry Vinegar In the Second Ferment.
Alt text: Strawberry vinegar undergoing the second fermentation phase.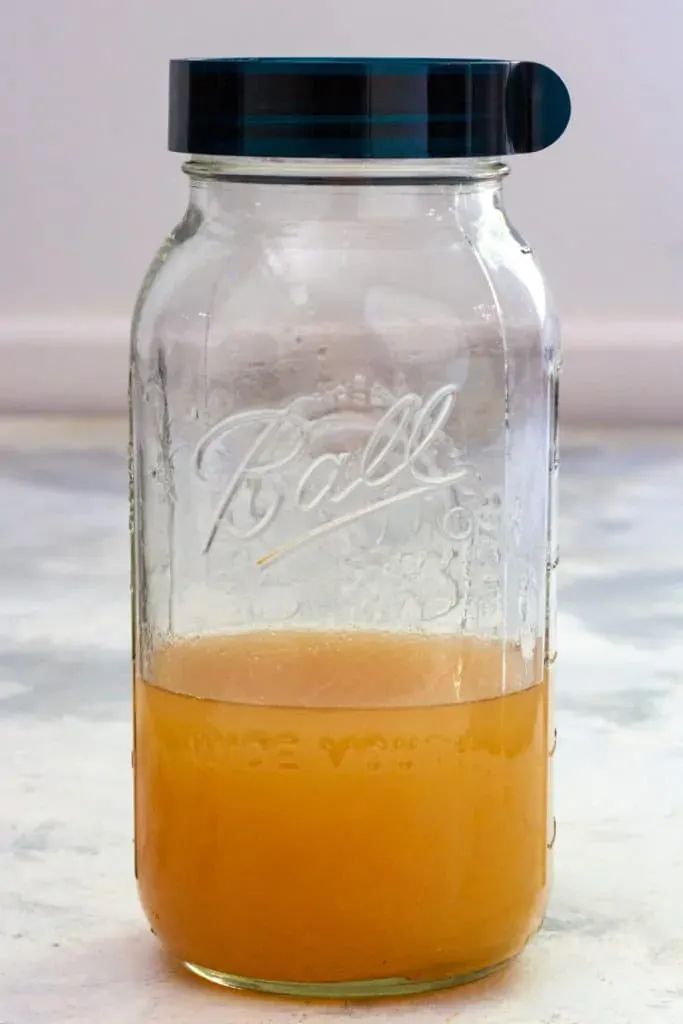 Apple Cider Vinegar In the Second Ferment.
Alt text: Apple cider vinegar during the second stage of fermentation.
Storing Your Masterpiece
Once your vinegar has reached your desired taste, transfer it to a glass bottle with a non-metallic lid. Store it in the refrigerator for a sweeter vinegar or at room temperature for a more mature, acidic flavor.
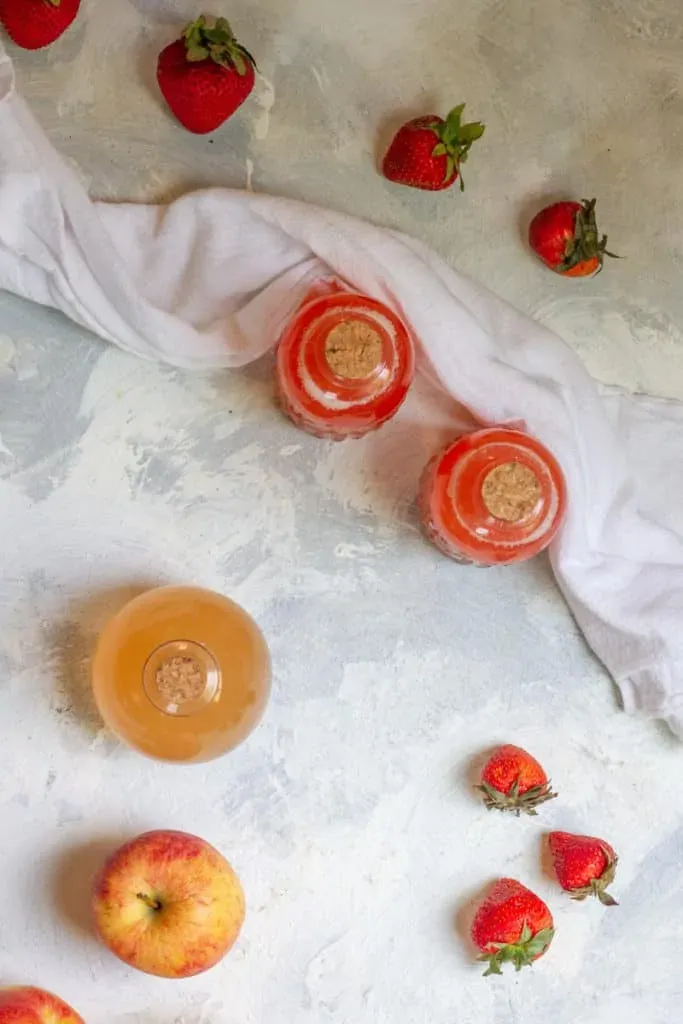 fermented fruit vinegar.
Alt text: A bottle of finished fermented fruit vinegar, ready to be enjoyed.
From Canvas to Table: Using Your Homemade Fruit Vinegar
Your homemade fruit vinegar is incredibly versatile! Use it to add a burst of flavor to:
- Salad Dressings: Create vibrant vinaigrettes that dance on your palate.
- Marinades: Infuse meats and vegetables with a tangy depth.
- Roasted Vegetables: Elevate the flavors of roasted Brussels sprouts, root vegetables, and more.
- Refreshing Drinks: Mix a splash with water or seltzer for a revitalizing beverage.
Embrace the Unexpected: The Joy of Experimentation
Just like in the art studio, the key to mastering homemade fruit vinegar is experimentation. Don’t be afraid to play with different fruit combinations, add herbs and spices, and discover your signature flavors.
Share your creations, your triumphs, and even your happy accidents! Leave a comment below and tell us about your fruit vinegar adventures. And for more artistic inspiration and handcrafted wonders, explore the Robert Kline Art website. Happy fermenting!
