How to Make Bubbly Fruit Flavored Kombucha at Home

Hey there, fellow fermenters! Robert Kline here, from Robert Kline Art. There’s nothing quite like the refreshing zing of a bubbly, fruit-flavored kombucha on a warm day. And while store-bought options abound, there’s a special kind of satisfaction that comes from brewing your own. Today, we’re diving deep into the art of crafting this delicious and healthy beverage right in your own kitchen.
This isn’t just about following a recipe; it’s about understanding the process, embracing the slight variations, and creating something truly unique. So grab your jars, your favorite fruits, and let’s get fermenting!
 Kombucha Fruit
Two Keys to Bubbly & Fast Fermented Kombucha
Before we jump in, let’s chat about two crucial factors that will determine the fizziness and fermentation speed of your kombucha.
Temperature: The Catalyst
The temperature of your home plays a significant role in how quickly your kombucha ferments. Think of it like this: warmer temperatures provide a more inviting environment for those beneficial bacteria and yeast to do their thing.
- Warm and Cozy (75-80°F): Expect your kombucha to be ready to burst with bubbles in just a few days!
- Cool and Steady (Around 60°F): Patience is key here! It can take several weeks for your kombucha to reach peak fizziness.
Keep a close eye on your bottles as they ferment, especially in warmer temperatures, to avoid any unexpected kombucha fountains! If you’re looking to speed things up, try moving your bottles to a warmer spot in your home. A small space heater in a well-ventilated area can work wonders, but remember safety first—never leave it unattended!
Sweetness: The Fuel for Fizz
For that delightful effervescence, remember that your kombucha needs a bit of sweetness to work its magic.
- The Science of Bubbles: Those hardworking bacteria and yeast feed on the sugar in your kombucha, producing those lovely bubbles as a byproduct.
- Timing is Everything: If your kombucha becomes overly sour or vinegary, it means the sugar has been completely consumed. This can result in a flatter beverage.
Pro Tip: Aim to bottle your kombucha when it still retains a hint of sweetness—this ensures there’s enough fuel for those bubbles to form during the second fermentation.
 Kombucha bottles
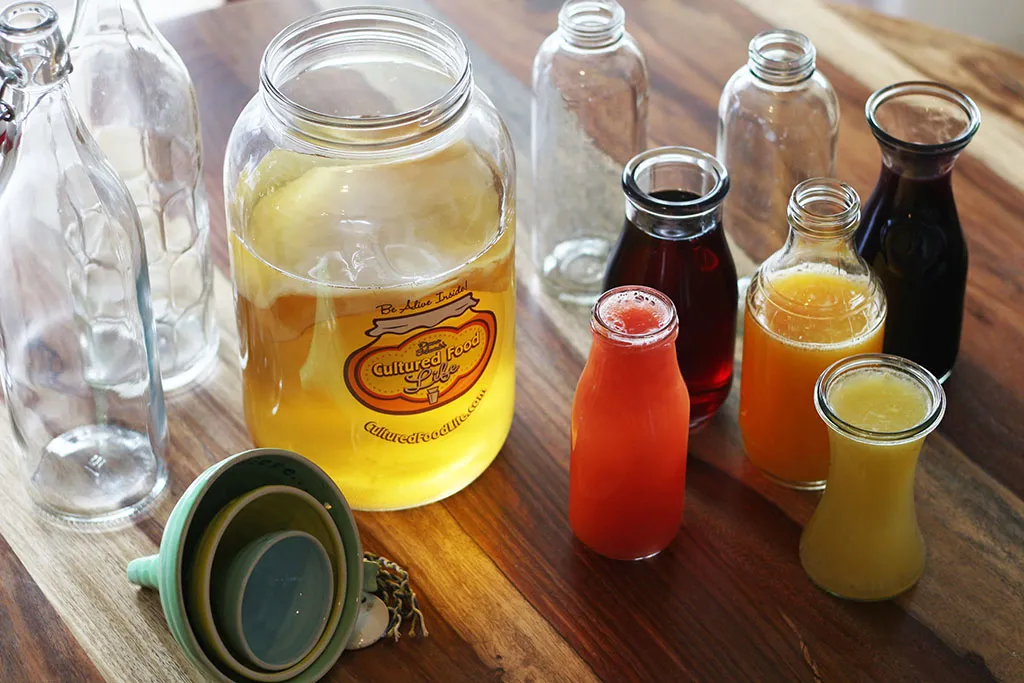
Gathering Your Kombucha Supplies
Now, let’s gather our tools and ingredients. You’ll need:
Ingredients:
- Ready-to-Drink Kombucha: This forms the base of your fruit-flavored masterpiece.
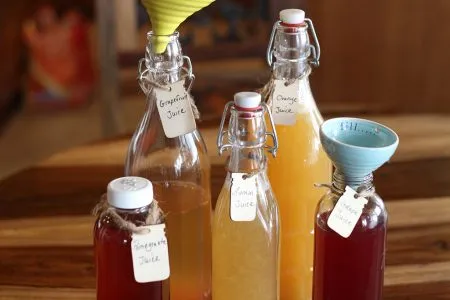
- Fruit Juice: Let your creativity flow! Experiment with cherry, grape, blueberry, pomegranate, lemon, pineapple – the possibilities are endless!
- Fresh Fruit (Optional): Enhance the flavor and texture with chunks of your favorite fruits like strawberries or blueberries.
- Orange Peel (Optional): Add a citrusy twist and a boost of natural fizz.
Equipment:
- Bottles: Choose sturdy glass bottles designed for brewing. Standard 16-ounce bottles are perfect, but feel free to adjust the recipe based on your bottle size. Clamp-down bottles offer extra security and are highly recommended. Avoid using regular glass bottles, as they are not designed to withstand the pressure of fermentation and could shatter.
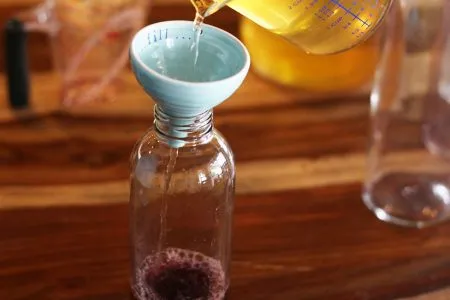
- Plastic Funnel: This handy tool ensures a mess-free bottling process.
- Small Strainer & Coffee Filters (Optional): Use these for a smoother kombucha. While optional, straining can prevent the formation of a new SCOBY layer on top of your bottles.
Step-by-Step Guide to Flavorful Kombucha
Ready to get brewing? Here’s how to infuse your kombucha with delicious fruit flavors:
- Flavor Infusion: Add ¼ cup of your chosen fruit juice to each bottle. Remember, fresh juice will ferment faster than store-bought.
- Fill It Up: Carefully pour your ready-to-drink kombucha into each bottle, leaving about an inch of headspace at the top to allow for carbonation.
- Seal and Label: Securely cap your bottles and label them with the date. This helps you keep track of your kombucha’s progress.
- Time to Ferment: Let your bottles sit at room temperature for 5 days to 3 weeks, depending on the desired fizziness and ambient temperature.
- The Fizz Test: Every 5 days, gently press on the top of the bottle caps to check for carbonation. If they feel firm and resistant, your kombucha is likely bubbly and ready to enjoy. If not, give it some more time.
- Chill Out: Once bubbly, transfer your kombucha to the refrigerator to slow down further fermentation.
- Enjoy! Remember to open your bottles slowly to release any built-up pressure. Pour yourself a glass and savor the fruits of your labor!
 Various Flavors of Kombucha
 Variety of Flavors
Tips and Tricks
- Brewing Like a Pro: Always use bottles specifically designed for brewing. Safety first!
- Temperature Awareness: Remember, cooler temperatures mean slower fermentation and vice versa. Be patient and adjust fermentation times accordingly.
- Fresh Juice Power: Fresh juice ferments at lightning speed! Keep a close eye on your bottles to avoid any messy explosions.
Conclusion
Making your own fruit-flavored kombucha is an incredibly rewarding experience. It allows you to control the ingredients, experiment with unique flavors, and enjoy the satisfaction of crafting a delicious and healthy beverage right at home. And hey, if this former art student can do it, so can you!
Don’t be afraid to experiment! Try different fruit combinations, add herbs or spices, and discover your own signature kombucha blends. I’d love to hear about your kombucha adventures! Share your favorite flavor combinations and any tips you’ve discovered in the comments below. Happy brewing!
