Blog
How to Make Refreshing Homemade Fruit Tea
Hey there, fellow art and craft enthusiasts! Today, we’re taking a delightful detour from our usual creative pursuits to explore the world of homemade fruit tea. As an artist who appreciates the beauty in everyday things, I find immense joy in crafting delicious drinks right in my own kitchen.
This recipe is close to my heart because it reminds me of the vibrant Southern hospitality I experienced during my travels. It’s more than just a drink; it’s a symbol of warmth, shared laughter, and cherished memories. Let’s dive in and create something refreshingly wonderful!
Gathering Your Art Supplies… I Mean, Ingredients!
Don’t worry, you won’t need paintbrushes or carving tools for this project. Here’s what you’ll need to gather from your pantry and refrigerator:
- 2 quarts of water (that’s 8 cups!)
- 2 family-sized tea bags (or 6 standard ones)
- 1 cinnamon stick (our secret ingredient!)
- 1 cup of sugar (or your preferred sweetener)
- 1/2 cup thawed frozen orange juice concentrate
- 1/2 cup thawed frozen lemonade concentrate
- 1/2 cup pineapple juice
Creating Your Masterpiece: Step-by-Step Guide
Just like any art project, crafting the perfect fruit tea involves a few simple steps:
Step 1: Brewing the Base
- In a large saucepan, bring your 2 quarts of water to a rolling boil.
- Once boiling, turn off the heat and gently add your tea bags (tie those strings together for easy removal later!) and the cinnamon stick. Let this steep for a good 8-10 minutes. The cinnamon stick might seem like an odd addition, but trust me on this one – it adds a layer of warmth and complexity that takes the flavor to the next level!
- After steeping, carefully remove and discard the tea bags.
Step 2: Adding Sweetness and Sunshine
- Now, stir in your sugar (or sweetener of choice) until it dissolves completely into the tea.
- Next, add your thawed orange juice and lemonade concentrates, followed by the pineapple juice. Give everything a good stir to ensure it’s all perfectly combined.
Step 3: Chilling Out
- Pour your freshly made fruit tea into a large pitcher, making sure to include the cinnamon stick. Pop it into the refrigerator to chill thoroughly. I recommend letting it chill for at least a couple of hours, but overnight is even better!
- Just before serving, discard the cinnamon stick.
Serving and Garnishing: The Finishing Touches
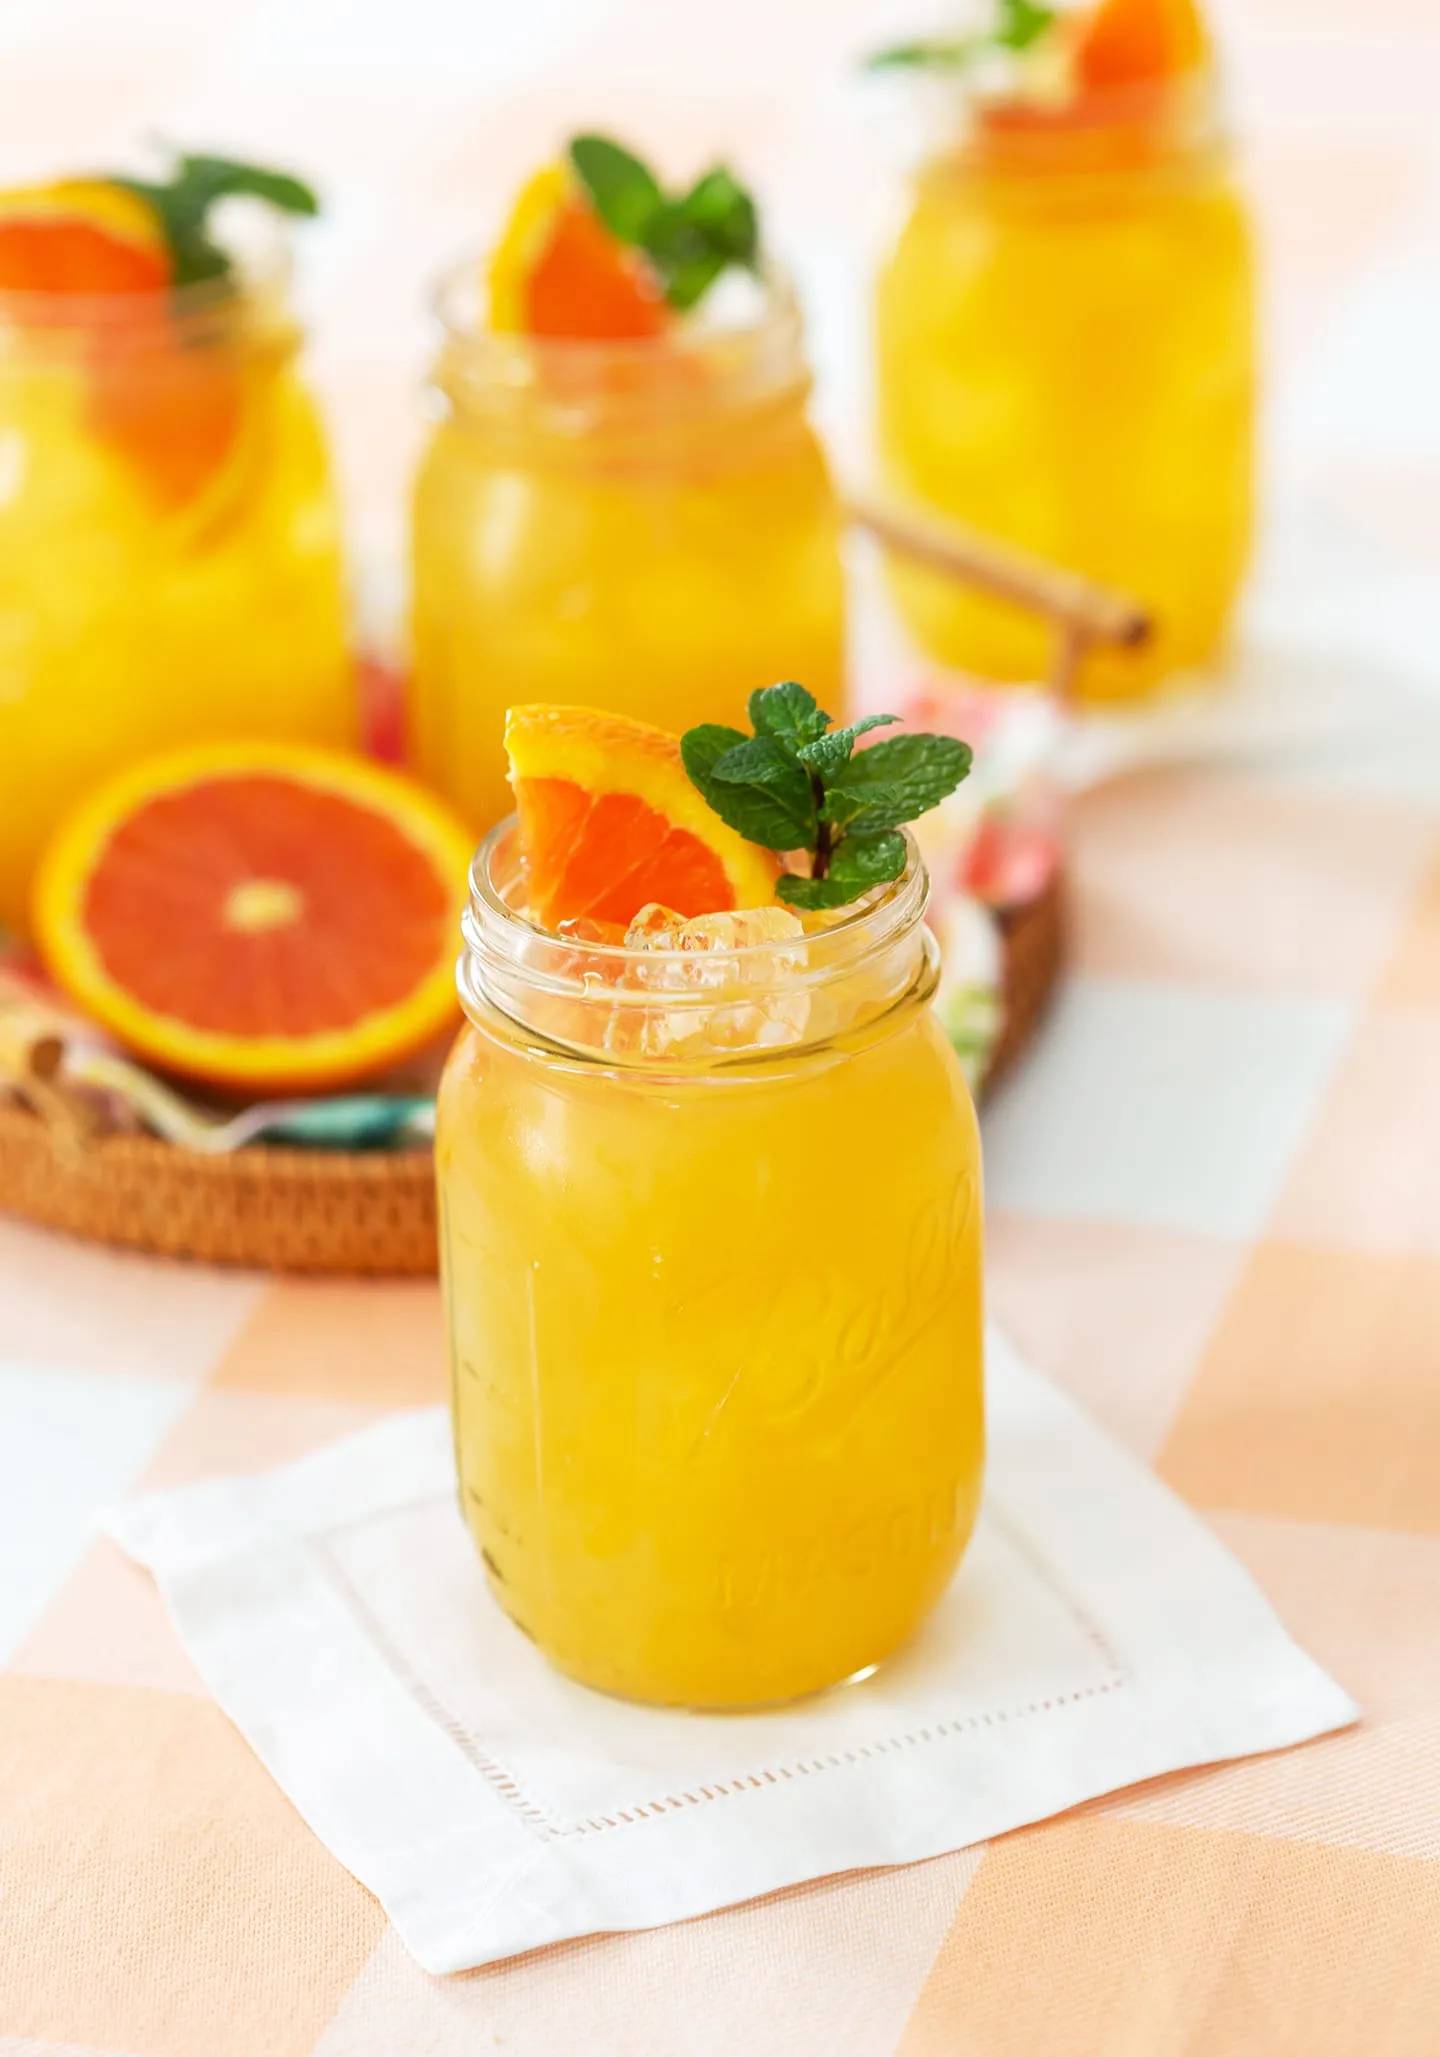
Now comes the fun part – presenting your masterpiece! Fill your glasses with ice, then pour in that gorgeous fruit tea.
 Glasses of Fruit Tea
Image Description: Three glasses of vibrant fruit tea, filled with ice and ready to quench your thirst.
But wait, there’s more! Elevate your fruit tea from simple to sensational with these garnishing ideas:
- Fresh Mint Sprigs: Not only do they look elegant, but mint sprigs also add a burst of refreshing flavor.
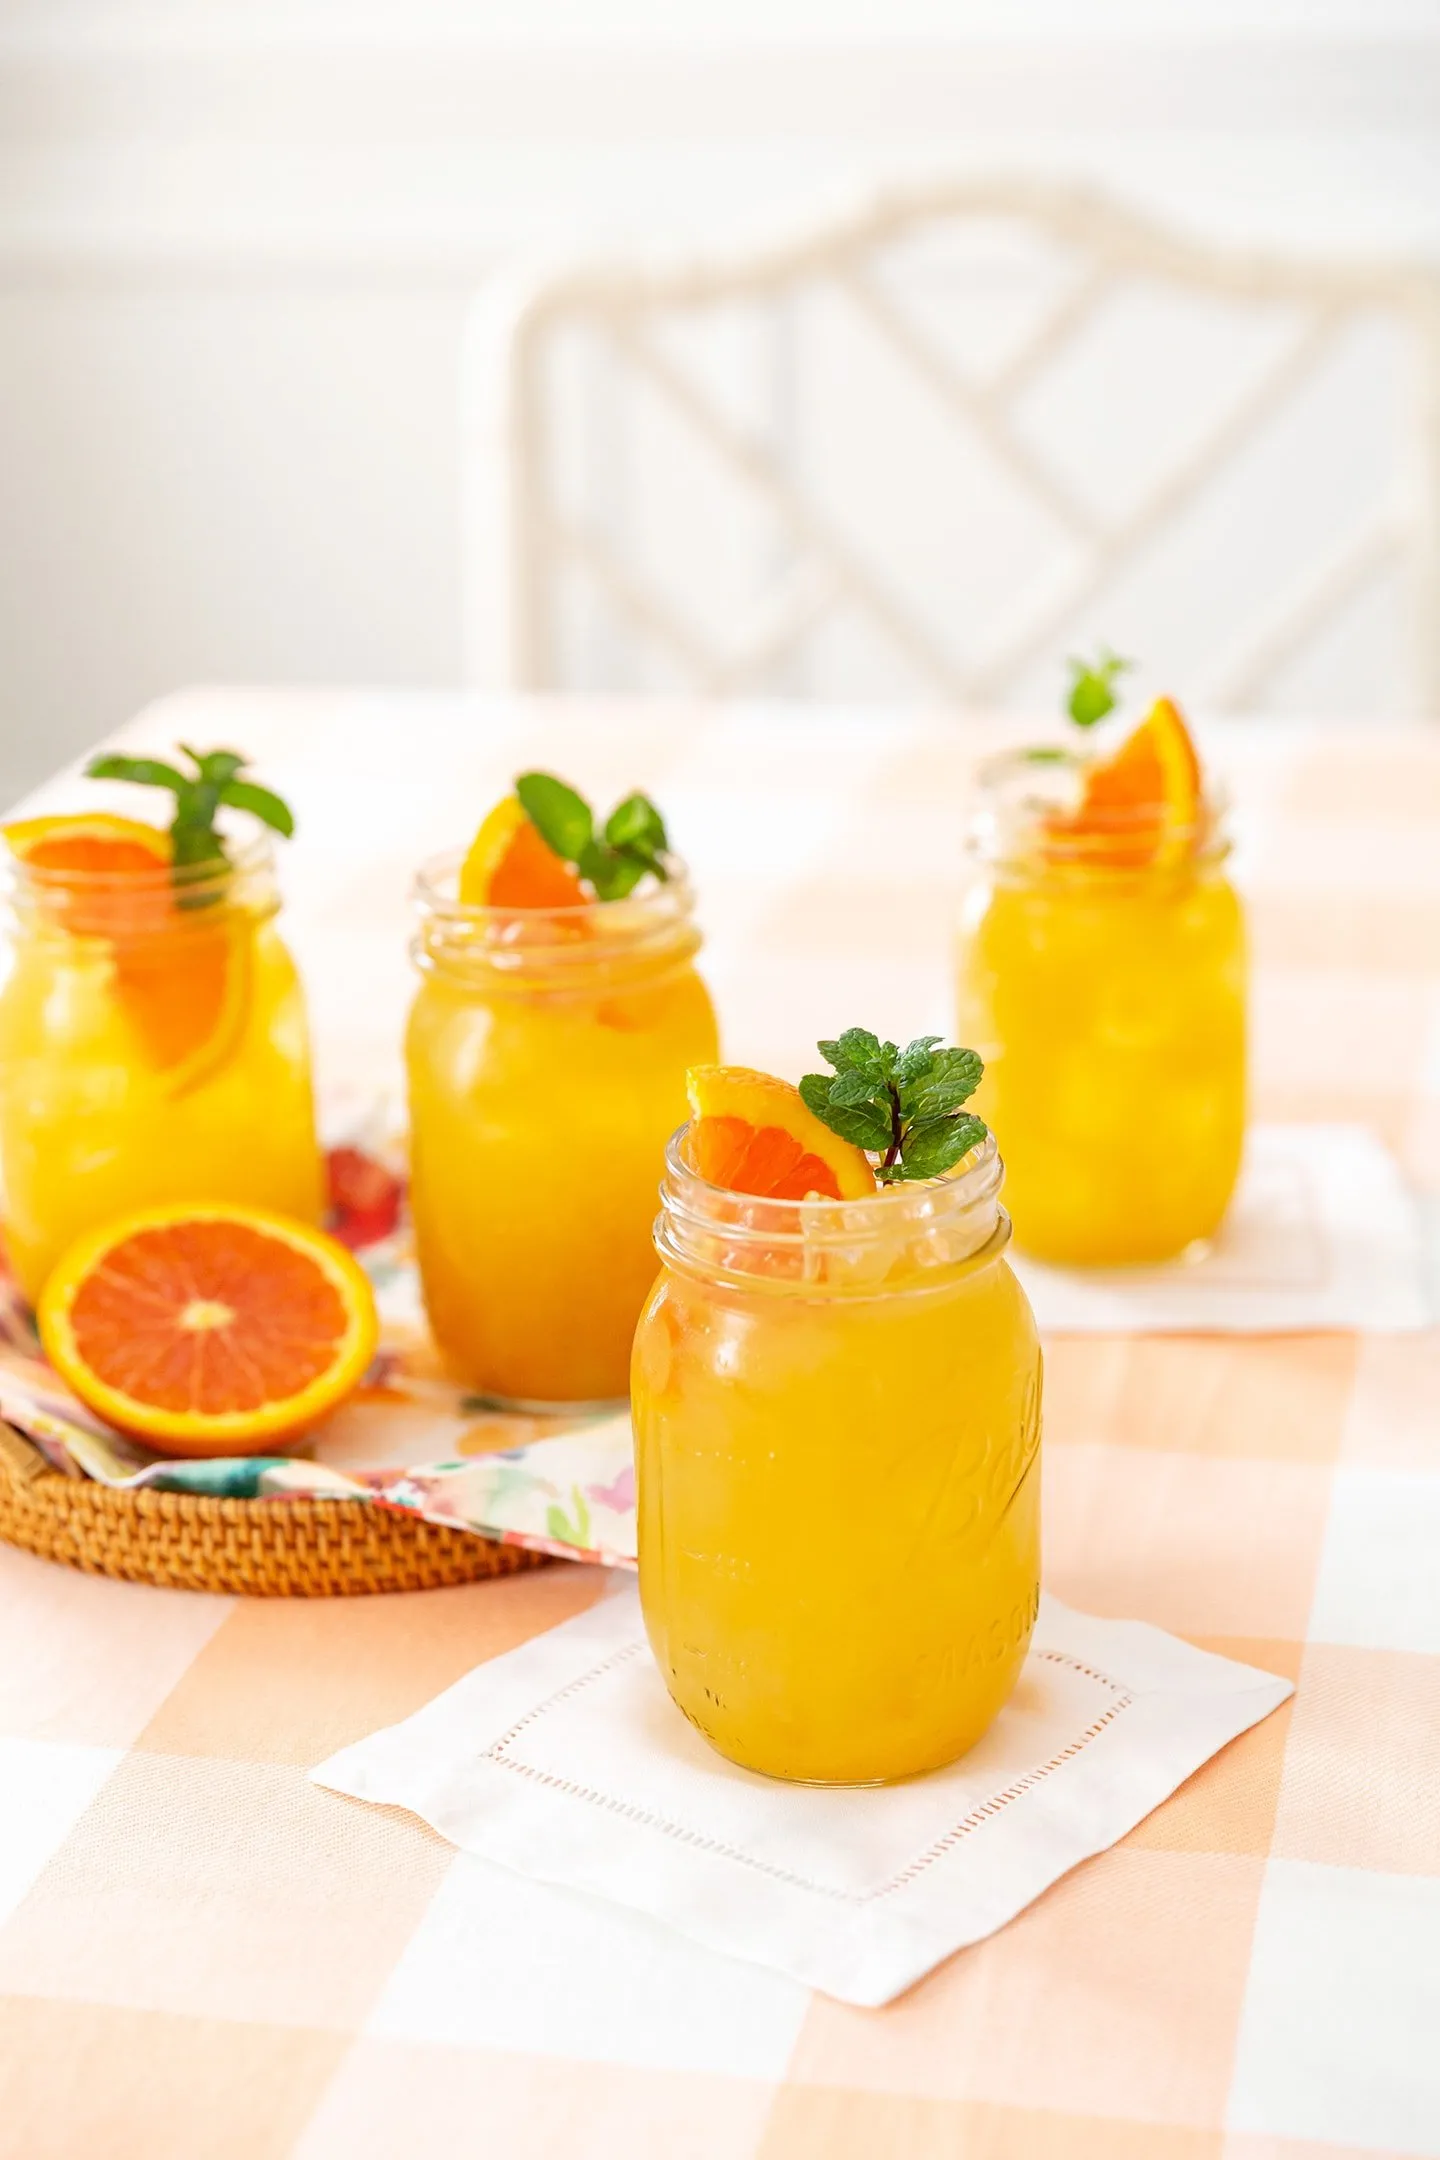 Fruit Tea garnished with orange slices and fresh mint sprigs
Image Description: A close-up of a glass of fruit tea beautifully garnished with fresh orange slices and aromatic mint sprigs.
- Citrus Slices: Lemons, limes, or oranges – use a mix for a vibrant visual appeal.
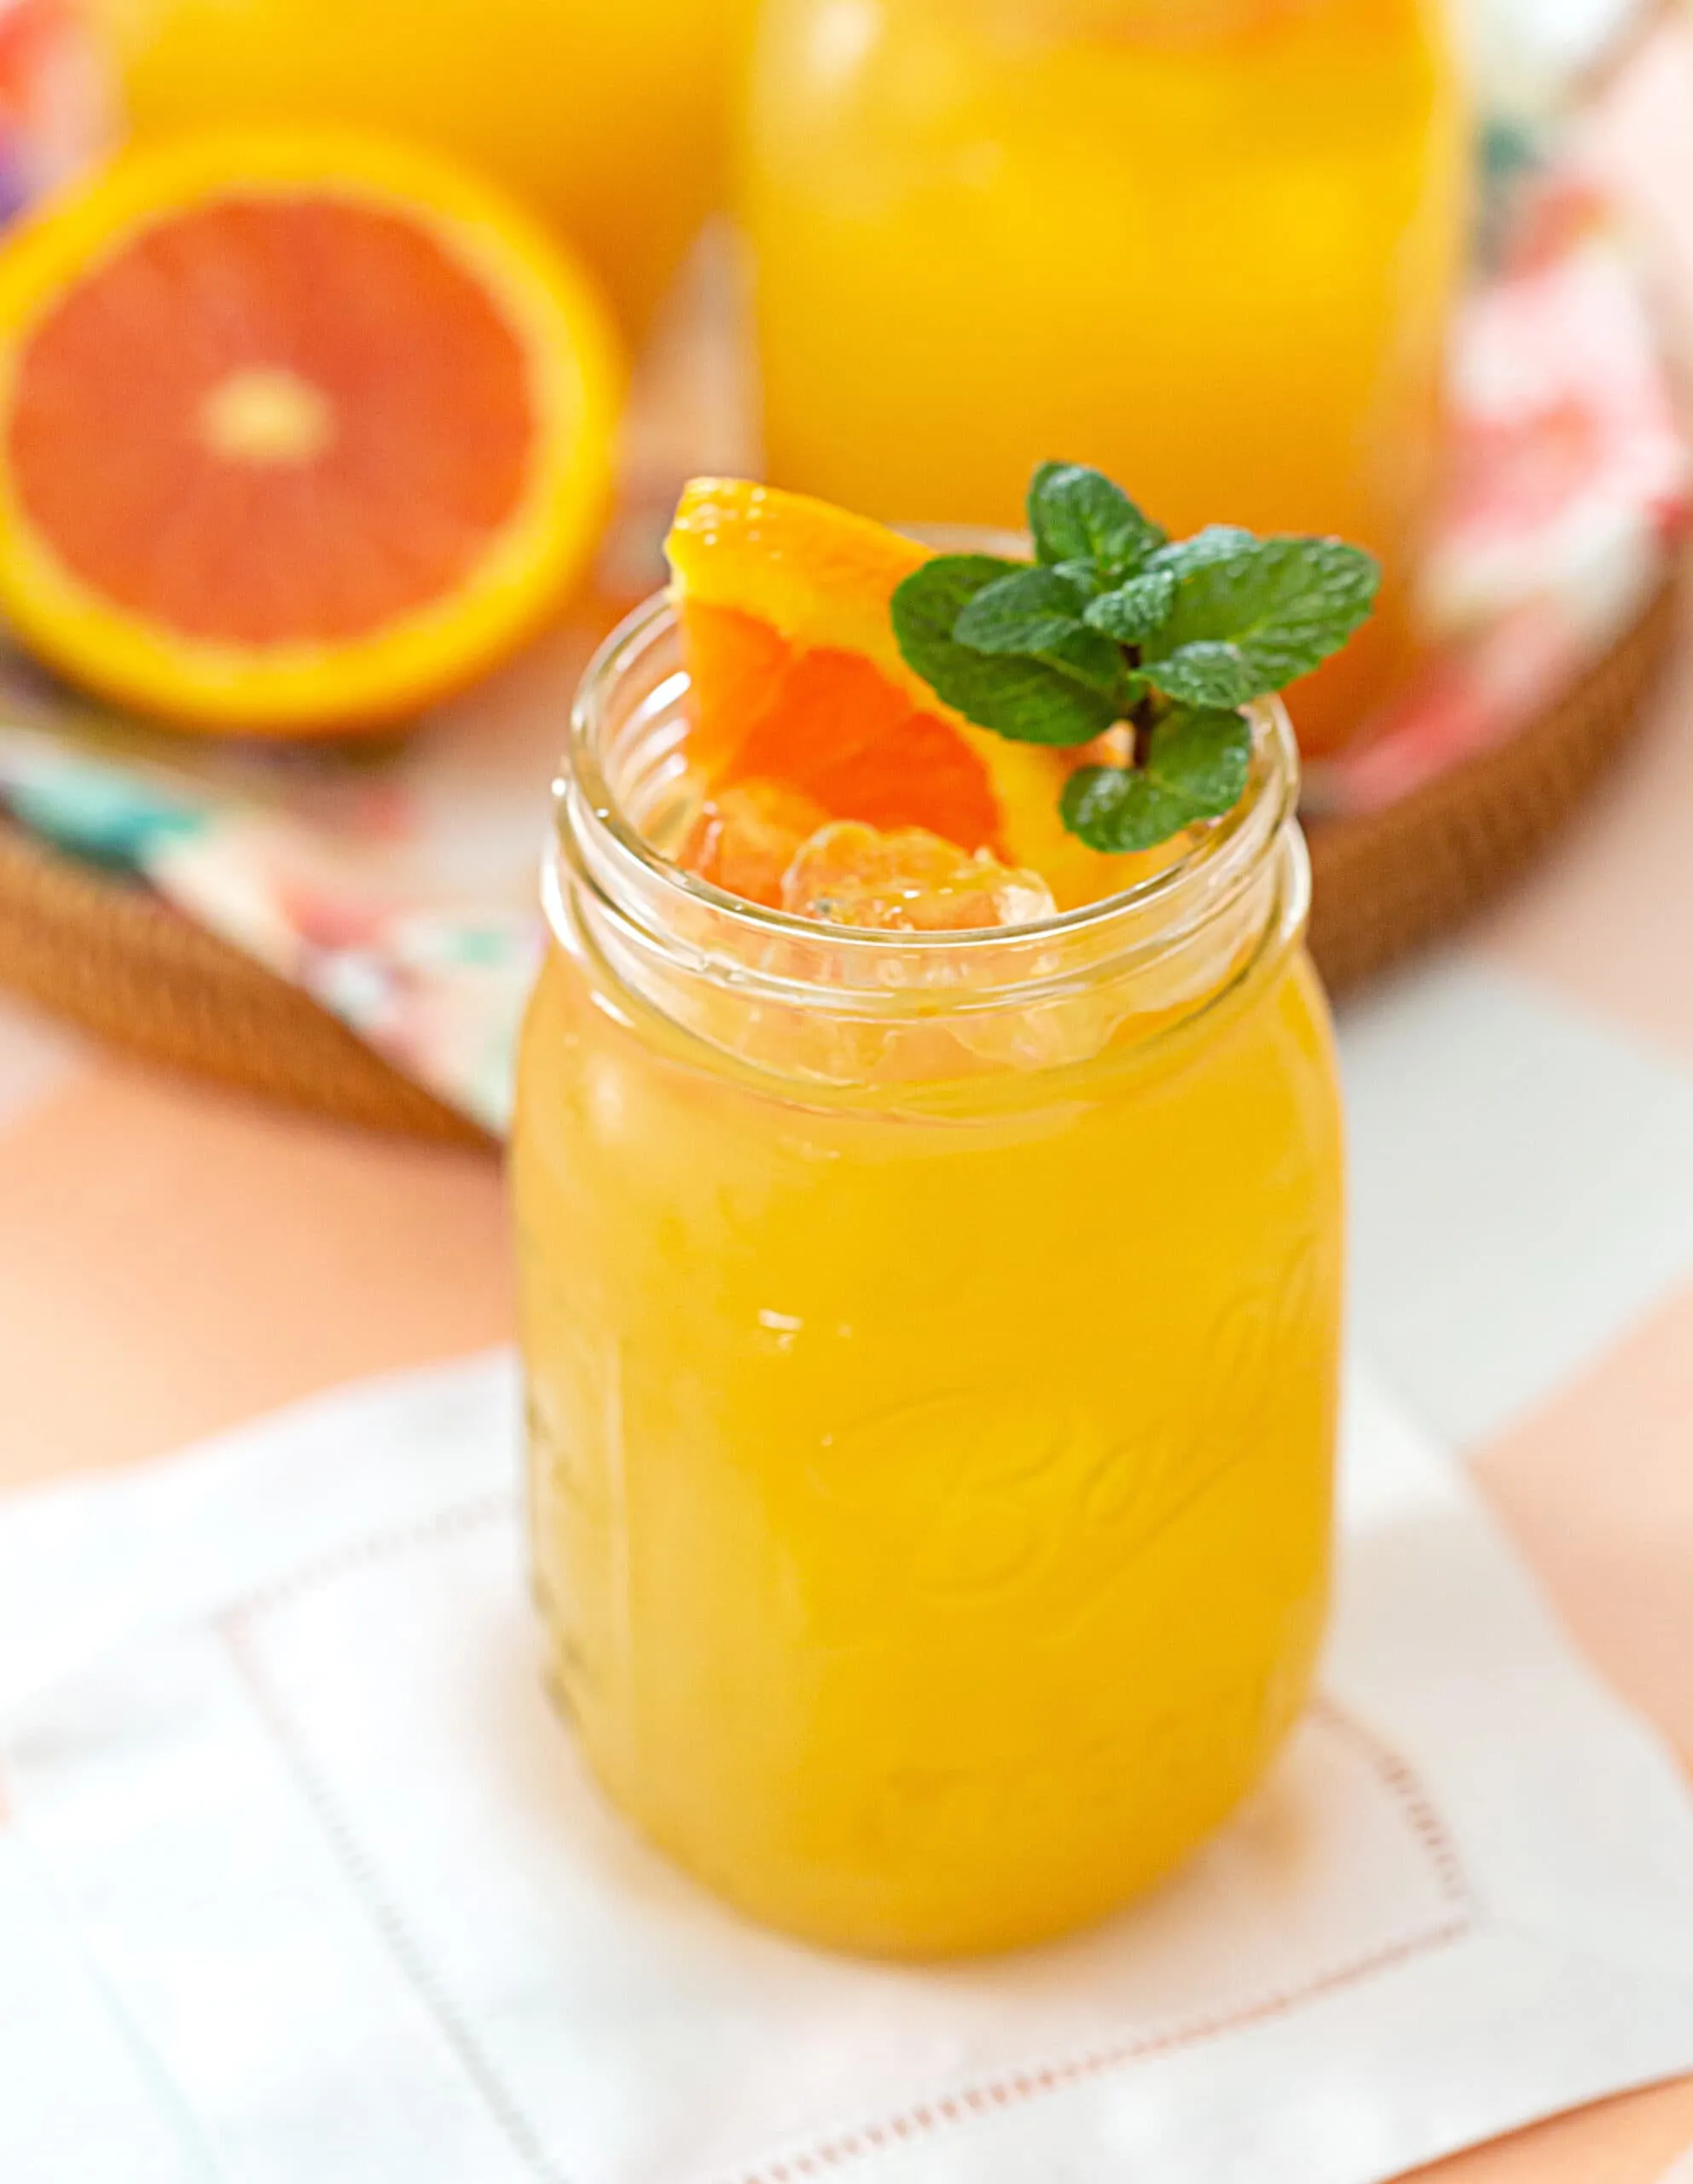 Cold glass of fresh fruit tea
Image Description: A tall, frosty glass of fruit tea adorned with a slice of orange, offering a burst of color and flavor.
- Pineapple Wedges: For a tropical twist, add a pineapple wedge to each glass.
 Fruit Tea
Image Description: A pitcher of fruit tea, accompanied by glasses filled with ice and garnished with pineapple for a tropical touch.
- Cinnamon Sticks: For a subtle aromatic touch and visual warmth.
And there you have it! A pitcher of homemade fruit tea that’s not only delicious but also a testament to your creativity.
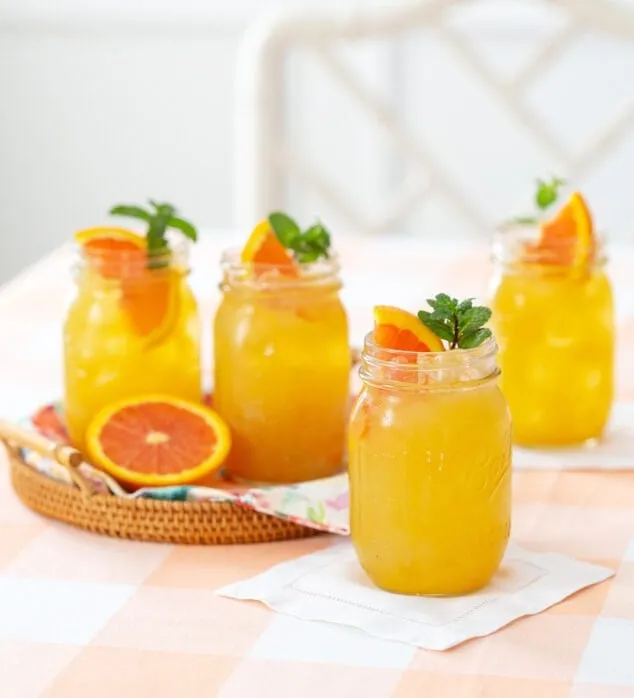
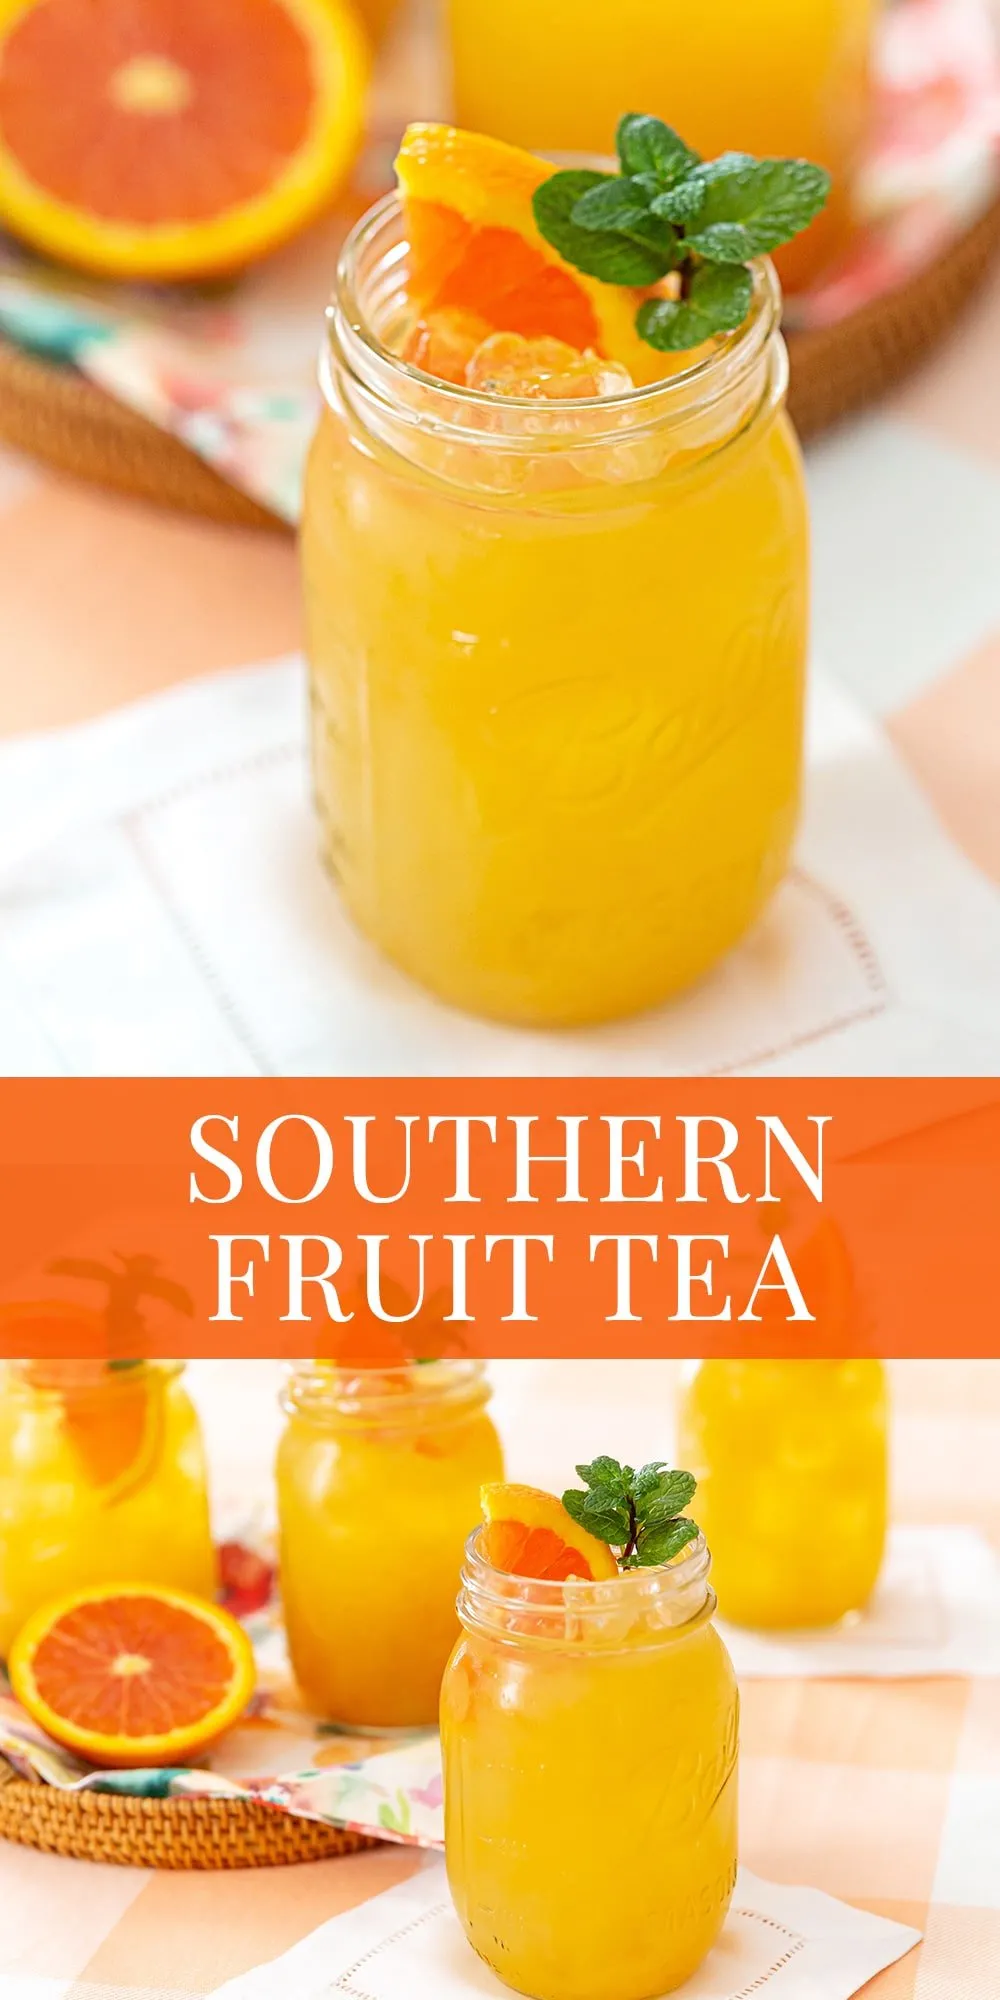 Fruit Tea served in Mason Jars with mint garnish
Image Description: Fruit tea served in charming mason jars and garnished with fresh mint, perfect for a rustic and refreshing treat.
Time to Share Your Creations!
I encourage you to give this recipe a try. It’s perfect for backyard gatherings, potlucks, or simply a relaxing afternoon on the porch. And while you’re at it, why not explore some other creative DIY projects? Head over to Robert Kline Art for more inspiration!
What are your favorite ways to add a personal touch to your drinks? Share your thoughts and ideas in the comments below – I’d love to hear from you!
