Blog
How to Make a Stunning Homemade Fruit Tart

There’s something incredibly satisfying about presenting a beautiful, homemade fruit tart. It instantly elevates any occasion, transforming your kitchen table into a charming French patisserie. Today, I’m going to guide you through the steps to create your own masterpiece – a crisp, buttery tart shell overflowing with luscious pastry cream and a vibrant medley of fresh fruit. Don’t worry, it’s much easier than you might think!
The Allure of a Classic Fruit Tart
The magic of a fruit tart lies in its delightful contrasts: the satisfying crunch of the crust, the smooth, velvety texture of the pastry cream, and the burst of sweetness from the fresh fruit.
This recipe utilizes a special kind of crust – a pâte sucrée. Unlike traditional pie crusts, this “sweet dough” incorporates more sugar, a hint of vanilla, and an egg, resulting in a texture similar to a delicate shortbread cookie. Trust me, it’s divine!
Gathering Your Ingredients
Before we embark on this delicious journey, let’s gather our supplies. I’m using some of my favorite fruits like ripe berries, kiwi, and juicy mandarin oranges, but feel free to get creative with your own combinations! You can even opt for a single fruit, like a classic strawberry tart.
Here’s a quick rundown of a few key ingredients and why they’re important:
- Fruit: While you can use any fruit your heart desires, remember that exceptionally juicy fruits like peaches or mangoes should be added just before serving to prevent a soggy crust.
- Eggs: We’ll be using both the yolks and whites in this recipe – the yolks for a rich pastry cream and the whites for future meringues or angel food cake. No waste here!
- Chocolate: A thin layer of melted chocolate brushed on the cooled crust serves as a barrier, preventing the pastry cream from softening it. Plus, it adds a delightful hint of chocolate flavor that complements the fruit beautifully!
- Jelly: For an extra touch of elegance, a glaze made from melted apple or apricot jelly will give your tart a professional, glossy finish.
Robert Kline Art Tip: Since we only need the egg yolks for the pastry cream, save the whites in an airtight container in the refrigerator. You can use them to whip up a batch of light and airy meringues!
Creating Your Fruit Tart Masterpiece
Prepare the Pastry Cream:
- Heat the dairy: In a saucepan, combine milk, heavy cream, a quarter cup of sugar, and salt. Stir continuously over medium heat until the sugar dissolves and the mixture simmers. Take it off the heat and let it cool for about 10 minutes.
- Whisk the yolks and sugar: In a separate bowl, whisk together the egg yolks and the remaining two tablespoons of sugar until the mixture is pale and thick. Gradually whisk in the cornstarch.
- Temper the eggs: Slowly drizzle about half a cup of the cooled cream mixture into the egg yolk mixture while whisking constantly. This gradual process, known as tempering, prevents the eggs from curdling. Once incorporated, gradually whisk in the remaining cream mixture.
- Thicken the pastry cream: Pour the mixture back into the saucepan and cook over medium heat. Whisk frequently until it thickens to a pudding-like consistency. This might take a few minutes, and the mixture might simmer slightly. Immediately remove from heat once it’s thickened.
- Strain and finish: Pour the pastry cream through a fine-mesh strainer into a heatproof bowl. Whisk in the softened butter, one piece at a time, followed by the vanilla extract.
- Chill: Allow the pastry cream to cool for approximately 20 minutes at room temperature. To prevent a skin from forming, cover the surface directly with parchment paper or plastic wrap. Refrigerate for at least 2-4 hours.
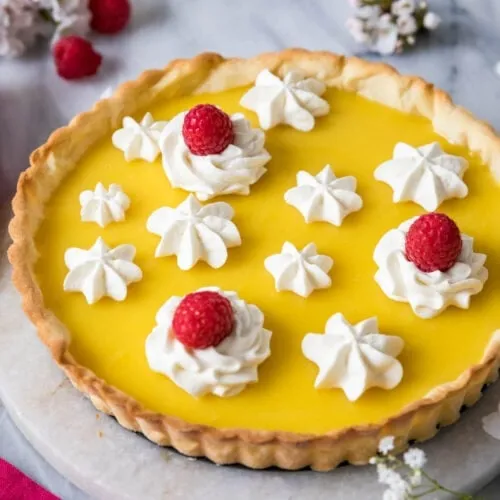
 Lemon tart decorated with piped whipped cream and raspberries.
Make the Crust:
- Pulse dry ingredients: In a food processor, combine the flour, powdered sugar, and salt. Pulse a few times to combine.
- Cut in the butter: Add the very cold butter pieces and pulse until the mixture resembles coarse crumbs.
- Add wet ingredients: Whisk together the egg and vanilla extract in a small bowl. Drizzle this mixture over the flour mixture in the food processor. Pulse until the dough just starts to come together. You’ll know it’s ready when it holds its shape when pressed between your fingers.
- Chill: Shape the dough into a disc, wrap it tightly in plastic wrap, and refrigerate for a full hour.
Blind Bake the Crust:
- Preheat and roll: Preheat your oven to 375°F (190°C). Once chilled, roll out the dough on a lightly floured surface into a 10-11 inch disc. Gently transfer it into your 9-inch tart pan.
- Prick and line: Use a fork to prick the bottom of the tart shell multiple times. This prevents air bubbles from forming during baking. Line the crust with parchment paper and fill it with pie weights or dried beans.
- Blind bake: Bake the tart shell for 20 minutes, or until the edges begin to turn a light golden brown. Carefully remove the parchment paper and pie weights. Bake for an additional 5 minutes, until the entire crust is a beautiful light golden brown.
- Cool: Let the crust cool completely before assembling the tart.
Assemble Your Fruit Tart:
- Chocolate layer: Brush a thin layer of melted chocolate onto the cooled crust, ensuring you cover the bottom and sides. Place the tart pan in the refrigerator for about 10 minutes to allow the chocolate to harden.
- Add the pastry cream: Spread the chilled pastry cream evenly over the chocolate layer in the tart shell.
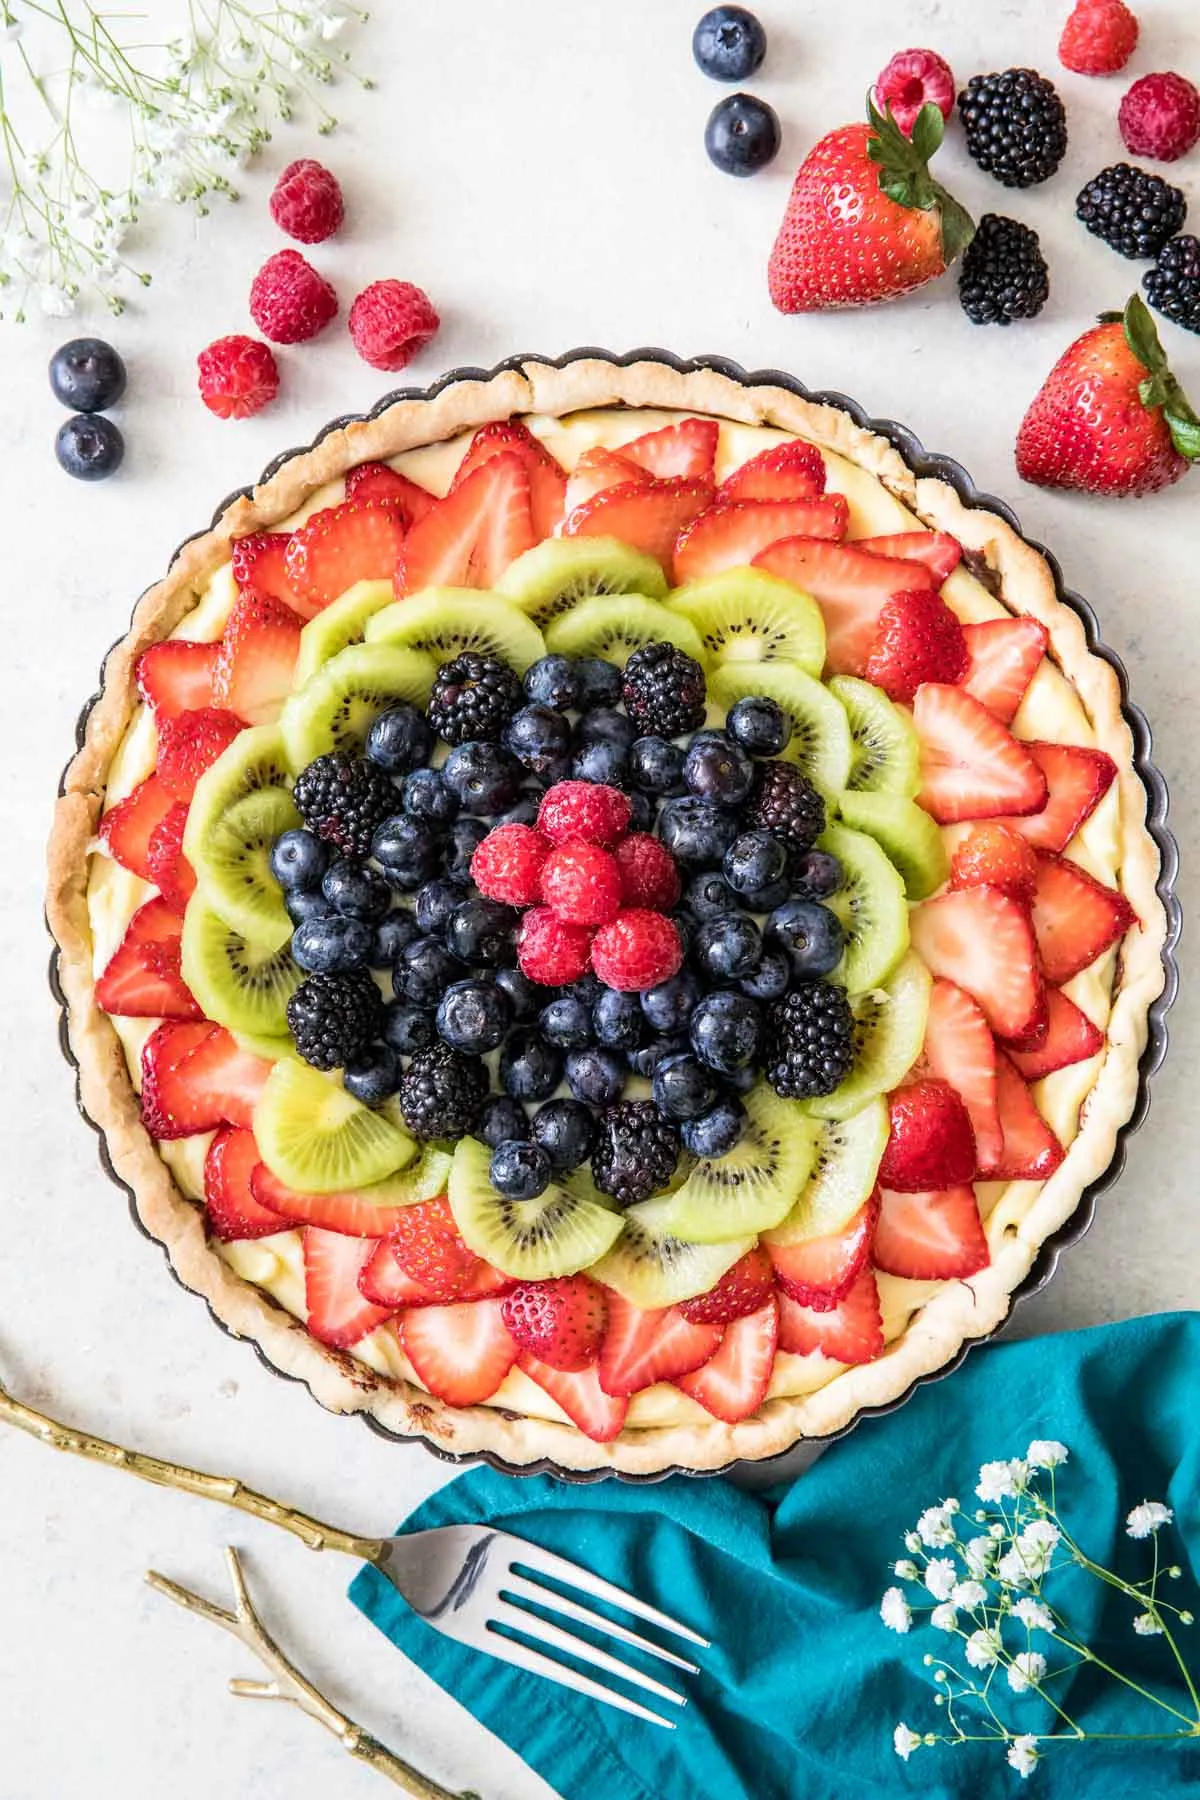
- Arrange your fruit: Now comes the fun part! Arrange your prepared fruit over the pastry cream. This is your chance to get creative with designs and color combinations.
- Optional glaze: For a professional-looking sheen, melt apple or apricot jelly with a little bit of water. Once melted, brush this glaze over the fruit.
 overhead view of fruit tart
Tips for Success and FAQs
Preventing a Soggy Crust:
The chocolate layer plays a crucial role in preventing the crust from becoming soggy. However, I also recommend serving the tart within a few days of making it.
Can I make mini fruit tarts?
Absolutely! This recipe works wonderfully for mini tart pans. Keep in mind that the baking time will be shorter for smaller tarts.
Can I make this in advance?
You can prepare the crust and pastry cream up to 3 days in advance. Store them separately in airtight containers in the refrigerator. I recommend assembling the tart with the fruit closer to serving time.
Enjoy Your Handiwork!
Congratulations! You’ve just created a stunning homemade fruit tart. Slice it up and proudly share it with your loved ones. The combination of flavors and textures, paired with the visual appeal, is sure to impress.
Looking for unique, handcrafted gifts? Visit Robert Kline Art to discover one-of-a-kind pieces perfect for any occasion.
