Blog
How to Make Delicious and Healthy Homemade Fruit Roll-Ups

As a craft enthusiast, I’m always looking for creative and rewarding projects, and let me tell you, making your own fruit roll-ups ticks all the boxes! These chewy treats are not only fun to make but also a much healthier alternative to store-bought versions. Plus, you get to control the ingredients, making them perfect for kids and adults alike.
Intrigued? Then grab your favorite fruits and let’s get rolling!
Gathering Your Supplies
Before we begin our fruit roll-up adventure, here’s what you’ll need:
- Fresh or frozen fruit: About 2-3 cups will do. Think strawberries, blueberries, mangoes, or even a delightful mix!
- Sweetener: You’ll need 2-3 tablespoons of honey, sugar, or a sugar substitute like Stevia.
- Lemon Juice: A splash (about 2 tablespoons) to enhance the fruit flavors.
- Blender or Food Processor: To achieve that smooth, irresistible texture.
- Baking Sheet: Lined with parchment paper, of course.
- Oven: Our trusty dehydrator for this project.
- Patience: Good things come to those who wait, and these fruit roll-ups are definitely worth it!
Crafting Your Masterpiece: A Step-by-Step Guide
## Blending the Fruit into a Colorful Symphony
This step is all about transforming your chosen fruits into a vibrant puree. Simply toss them into your blender or food processor and whiz until smooth.
Robert Kline Art Tip: Frozen fruit works just as well, but make sure to thaw and drain any excess liquid beforehand.
## Spreading the Fruity Canvas
Now, line your baking sheet with parchment paper – this prevents any sticky situations later on. Pour your vibrant fruit puree onto the prepared sheet and spread it evenly using a spoon or spatula.
Robert Kline Art Tip: Aim for a thickness of about ⅛ to ¼ inch. Too thick, and it’ll take longer to dry; too thin, and it might become brittle.
## Dehydrating: The Waiting Game
Here’s where patience comes in handy. Set your oven to its lowest temperature, usually around 140 to 170°F. Slide in your fruit leather and let it dehydrate for 4-6 hours.
Robert Kline Art Tip: The edges might dry faster than the center. If that happens, simply moisten them with a little water.
You’ll know your fruit leather is ready when it’s no longer tacky to the touch.
 Sarah Bond, the vegetarian food blogger behind Live Eat Learn, poses in front of her stove.
Sarah Bond, a culinary expert, shares her expertise on creating homemade fruit roll-ups, emphasizing the importance of patience during the dehydrating process.
## The Grand Finale: Rolling into Fruity Goodness
Once your fruit leather has cooled completely, peel it off the parchment paper. Now, the fun part! Use clean scissors to trim the edges and cut the leather into strips about 1 inch wide.
Finally, roll each strip into a delightful fruit roll-up, ready to be savored!
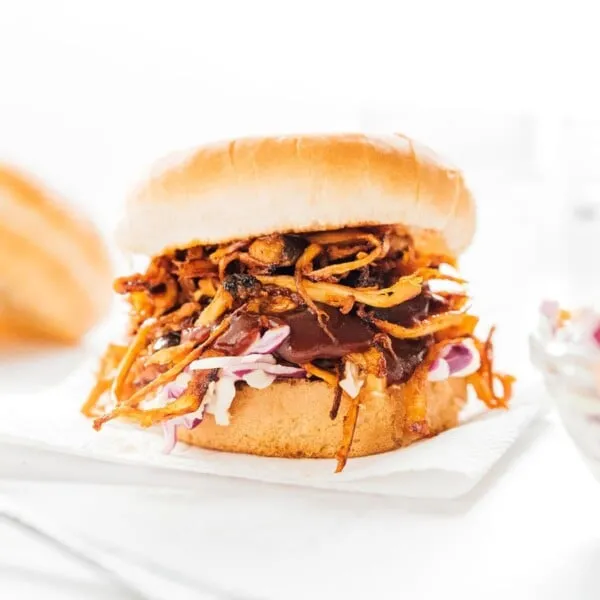
 Pulled mushrooms on a sandwich.
These fruit roll-ups are not only a visual treat but also incredibly versatile, offering endless flavor combinations to tantalize your taste buds.
Experimenting with Flavor Combinations
Here’s where you can unleash your inner artist and create your own signature fruit roll-up flavors:
- Berry Blast: Combine strawberries, raspberries, and blueberries for a vibrant and tangy treat.
- Tropical Paradise: Blend mango and pineapple for a taste of the tropics.
- Apple Pie Spice: Mix applesauce with a dash of cinnamon and nutmeg for a warm and comforting flavor.
- Ginger Zing: Add a touch of grated ginger to your favorite fruit puree for a zesty kick.
The possibilities are endless! Don’t be afraid to experiment and discover your personal favorites.
Storing Your Handmade Delights
Once you’ve mastered the art of making fruit roll-ups, you’ll want to keep them fresh and delicious for as long as possible. Store them in an airtight container in the refrigerator for up to 2 weeks.
Conclusion
Making your own fruit roll-ups is a rewarding and delicious experience. It’s a chance to unleash your creativity, control the ingredients, and impress your friends and family with your culinary skills. So why not gather your favorite fruits and embark on this delightful crafting adventure today?
And while you’re at it, why not explore the other unique handmade gifts and crafts available on Robert Kline Art? You’re sure to find the perfect piece to brighten someone’s day!
 Portobello Mushroom Burgers with an orange background – With melted sharp cheddar, the perfectly meaty texture, and best-ever Fancy Sauce, these Portobello Mushroom Burgers are the vegetarian recipe that'll have you craving mushrooms for dinner.
From fruit roll-ups to other handmade crafts, Robert Kline Art offers a diverse range of creative inspirations for your next project.
