Blog
The Art of Homemade Fruit Leather: A Sweet and Healthy Treat

Hey there, fellow art enthusiasts! Today, we’re diving into the delicious world of homemade fruit leather. This naturally sweet and chewy treat is not only fun to make but also a healthy alternative to store-bought fruit roll-ups. Forget about artificial colors, added sugar, and preservatives – let’s create a snack that’s bursting with natural goodness!
Gathering Your Supplies: A Minimalist’s Guide
One of the best things about making fruit leather is its simplicity. You don’t need any fancy equipment, just a few basic kitchen staples:
- Ripe Fruit: The star of the show! Strawberries, mangoes, blueberries, peaches – the options are endless. Choose your favorite or get creative with combinations.
- Lemon Juice: A dash of lemon juice adds a bright, tangy note and helps preserve the vibrant color of your fruit leather.
- Blender: This trusty appliance will transform your fruit into a smooth and silky puree.
- Baking Sheet: The stage for your fruit leather masterpiece.
- Parchment Paper: A must-have for lining your baking sheet and preventing sticking.
- Patience: Good things take time, and fruit leather is no exception.
Creating Your Masterpiece: A Step-by-Step Guide
-
The Puree: Wash and chop your chosen fruit, then toss it into your blender. Whirl it up until you have a velvety smooth puree. Add a teaspoon of lemon juice and give it a final blend.
 A blender filled with ingredients for homemade fruit leather.
 -
Prepping the Canvas: Preheat your oven to its lowest setting. Line your baking sheet with parchment paper, ensuring it covers the entire surface.
-
Spreading the Love: Pour your fruit puree onto the prepared baking sheet and spread it evenly using a spatula. Aim for a thin and consistent layer.
-
The Slow Dance of Dehydration: This is where patience comes in! Place your baking sheet in the preheated oven and let the fruit leather slowly dehydrate for 3-4 hours. The exact time will depend on your oven and the thickness of the puree. Keep a close eye on it and start checking for doneness after 3 hours.
-
Cooling and Peeling: Once your fruit leather is no longer sticky to the touch, remove it from the oven and let it cool completely on the baking sheet. Once cooled, it should easily peel away from the parchment paper.
-
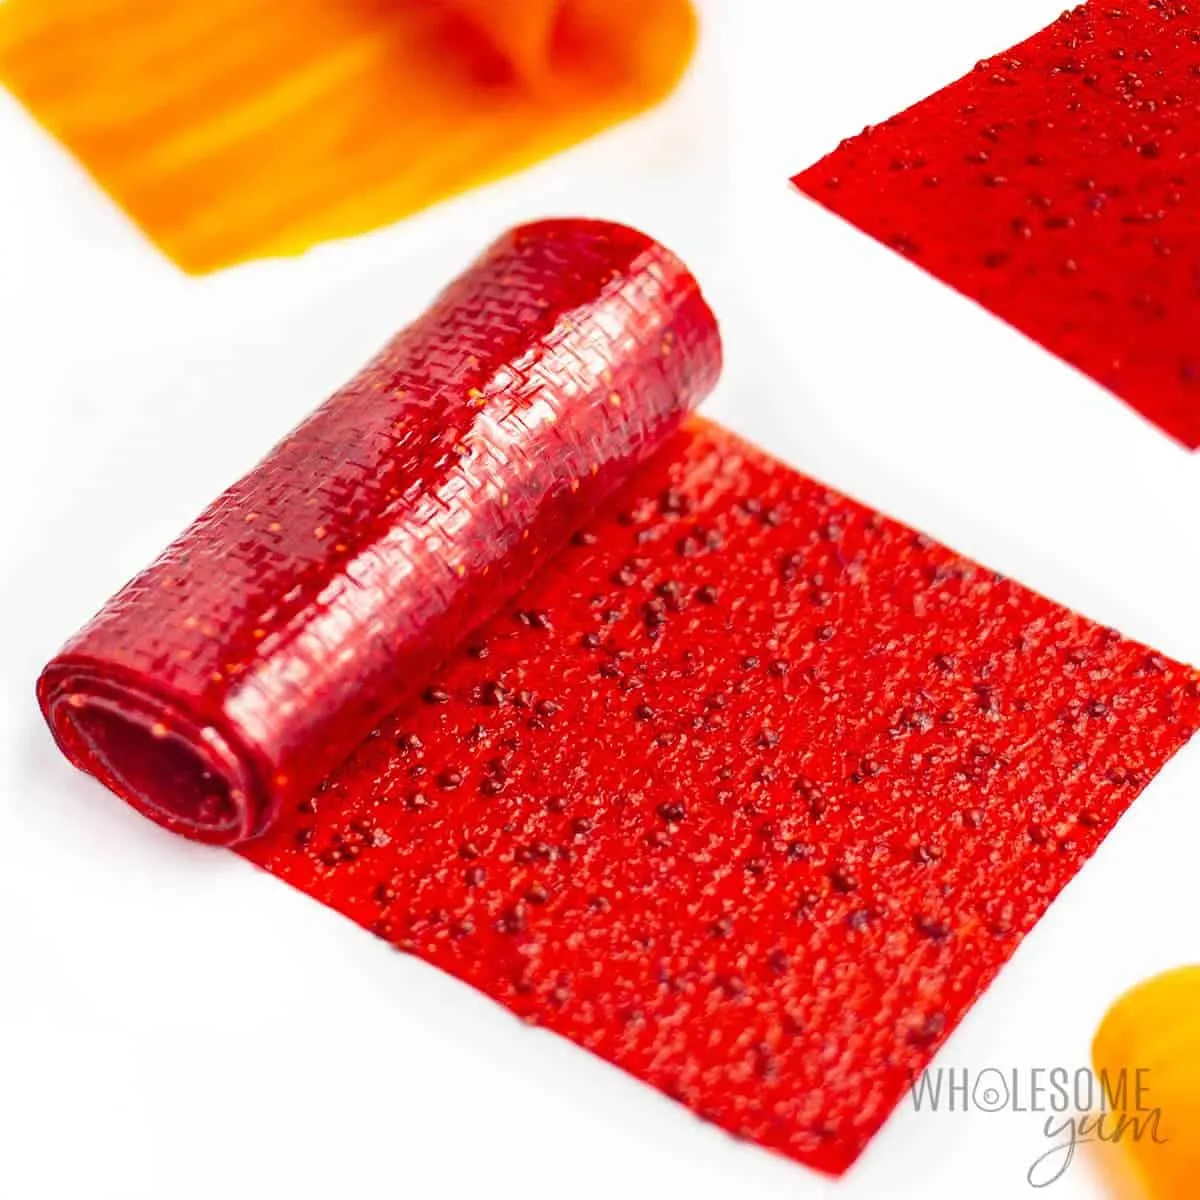
Slicing and Rolling: Using a pizza cutter or a sharp knife, cut the fruit leather into strips of your desired width. Now, for the fun part – roll each strip into a beautiful fruit leather scroll!
 A blender filled with ingredients for homemade fruit leather.
Tips From Robert Kline Art: Mastering the Craft
- Texture is Key: For a smoother texture, strain out any seeds or pulp before spreading the puree onto the baking sheet.
- Sweetness Level: If your fruit isn’t naturally very sweet, you can add a touch of honey or maple syrup to the puree.
- Storage Secrets: Store your fruit leather in an airtight container at room temperature for up to a week. For longer storage, pop it in the freezer – it’ll last for several months!
Conclusion: Unleash Your Inner Fruit Leather Artist!
Making homemade fruit leather is a rewarding experience that combines creativity, culinary skills, and a touch of whimsy. Experiment with different fruits, get playful with shapes and sizes, and don’t be afraid to add your personal touch. Share your creations with loved ones and spread the joy of homemade goodness!
We’d love to hear about your fruit leather adventures! Share your experiences, tips, and flavor combinations in the comments below. And for more handmade inspiration, explore the unique and thoughtful gifts available on Robert Kline Art – perfect for adding a personal touch to any occasion.
