Blog
The Art of Homemade Fruit Leather: A Sweet and Healthy Treat

Remember the joy of peeling open a brightly colored fruit roll-up as a kid? Let’s recreate that magic with a healthier, homemade twist! Making your own fruit leather is surprisingly simple, requiring minimal ingredients and effort. It’s a fun and rewarding activity that results in a delicious, naturally sweet snack perfect for kids and adults alike.
Gathering Your Supplies
This recipe calls for just a handful of readily available items:
- Fresh Fruit: This is where you can get creative! Strawberries, mangoes, blueberries, peaches – the choice is yours. You’ll need about one pound, roughly 2-3 cups of prepared fruit.
- Lemon Juice: A teaspoon, fresh or bottled, does wonders in brightening the flavor and preserving the vibrant color of your fruit leather.
- Blender: A high-powered blender will be your best friend in achieving a silky-smooth puree.
- Baking Sheet: Opt for a standard-sized baking sheet to accommodate the fruit puree.
- Parchment Paper or Silicone Mat: These will prevent sticking and ensure easy removal of your fruit leather.
Crafting Your Fruit Leather Masterpiece
- The Perfect Puree: Combine your chosen fruit and lemon juice in the blender. Blend until the mixture is completely smooth, ensuring no large chunks remain.

- Prepping for the Oven: Preheat your oven to its lowest setting. Line your baking sheet with parchment paper or a silicone mat.
- Spreading the Goodness: Pour the fruit puree onto your prepared baking sheet, using a spatula to spread it evenly into a thin layer.

- The Waiting Game: This is where patience comes in. Place the baking sheet in the oven and allow the fruit leather to dehydrate for 3-4 hours. A good rule of thumb – it’s ready when the center is no longer sticky.
- Cooling and Cutting: Once dehydrated, remove the fruit leather from the oven and let it cool completely on the baking sheet. Once cool, use a pizza cutter or knife to cut it into strips.
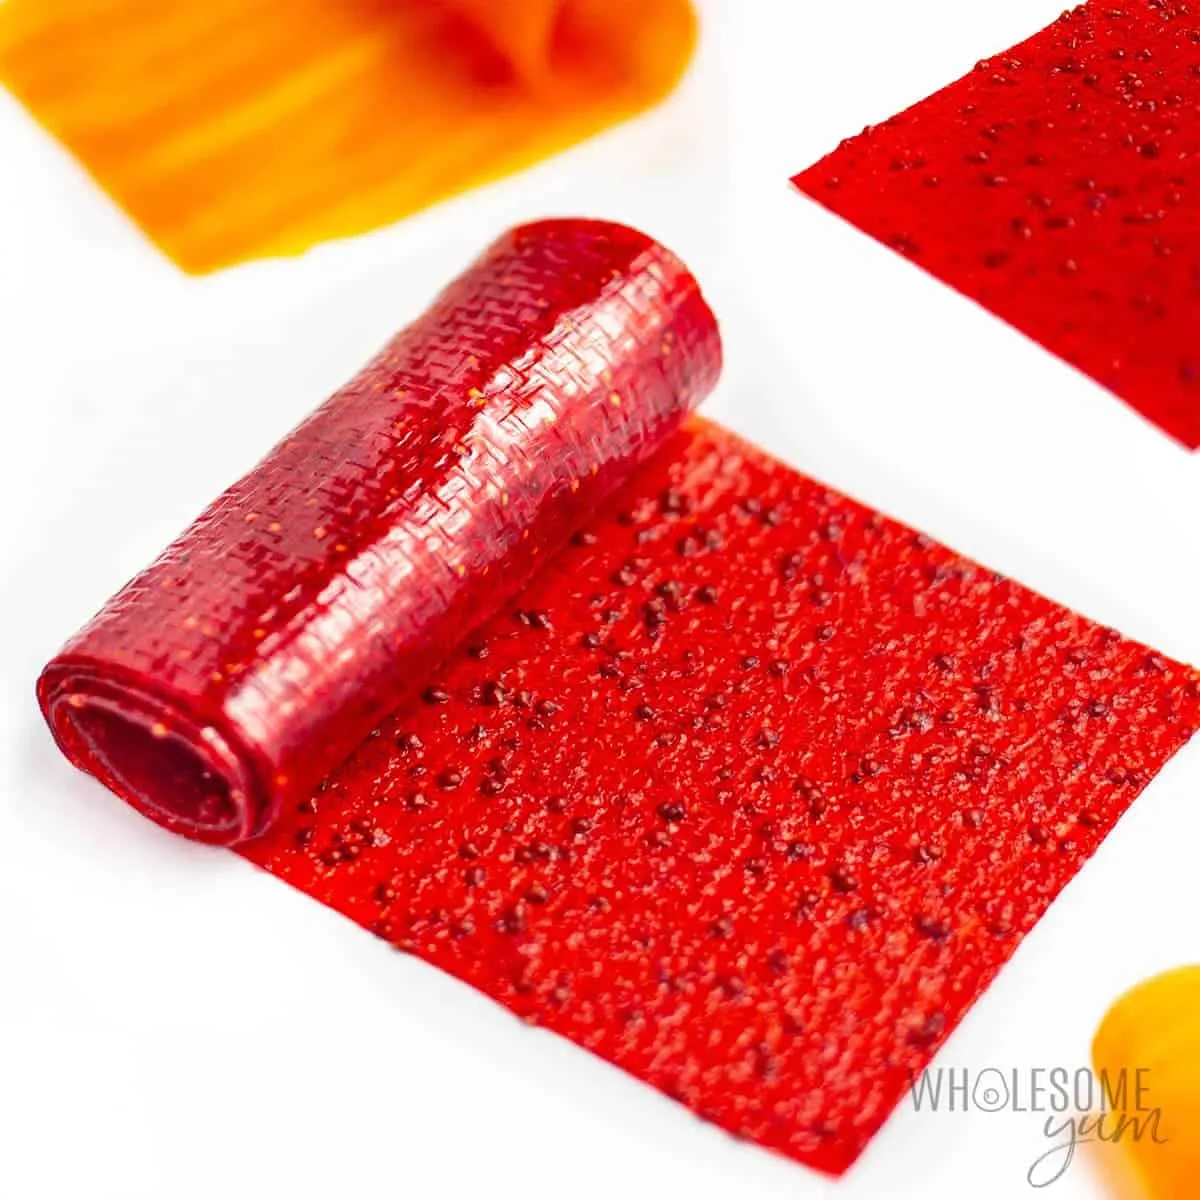
 Homemade fruit leather recipe partially unrolled.
 - Ready to Roll: Roll up each strip, parchment paper and all, to prevent sticking.
Tips From My Studio
Over the years, I’ve discovered some tricks that guarantee fruit leather perfection:
- Straining for Smoothness: For a seedless fruit leather, strain the puree through a fine-mesh sieve before spreading it on the baking sheet.
- Even Distribution is Key: Ensure the puree is evenly spread on the baking sheet. An uneven layer can lead to uneven cooking and a less-than-ideal texture.
- Don’t Overdo It: Keep a close eye on your fruit leather while it’s dehydrating. Overdrying will make it brittle and prone to cracking.
- Sweetness Adjustment: If the fruit you’re using is particularly tart, feel free to add a touch of honey or your preferred sweetener.
Conclusion
Making your own fruit leather is a rewarding experience. It’s a chance to flex your creative muscles in the kitchen while crafting a delicious and healthy snack. So gather your ingredients, embrace the process, and enjoy the fruits of your labor!
What are your favorite fruit combinations for homemade fruit leather? Share your thoughts and creations in the comments below! And be sure to explore Robert Kline Art for more inspiring DIY projects and unique gift ideas.
