Blog
The Art of Homemade Fruit Leather: A Sweet and Healthy Treat

Hey there, fellow art enthusiasts! Today, we’re diving into a project that combines creativity with the natural goodness of fruit: making homemade fruit leather. Forget the store-bought stuff loaded with sugar and artificial ingredients! We’re going for pure, delicious, and healthy snacks that are as satisfying to make as they are to eat.
Gathering Your Artistic Supplies: Fruit Leather Essentials
Before we unleash our inner culinary artist, let’s gather our supplies. Remember, just like any art form, using high-quality “materials” makes all the difference.
- Fruit: Your canvas awaits! Opt for ripe, flavorful fruits like strawberries, mangoes, berries, or even peaches. Around one pound, roughly 2-3 cups of fruit, should do the trick.
- Lemon Juice: A teaspoon of this magic potion, either fresh or bottled, enhances the fruit’s natural sweetness and helps preserve its vibrant color. Lime juice works well too.
- Optional Enhancements: For those feeling a tad adventurous, spices like cinnamon, nutmeg, or even a dash of ginger can add exciting flavor dimensions.
Creating Your Masterpiece: Step-by-Step Fruit Leather Guide
Now, let’s transform these simple ingredients into edible art. Don’t worry, I’ll guide you through each step, sharing tips and tricks I’ve picked up along the way.
1. The Puree: Blending Your Colors
- Toss your chosen fruit into a high-powered blender and blitz until you have a velvety smooth puree. Remember, a good blender is key to a lump-free masterpiece.
- Add your lemon juice and give it another whirl to ensure it’s fully incorporated.
2. Preparing the Canvas: Lining Your Baking Sheet
- Line your baking sheet with parchment paper or a silicone mat. Avoid foil – it’s a recipe for sticking disasters! Trust me, I’ve learned the hard way.
3. Spreading Your Palette: Creating an Even Layer
- Pour your vibrant fruit puree onto the prepared baking sheet.
- Using a spatula, spread it evenly, aiming for a thin layer – think the thickness of a fruit roll-up. A little tip: shaking the baking sheet gently can help achieve a uniform spread.
4. The Drying Process: Patience is Key
- Set your oven to its lowest temperature setting, usually around 170°F. This low and slow approach is crucial for that perfect chewy texture.
- Slide your baking sheet into the oven and let the magic happen for about 3-4 hours. Remember, patience is a virtue, especially in the art of fruit leather making! The center should no longer be sticky to the touch when it’s done.
5. Cooling and Peeling: Unveiling Your Creation
- Once baked, allow your fruit leather to cool completely on the baking sheet. This step is crucial for easier peeling and prevents breakage.
- Once cooled, gently peel the fruit leather off the parchment paper. It should come off relatively easily.
6. The Final Touch: Cutting and Rolling
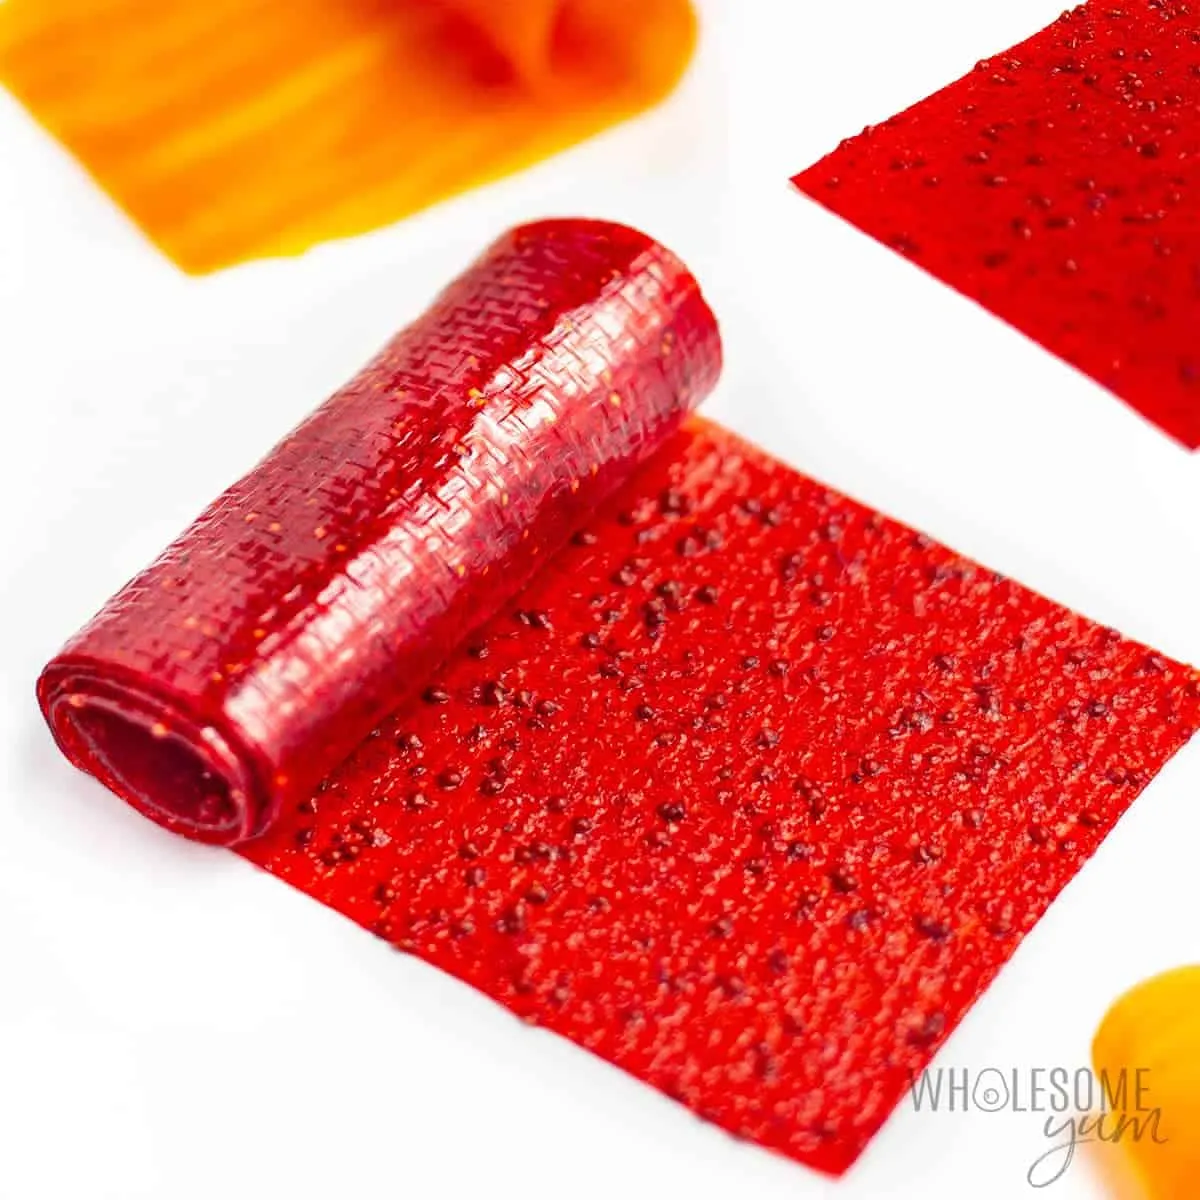
- Now, for the fun part! Using a pizza cutter or a sharp knife, cut your fruit leather sheet into strips. Get creative with the sizes and shapes!
- Roll up each strip, parchment paper and all, for easy storage and snacking.
Fruit Leather Variations: Exploring Different Artistic Styles
- Tropical Delight: Mangoes and a touch of lime juice create a taste of the tropics.
- Berry Blast: A mix of berries like strawberries, raspberries, and blueberries makes for a vibrant and flavorful treat.
- Autumn Spice: Applesauce with a sprinkle of cinnamon and nutmeg evokes cozy fall vibes.
Tips From Robert Kline Art: Secrets to Fruit Leather Success
- If your puree is too thick, a little water can help thin it out for easier blending and spreading.
- Over-dried fruit leather can become brittle, so keep a close eye on it during the drying process.
- Don’t be afraid to experiment with different flavor combinations! Get creative and let your artistic instincts guide you.
Conclusion: Enjoy Your Edible Artwork
Congratulations, my friend! You’ve created a delicious and healthy snack that’s as unique as you are. Share your fruit leather masterpieces with loved ones or savor them all by yourself – you deserve it!
Remember, crafting homemade fruit leather, like any art form, takes practice and patience. Don’t be discouraged if your first attempt isn’t perfect. Embrace the learning process, experiment, and most importantly, have fun!
What are your favorite fruit combinations? Share your thoughts and experiences in the comments below! And don’t forget to explore Robert Kline Art for more unique and inspiring craft ideas. Let’s keep those creative juices flowing!
 Homemade fruit leather recipe partially unrolled.
