Blog
Crafting Delicious and Unique Apple Leather Coasters
Hey there, art enthusiasts and DIY lovers! Robert Kline here, from Robert Kline Art, your trusted source for all things creative and crafty. Today, we’re diving into the world of homemade delights with a unique twist: crafting beautiful and practical apple leather coasters.
From Orchard Bounty to Artful Coasters
Remember my recent trip to Reid’s Orchard? Those early apples we picked weren’t exactly ideal for eating – a tad mealy for my liking. But they sparked an idea! Why not transform them into something unique and functional? Thus, the journey to crafting apple leather coasters began.
Gathering Your Supplies: A Symphony of Flavors and Tools
Before we embark on this creative endeavor, let’s gather our tools and ingredients:
- Fresh Apples: The heart of our project. Choose apples that are ripe but not overly soft.
- Water or Apple Cider: To simmer the apples and enhance their natural sweetness.
- Cinnamon: A dash of warmth and spice, because who can resist that comforting aroma? I recommend Penzey’s Vietnamese Cassia for its robust flavor.
- Blender: Our trusty sidekick for achieving a smooth and consistent apple puree.
- Dehydrator: The magic maker that transforms our apple mixture into beautiful leather.
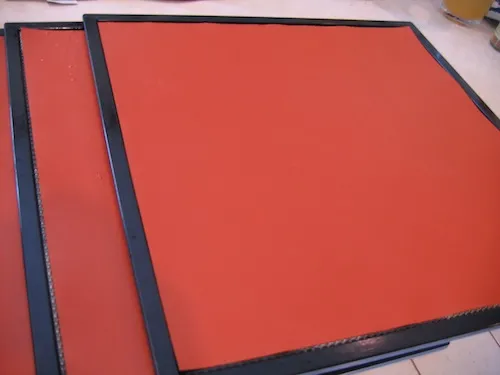
- Dehydrator Trays: Essential for holding the apple puree as it dries.
- Parchment Paper (optional): For lining the dehydrator trays, making cleanup a breeze.
 Dehydrator Trays
Caption: Prepped and ready for their apple transformation – dehydrator trays await!
Crafting Apple Leather: A Step-by-Step Guide
-
Preparing the Apples: Begin by washing, peeling, coring, and chopping the apples. Aim for smaller pieces to expedite the cooking process.
-
Simmering to Perfection: Place the chopped apples in a saucepan and add water or apple cider (1 cup of liquid per pound of apples). Bring the mixture to a boil, then reduce the heat and simmer for about 20 minutes, or until the apples are tender.
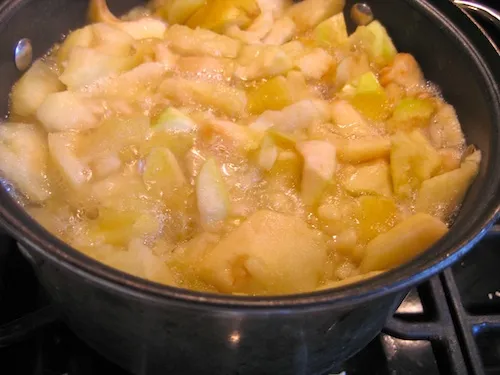 Apples cooking
Caption: The aroma of simmering apples, a true delight!
- Blending into Smoothness: Once the apple mixture has cooled, transfer it to a blender. Blend until you achieve a smooth and velvety puree. Now’s the time to add your cinnamon, adjusting the amount to your preference. Remember, a little goes a long way!
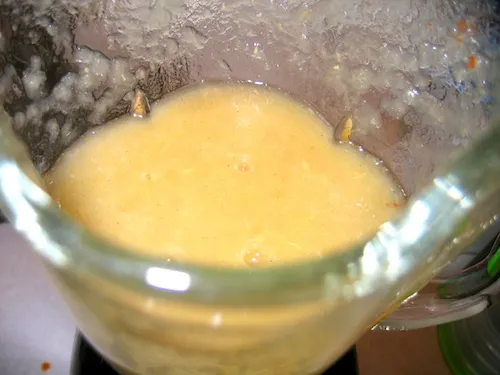 Apples in Blender
Caption: Whipping up a smooth and flavorful apple puree.
-
Prepping the Dehydrator Trays: If using, line your dehydrator trays with parchment paper. This prevents sticking and makes for effortless removal later.
-
Pouring and Spreading: Pour the apple puree onto the prepared dehydrator trays, spreading it evenly with a spatula. Aim for a thickness of about 1/4 inch for optimal drying.
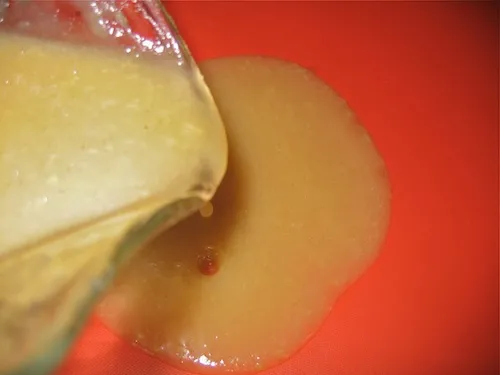 Pouring the apple sauce
Caption: Evenly spreading the apple puree – the key to consistent drying.
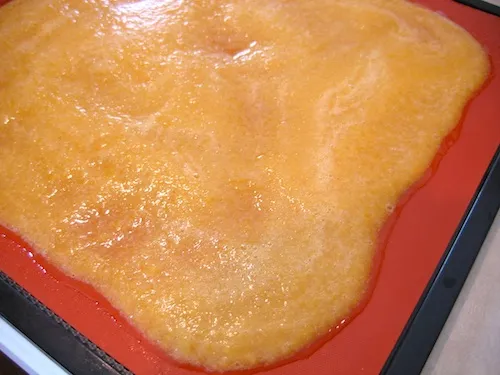 Apple sauce on dehydrator sheet
Caption: Ready to transform – apple puree meets dehydrator tray.
-
Drying Time: Place the trays in the dehydrator and set the temperature according to your dehydrator’s instructions for fruit leather. Drying time can vary, but it typically takes around 12-15 hours.
-
Leather Perfection: You’ll know your apple leather is ready when it’s firm to the touch and peels away from the parchment paper easily. It should have a slightly tacky feel but not be overly sticky.
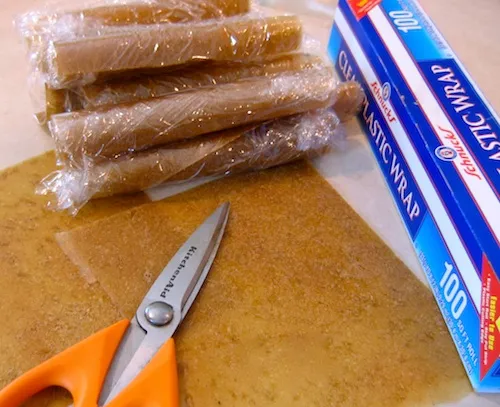 Apple Leather
Caption: Apple leather perfection – a testament to patience and creativity.
- Cutting and Shaping: Once cooled, carefully peel the apple leather from the parchment paper. Now, the fun part! Use a sharp knife or cookie cutters to cut the leather into coaster-sized circles or squares. You can get creative with shapes too!
Beyond Coasters: Unleashing Your Creativity
These apple leather creations aren’t just for protecting surfaces – they’re a testament to your creativity! Here are a few ideas:
- Personalized Gifts: Package them up with a ribbon for unique and thoughtful presents.
- Festive Decorations: Use holiday-themed cookie cutters for seasonal charm.
- Edible Art: Get adventurous and create patterns or designs with different fruit purees.
Expert Tips and Tricks
- Thickness Matters: For coasters, a slightly thicker leather (around 1/4 inch) works best.
- Even Spreading is Key: This ensures uniform drying and prevents cracking.
- Dehydrator Models Vary: Always refer to your dehydrator’s manual for optimal settings.
- Storage is Simple: Store your apple leather coasters in an airtight container at room temperature for up to a year.
A World of Flavorful Possibilities
A big thanks to Mary Bell and her inspiring book, “Mary Bell’s Complete Dehydrator Cookbook” – a treasure trove of dehydrating wisdom!
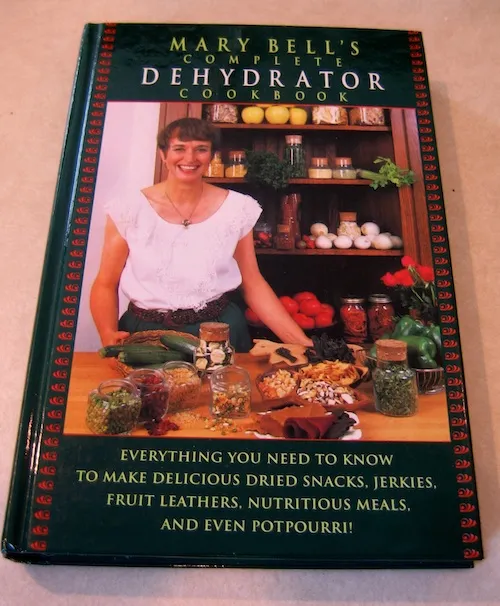 Mary Bell's Complete Dehydrator Cookbook
Caption: A wealth of dehydrating inspiration awaits!
This apple leather coaster project is just the beginning. So, grab those apples, unleash your inner artist, and let’s create something extraordinary! Share your creations and crafting adventures on Robert Kline Art – we’d love to see what you make!
