Homemade Fruit Glaze: Elevate Your Desserts with a Touch of Sparkle

Have you ever gazed upon a fruit tart, its surface gleaming with a jewel-like glaze, and felt a pang of longing? That, my friends, is the magic of fruit glaze. It elevates simple fruit desserts into elegant masterpieces. And the best part? You can easily recreate this magic in your own kitchen!
The Allure of Homemade Fruit Glaze
While store-bought glazes exist, nothing beats the satisfaction and flavor control of a homemade fruit glaze. This simple concoction, made with just a few pantry staples, allows you to infuse your desserts with the bright, natural flavors of your favorite fruits. Imagine a strawberry glaze bursting with the essence of summer or a blueberry glaze that sings of warm, comforting flavors. The possibilities are endless!
Crafting Your Own Fruit Glaze: A Step-by-Step Guide
Gather Your Ingredients
- 1/2 cup sugar
- 1 1/2 cups fruit juice (choose your favorite!)
- Cornstarch or Ultra Gel (for thickening – we’ll discuss this further below!)
- 2 tablespoons corn syrup
Let’s Get Cooking!
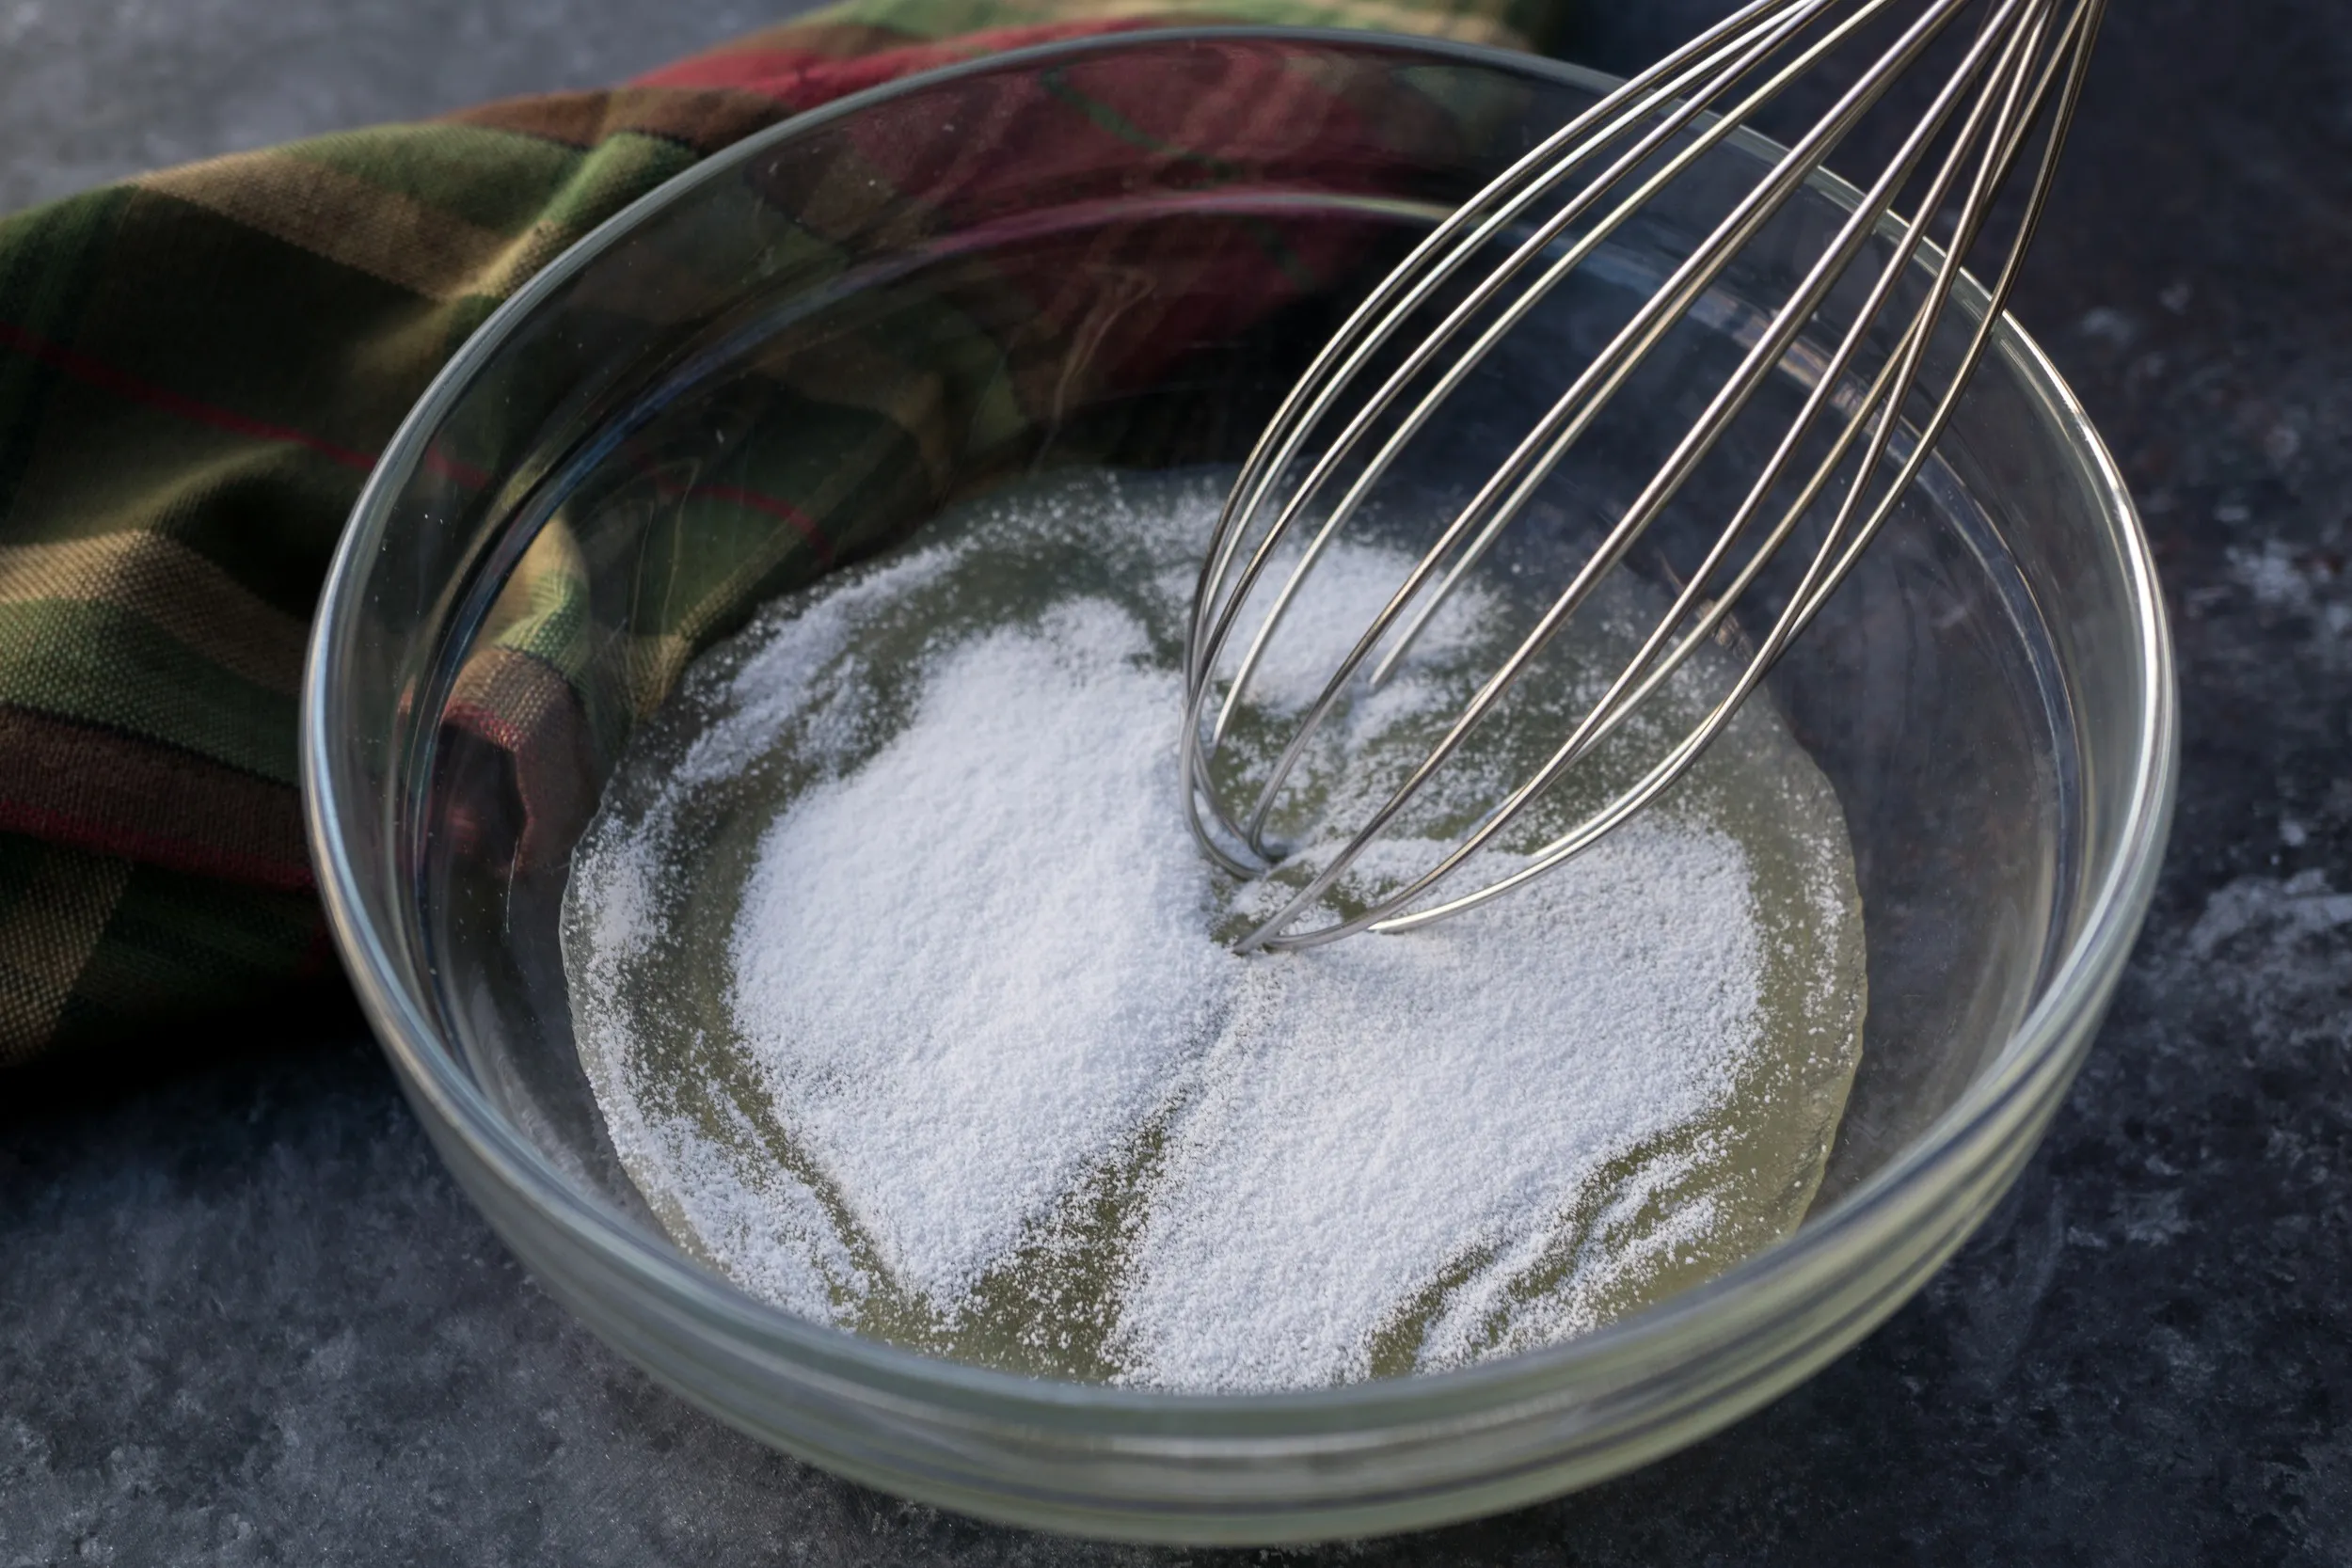
- Prepare your thickening agent: In a small bowl, whisk together your cornstarch or Ultra Gel with 3/4 cup of your chosen fruit juice until it is completely dissolved.
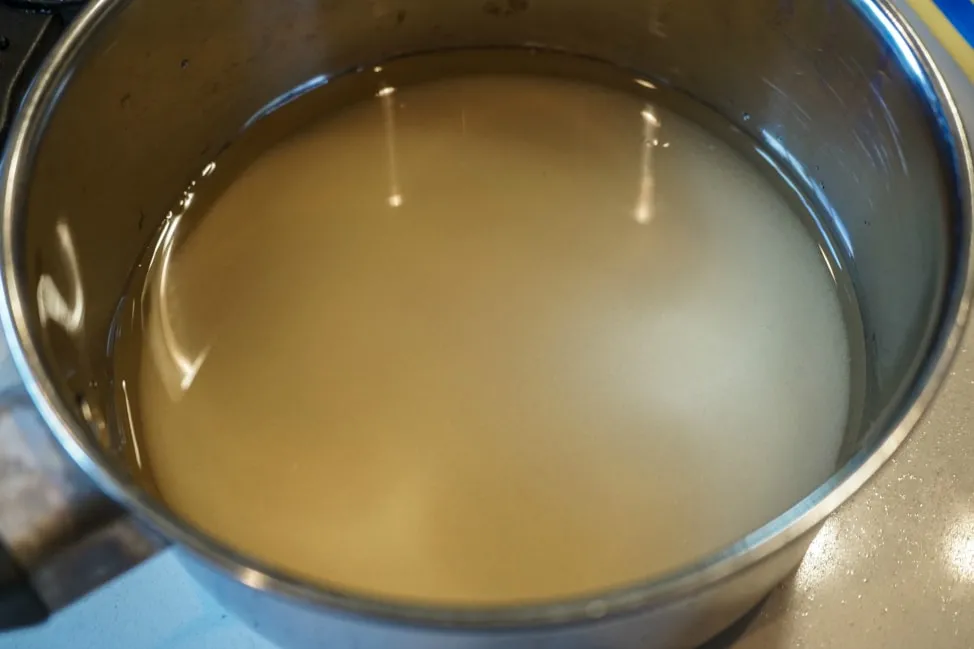
- Create the base: In a medium saucepan, combine the sugar and the remaining 3/4 cup of fruit juice. Bring this mixture to a boil over medium heat.
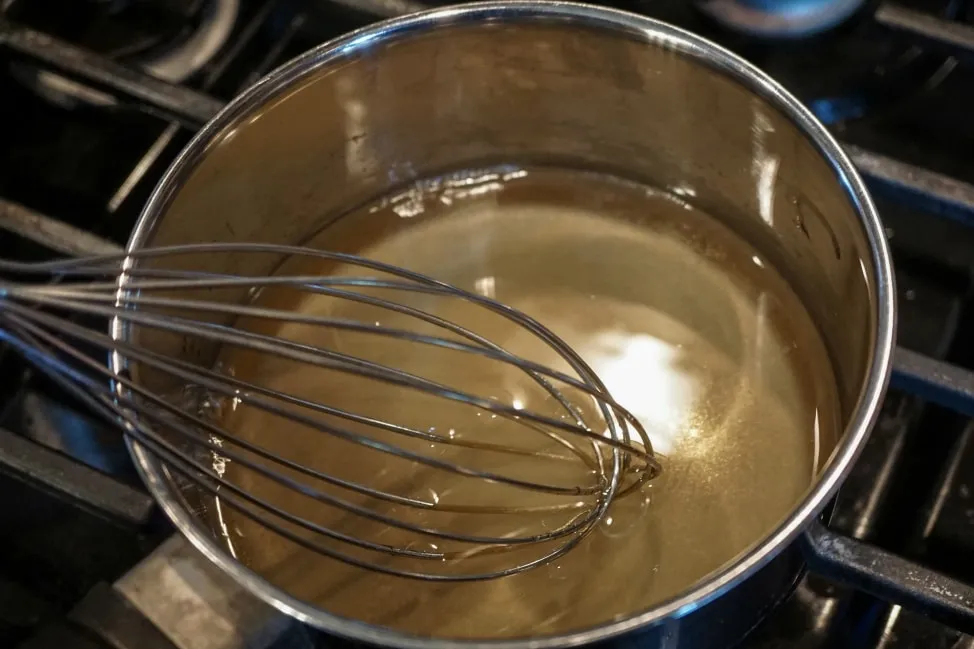
- Thicken and shine: Slowly pour the cornstarch/fruit juice mixture into the boiling sugar mixture while whisking constantly. Reduce the heat to low and continue to cook until the glaze thickens and turns clear. This should take just a few minutes.
- The finishing touch: Stir in the corn syrup and cook for another minute. This will add a beautiful sheen to your glaze.
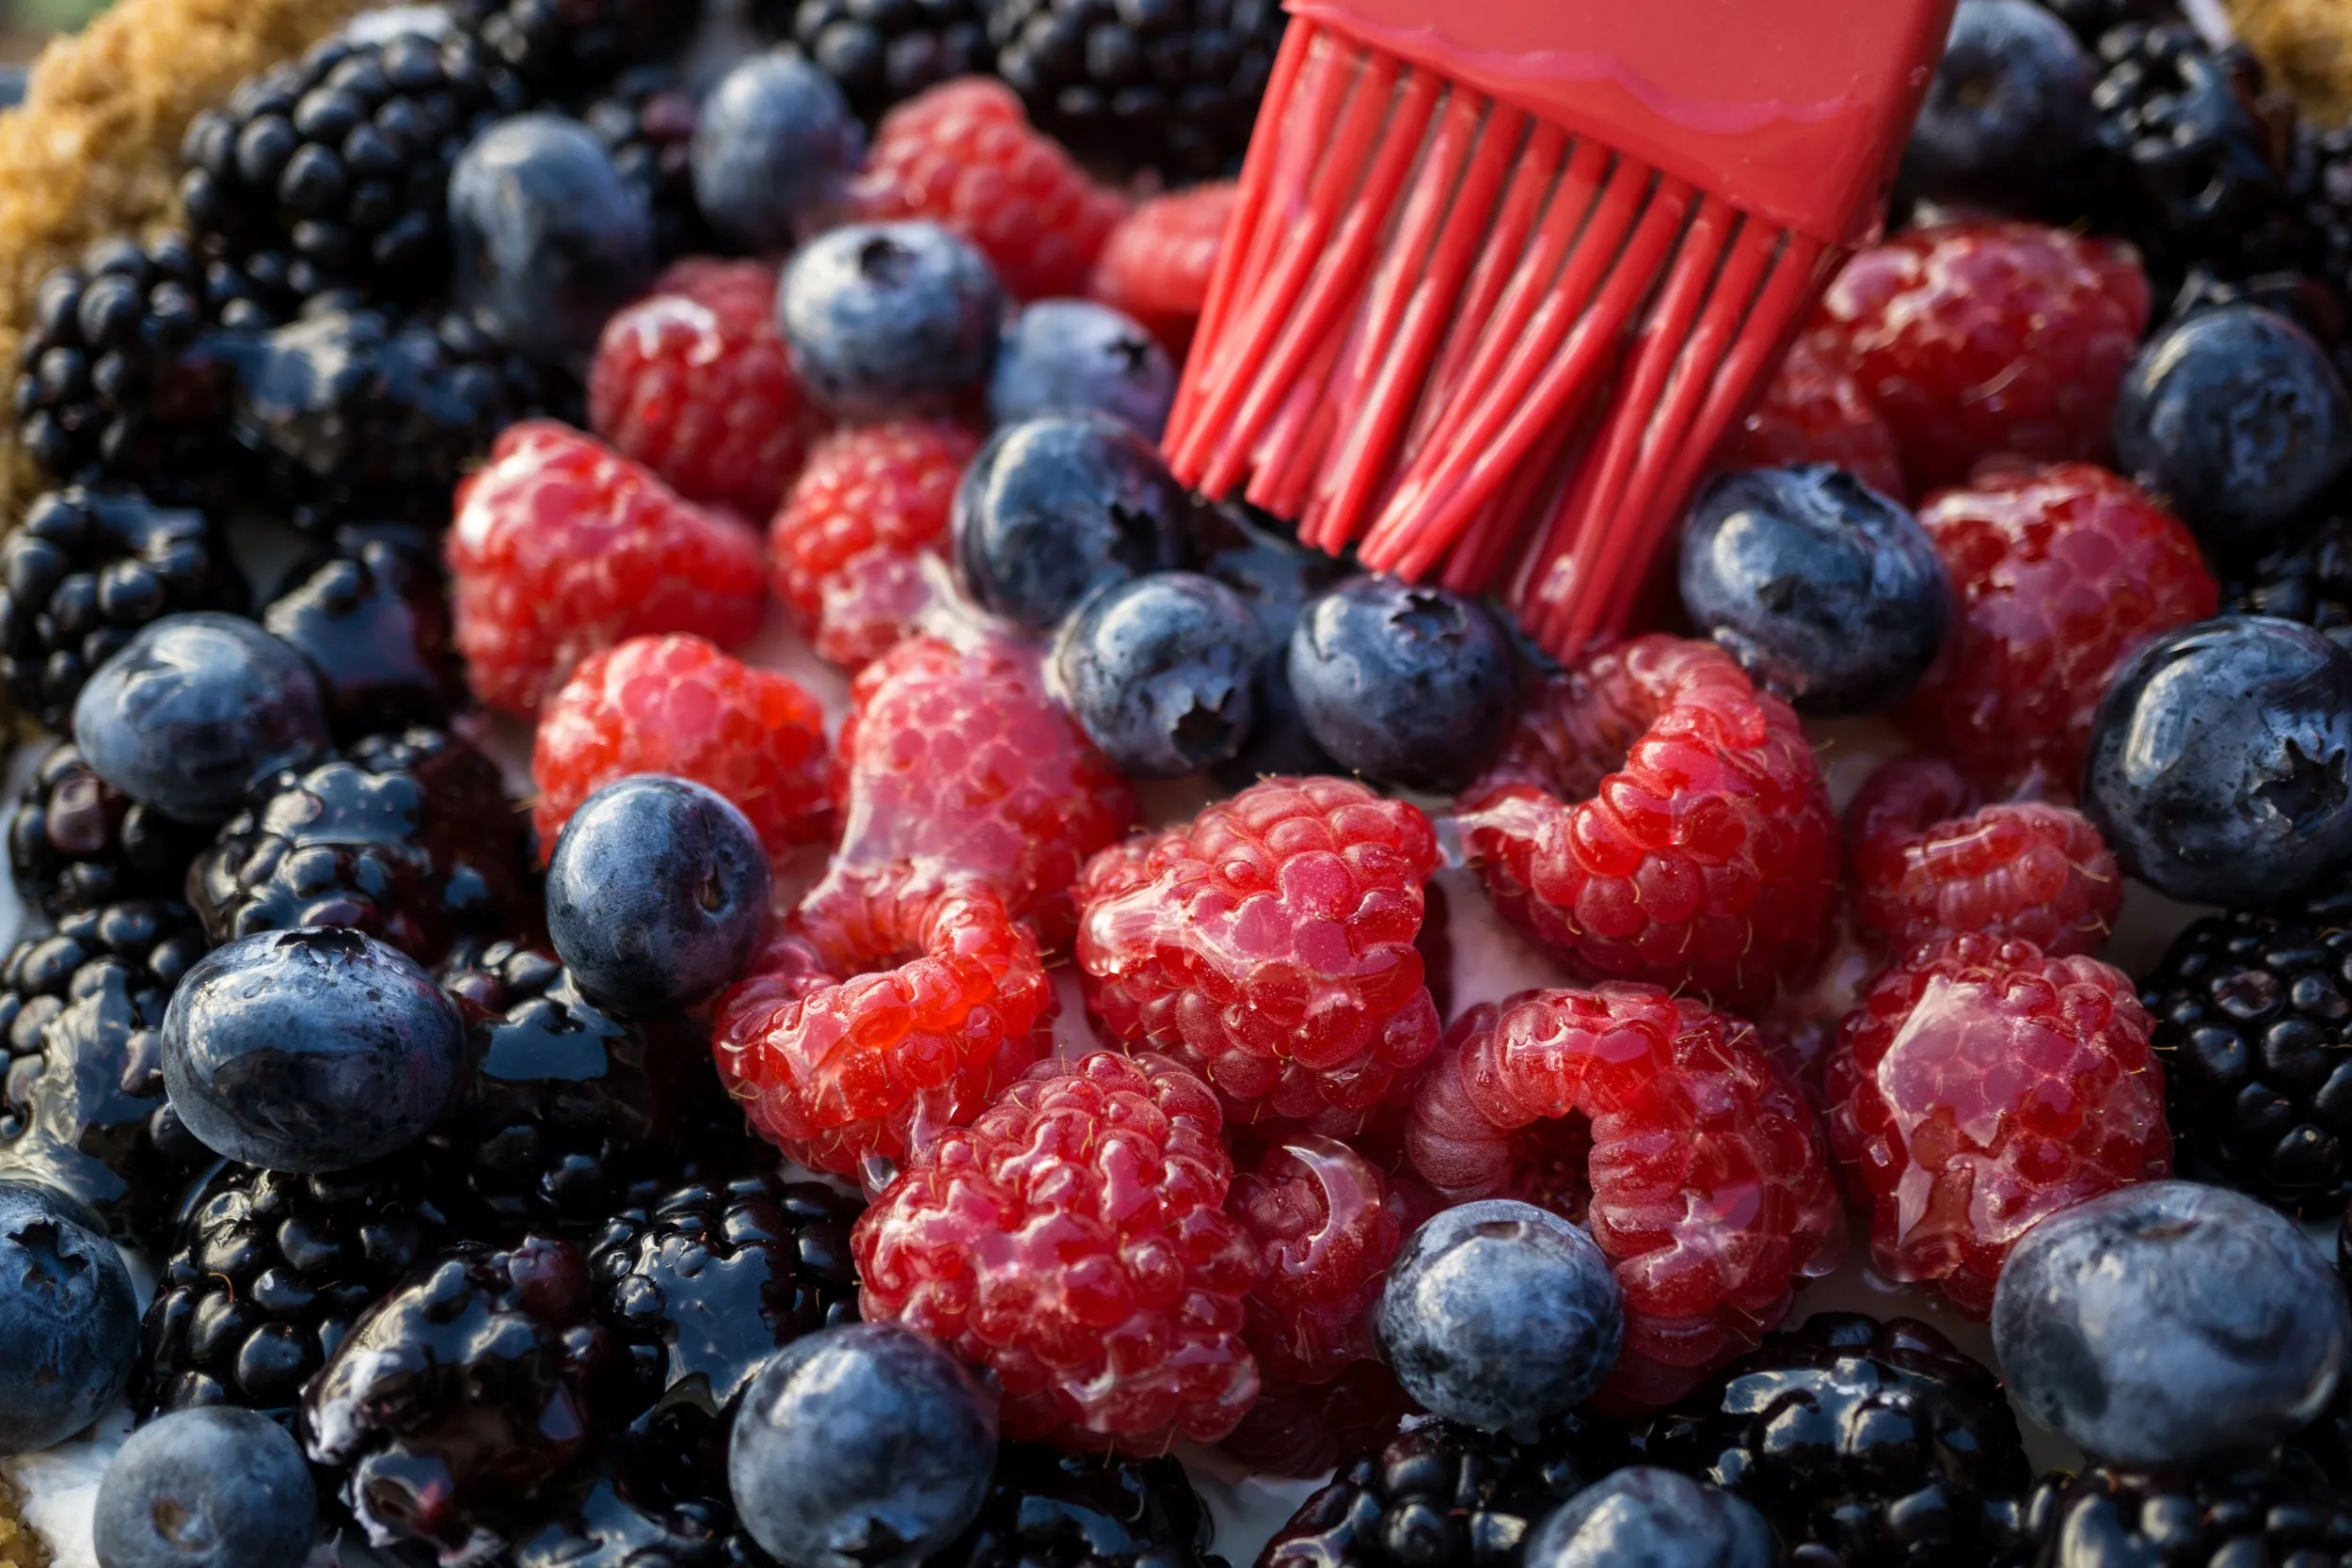
- Cool and glaze: Allow your glaze to cool slightly. Then, you can drizzle it, brush it, or even “paint” it onto your fruit creations!
A Note on Glaze Thickness
One of the wonderful things about homemade fruit glaze is its versatility. You can adjust the thickness to suit your needs!
- Thin Glaze: Perfect for delicate painting or a light, glossy finish. Use 1 tablespoon of cornstarch or 2 tablespoons of Ultra Gel.
- Medium Glaze: My personal favorite! It holds its shape beautifully while still being easy to work with. Use 1 1/2 tablespoons of cornstarch or 3 tablespoons of Ultra Gel.
- Thick Glaze: Ideal for creating dramatic drips or adding a substantial layer of flavor. Use 2 tablespoons of cornstarch or 4 tablespoons of Ultra Gel.
 A close-up of fruit glaze
Tips and Tricks for Glaze Mastery
- Fruit Juice Selection: Your choice of fruit juice will influence both the flavor and color of your glaze. Lighter juices like apple or pear will result in a more translucent glaze, while darker juices like grape or berry will yield a richer color and more intense flavor.
- Cornstarch vs. Ultra Gel: While cornstarch is a common thickener, I find that Ultra Gel creates a clearer, more professional-looking glaze.
- The Right Brush: For intricate designs, I highly recommend using a soft, rubber-tipped brush. It glides over delicate fruit without damage and holds the glaze beautifully.
 Various fruits covered in glaze
Unlocking Endless Possibilities
Now that you’re a glaze-making pro, let your creativity run wild! Use your homemade fruit glaze to elevate:
- Fruit tarts and pies
- Cheesecakes and cakes
- Fruit pizzas
- Fresh fruit salads
 A clear glaze over fruits
Join the Robert Kline Art Community!
Ready to embark on your homemade fruit glaze adventure? We’d love to hear about your creations! Share your experiences, tips, and photos in the comments below. And for even more handmade inspiration, be sure to explore the world of unique and heartfelt gifts available on the Robert Kline Art website. Because nothing shows you care quite like a handcrafted masterpiece.
 A pie with glaze
