The Easiest Homemade Dried Fruit Bars: A Healthy Snacking Revolution

Hey there, fellow art and food enthusiasts! Robert Kline here, and I’m always on the lookout for simple yet satisfying snacks that fuel my creative bursts. With a schedule that often has me bouncing between cities and studios, I need something portable, delicious, and – ideally – healthy. Enter: homemade dried fruit bars.
I recently stumbled upon these little gems while craving a quick bite. Inspired by a store-bought version that only contained dried fruit, I knew I had to recreate it at home. To my delight, it was even easier than I imagined!
Crafting Your Own Dried Fruit Delights: A Step-by-Step Guide
The beauty of this recipe lies in its simplicity and versatility. With just two main ingredients and a food processor, you’ll be on your way to chewy, flavorful snacks that are perfect for any time of day.
Gather Your Supplies:
- 2 cups chewy dried apple rings: These act as the base, providing a neutral flavor and lower moisture content.
- 1 cup dried fruit of your choice: Get creative! Dried tart cherries, apricots, mangoes, pineapple, figs, dates, or even raisins will add bursts of flavor and texture.
- 1 teaspoon water (optional): If your mixture seems a bit dry, add a touch of water to help it bind.
The Art of Assembly:
- Process the Fruit: Combine the dried apple rings and your chosen dried fruit in a food processor. Pulse until the mixture forms a sticky mass and the fruit is finely chopped.
- Bind It Together: If needed, add a teaspoon of water to help the mixture cohere.
- Shape Your Creations: Now, here’s where you can unleash your inner artist!
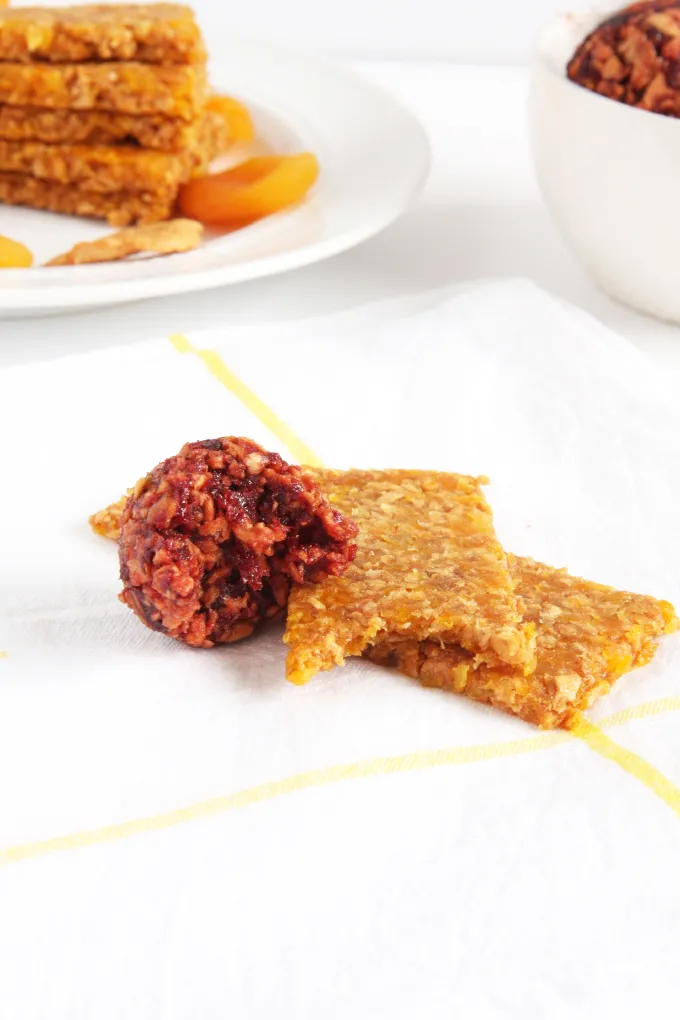
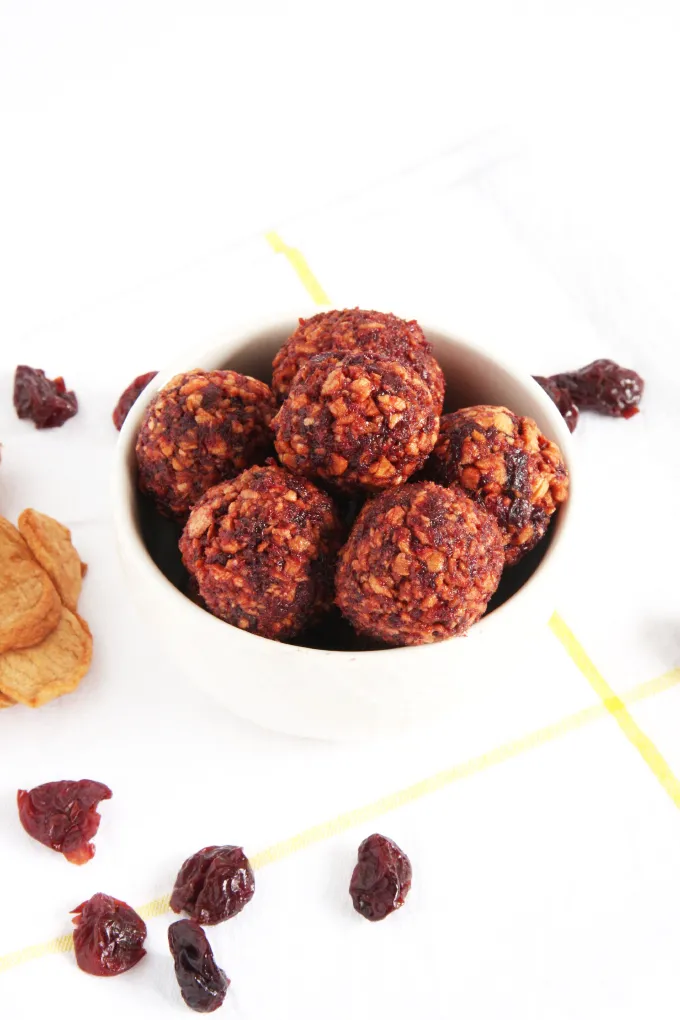
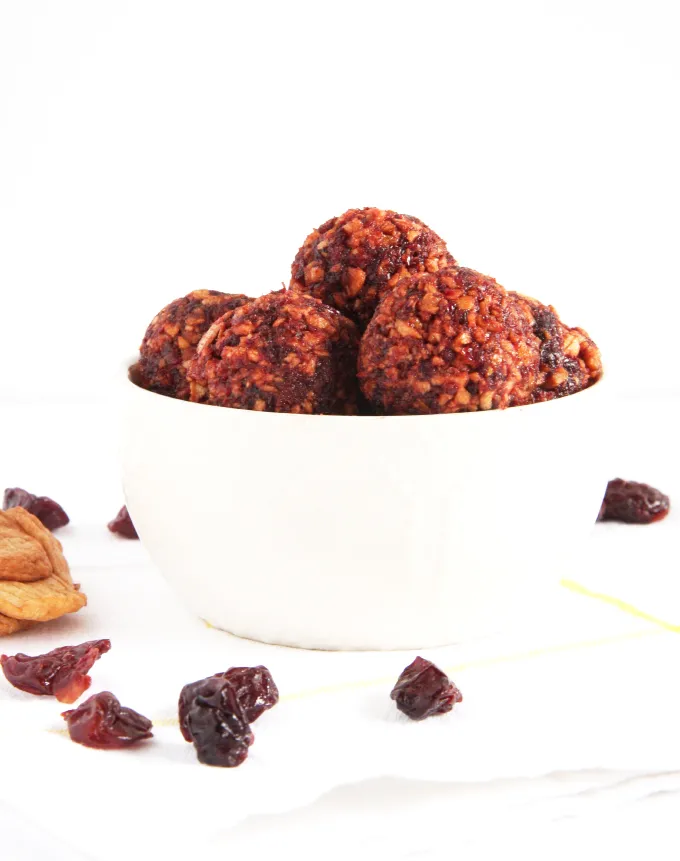
- For Fruit Bites: Simply roll spoonfuls of the mixture into bite-sized balls.
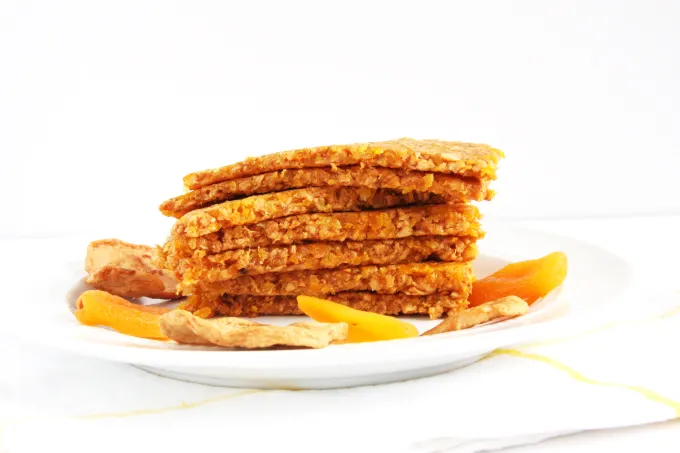
- For Fruit Bars: Sandwich the mixture between two sheets of wax paper and use a rolling pin to flatten it to your desired thickness (around 1/4 inch works well). Then, cut into bars using a sharp knife.
Tips from Robert Kline Art:
- Experiment with Flavors: Don’t be afraid to try different dried fruit combinations! Some of my favorites include apple-cherry, apple-apricot, and apple-mango.
- Storage Savvy: Keep your dried fruit bars or bites fresh by storing them in an airtight container at room temperature for up to a week.
- Perfect for Gifting: These homemade treats make thoughtful and delicious gifts! Package them in cellophane bags tied with a ribbon for a personalized touch.
The Joy of Handmade Goodness
There’s something truly special about creating your own snacks from scratch. Not only are these dried fruit bars incredibly easy to make, but they’re also a healthier alternative to many store-bought options. Plus, the satisfaction of enjoying a delicious treat you crafted yourself is unmatched.
So, why not give this recipe a try? I’m sure you’ll love the explosion of flavors and textures in every bite. And while you’re at it, be sure to explore the other unique handmade crafts and creations on Robert Kline Art – perfect for adding a personal touch to your life or surprising someone special.
Happy snacking!
 Delicious Homemade Dried Fruit Bars
 Dried Fruit Bars in Making
 Close Up Dried Fruit Bars
 Finished Dried Fruit Bars
