Blog
The Magic of Making Homemade Butter: A DIY Guide by Robert Kline Art

There’s something enchanting about transforming simple cream into rich, flavorful butter right in your own kitchen. It’s a craft that connects us to the origins of our food and empowers us with the knowledge of what we consume. Here at Robert Kline Art, we believe in the joy of creating, and what better way to embrace this than by crafting a staple like homemade butter?
Why Make Butter at Home?
You might be wondering, “Why bother making butter when I can easily buy it at the store?”. Let me offer a couple of compelling reasons:
1. A Deeper Connection to Food
Making butter at home is an enriching experience. It’s about understanding the journey from simple ingredients to the final product, fostering a greater appreciation for the food we consume.
2. Control Over Flavor and Freshness
When you make your own butter, you’re the master of your creation. You choose the quality of the cream, the amount of salt, and even the texture, ensuring it perfectly suits your taste.
The Science Behind Homemade Butter
Making butter is surprisingly simple. It all starts with cream, which is essentially the fat from milk that rises to the top. When we whip cream, we’re incorporating air, but to create butter, we need to go a step further.
By churning or vigorously mixing the cream, we force the fat molecules to collide and bind together. As this happens, the fat separates from the liquid, leaving us with luscious butter and buttermilk.
Essential Ingredients for Classic Homemade Butter
You only need two ingredients to make homemade butter:
- 2 cups heavy cream: Opt for high-quality, preferably organic heavy cream for the best flavor and results.
- Salt to taste: A pinch of salt enhances the butter’s natural flavors. Feel free to adjust the amount to your liking.
Step-by-Step Guide to Making Butter
While you can use various methods, a stand mixer makes the process a breeze. Here’s how:
- Pour the heavy cream into the bowl of your stand mixer.
- Start whipping on low speed until the cream slightly thickens.
- Gradually increase the speed to medium-high and continue whipping for 5-7 minutes, scraping down the sides occasionally.
- Keep mixing past the whipped cream stage. You’ll notice the mixture separating into butter and buttermilk.
- Carefully remove the butter from the mixer (don’t discard the buttermilk!) and squeeze out excess liquid by pressing it between your hands.
- Rinse the butter briefly under ice-cold water to remove any remaining buttermilk.
- Add salt to taste and gently knead it into the butter.
- Store your homemade butter in an airtight container or rolled in parchment paper in the refrigerator for up to two weeks.
Delicious Alternatives to Explore
Looking for other ways to elevate your toast and snacks? Check out these delightful spreads:
Pistachio Butter
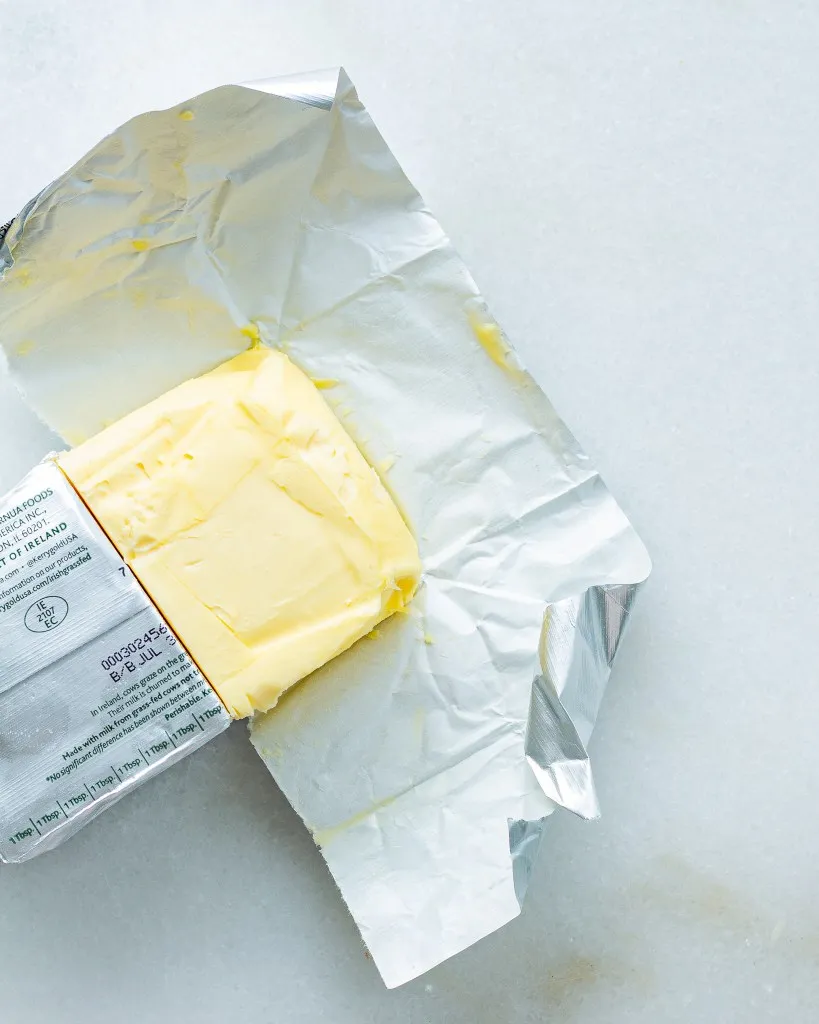
 finished Homemade Butter
This creamy and subtly sweet spread, similar to almond butter, is a delicious twist on the classic.
Orange Ginger Toast with Goat Cheese & Honeyed Herbs
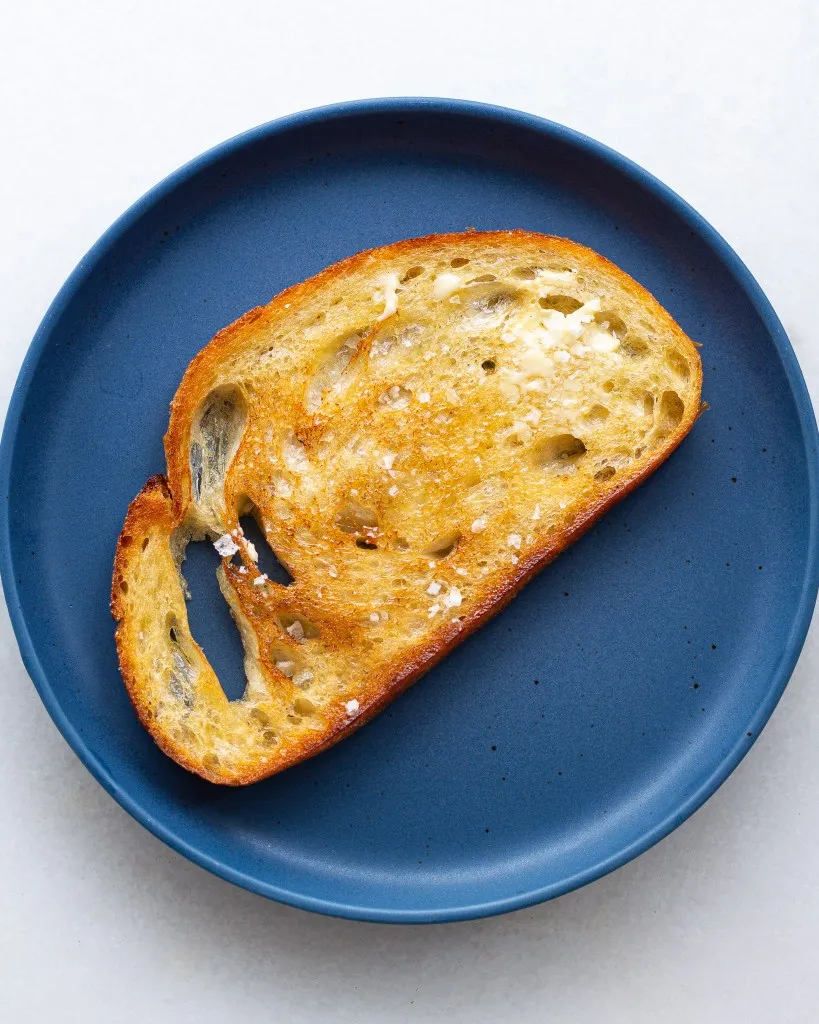
 finished Homemade Butter on toast
This unique toast recipe combines the tangy flavors of goat cheese with the refreshing zest of orange and ginger for an unforgettable treat.
Avocado Pesto Spread
 finished Homemade Butter
A healthy and flavorful alternative to traditional pesto, this spread uses avocado and spinach for a creamy texture and vibrant green hue.
Share Your Homemade Creations!
At Robert Kline Art, we celebrate the joy of crafting and creating. We encourage you to try making your own homemade butter and discover the magic for yourself. Don’t forget to share your culinary masterpieces with us on Pinterest and Instagram! We can’t wait to see your delicious creations.
