Blog
Indulge Your Inner Chocoholic with Delicious Homemade Vegan Protein Brownies

Hey there, fellow art and craft enthusiasts! Robert Kline here, and let’s talk about something that’s both a creative outlet and a delicious treat: baking! Today, we’re diving into the world of fudgy, decadent brownies – with a healthy twist.
These aren’t your average brownies. Oh no, these are vegan protein brownies, perfect for those of us who crave a guilt-free indulgence. They’re packed with plant-based protein, free of gluten and dairy, and surprisingly easy to whip up.
Whether you’re a seasoned baker or just starting, I’m here to guide you through every step. Get ready to unleash your inner artist in the kitchen and create a masterpiece that’s as satisfying to make as it is to devour. Let’s get baking!
Gathering Your Artistic Ingredients
Just like any craft project, we need the right tools and materials. For these protein-packed brownies, you’ll need a few simple ingredients that you probably already have in your pantry:
- Overripe Bananas: These are the stars of the show, lending sweetness and a wonderfully fudgy texture. Look for bananas with brown spots – the riper, the better!
- Peanut Butter: Creamy, nutty, and oh-so-delicious! Feel free to experiment with other nut butters like almond butter or cashew butter.
- Cocoa Powder: The key to that rich, chocolatey flavor we all know and love. You can use either cocoa powder or cacao powder, depending on your preference.
- Chocolate Protein Powder: Time to sneak in that extra protein! Opt for a vegan chocolate protein powder that you enjoy the taste of, as it will shine through in the final product.
- Chocolate Chips: Because every brownie deserves a generous dose of chocolate chips, right?
- Vanilla Extract: A touch of vanilla enhances the chocolatey goodness.
- Salt: Just a pinch to balance out the sweetness and bring out all those amazing flavors.
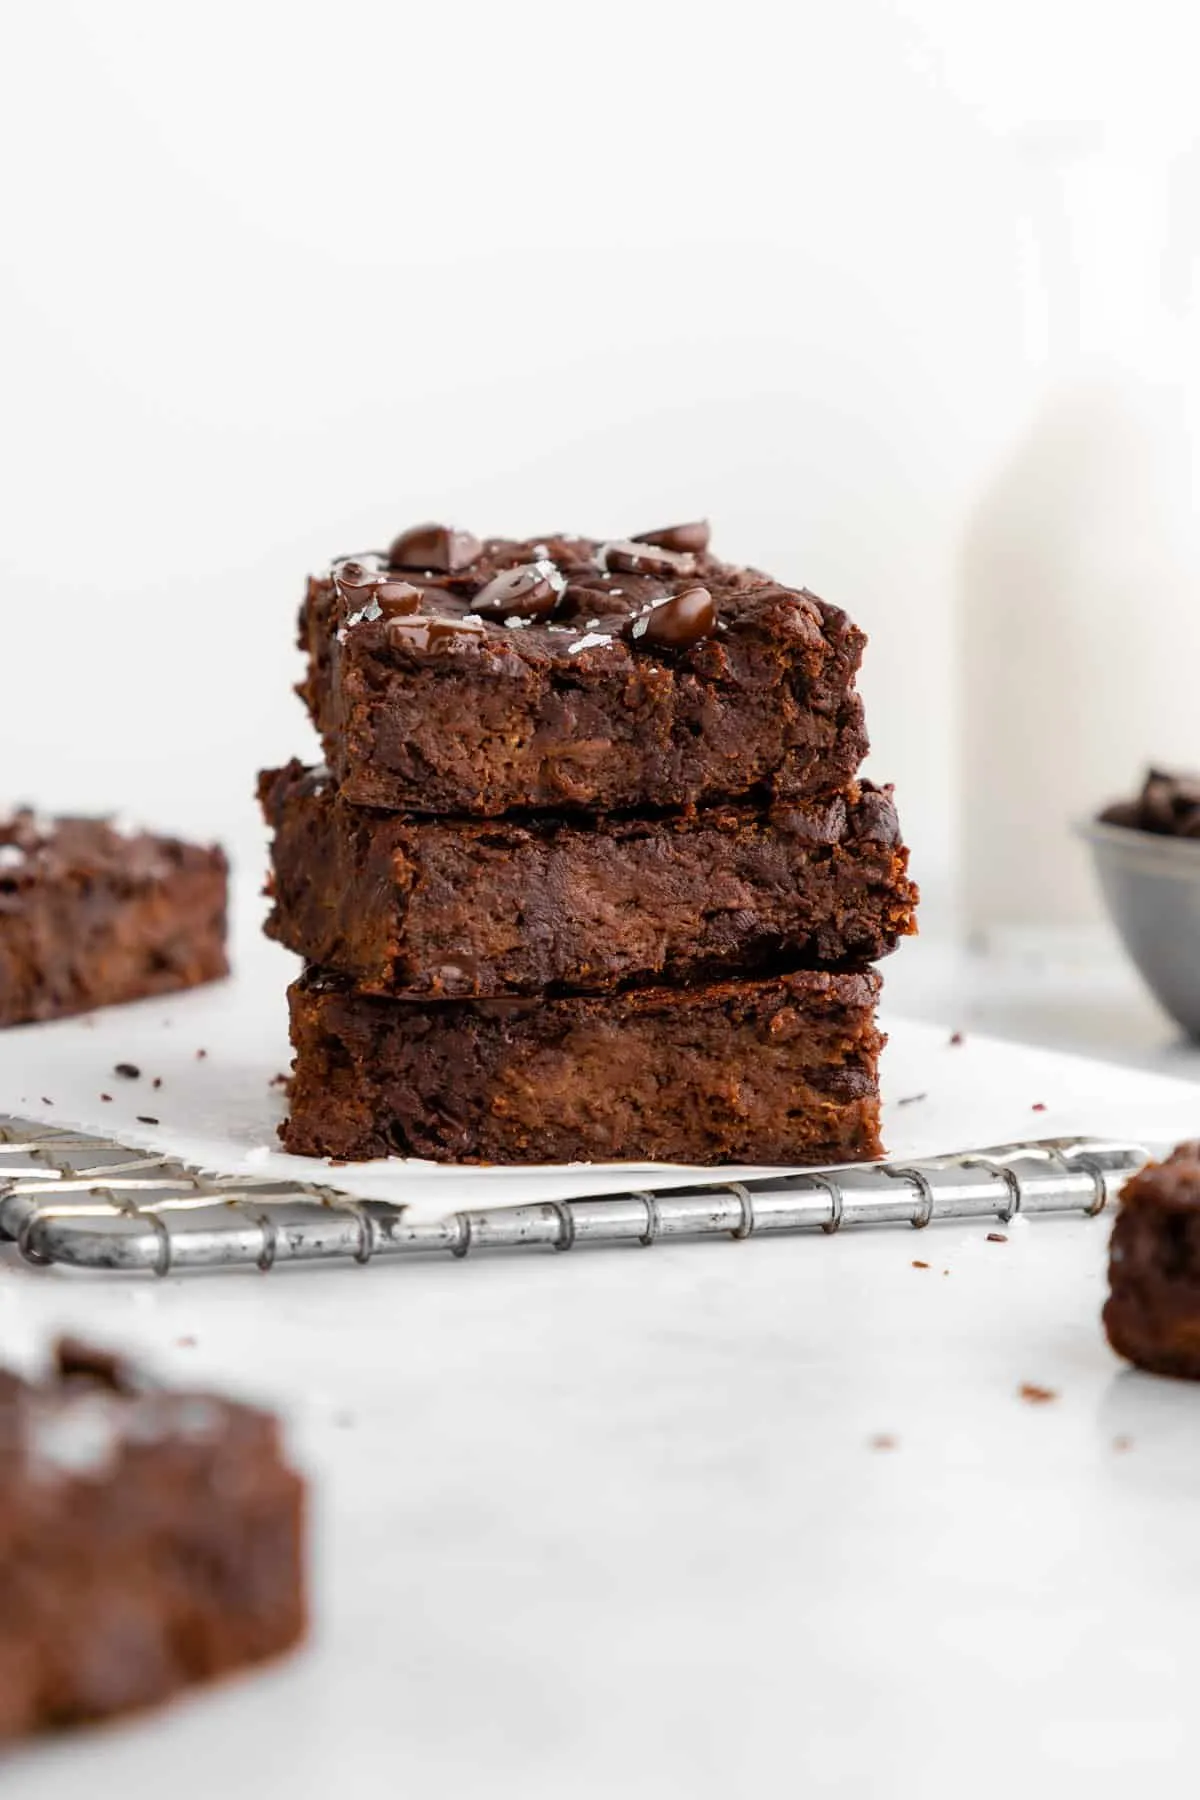
 a stack of four flourless vegan protein brownies in front of a bowl of chocolate chips and a bowl of chocolate protein powder
Image: A stack of freshly baked vegan protein brownies, ready to satisfy your sweet cravings.
Crafting Your Brownie Masterpiece: Step-by-Step Guide
Now comes the fun part – bringing all those delicious ingredients together. Don’t worry, this recipe is incredibly easy to follow, even if you’re a baking novice.
-
Preheat & Prepare: Preheat your oven to 350 degrees F (175 degrees C) and line a baking dish (7×7 or 8×8 inches) with parchment paper. This will ensure your brownies don’t stick and make cleanup a breeze.
-
Mix & Mash: In a large bowl, mash your overripe bananas until smooth. Then, add the peanut butter, cocoa powder, chocolate protein powder, vanilla extract, and salt. Mix everything together until well combined.
-
Chocolate Chip Delight: Fold in your chocolate chips, reserving a few to sprinkle on top later for that extra touch of indulgence.
-
Bake to Perfection: Pour your brownie batter into the prepared baking dish and spread it evenly. If you’re feeling extra fancy, sprinkle those remaining chocolate chips on top. Bake for 40-45 minutes, or until a toothpick inserted into the center comes out with just a few moist crumbs attached.
-
Cool & Slice: Once baked, let your brownies cool completely in the pan before slicing and serving. This will allow them to firm up and prevent them from crumbling.
Tips for Brownie Bliss
Here are a few expert tips to ensure your vegan protein brownies turn out perfectly every time:
-
Overripe Bananas are Key: As mentioned earlier, overripe bananas are essential for sweetness and texture. Don’t be afraid to use those really spotty ones!
-
Taste-Testing is Encouraged: Use a chocolate protein powder that you genuinely enjoy, as its flavor will be noticeable in the final product.
-
Get Creative with Toppings: Feel free to personalize your brownies with your favorite toppings. Chopped nuts, shredded coconut, or even a drizzle of melted peanut butter would be delicious additions.
-
Patience is a Virtue: Allow your brownies to cool completely before slicing. This step is crucial for achieving that perfect, fudgy texture.
Storing Your Brownie Creations
Store any leftover brownies in an airtight container in the refrigerator for up to 3-5 days. You can also freeze them for longer storage.
Robert Kline Art: More Than Just Art Supplies
At Robert Kline Art, we’re passionate about all forms of creativity, from painting and drawing to baking and beyond. We believe that everyone has an inner artist just waiting to be unleashed, and we’re here to provide you with the tools and inspiration you need to make it happen.
Be sure to check out our website for a wide selection of art supplies, DIY kits, and creative inspiration. And don’t forget to share photos of your delicious brownie creations with us on social media – we love seeing what you come up with!
