Blog
The Ultimate Guide to Making Creamy Vegan Ice Cream at Home

Hey there, fellow art and food lovers! Robert Kline here, your guide to all things creative and delicious. Today, we’re stepping into the kitchen for a fun and fulfilling DIY project: crafting the most decadent, dairy-free ice cream you’ve ever tasted!
This isn’t just any vegan ice cream recipe. This, my friends, is a game-changer. We’re talking about a symphony of smooth, creamy goodness that will have you questioning everything you thought you knew about frozen desserts.
Achieving Ice Cream Perfection, the Vegan Way
For years, I’ve been on a quest to perfect the art of vegan ice cream. My mission: to replicate the luxurious texture and flavor of traditional ice cream without using any dairy. And let me tell you, this recipe is the culmination of that delicious journey.
The secret lies in the magic of homemade cashew cream and full-fat coconut milk. This powerful duo creates a neutral, creamy base that beautifully mimics the texture of its dairy counterpart. Add in a touch of cacao butter and coconut oil, and you have a recipe for pure frozen bliss!
Gathering Your Ingredients
Before we embark on this culinary adventure, let’s gather our essential ingredients:
For the Homemade Cashew Cream:
- 1 cup Raw Cashews (soaked in hot water for one hour)
- 1 cup + 2 Tbsp Water
For the Vegan Ice Cream:
- 2 cups Homemade Cashew Cream
- 1 cup Canned Full-Fat Coconut Milk (unsweetened)
- 1 cup White Granulated Sugar
- ¼ cup Water
- ¾ cup Cacao Butter (finely chopped)
- ¼ cup Coconut Oil
- 1 tsp Salt
- 2 tsp Vanilla Extract
Ingredient Notes:
- Coconut Milk: Opt for canned, full-fat coconut milk for optimal creaminess.
- Cacao Butter: This is our secret weapon for achieving that perfect ice cream texture! Make sure you have cacao butter, not cocoa butter or coconut butter.
- Coconut Oil: Feel free to use regular virgin coconut oil or refined coconut oil (with a less pronounced coconut flavor).
- Raw Cashews: Soaking the cashews in hot water for an hour before blending helps to create the smoothest, creamiest cashew cream.
Step-by-Step Guide to Vegan Ice Cream Heaven
This recipe involves a few simple steps, but the results are well worth the effort:
1. Preparing the Cashew Cream:
- Pour boiling water over the cashews in a bowl, ensuring they’re fully submerged. Let them soak for one hour.
- Drain the cashews and transfer them to your blender with 1 cup + 2 Tbsp of fresh, cold water.
- Blend until completely smooth and creamy.
2. Creating the Ice Cream Base:
- In a large bowl, combine the freshly made cashew cream and coconut milk.
- In a saucepan, whisk together the sugar and ¼ cup of water over medium heat. Stir continuously until the sugar dissolves completely.
- Add the chopped cacao butter, coconut oil, and salt to the melted sugar mixture. Continue to stir until all the ingredients melt and combine seamlessly.
- Pour this warm, fragrant mixture into the bowl containing the cashew cream and coconut milk.
- Add the vanilla extract and blend everything thoroughly using an immersion blender. If you don’t have an immersion blender, a regular blender will work just as well.
3. The Churning Process:
- Place the bowl with the ice cream base in the freezer for 15 minutes to chill.
- Pour the chilled mixture into your ice cream maker and churn according to the manufacturer’s instructions. This usually takes about 25-45 minutes, depending on your machine.
- Once the ice cream reaches a soft-serve consistency, transfer it to a loaf pan and smooth the top with the back of a spoon.
4. Freezing and Serving:
- Cover the loaf pan tightly and freeze for at least 4 hours, or until the ice cream is firm.
- When ready to serve, let the ice cream sit at room temperature for about 15-20 minutes to soften slightly, making it easier to scoop.
- For perfectly round scoops, heat your ice cream scoop in hot water for a few seconds before diving in!
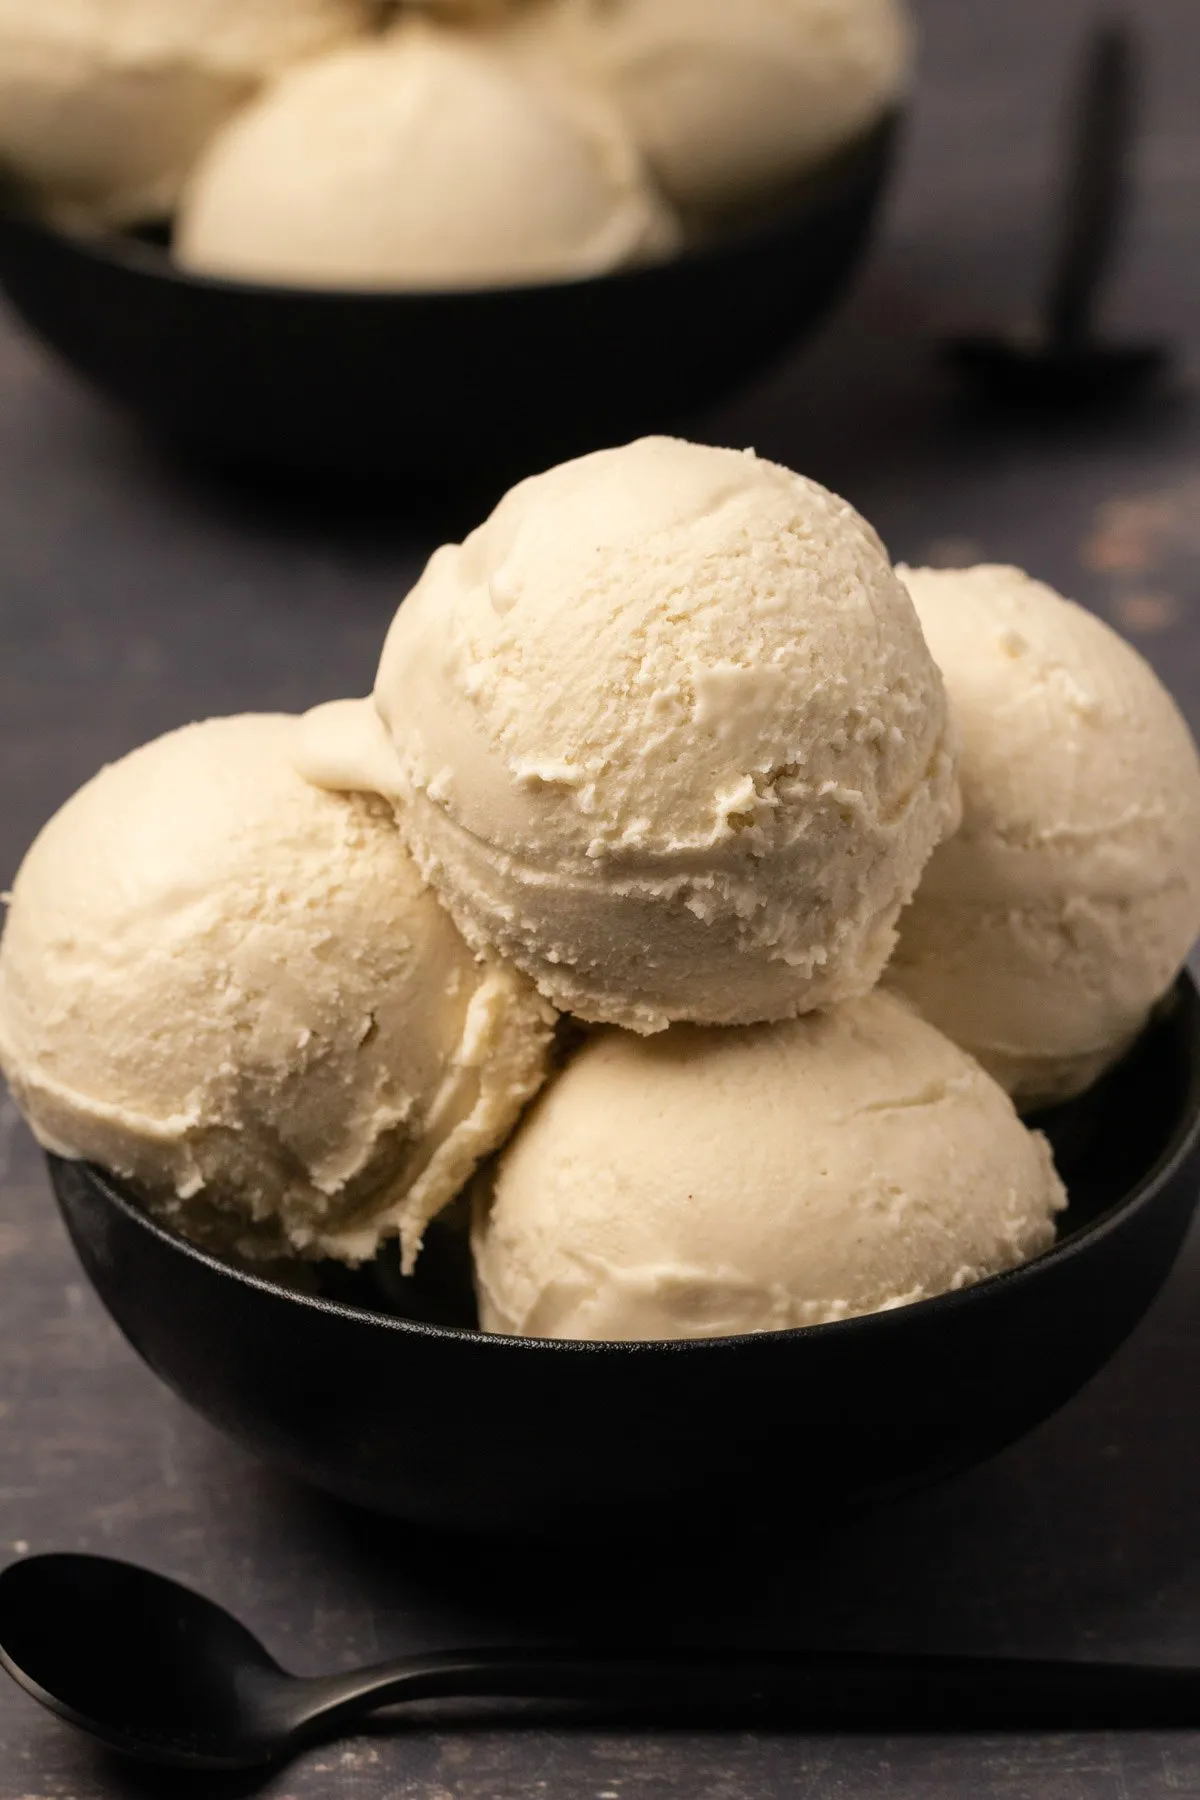
 Scoops of vegan ice cream in a black bowl.
Tips for Success:
- Freezing Your Ice Cream Maker Bowl: Don’t forget to freeze your ice cream maker bowl for at least 24 hours (or as instructed by the manufacturer) before churning. A properly frozen bowl is crucial for achieving the right texture.
- Storage: Homemade vegan ice cream is best enjoyed within two weeks. Keep it stored in an airtight container in the freezer to prevent ice crystals from forming.
Unleash Your Inner Artist!
This recipe is a blank canvas for your creativity. Feel free to add your personal touch with your favorite toppings and mix-ins. Think swirls of homemade vegan caramel sauce, chunks of your favorite vegan cookies, or a sprinkle of chopped nuts.
Let me know how your homemade vegan ice cream adventure turns out in the comments below! And remember, at Robert Kline Art, we’re not just about crafting beautiful things—we’re about crafting delicious experiences, too. So grab your aprons, embrace the joy of creation, and discover the magic of making this extraordinary vegan ice cream in your own kitchen!
