Blog
Dive into Delicious: Making Homemade Vegan Fish Sticks

Remember the joy of biting into a crispy fish stick? That golden-brown exterior giving way to a soft, flavorful center? Well, ditch the freezer aisle and join me, Robert Kline, as we recreate that magic with a vegan twist! We’re diving into the world of homemade vegan fish sticks – a treat that’s both kind to animals and your taste buds.
Transforming Tofu into Treasure
For this adventure, we’re swapping out fish for a much more versatile ingredient – tofu! Don’t worry, we’ll use simple techniques and readily available ingredients to transform this humble bean curd into irresistible “fish” sticks.
Gathering Your Tools and Treasures
Before we begin, let’s gather our culinary compadres:
- Extra-firm tofu: This will be our fish substitute, providing the perfect texture.
- Flour: Our trusty coating assistant, ensuring everything sticks together.
- Soy sauce: A dash of umami to elevate the flavor.
- Lemon juice: A touch of brightness to balance the savory notes.
- Unsweetened non-dairy milk: Our binder, bringing everything together.
- Breadcrumbs: The key to that satisfying crunch.
- Seaweed snack sheets: The secret ingredient for a touch of “sea” flavor.
- Salt: To enhance the flavors and awaken our palates.
The Art of Crafting Vegan Fish Sticks
-
Prepping the Tofu:
- Gently press the tofu to remove excess moisture. This helps it crisp up beautifully.
- Slice the tofu into sticks, resembling the shape of your favorite fish sticks.
-
Creating the Flavorful Layers:
- Flour Power: Coat each tofu stick generously in flour. This creates a base for the next layers to adhere to.
- Savory Symphony: In a bowl, whisk together soy sauce, lemon juice, and non-dairy milk. This will infuse our sticks with a delicious depth of flavor.
- Breadcrumb Magic: In a blender or food processor, blitz together the breadcrumbs and seaweed sheets. One to two packages will do the trick, depending on how “sea-like” you want the flavor.
-
The Transformation Begins:
- Dipping Delights: Dip each flour-coated tofu stick into the wet mixture, ensuring it’s fully coated.
- Breadcrumb Embrace: Gently dredge the dipped stick in the breadcrumb mixture, pressing lightly to help it adhere.
-
The Culinary Climax: Baking vs. Frying
Here’s where you decide the fate of your creation – baked to golden perfection or fried to crispy glory!
* **Baking Brilliance:**
    * Preheat your oven to 400 degrees F.
    * Lightly grease a baking sheet and arrange the breaded sticks.
    * Bake for about 40 minutes, flipping halfway through, until they reach a delightful golden crisp.

* **Frying Fiesta:**
    * Heat a generous amount of oil in a pan over medium-high heat. (Cast iron works wonders!)
    * Fry the sticks for 3-4 minutes on each side, until they transform into a symphony of golden brown and crispy perfection.
Serving Up a Feast for the Senses
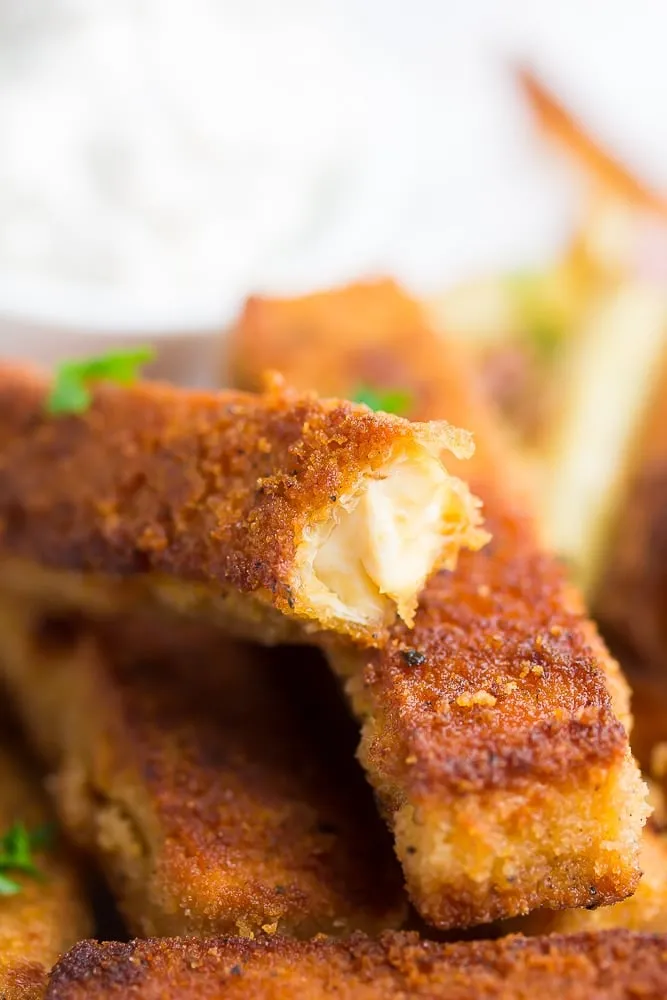
 fried tofu fish with a bite taken out of it
Now, for the best part – enjoying the fruits (or should I say “fish”) of our labor!
- A Symphony of Sauces: What’s a good “fish” stick without a dipping companion? Whip up a batch of vegan tartar sauce, or keep it classic with ketchup.
- Sidekicks for the Win: Complete your culinary masterpiece with a side of crispy potato wedges, fluffy fries, or a refreshing salad.
Tips from Robert Kline Art
-
Storing Your Creations: Leftover “fish” sticks will keep well in the refrigerator for 2-3 days. Reheat them in the oven, on the stovetop, or in an air fryer for optimal crispiness.
-
Get Creative with Flavors: Don’t be afraid to experiment with the breadcrumb mixture! Add a dash of smoked paprika, a sprinkle of garlic powder, or a pinch of Old Bay seasoning to create your signature flavor profile.
Congratulations! You’ve just mastered the art of making homemade vegan fish sticks. Share your culinary creations with your loved ones, and don’t forget to spread the joy by sharing this recipe with fellow food enthusiasts.
For more handcrafted culinary adventures and inspiring DIY projects, explore the creative haven at Robert Kline Art. Let’s make something beautiful together!
