Blog
Ditch the Dairy: A Simple Guide to Making Homemade Seed Milk
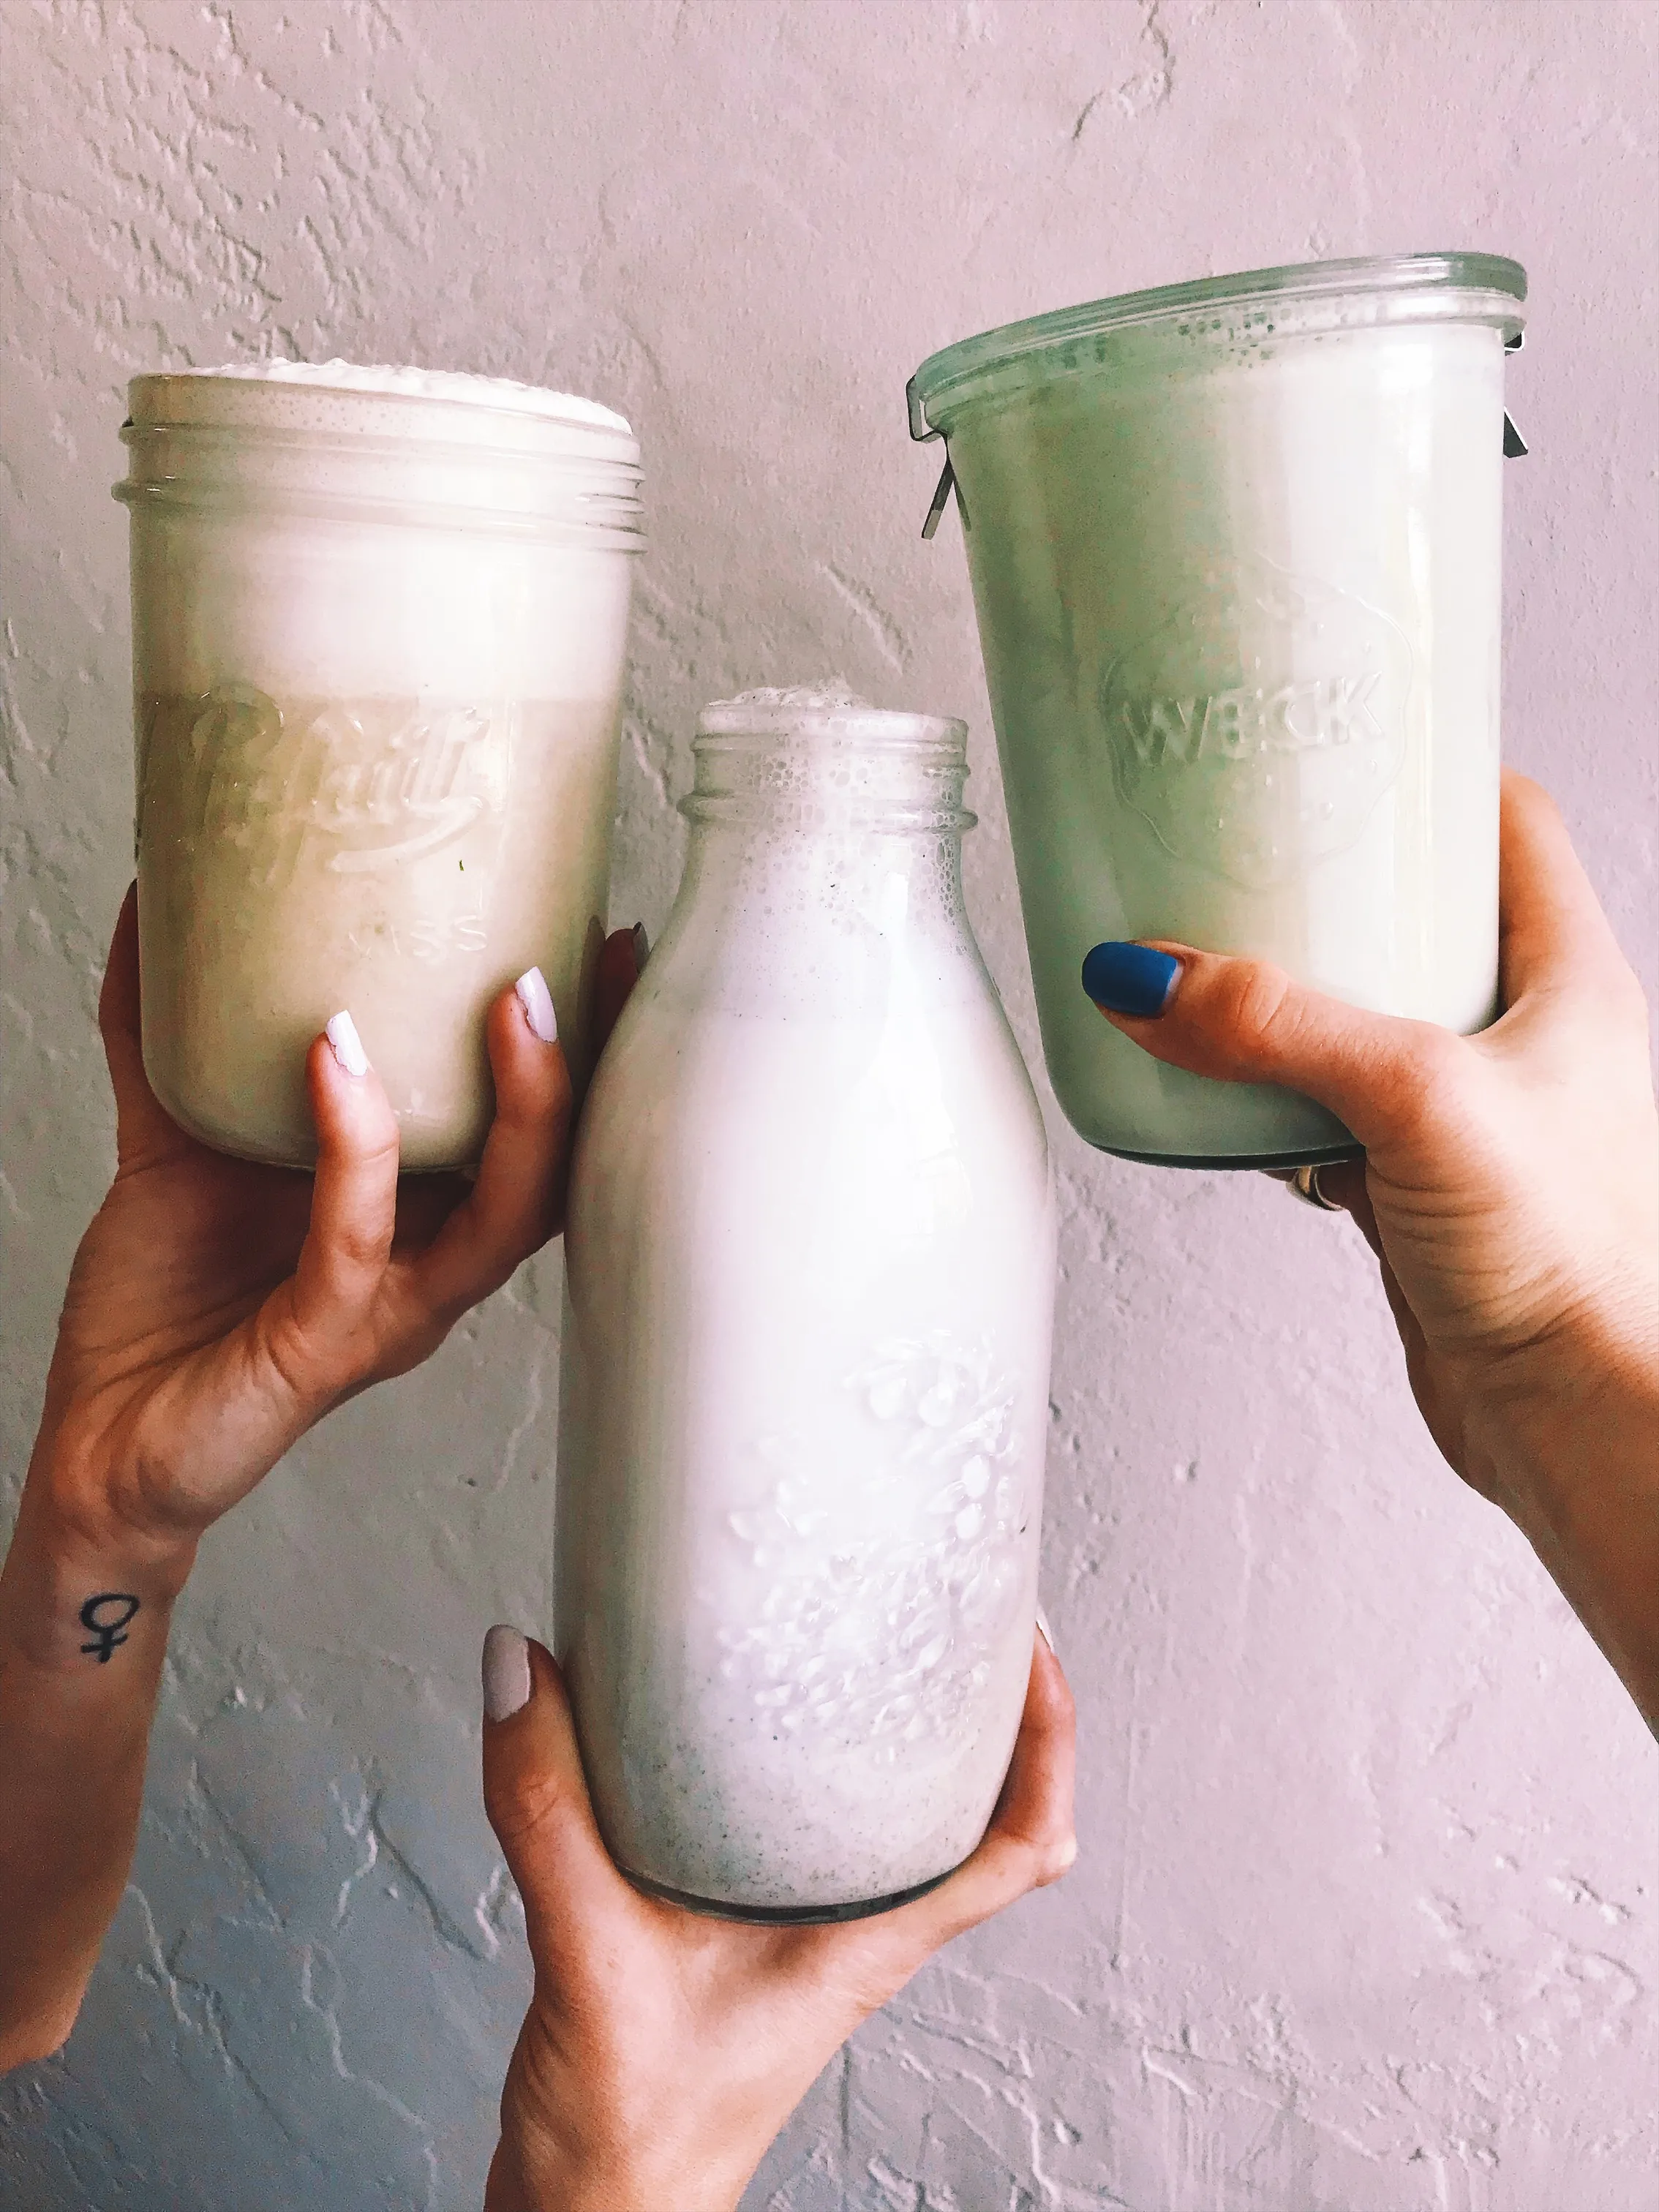
Hey there, fellow art enthusiasts! Robert Kline here, and today, we’re diving into the world of DIY with a delicious twist. Ever thought about making your own milk? No, I’m not talking about the stuff you get from cows – we’re going full-on plant power with homemade seed milk!
As an artist, I’m all about exploring new mediums, and recently, I discovered that my kitchen blender is just as much of a creative tool as my paintbrush. Seed milk, my friends, is a game-changer. It’s incredibly easy to make, gentle on the environment, and surprisingly budget-friendly. Plus, the taste? Let’s just say store-bought nut milk might start feeling a little jealous.
My Journey to Seed Milk Mastery
My love affair with DIY milks started years ago during my high school days at a local raw vegan smoothie bar. Endless batches of almond and Brazil nut milk were my daily grind. Don’t get me wrong, the creamy, fresh taste was divine, but the endless straining and squeezing? My poor, numb fingers still shudder at the memory.
Fast forward to a few years ago, I’m out of almond milk and desperate for a smoothie. Enter: hemp seeds. I tossed a cup into the blender with some water, grabbed my trusty nut milk bag, and braced myself for the usual straining ordeal… But wait, there was nothing to strain! The hemp seeds had completely pulverized, leaving behind the smoothest, most luscious milk I’d ever seen. It was a revelation!
Since then, I’ve been on a mission to spread the seed milk gospel. Turns out, several seeds blend beautifully into milk without any straining required. So, are you ready to ditch the dairy aisle and join the seed milk revolution? Let’s get blending!
3 Easy Seed Milk Recipes (No Straining!)
These recipes are incredibly simple and require just one step – blending! They’re perfect for adding to your morning coffee, smoothies, or even enjoyed on their own. Feel free to experiment with flavors too! Add a dash of cinnamon, a spoonful of cacao powder, or a sprinkle of turmeric for an extra kick.
Important Note: These recipes work best with a high-speed blender like a Vitamix. While you can use other blenders, a high-quality machine will ensure the seeds are fully pulverized for the smoothest results.
1. Sunflower Seed Milk
 Seed milk party. 21+, please.
- 1 cup raw, unsalted sunflower seeds
- 3 cups filtered water
Instructions:
- Combine sunflower seeds and water in your blender.
- Blend on high for 3 minutes, or until the mixture is completely smooth.
- Pour into an airtight container and store in the fridge for up to 3 days. Shake well before each use.
2. Hemp Seed Milk
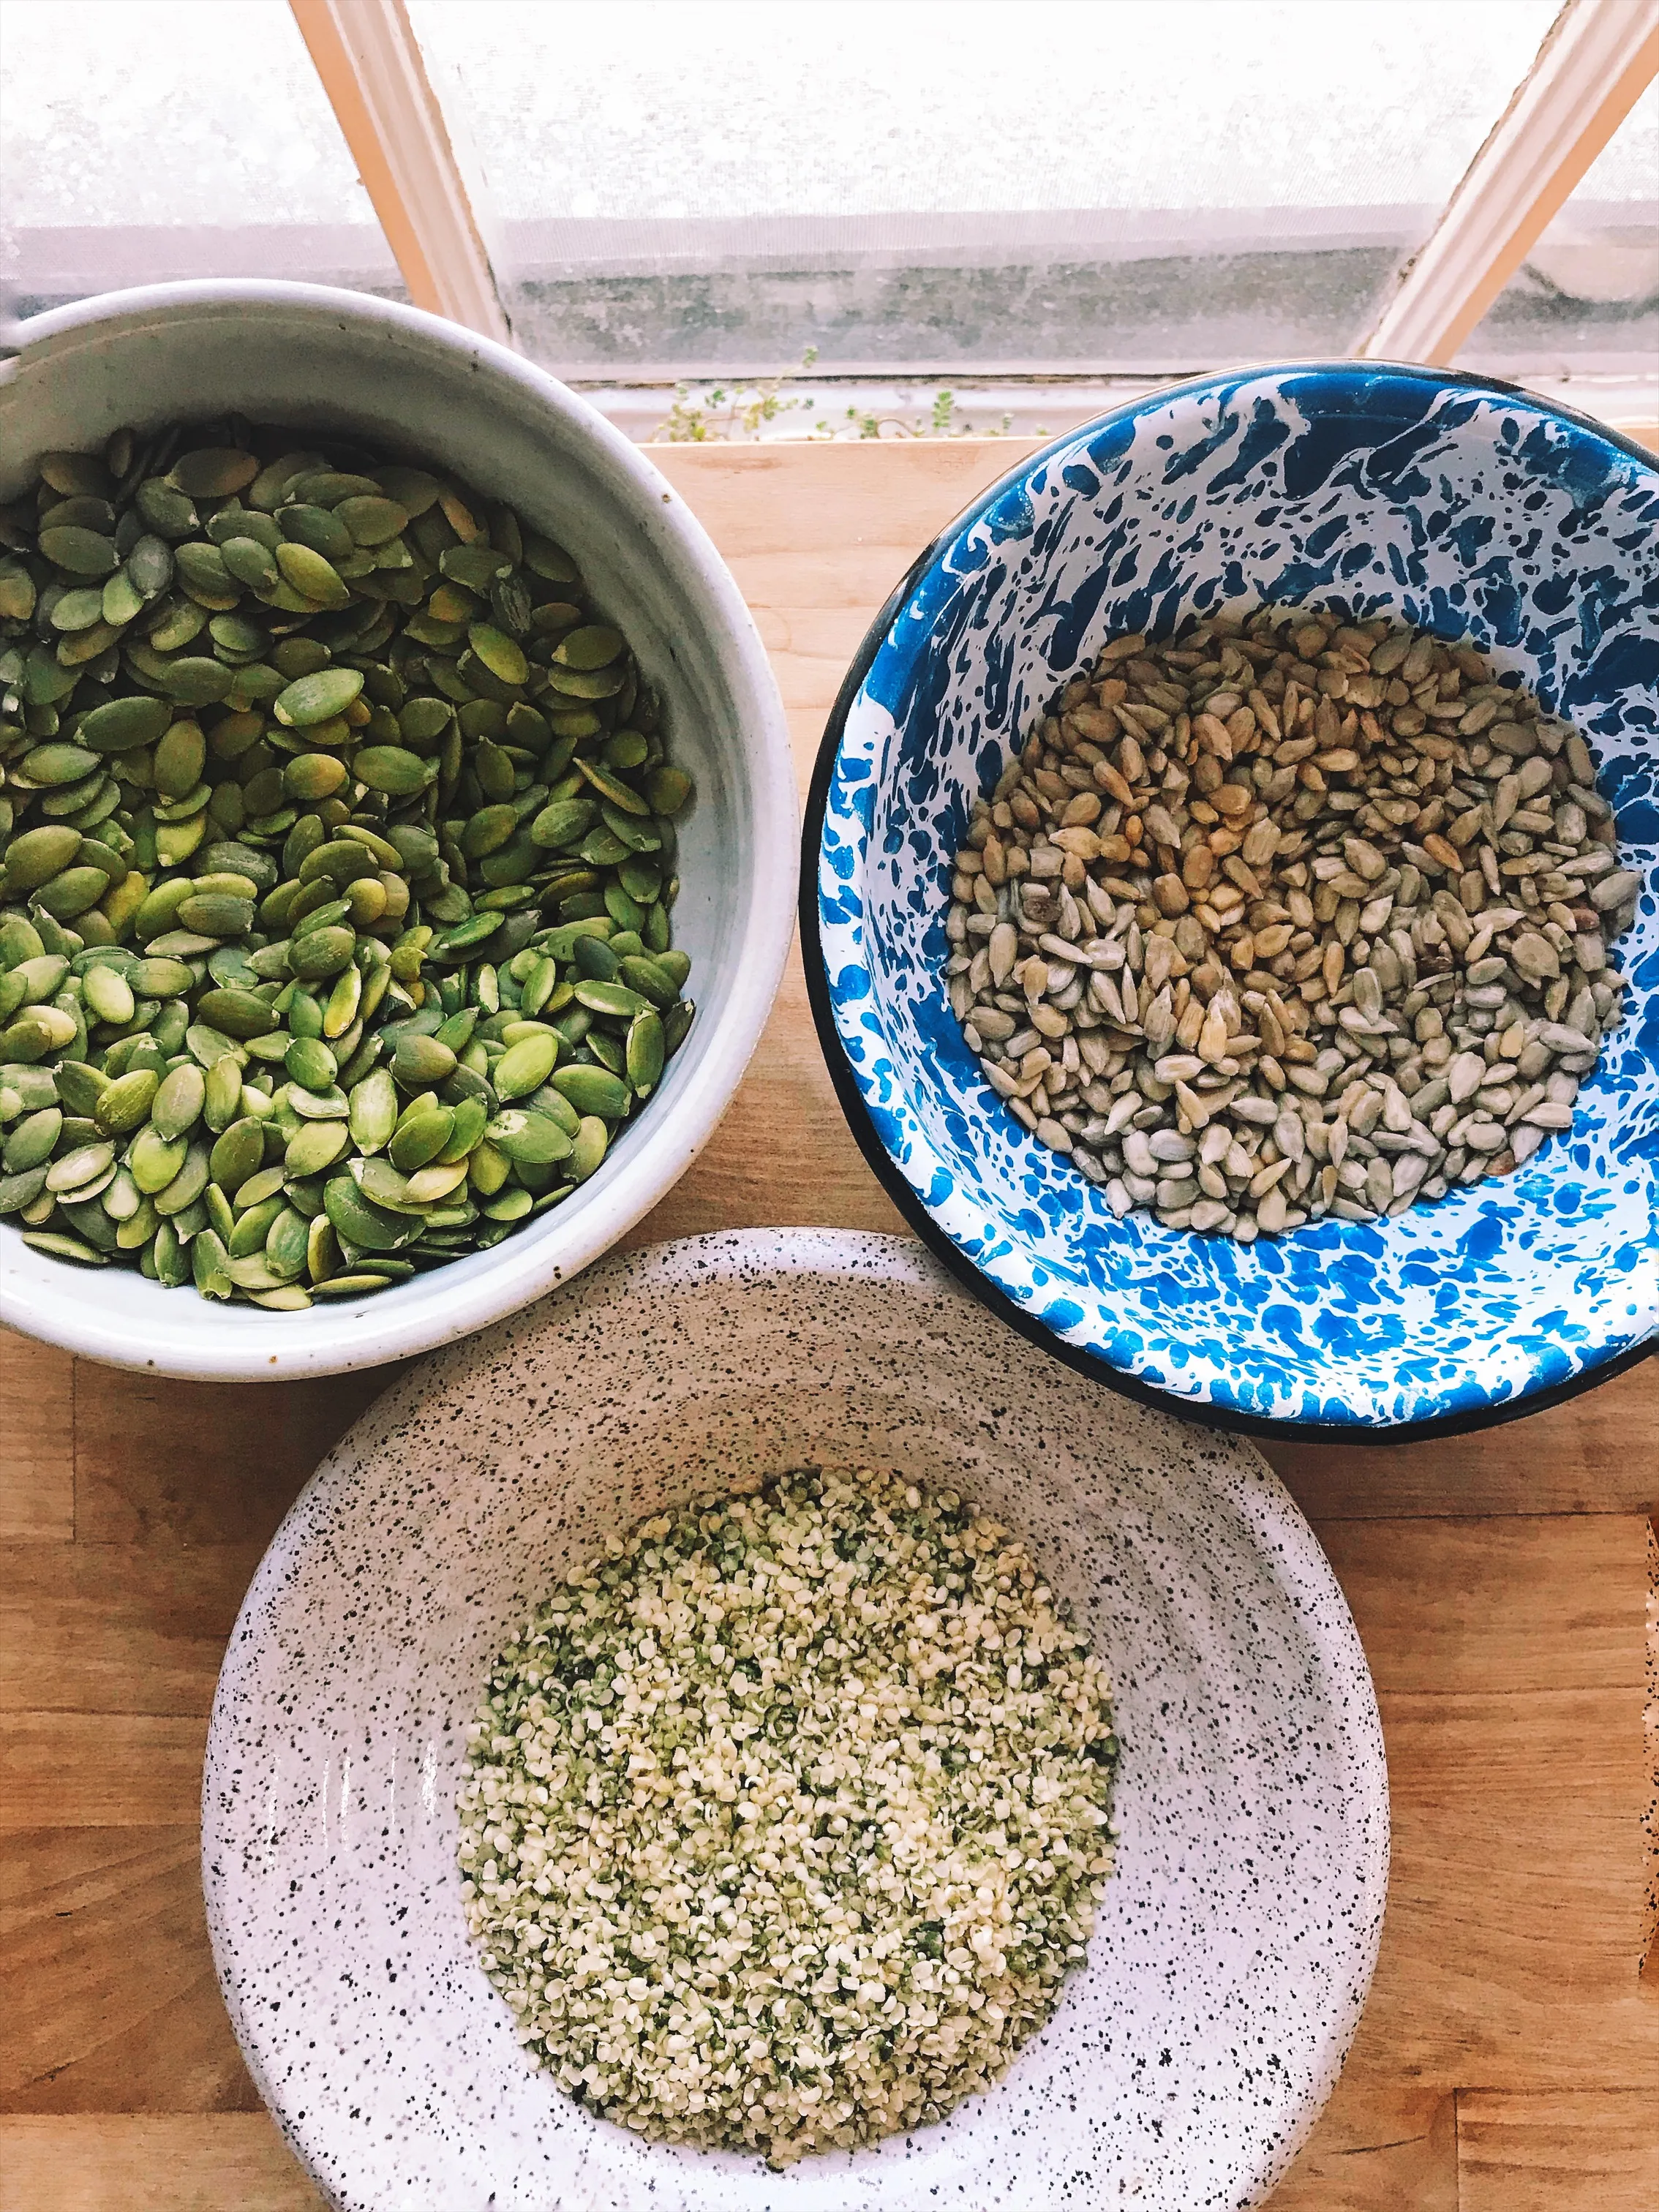 Pumpkin, sunflower, and hemp seeds make amazing nut milks without the straining step.
- 1 cup hemp seeds
- 3 cups filtered water
Instructions:
- Combine hemp seeds and water in your blender.
- Blend on high for 3 minutes, or until smooth and frothy.
- Store in an airtight container in the fridge for up to 3 days. Shake well before using.
3. Pumpkin Seed Milk
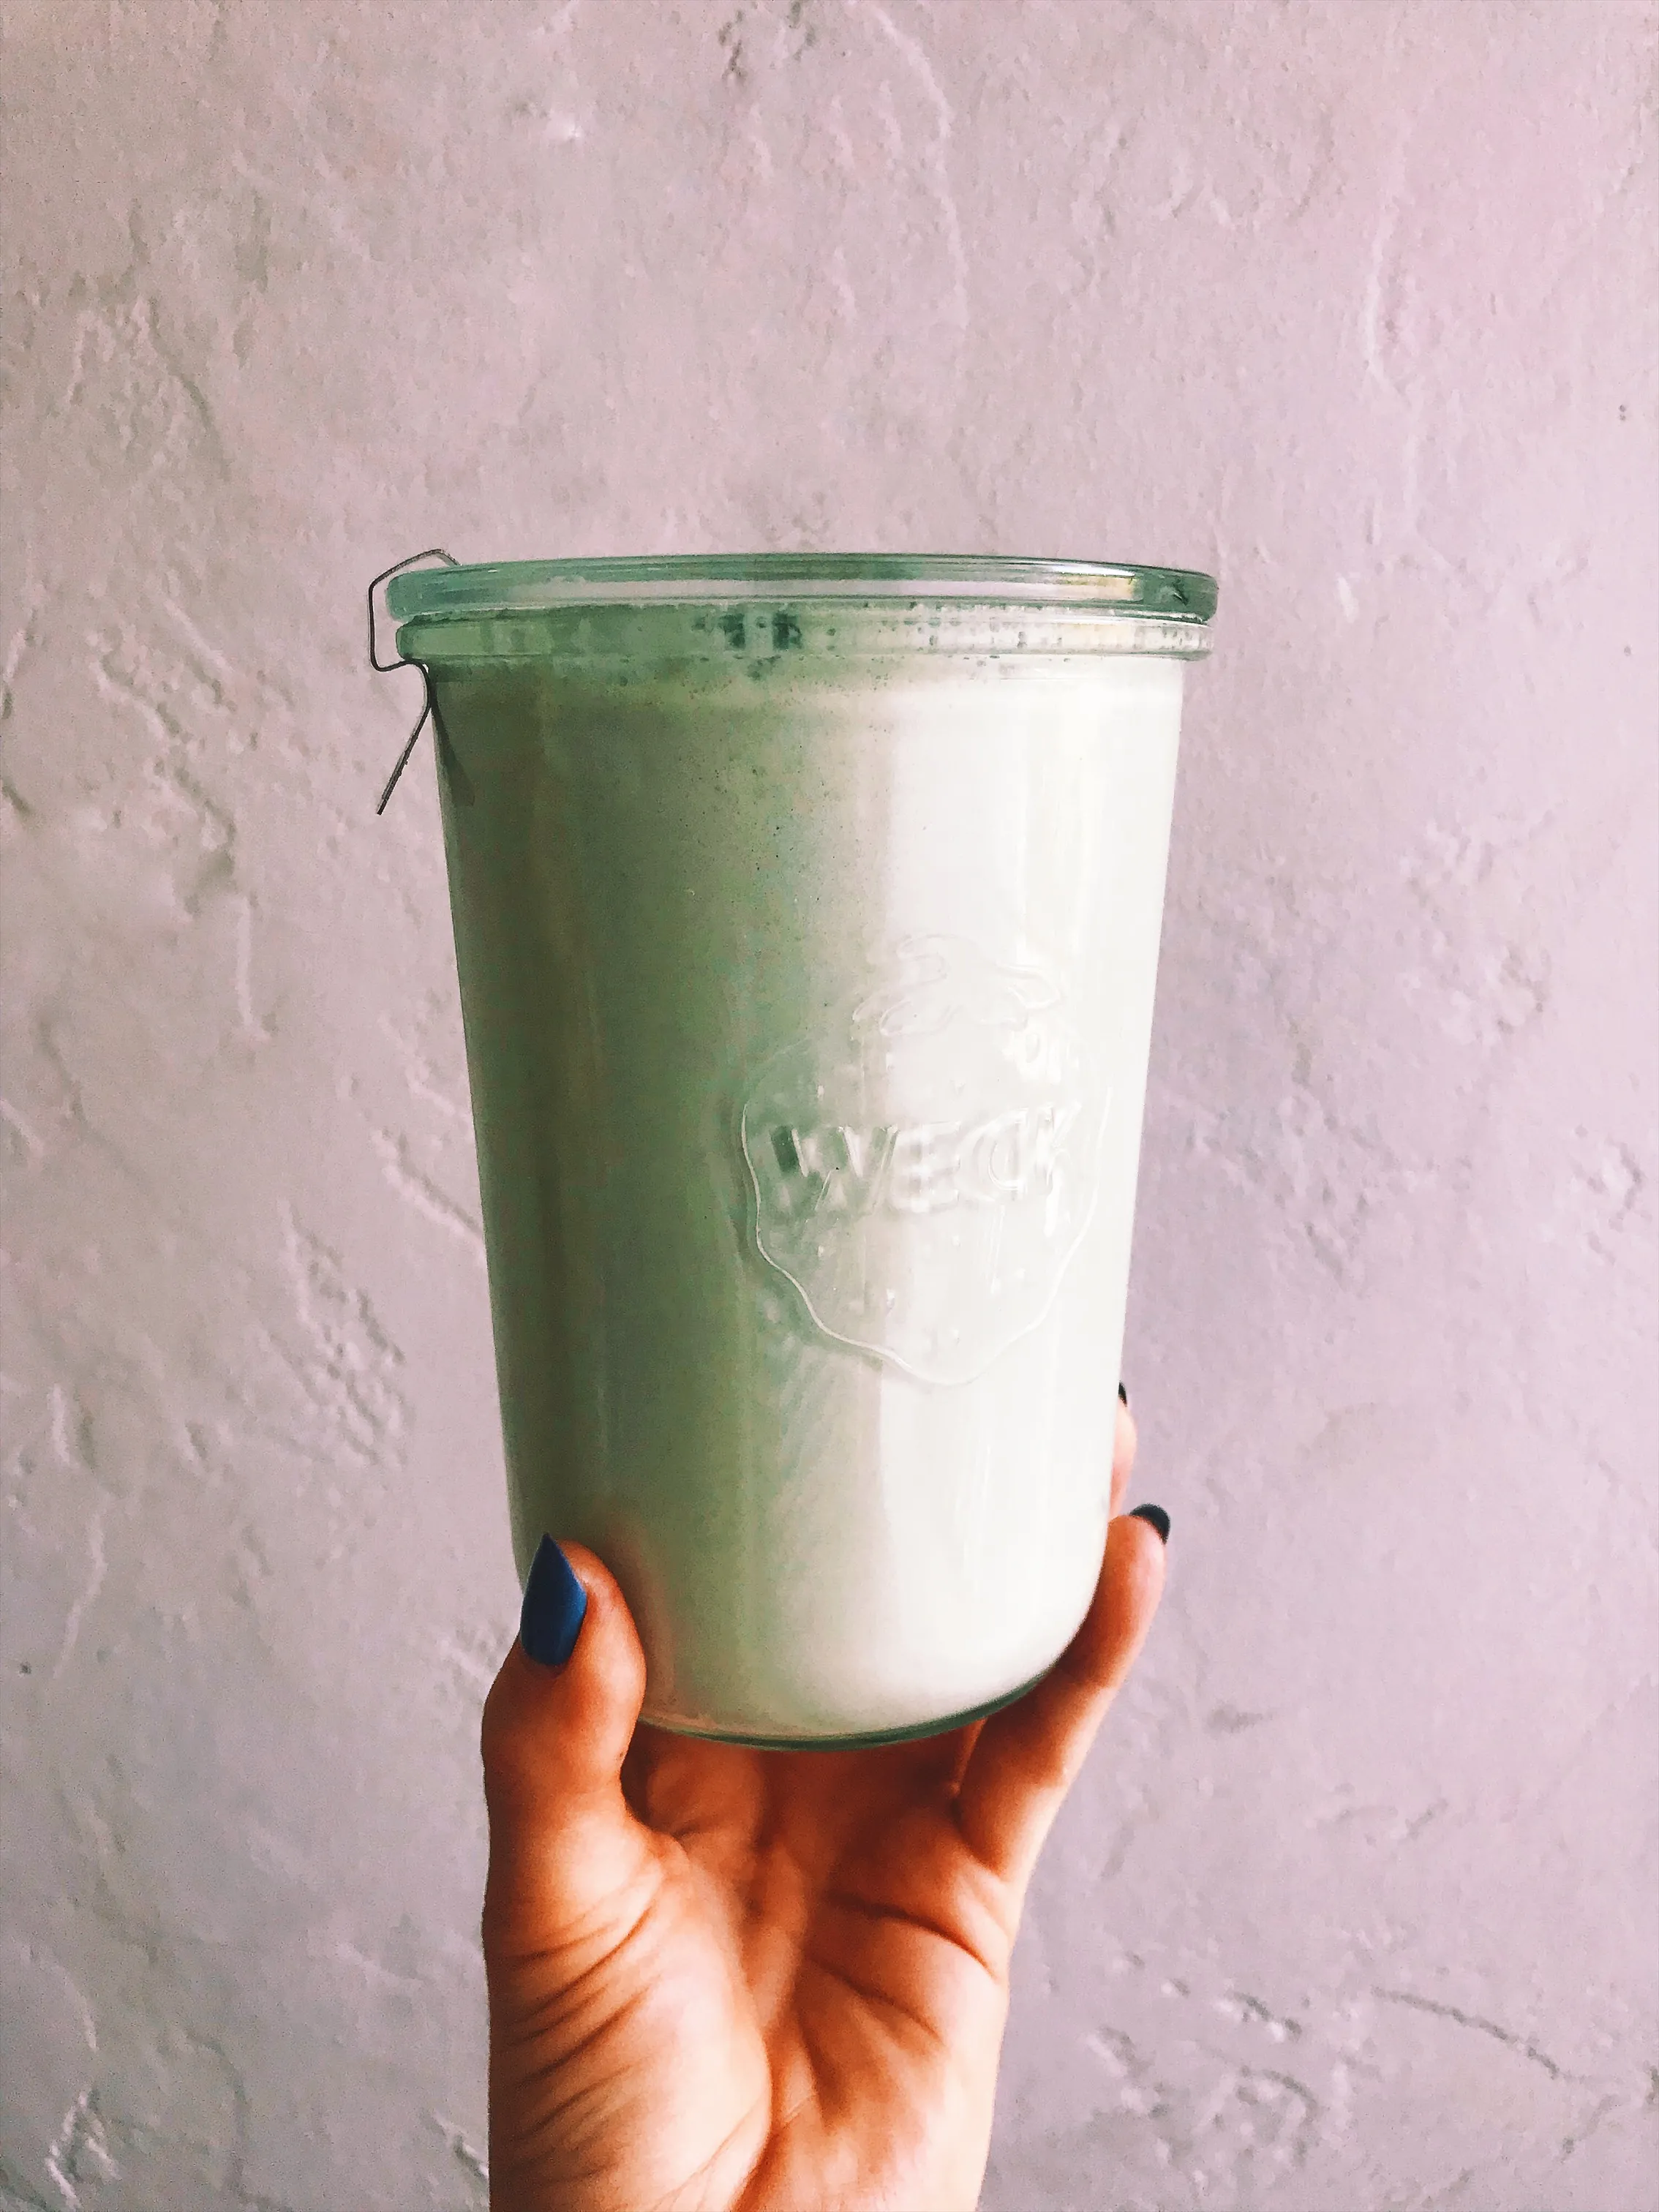 the prettiest of the 3, pumpkin seeds offers a sea foam green tint
- 1 cup raw, unsalted pumpkin seeds
- 3 cups filtered water
Instructions:
- Combine pumpkin seeds and water in your blender.
- Blend on high for 3 minutes, or until smooth.
- Pour into an airtight container and store in the fridge for up to 3 days. Shake well before each use.
Why Seed Milk Deserves a Spot in Your Fridge
Beyond the simplicity and delicious taste, there are many reasons why I’ve made seed milk a staple in my kitchen.
1. Cost-Effective
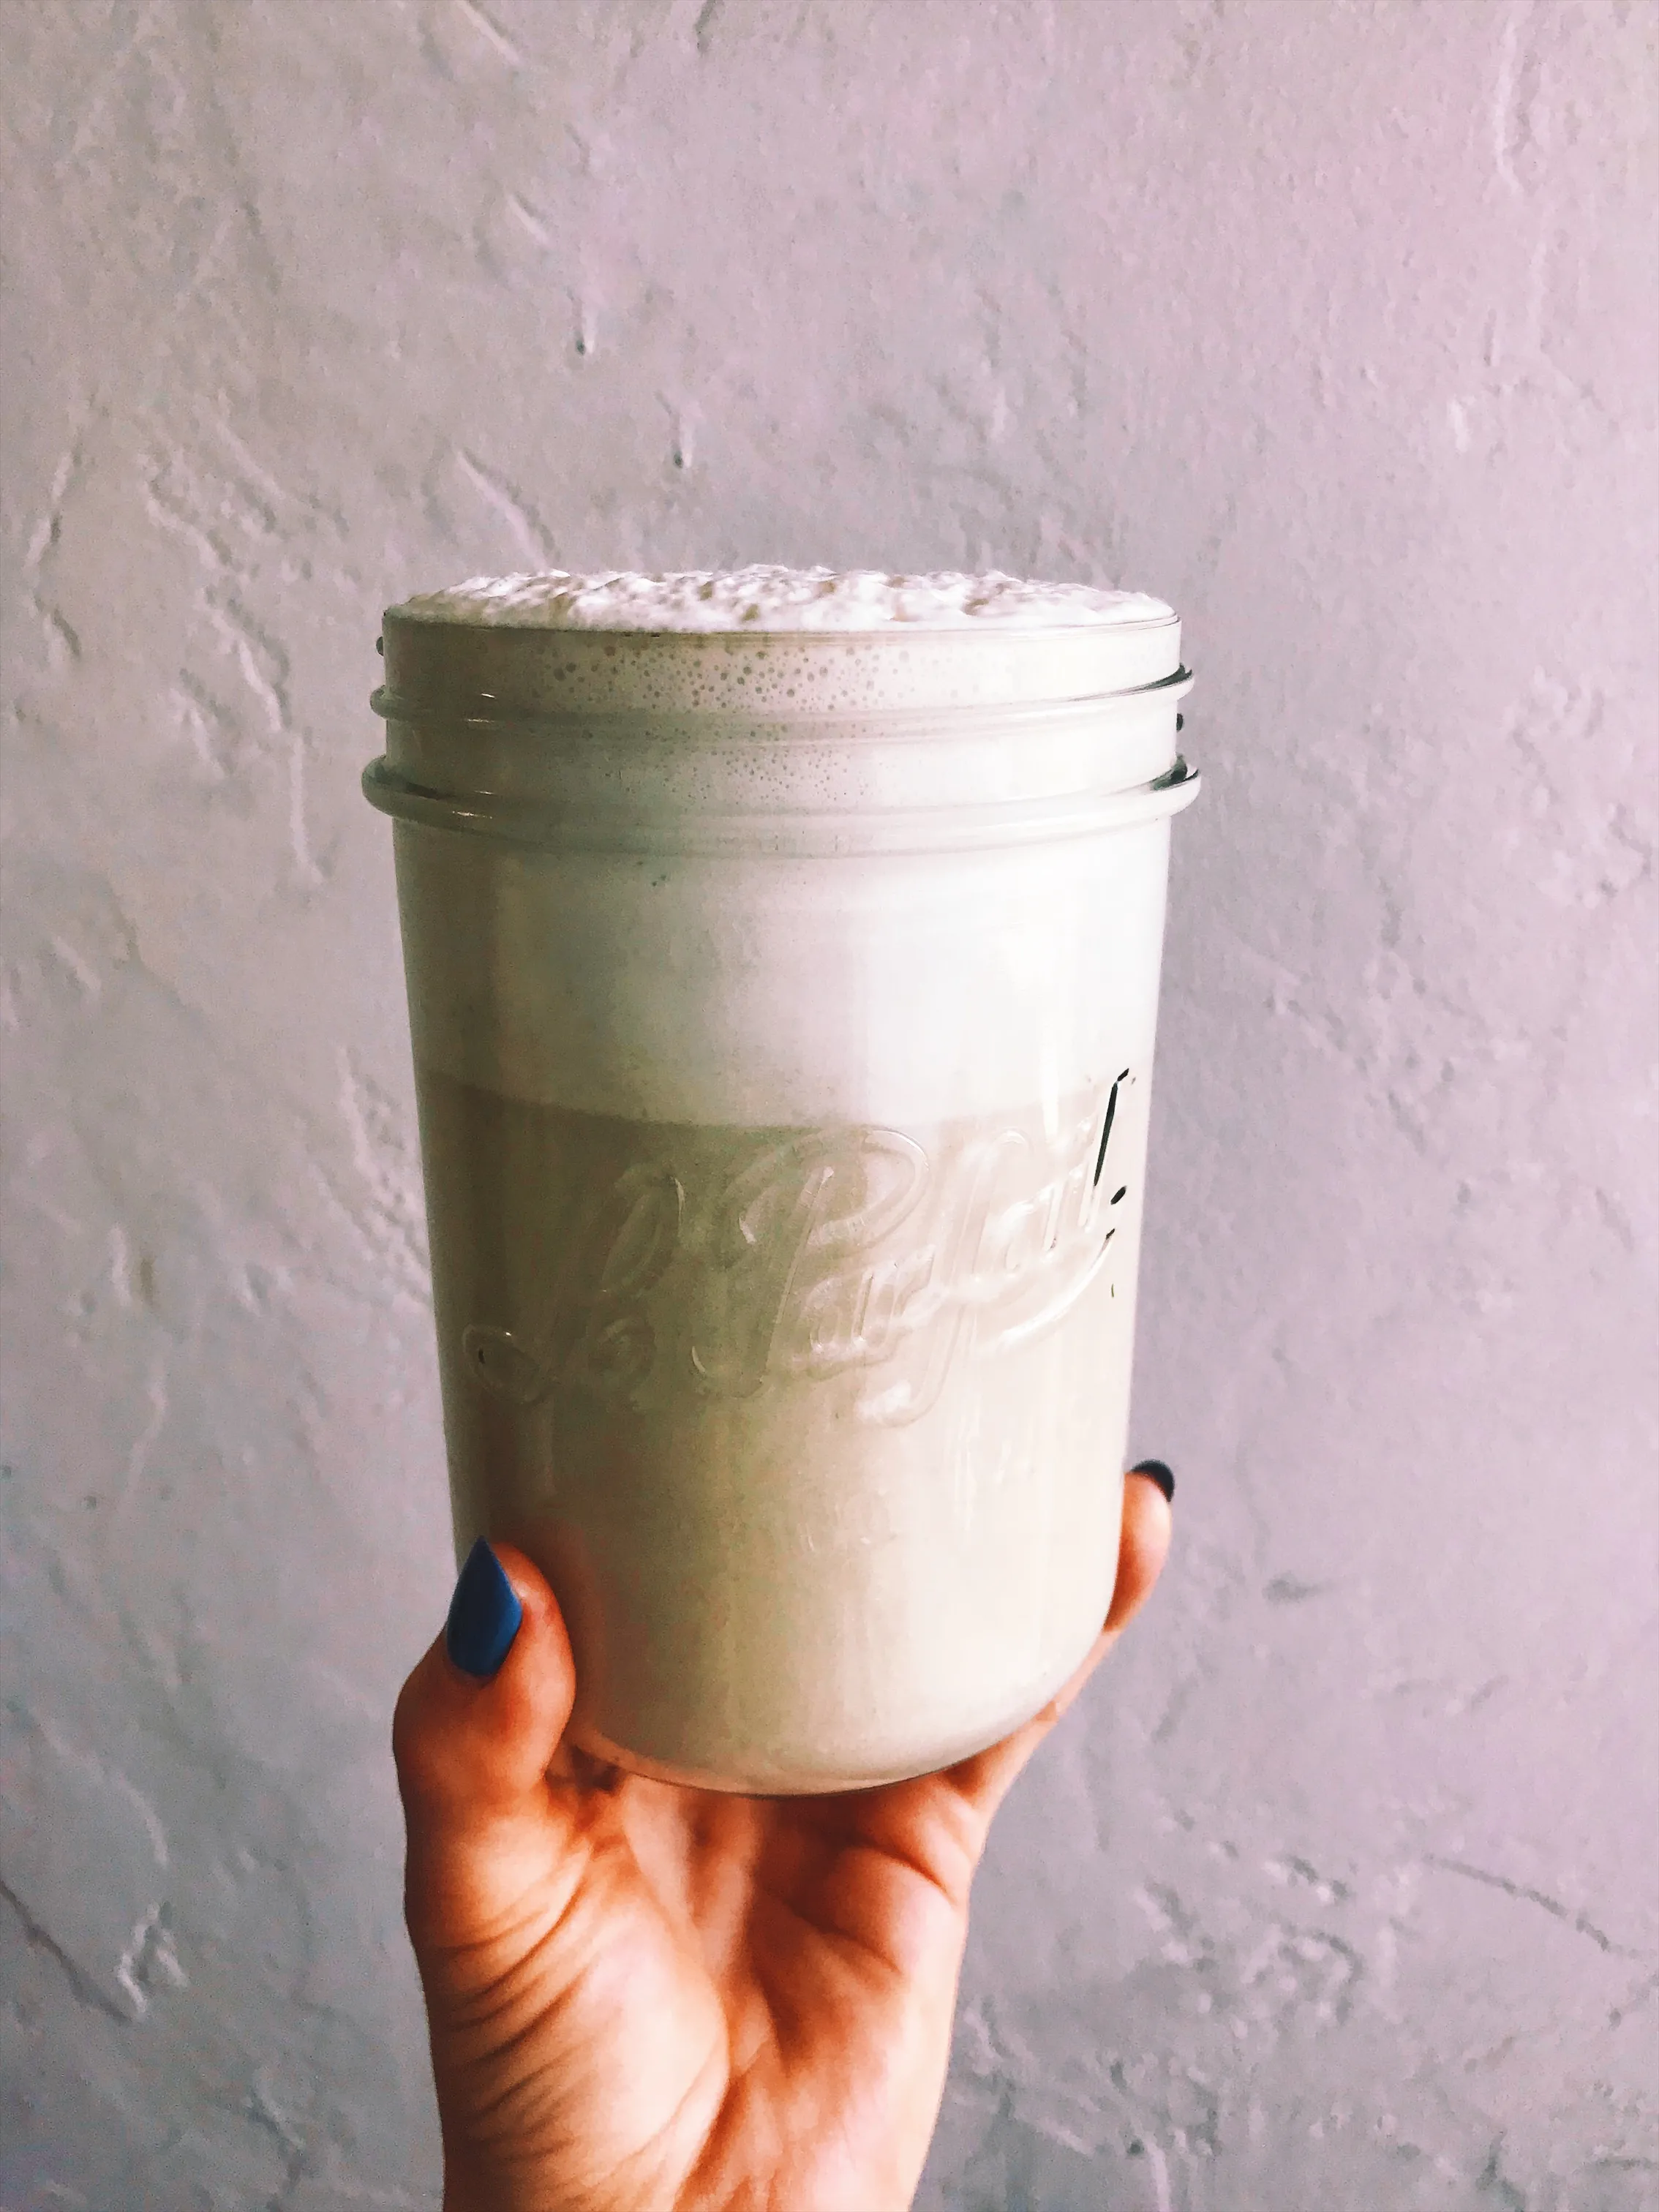 Seperation is totally normal AND encouraged! It means the fiber is still in tact, making your milks more filling and upping their nutritional value.
Let’s face it, those fancy organic nut milks can put a dent in your wallet. When you make your own, you’re cutting out the middleman and all those extra costs associated with shipping, production, and packaging. Plus, seeds like sunflower seeds are significantly cheaper than nuts, making your homemade milk a much more budget-friendly option.
2. Less Waste
Remember the nut milk pulp struggle? With seed milk, there’s no straining, which means no leftover pulp to find a use for (or sadly, throw away). You’re using the entire seed, making it a more sustainable and environmentally friendly choice.
3. Better for the Environment
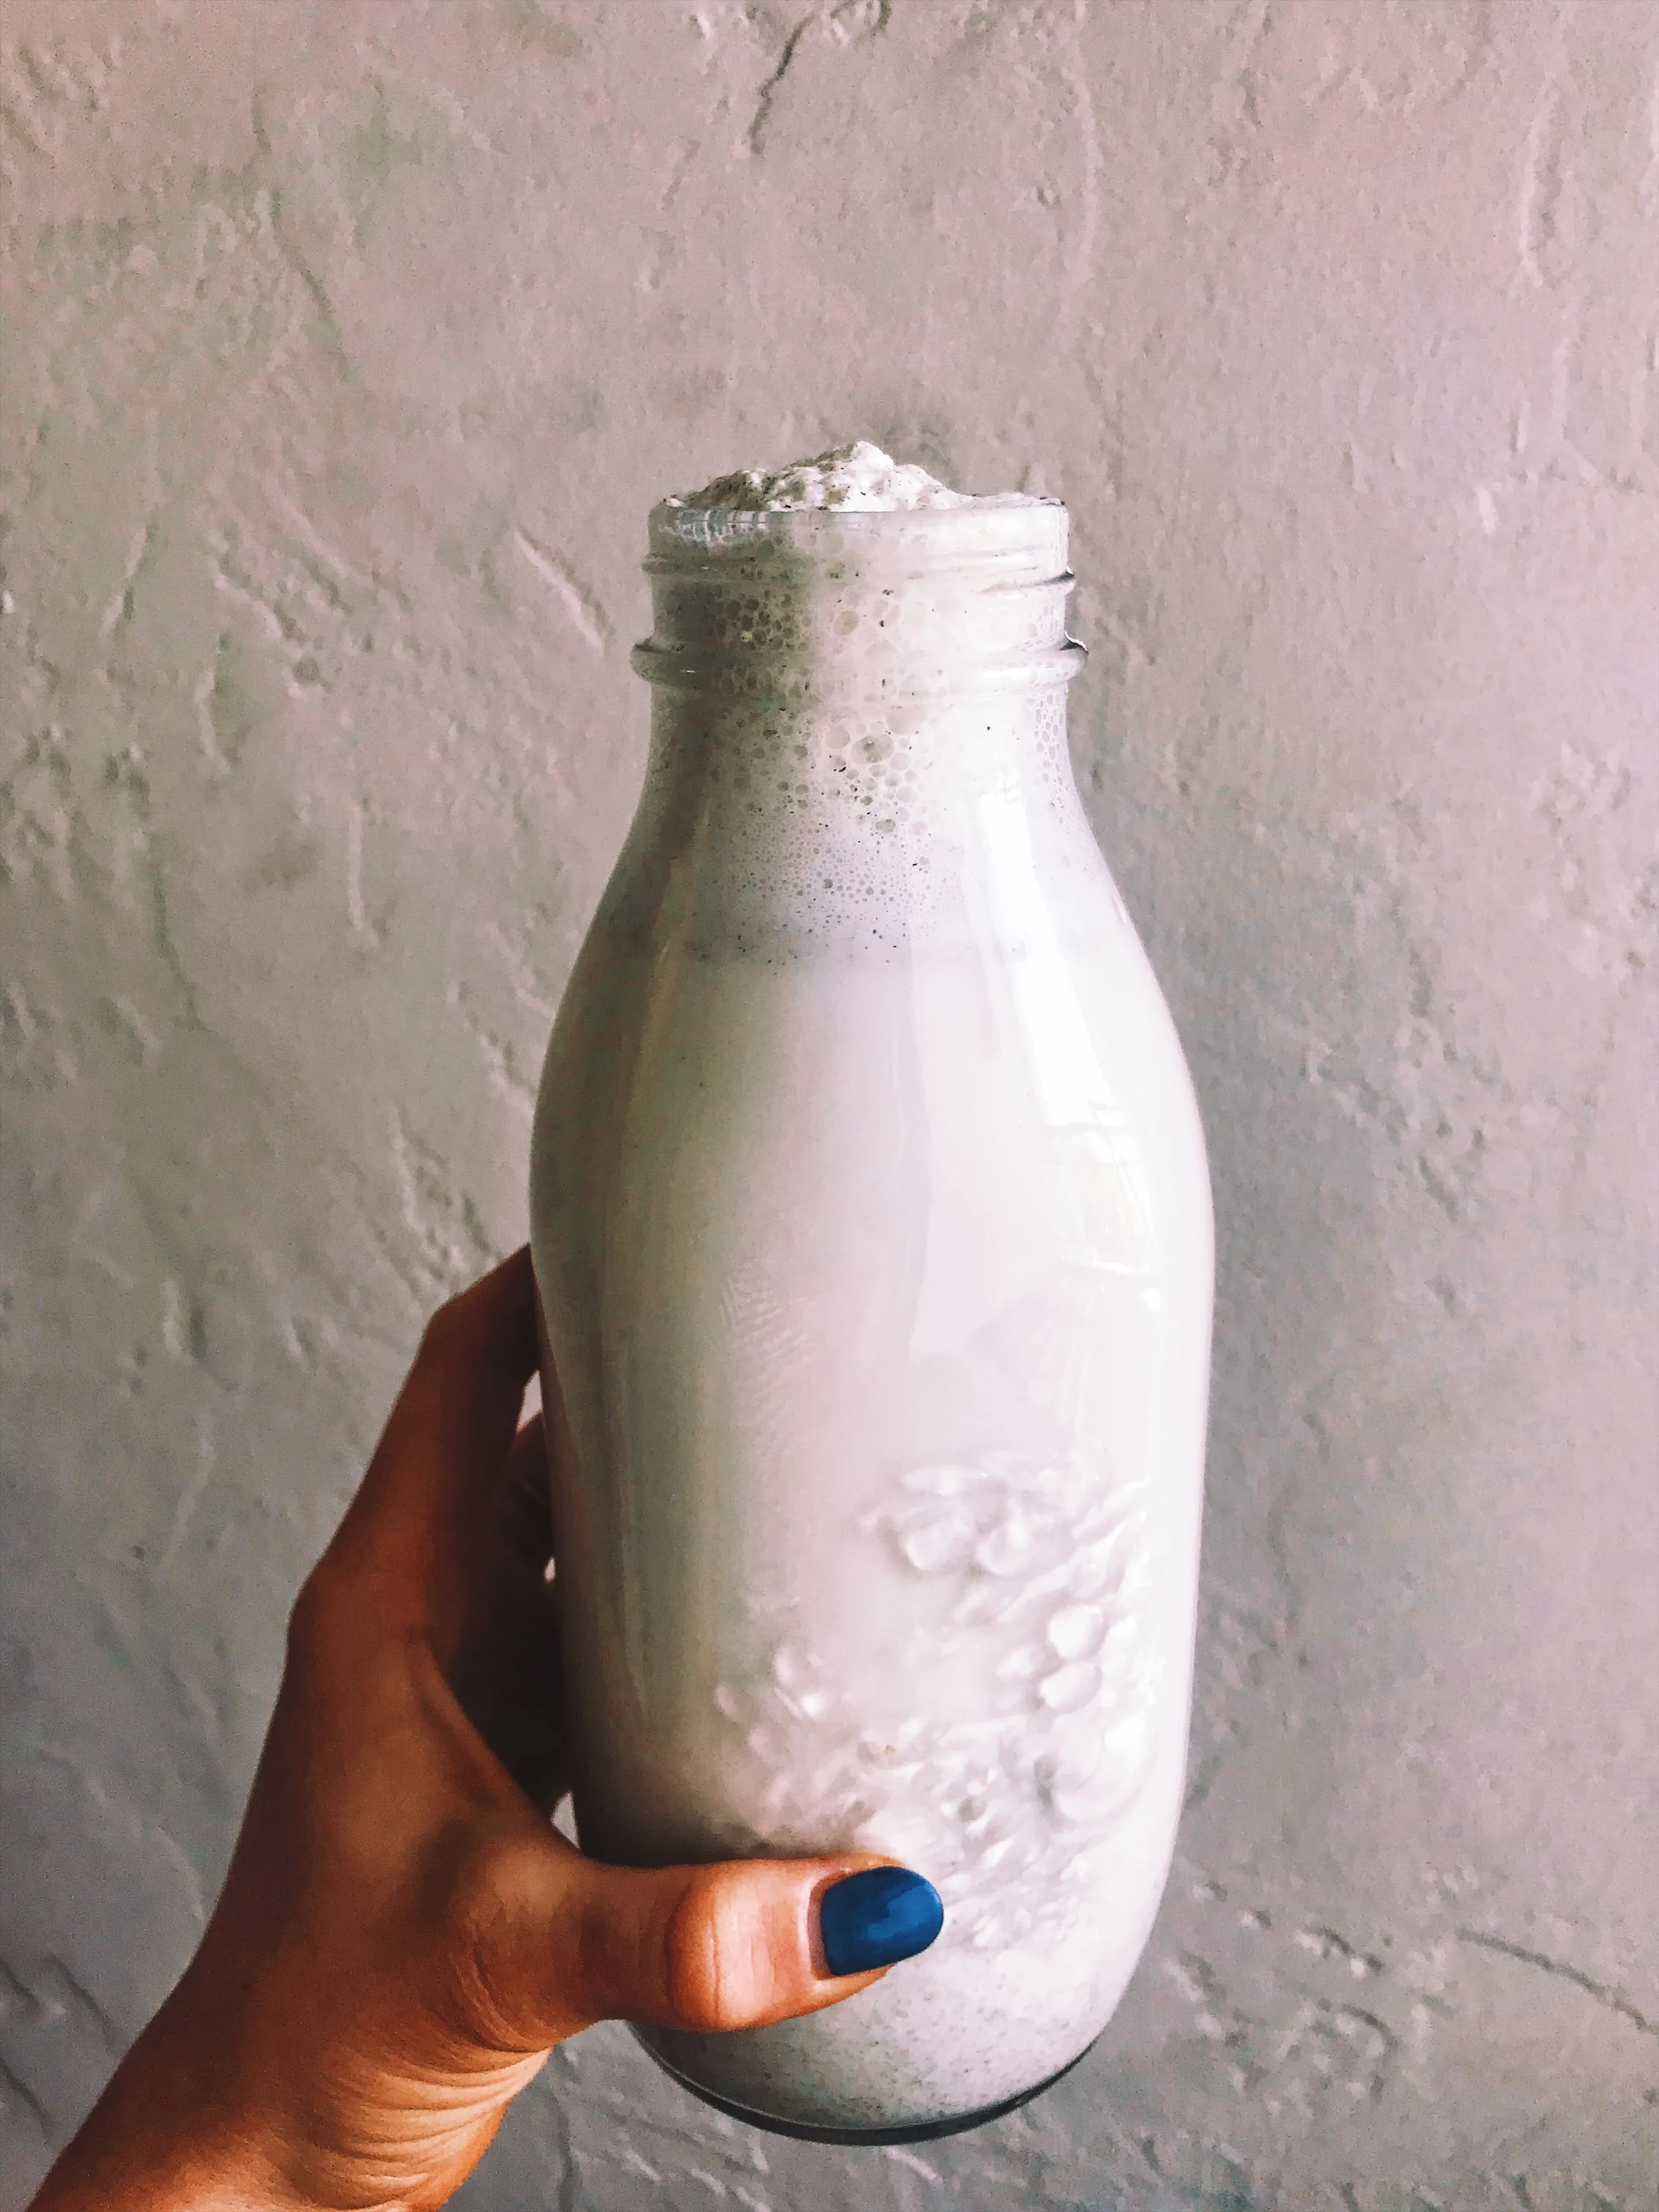 Check that foam though!!
The environmental impact of almond milk is a hot topic. While it’s a delicious and popular dairy alternative, it takes a whopping 384 liters of water to produce just 1 liter of almond milk. By choosing seed milk, you’re opting for a less water-intensive alternative.
Ready to Unleash Your Inner Seed Milk Maestro?
I encourage you to experiment with different seeds, flavors, and combinations. Share your creations with me on social media – I’d love to see what you come up with! And don’t forget to check out Robert Kline Art for more creative inspiration and unique handmade gifts. Happy blending!
