Blog
The Ultimate Guide to Homemade Protein Bars: Fuel Your Body the Delicious Way

Are you tired of spending a fortune on store-bought protein bars loaded with artificial ingredients? I hear you! That’s why I started making my own protein bars, and let me tell you, the difference is astounding. Not only are they healthier and cheaper, but they also taste incredible. In this comprehensive guide, we’ll dive deep into the world of homemade protein bars, equipping you with the knowledge and confidence to whip up your own batch.
Why Homemade Protein Bars?
For years, I relied on store-bought protein bars, but the constant expense and long list of unpronounceable ingredients finally got to me. Making my own seemed daunting at first, but I quickly discovered how simple and rewarding it is. Here’s why you’ll love homemade protein bars:
- Wholesome Ingredients: You control what goes into your bars, ensuring they’re free of artificial sweeteners, preservatives, and other unwanted additives.
- Cost-Effective: Making your own protein bars is significantly cheaper than buying them pre-made.
- Customizable Flavors: From classic peanut butter to decadent chocolate chip, the flavor possibilities are endless.
- Convenient and Portable: Homemade protein bars are the perfect grab-and-go snack to fuel your workouts or satisfy those midday cravings.
Crafting Your Perfect Bar: Ingredients and Substitutions
The beauty of homemade protein bars lies in their simplicity. Most recipes require just a handful of basic ingredients, and you can easily make substitutions based on your dietary needs and preferences.
Essential Ingredients:
- Protein Powder: The backbone of your protein bars. Whey, casein, pea, and brown rice protein powders all work well. Experiment with different flavors like chocolate, vanilla, or peanut butter.
- Expert Tip: “I prefer using casein, brown rice, or paleo protein powder. I never recommend whey as the texture is incredibly sticky and doesn’t form well.” – Arman Liew, Recipe Developer
- Coconut Flour: This gluten-free flour binds the ingredients together while providing a slightly chewy texture. Oat flour or almond flour can be used as substitutes, but you may need to adjust the quantity for desired consistency.
- Nut Butter: Peanut butter, almond butter, cashew butter – take your pick! Opt for natural nut butters with no added sugar. For nut-free alternatives, tahini or sunflower seed butter work well.
- Sweetener: Maple syrup is a natural sweetener that adds a touch of sweetness. Honey or agave nectar are great substitutes. For sugar-free options, look for sugar-free maple syrup.
Optional Add-Ins:
- Chocolate Chips: Because who can resist a chocolatey treat?
- Dried Fruits: Cranberries, raisins, chopped dates, or apricots add a burst of flavor and natural sweetness.
- Nuts and Seeds: Enhance the texture and nutritional value with chopped nuts, chia seeds, or flax seeds.
Step-by-Step Guide to Homemade Protein Bar Bliss
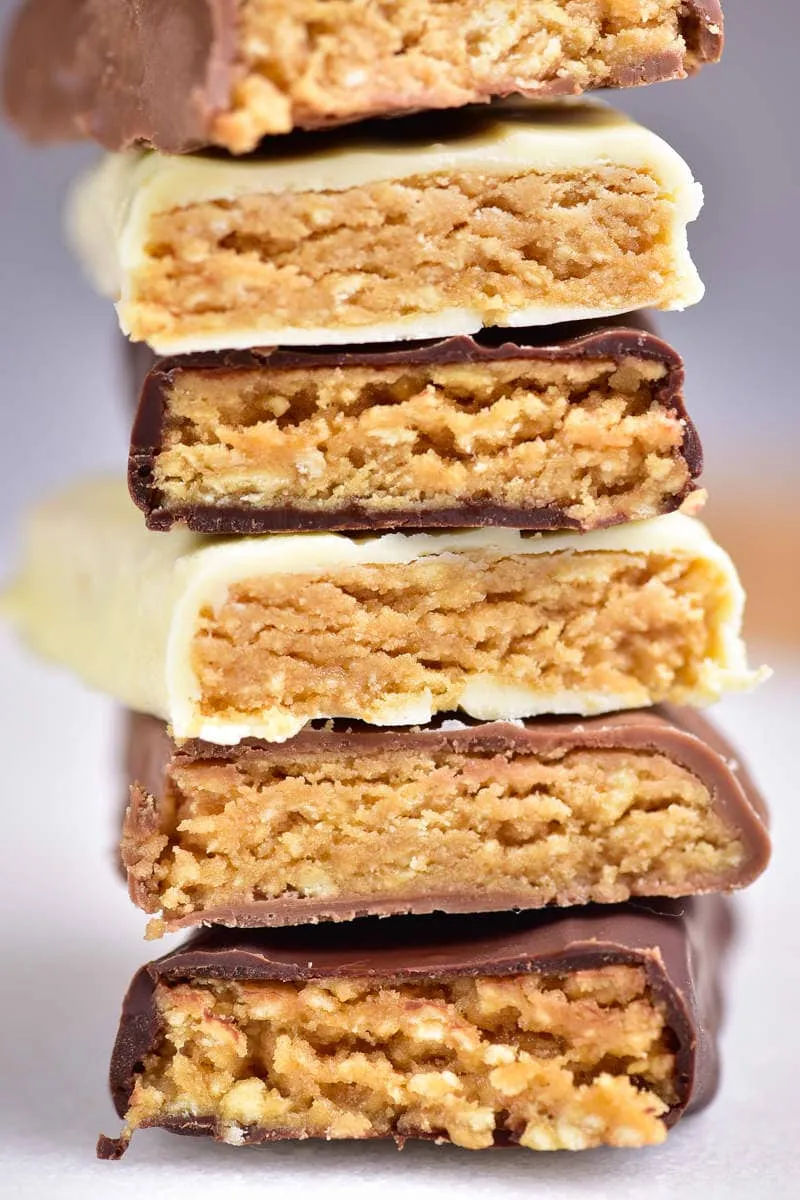
 homemade protein bars.
1. Gather Your Ingredients and Equipment
Once you’ve chosen your desired ingredients, gather your equipment. You’ll need:
- Mixing bowls
- Measuring cups and spoons
- Spatula or wooden spoon
- Parchment paper
- Baking dish (8×8 inch for thicker bars, larger for thinner bars)
2. Combine Dry Ingredients
In a large mixing bowl, whisk together your protein powder and coconut flour until well combined. This ensures even distribution and prevents clumping.
3. Prepare the Wet Ingredients
In a separate bowl, combine your nut butter and sweetener. If your nut butter is particularly thick, you can gently warm it in the microwave for a few seconds to make mixing easier.
4. Combine Wet and Dry Ingredients
Gradually add the wet ingredients to the dry ingredients, mixing until a doughy consistency forms. If the mixture seems too dry and crumbly, add a tablespoon of water or milk at a time until it comes together.
- Expert Tip: “If the batter is too thick/crumbly, add water/milk until a firm batter remains.” – Arman Liew, Recipe Developer
5. Fold in Additional Ingredients
Gently fold in your desired add-ins, such as chocolate chips, dried fruits, or nuts.
6. Press and Chill
Line your baking dish with parchment paper, leaving some overhang for easy removal. Transfer the protein bar mixture to the prepared dish and press it down firmly with a spatula or your hands until smooth and evenly spread. Refrigerate for at least an hour to allow the bars to set.
7. Slice and Enjoy!
Once the bars are firm, lift them out of the dish using the parchment paper overhang. Slice into bars using a sharp knife.
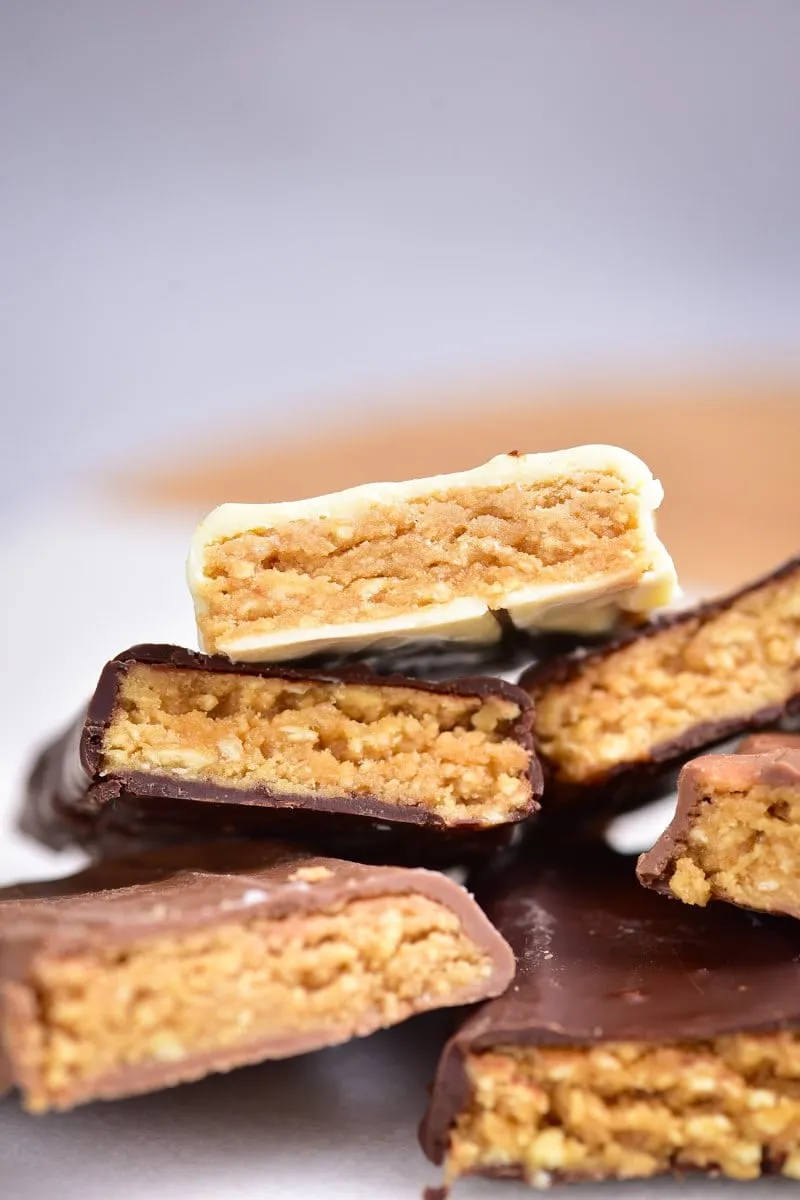
 protein bar recipe.
Storing Your Homemade Protein Bars
Store your homemade protein bars in an airtight container in the refrigerator for up to two weeks. For longer storage, freeze them for up to six months.
Embrace the Joy of Homemade Protein Bars
Crafting your own protein bars is a fun and rewarding experience. By following these simple steps, you can enjoy delicious, healthy, and cost-effective snacks tailored to your taste. So, ditch the expensive, processed bars and embrace the world of homemade protein bar bliss. Your taste buds and your wallet will thank you.
Let me know in the comments below if you give this recipe a try! I’d love to hear about your favorite flavor combinations and any creative twists you come up with.
For more inspiring handmade gift ideas and DIY projects, be sure to explore the rest of the “Robert Kline Art” website.
