Blog
The Art of Homemade Nut Milk Yogurt: A Creamy and Delicious Journey

Many people perceive art as something displayed in galleries or museums. But here at Robert Kline Art, we believe that true art comes in many forms, even in your kitchen! Today, we’re exploring the art of making homemade nut milk yogurt – a process that’s surprisingly simple, deeply satisfying, and yields a healthy, delicious treat.
The Allure of Homemade Almond Milk Yogurt
Why embark on this homemade journey when store shelves are stocked with countless yogurt options? Here are a few compelling reasons:
- Taste the Purity: The flavor of homemade almond yogurt is unmatched – clean, pure, and vibrantly alive. It’s a far cry from the often overly-sweetened or artificially flavored store-bought varieties.
- Control Your Ingredients: By making your own yogurt, you’re in the driver’s seat when it comes to ingredients. Say goodbye to unwanted additives, preservatives, or excess sugars.
- Embrace Sustainability: Reduce your environmental footprint by ditching single-use plastic containers and opting for reusable jars.
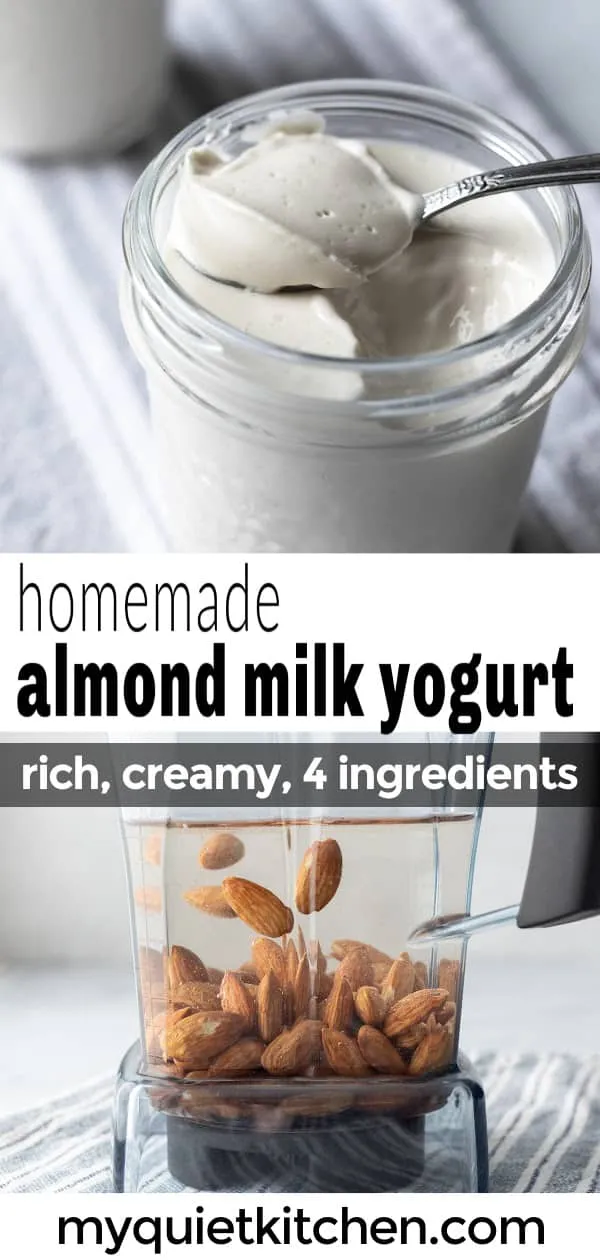
 image to save on Pinterest.
Unveiling the Craft: A Step-by-Step Guide to Nut Milk Yogurt
This recipe focuses on almond milk yogurt, but the principles can be applied to other nut milks as well. Let’s break down the process:
Gathering Your Tools and Ingredients:
- High-speed blender: This is your trusty sidekick for creating smooth and creamy nut milk.
- Nut milk bag: Essential for straining the milk and achieving a silky texture.
- Saucepan: Your canvas for heating and thickening the yogurt.
- Thermometer: Precision is key when culturing yogurt. A thermometer ensures the ideal temperature for those beneficial bacteria.
- Jars: Choose glass jars for storing your finished yogurt.
- Raw almonds: The star ingredient!
- Water: You’ll need a good amount for blending and thinning the milk.
- Maple syrup: A touch of sweetness aids the culturing process.
- Arrowroot starch: This helps thicken the yogurt, giving it that desirable consistency.
- Agar agar powder: Another thickening agent that lends a beautiful texture.
- Probiotic capsule: The heart of yogurt making! Look for capsules containing live active cultures, particularly L. acidophilus and B. lactis.
Crafting Your Culinary Masterpiece:
-
Creating the Almond Milk: Blend the almonds with water and maple syrup until completely smooth. Strain the mixture through your nut milk bag, squeezing out as much liquid as possible. Don’t discard the pulp! It can be used for energy balls, granola bars, or other culinary adventures.
-
The Thickening Process: In a saucepan, combine the almond milk, water, arrowroot starch, and agar agar powder. Whisk diligently while heating the mixture to a simmer. This activates the thickening agents and eliminates any unwanted bacteria.
-
The Cooling and Culturing Phase: Allow the mixture to cool to around 105°F (40°C). This step is crucial! If the mixture is too hot, it will kill the beneficial bacteria in the probiotic. Once cooled, gently whisk in the contents of your probiotic capsule.
-
Incubation: Pour the mixture into your sterilized jars, leaving a little space at the top. Now, it’s time to create the perfect environment for your yogurt to culture:
- Instant Pot Method: If you own an Instant Pot with a yogurt function, you’re in luck! Simply place the jars inside (no need to add water), secure the lid, and set the yogurt function to your desired time (10-14 hours).
- Alternative Methods: No Instant Pot? No problem! You can achieve similar results using an insulated cooler with warm water, a slow cooker set on low, or even a warm, sunny spot in your house. The key is to maintain a consistent temperature of around 105-110°F (40-43°C) for several hours.
-
The Final Flourish: After the incubation period, your yogurt should be beautifully set. Allow it to cool completely before storing it in the refrigerator.
Troubleshooting Your Yogurt Art
Like any art form, yogurt making has its nuances. Here are a few tips to ensure your success:
- Cleanliness is Key: Sterilize your jars, utensils, and equipment to prevent unwanted bacteria from interfering with the culturing process.
- Temperature Control: Pay close attention to the temperature throughout the process. Too hot, and you’ll kill the probiotics; too cool, and the yogurt may not set properly.
- Troubleshooting Pink Mold: If your yogurt develops a pinkish hue, it’s a sign of contamination, and it’s best to discard it. Review your sanitation practices and environmental factors for the next batch.
Savoring the Fruits of Your Labor:
Congratulations! You’ve created a true work of culinary art. Now, it’s time to enjoy the delicious rewards. Here are a few ideas to get you started:
- Enjoy it plain: The pure, clean taste of homemade nut milk yogurt is a delight on its own.
- Sweeten it naturally: Add a drizzle of honey or maple syrup, a dollop of jam, or your favorite fresh or frozen fruit.
- Incorporate it into recipes: Homemade nut milk yogurt adds a creamy, tangy element to smoothies, dips, sauces, and even baked goods.
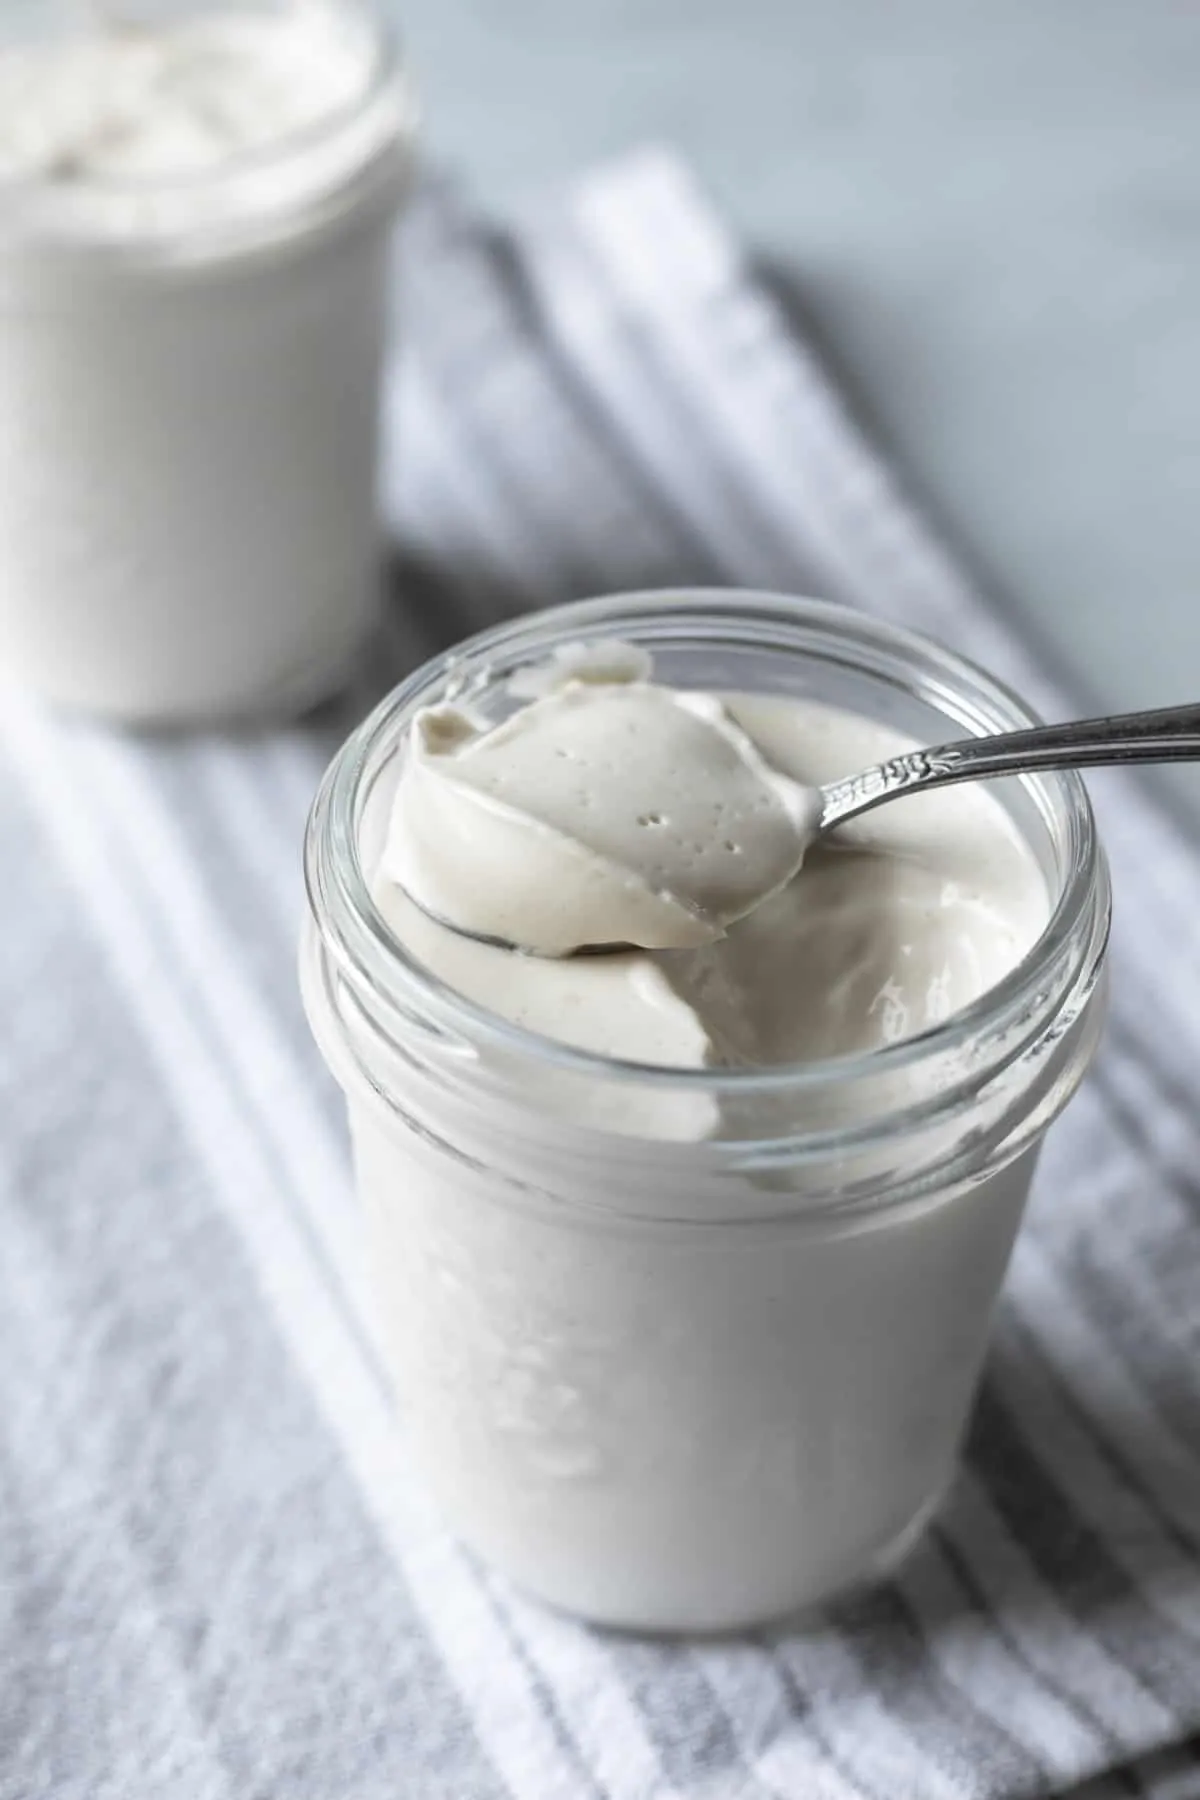
 a spoonful of thick vegan almond yogurt.
Making homemade nut milk yogurt is a testament to the artistry that can be found in everyday endeavors. It’s about patience, experimentation, and the joy of creating something truly nourishing and delicious. So, why not gather your ingredients and embark on this rewarding journey? You might be surprised at the creative potential that lies within your own kitchen.
At Robert Kline Art, we believe that art is more than just a visual experience – it’s about engaging all the senses and finding beauty in unexpected places. Share your homemade yogurt creations with us, and let’s celebrate the art of mindful eating together.
