Blog
The Ultimate Guide to Making Homemade Nut Butter
Hey there, fellow art and craft enthusiasts! Robert Kline here, and today we’re diving into the delicious world of homemade nut butter. Forget those store-bought jars with their long ingredient lists and hefty price tags – we’re going DIY!
Making your own nut butter is easier than you might think, and it’s incredibly rewarding. Plus, it’s a fantastic way to tap into your creative side. You become the artist of your own flavor palette, blending unique combinations and controlling every ingredient.
Choosing Your Nut Butter Base
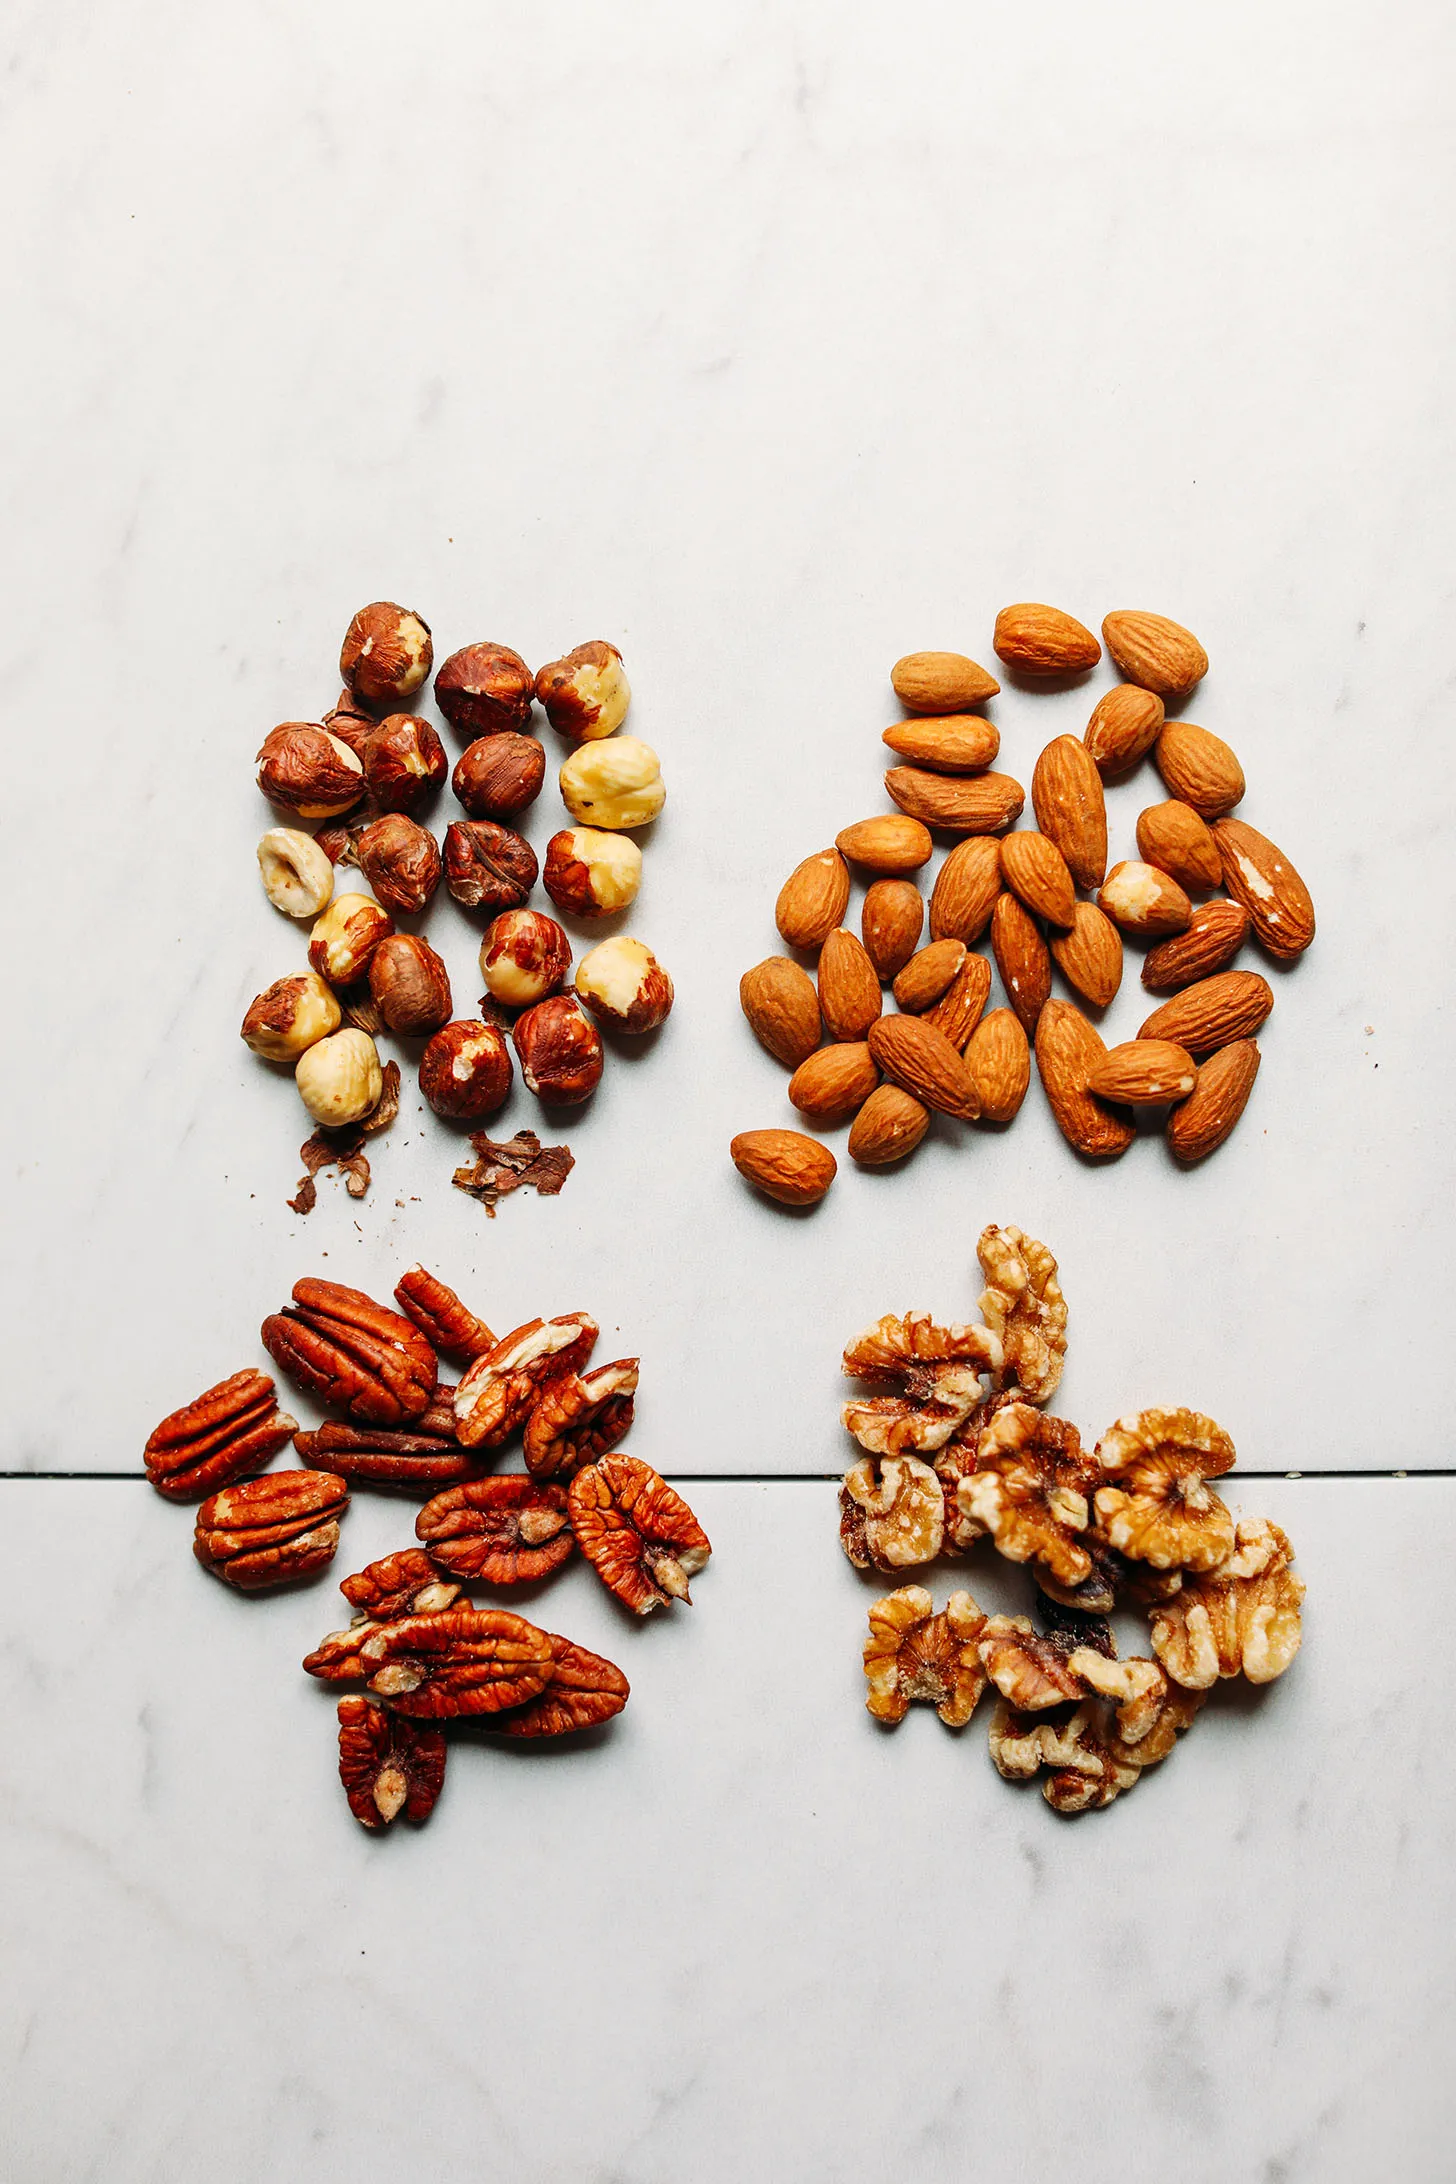
The first step on our nut butter adventure? Choosing your base! I’m partial to raw, organic almonds – their delicate flavor and creamy texture are a perfect starting point. To boost the nutritional value, I like to toss in a handful of walnuts for a healthy dose of omega-3s.
Of course, the possibilities are endless! Hazelnuts lend a rich, decadent flavor that’s irresistible on its own, while pecans bring a buttery, sweet note to the table. Feeling adventurous? Sunflower seeds create a wonderfully nutty, slightly earthy butter that’s a delightful change of pace.
 Walnuts, pecans, almonds, and hazelnuts on a marble background
A symphony of flavors awaits: almonds, walnuts, pecans, and hazelnuts – which will you choose for your homemade nut butter masterpiece?
Roasting for Enhanced Flavor (Optional)
While you can certainly use raw nuts, roasting them elevates the flavor to a whole new level. The heat coaxes out their natural oils, resulting in a richer, more intense nutty taste. Spread your chosen nuts in a single layer on a baking sheet and pop them in a preheated oven at 350°F (176°C) for about 8-12 minutes. Keep a close eye on them and pull them out once they turn fragrant and take on a beautiful golden hue.
Pro Tip: If you’re working with hazelnuts, there’s an extra step involved. After roasting, wrap them in a clean dish towel and rub them together to remove their skins.
Roasting your nuts intensifies their natural flavors and aromas, creating a more flavorful nut butter.
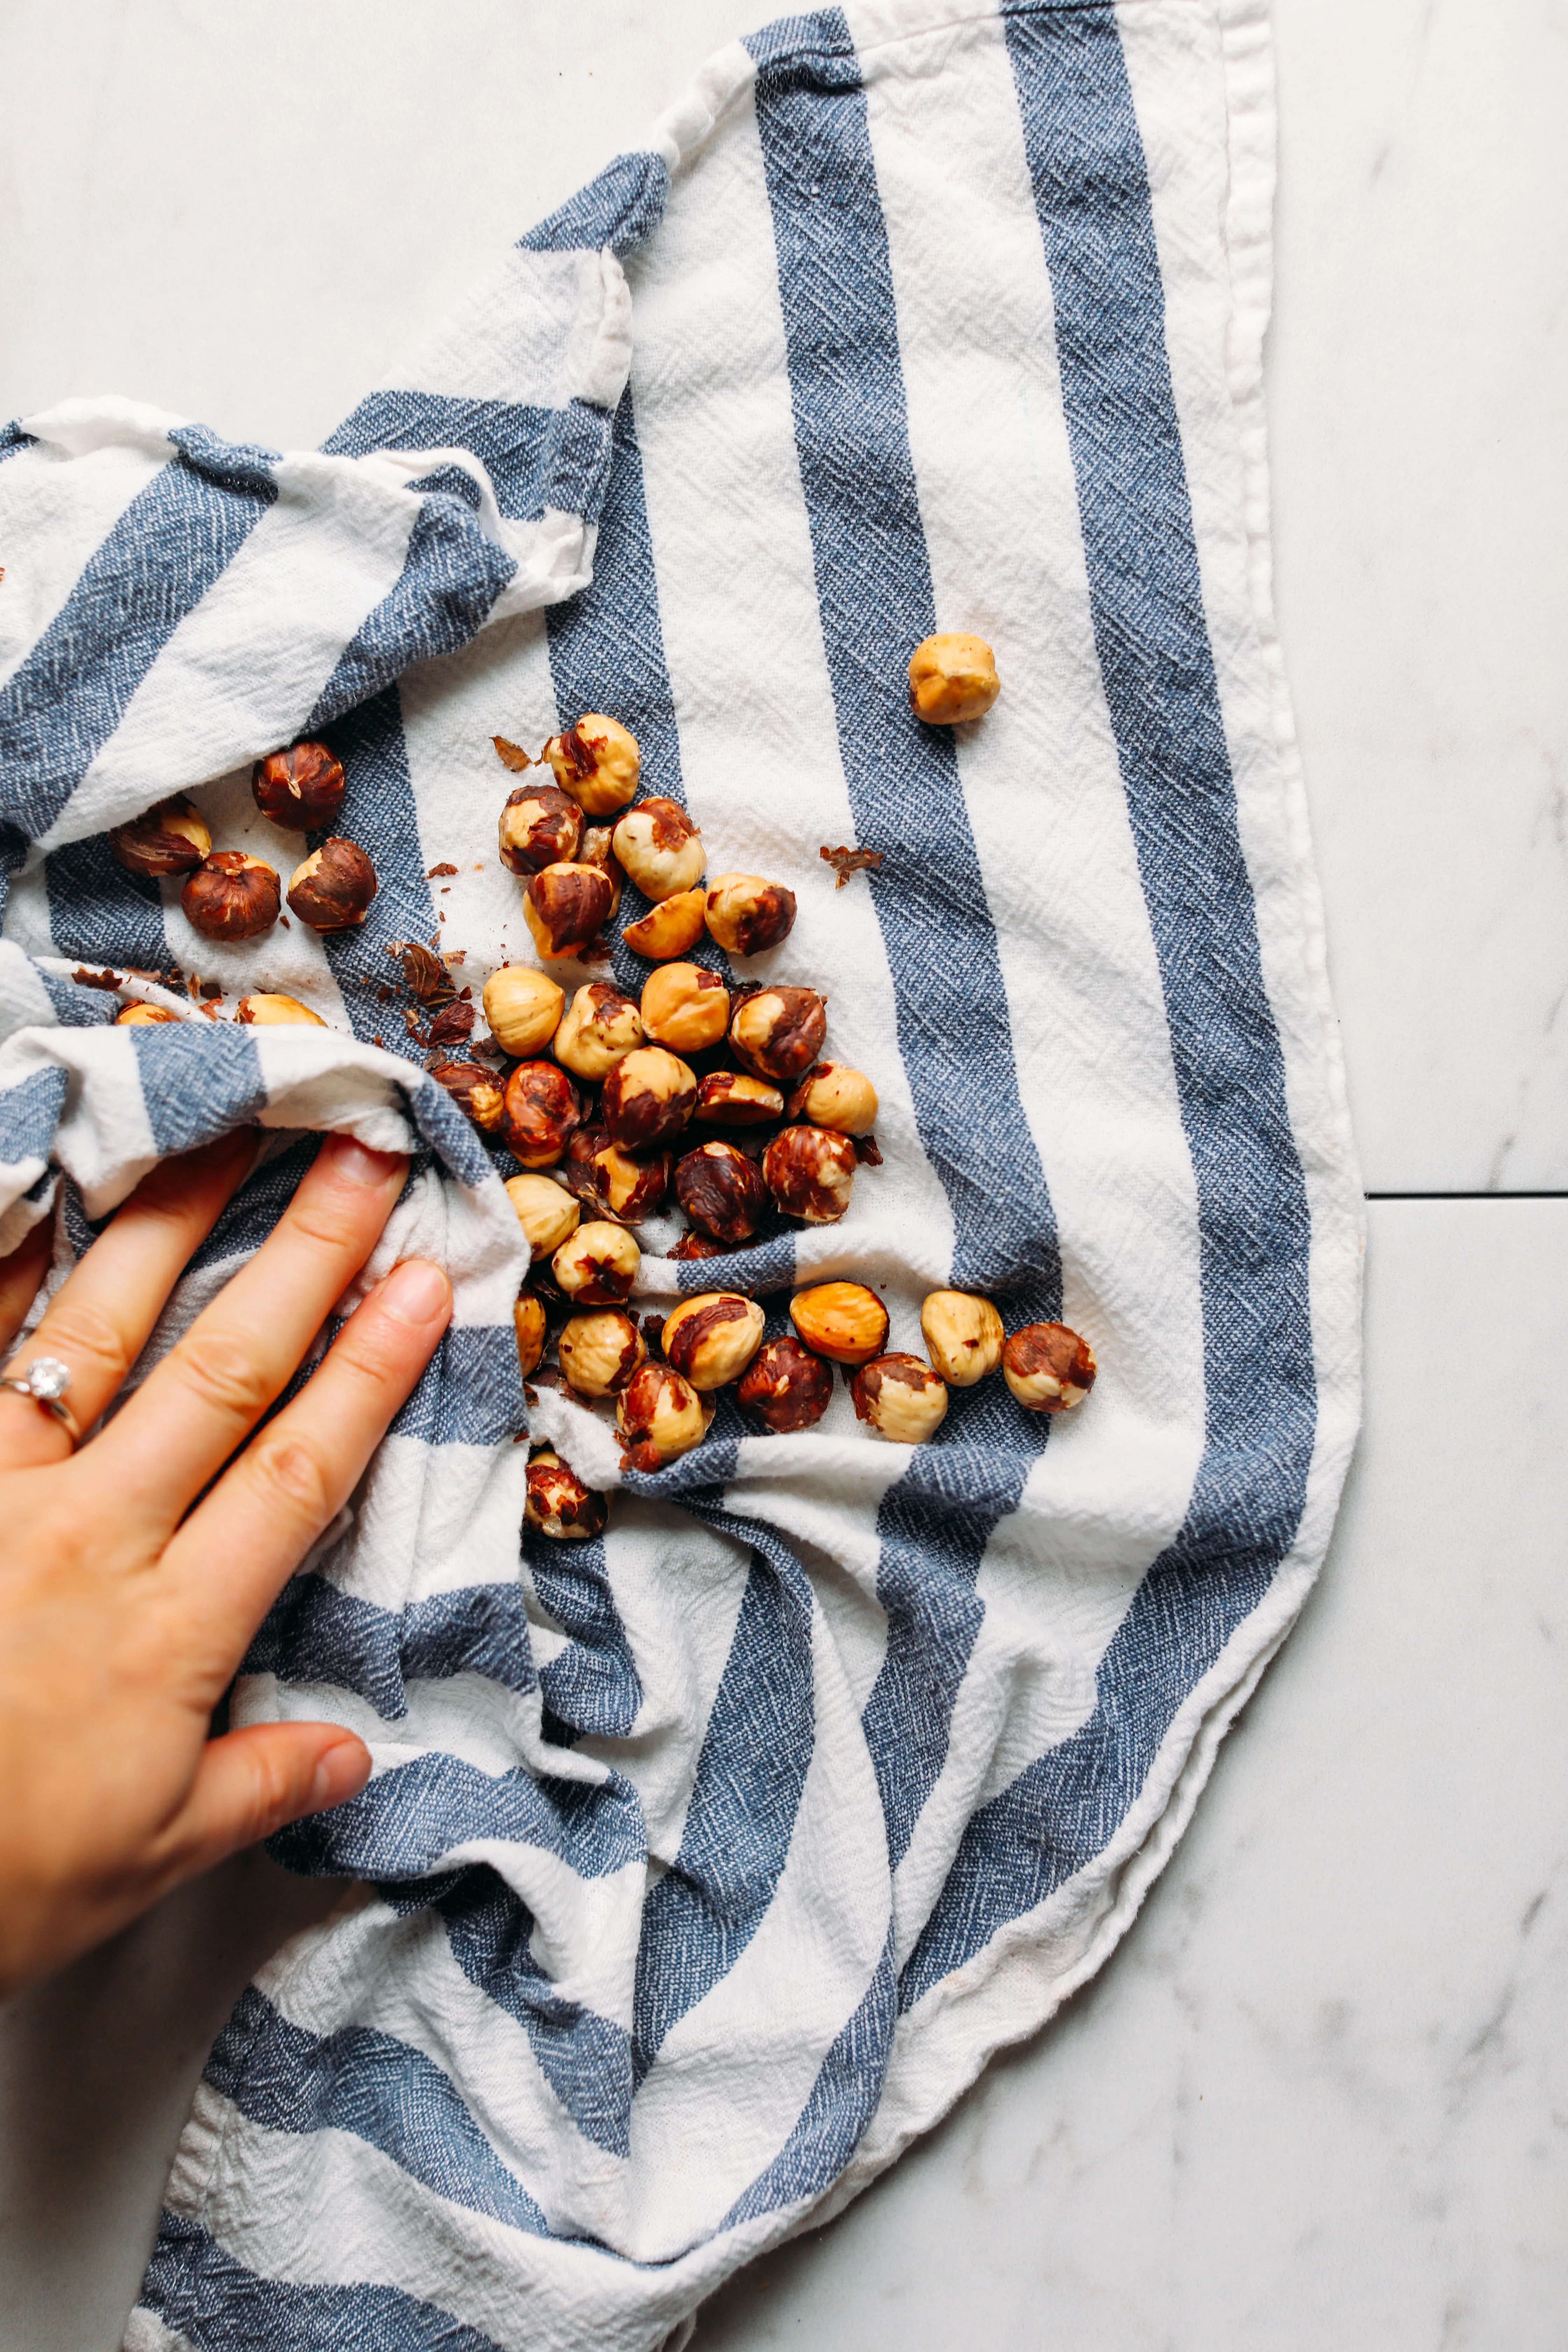 Using a dish towel to remove the skins of roasted hazelnuts
Removing the skins from roasted hazelnuts enhances their smooth texture in the final nut butter.
Blending Your Way to Nut Butter Bliss
Now, for the main event – blending! A food processor or a high-speed blender are your trusty sidekicks in this endeavor. Pour in your roasted (or raw) nuts and let the machine work its magic.
Remember, patience is key here. It’s a process of transformation, from coarse crumbs to a lusciously smooth butter. You’ll see the mixture go through various stages – from chunky bits to a thick paste – before reaching that coveted creamy consistency. This typically takes around 10-12 minutes, and you might need to scrape down the sides occasionally to ensure everything blends evenly.
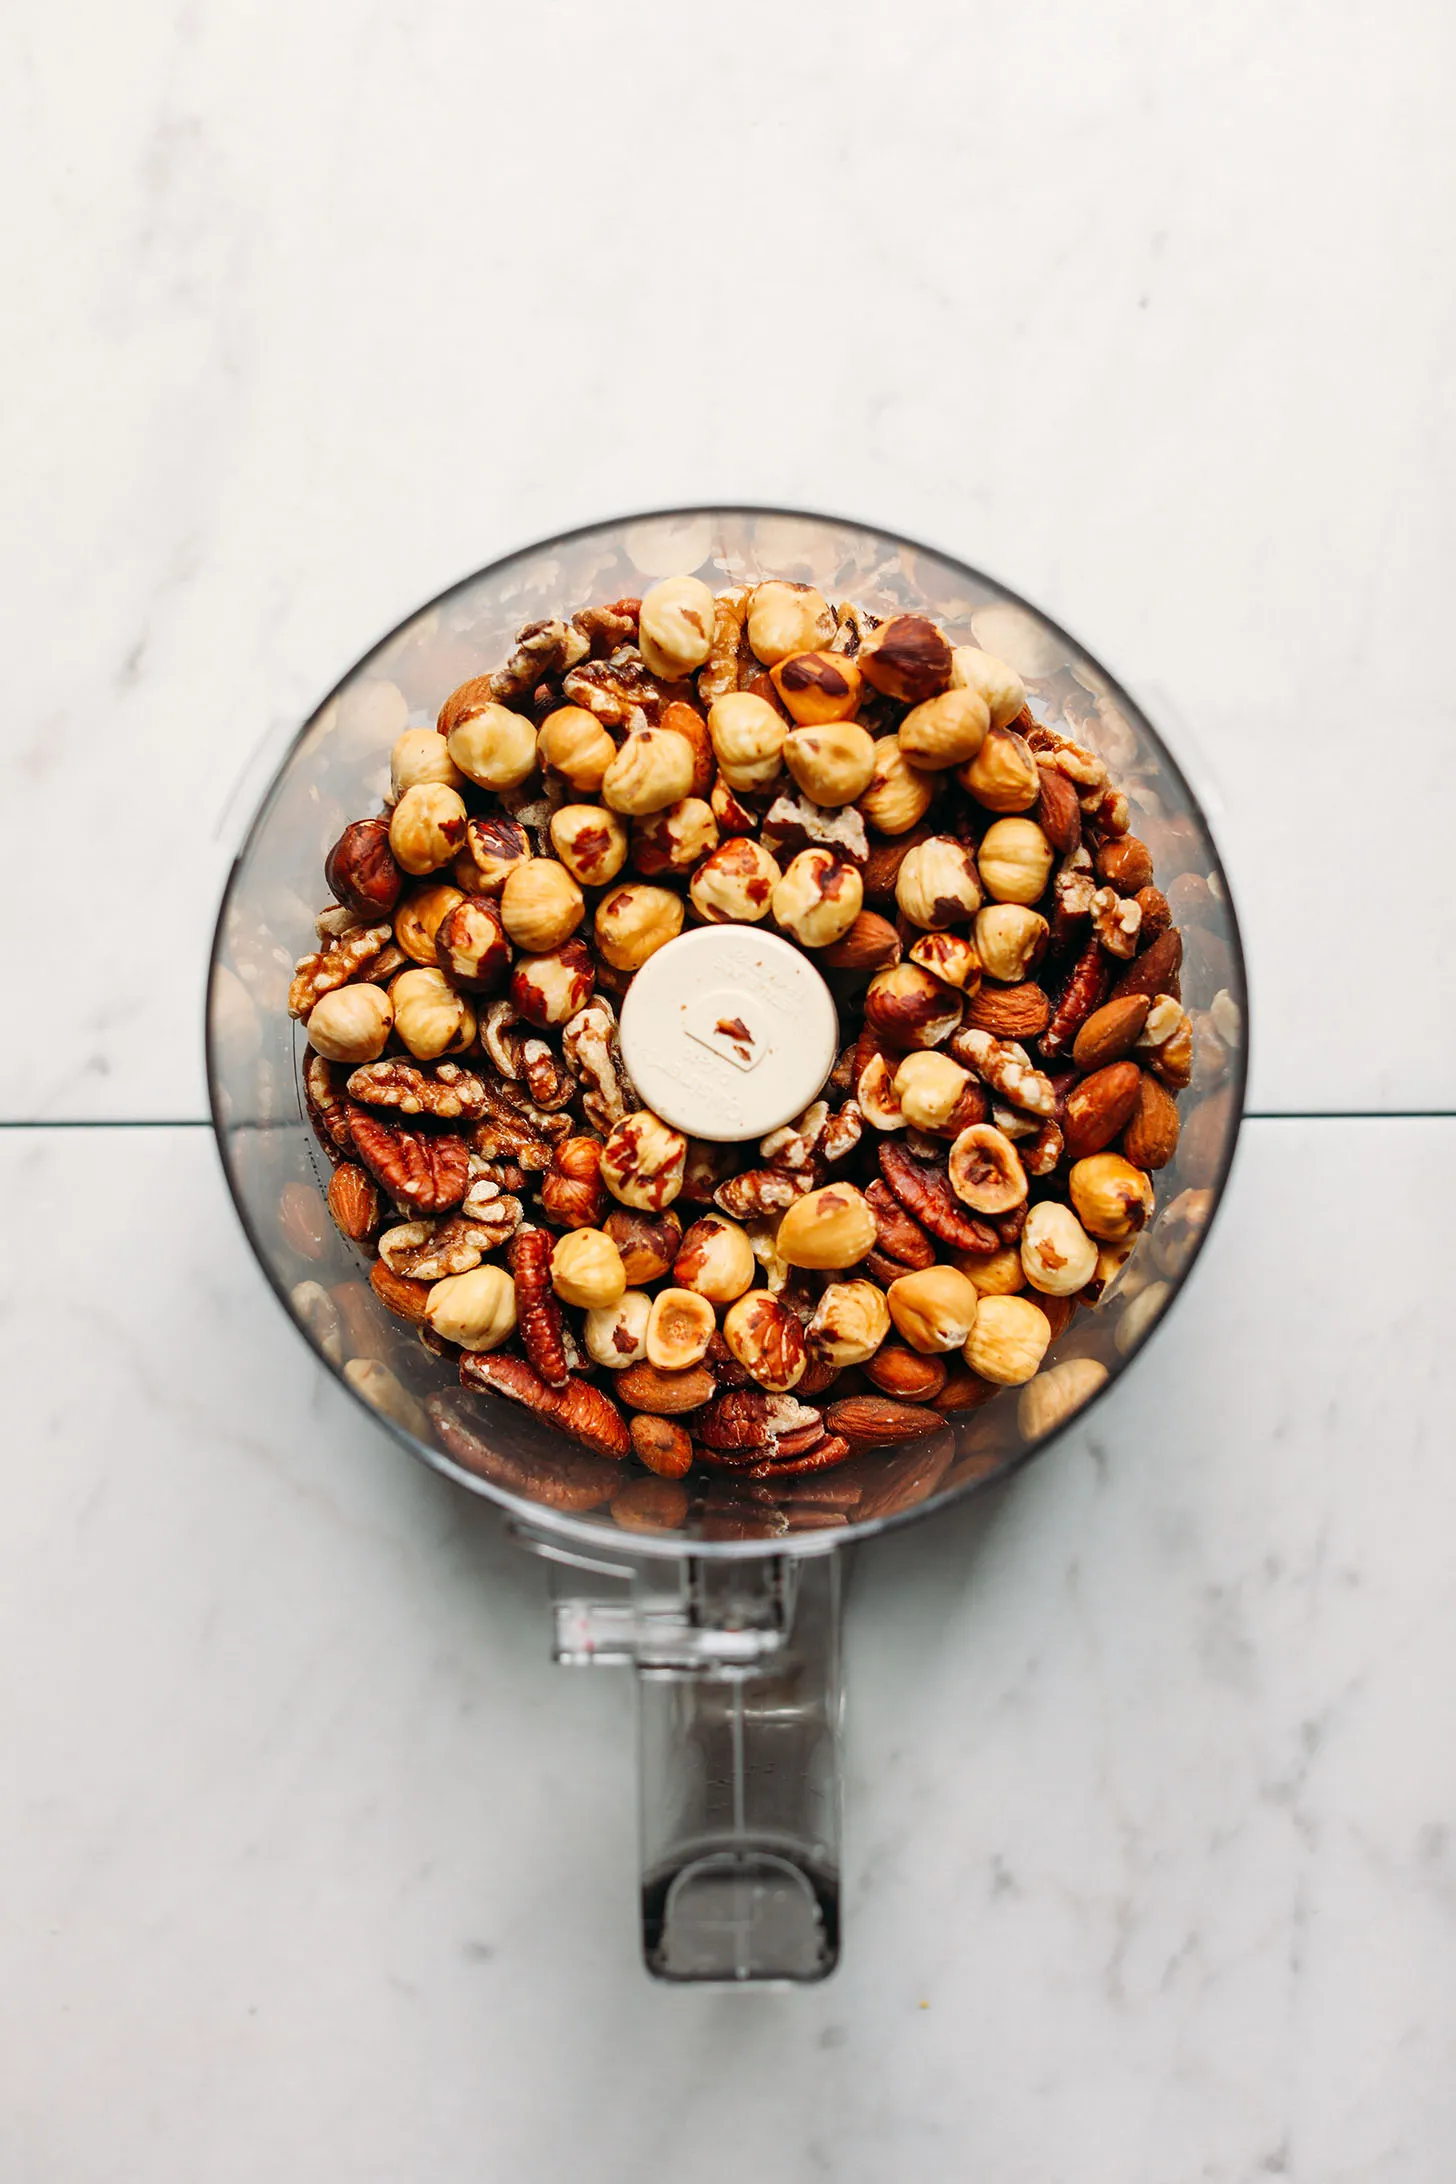 Roasted nuts in a food processor for making homemade nut butter
Witness the transformation as your chosen nuts magically blend into a creamy, decadent nut butter.
Customizing Your Creation: Flavor Add-Ins
Once your nut butter reaches its creamy peak, it’s time for the fun part – flavor customization! This is where your creativity truly shines.
My go-to additions are a pinch of sea salt to enhance the flavors and a sprinkle of flax seeds for a nutritional boost. But the world is your oyster (or should I say, nut?) here!
Here are some flavor-enhancing ideas to get your creative juices flowing:
- Sweet Sensations: A touch of maple syrup, honey, or a few chopped dates will satisfy your sweet tooth.
- Chocolate Decadence: A swirl of melted dark chocolate transforms your nut butter into a guilt-free treat.
- Spice It Up: A pinch of cinnamon, cardamom, or nutmeg adds a warm, comforting touch.
- Seed Power: Chia seeds, hemp seeds, or pumpkin seeds provide a satisfying crunch and an extra dose of nutrients.
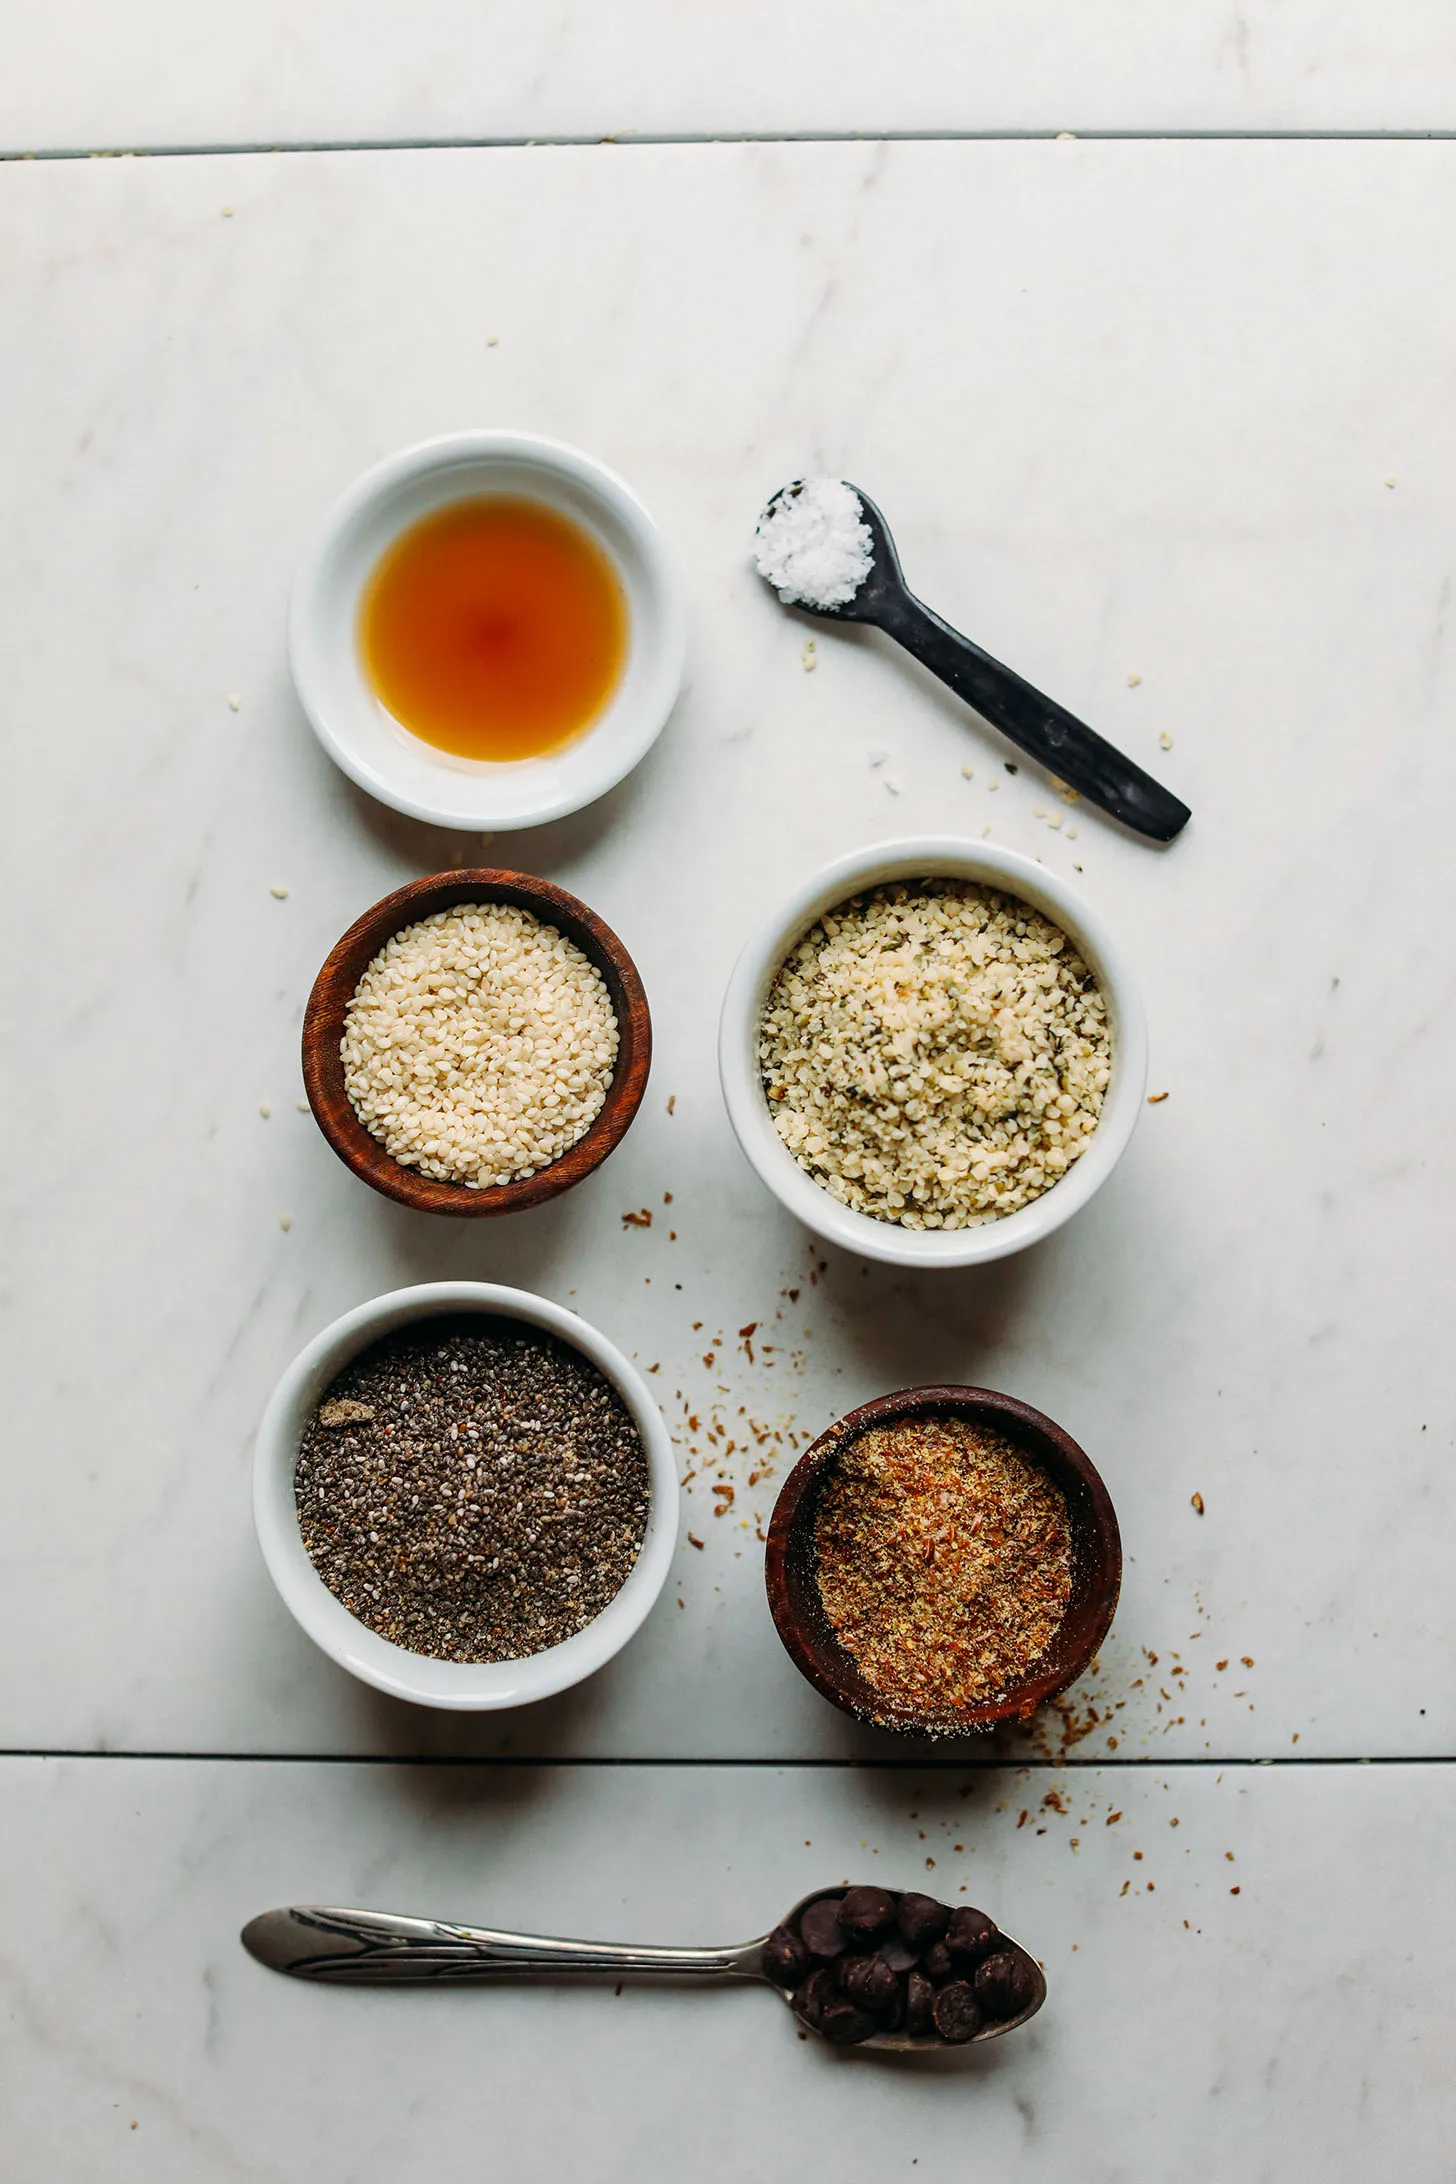 Maple syrup, seeds, and other optional add-ins for homemade nut butter
Let your culinary imagination run wild with endless flavor combinations and nutritious add-ins.
Storing Your Homemade Masterpiece
Transfer your freshly made nut butter into an airtight container and store it in the refrigerator for up to 3 weeks (though I doubt it will last that long!).
Embrace the Joy of Homemade Nut Butter
Creating your own nut butter is a testament to the simple pleasures in life. It’s about slowing down, savoring the process, and reaping the rewards of your creativity.
So, gather your ingredients, put on your creative hat, and embark on this fulfilling DIY adventure. And remember, there’s no right or wrong way to enjoy your homemade nut butter – spread it on toast, swirl it into your morning oatmeal, or grab a spoon and indulge straight from the jar!
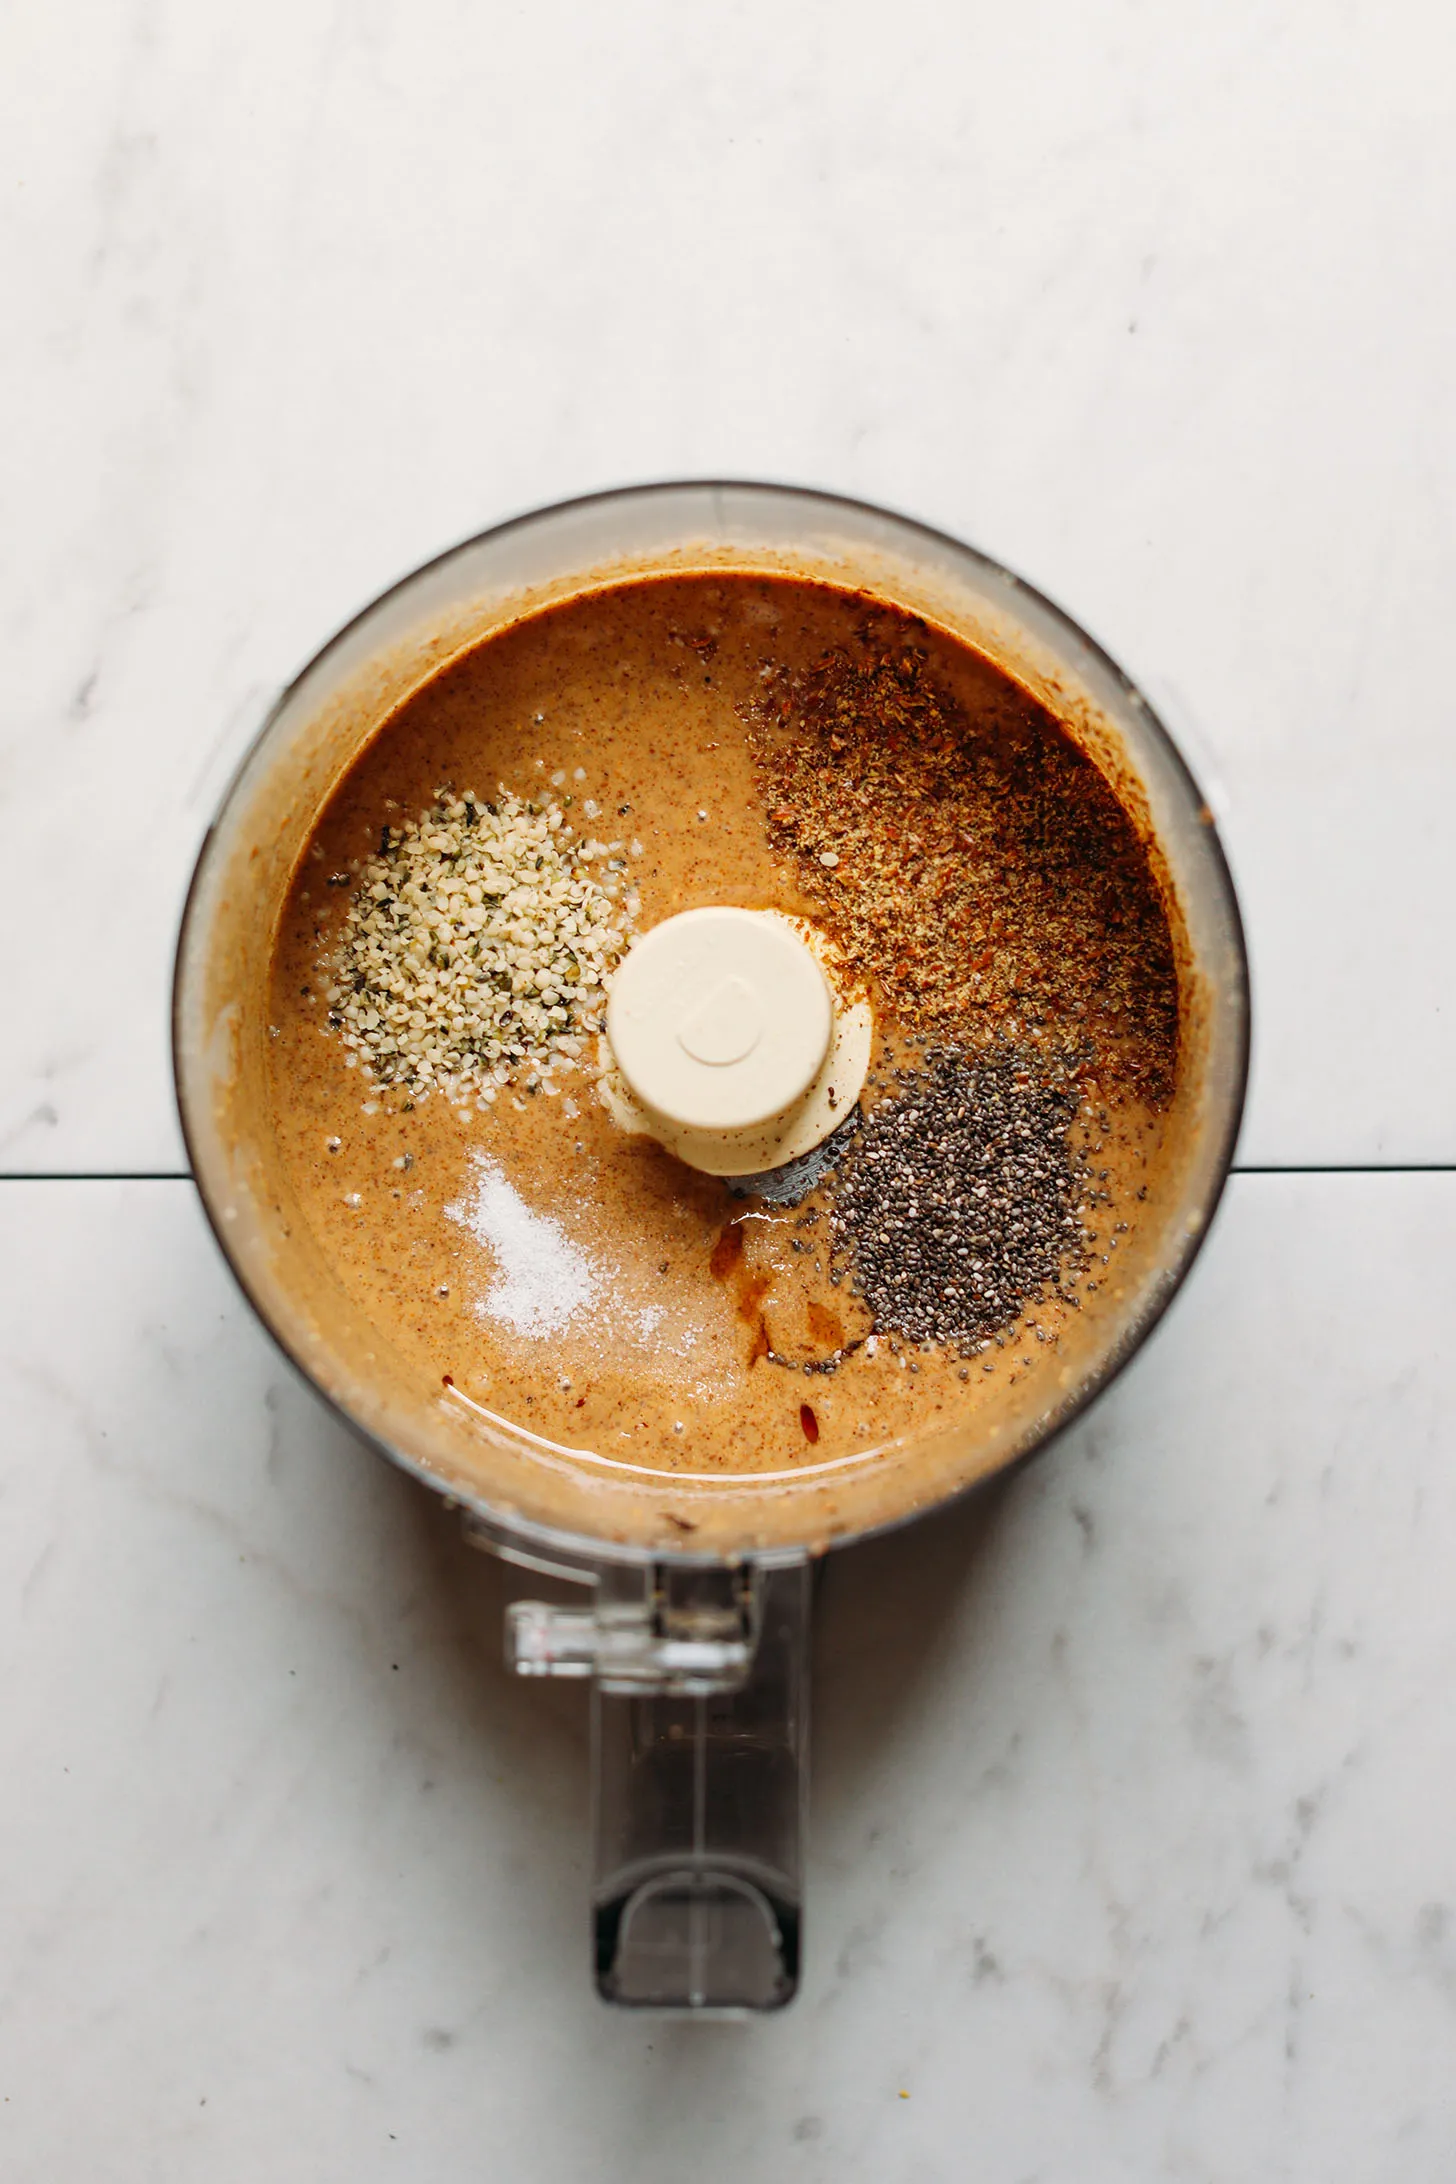 Food processor filled with homemade nut butter
The fruits of your labor: a jar of homemade nut butter, bursting with flavor and ready to elevate your culinary creations.
Let me know what delicious combinations you come up with in the comments below! And don’t forget to share photos of your nut butter masterpieces on Instagram and tag Robert Kline Art. Happy crafting!
