Blog
Master the Art of Homemade Mayonnaise: A Creamy Culinary Adventure

Are you tired of the bland, store-bought mayonnaise that lacks that homemade touch? At Robert Kline Art, we believe in embracing the joy of creating, even in the kitchen! Today, we’re diving into a culinary craft that will elevate your sandwiches, salads, and dips to a whole new level: homemade mayonnaise.
This isn’t just any mayonnaise recipe; it’s a foolproof, flavor-packed, and surprisingly easy recipe that will have you saying goodbye to store-bought jars forever. Get ready to impress your friends and family with a condiment that’s bursting with freshness and flavor. Let’s get started!
The Magic of Homemade Mayonnaise: Why You’ll Love It
Before we jump into the recipe, let’s talk about why homemade mayonnaise is worth the little effort.
-
Unmatched Flavor: Fresh ingredients make all the difference! You control the quality of the oil, eggs, and seasonings, resulting in a depth of flavor that store-bought mayonnaise simply can’t replicate.
-
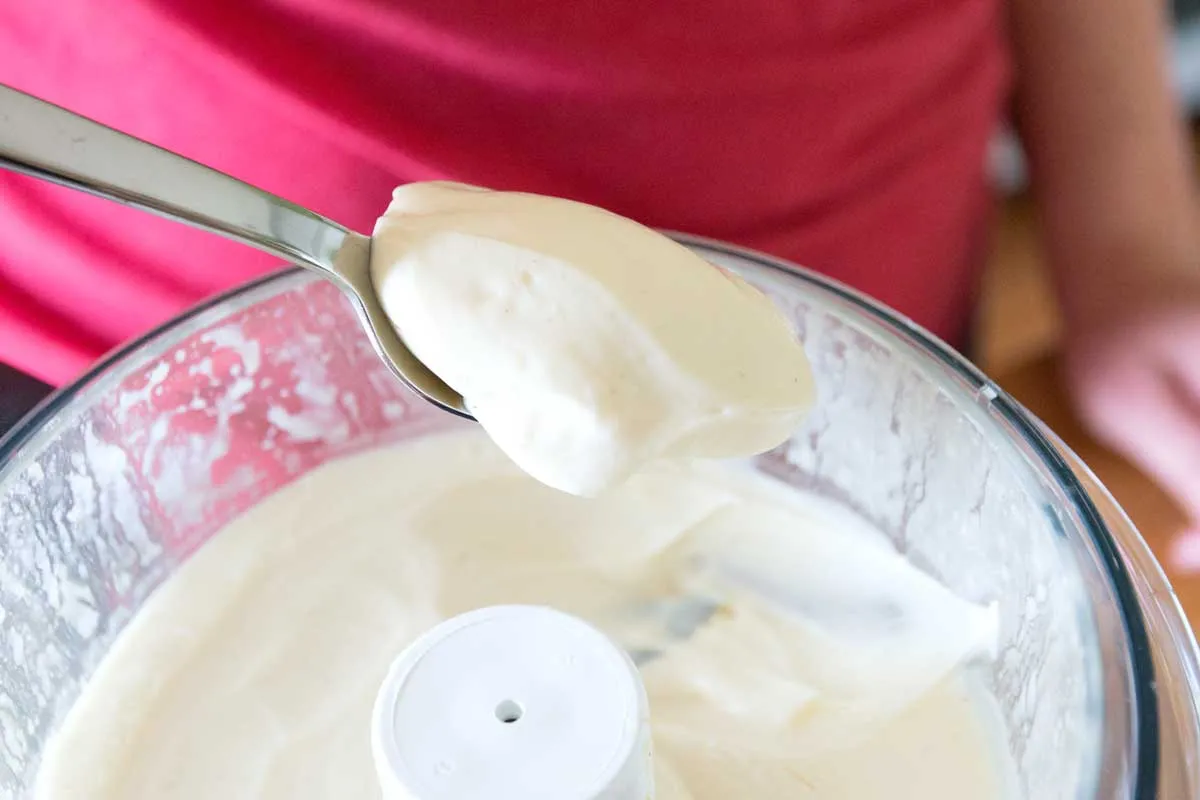
Creamy Texture: This recipe yields a luxuriously creamy mayonnaise that’s perfect for spreading, dipping, and drizzling.
-
Customizable: Once you master the basic recipe, the possibilities are endless! Add roasted garlic, fresh herbs, spicy sriracha, or tangy lemon zest to create your own signature flavors.
Gathering Your Mayonnaise-Making Arsenal
Making mayonnaise might seem intimidating, but I assure you, it’s a breeze! Here’s what you’ll need:
Ingredients:
- 1 large egg: The emulsifying hero of our mayonnaise adventure! For those concerned about consuming raw eggs, pasteurized eggs are a great alternative.
- 1 tablespoon Dijon mustard: Not just for flavor, mustard acts as a stabilizer, preventing your mayonnaise from separating.
- 1 tablespoon red wine vinegar or white wine vinegar: The touch of acidity that balances the richness and adds complexity.
- 1/4 teaspoon fine sea salt, or more to taste: Enhances the flavors and brings everything together.
- 1 cup (240ml) safflower oil or vegetable oil: Neutral-flavored oils are key for letting the other ingredients shine through.
- 1 teaspoon fresh lemon juice, optional: A bright and zesty addition that adds a refreshing twist.
Equipment:
- Food Processor with Small Bowl Attachment: The key to effortlessly creamy mayonnaise.
- Immersion Blender (Alternative Method): Another fantastic option for achieving a smooth emulsion.
The Art of Emulsification: Step-by-Step Guide
Now, let’s transform these simple ingredients into culinary magic.
Food Processor Method:
- Prepare your food processor: Attach the small bowl attachment to your food processor.
- Process the egg: Add the egg to the bowl and process for about 20 seconds.
- Incorporate the flavor base: Add the mustard, vinegar, and salt. Process for another 20 seconds.
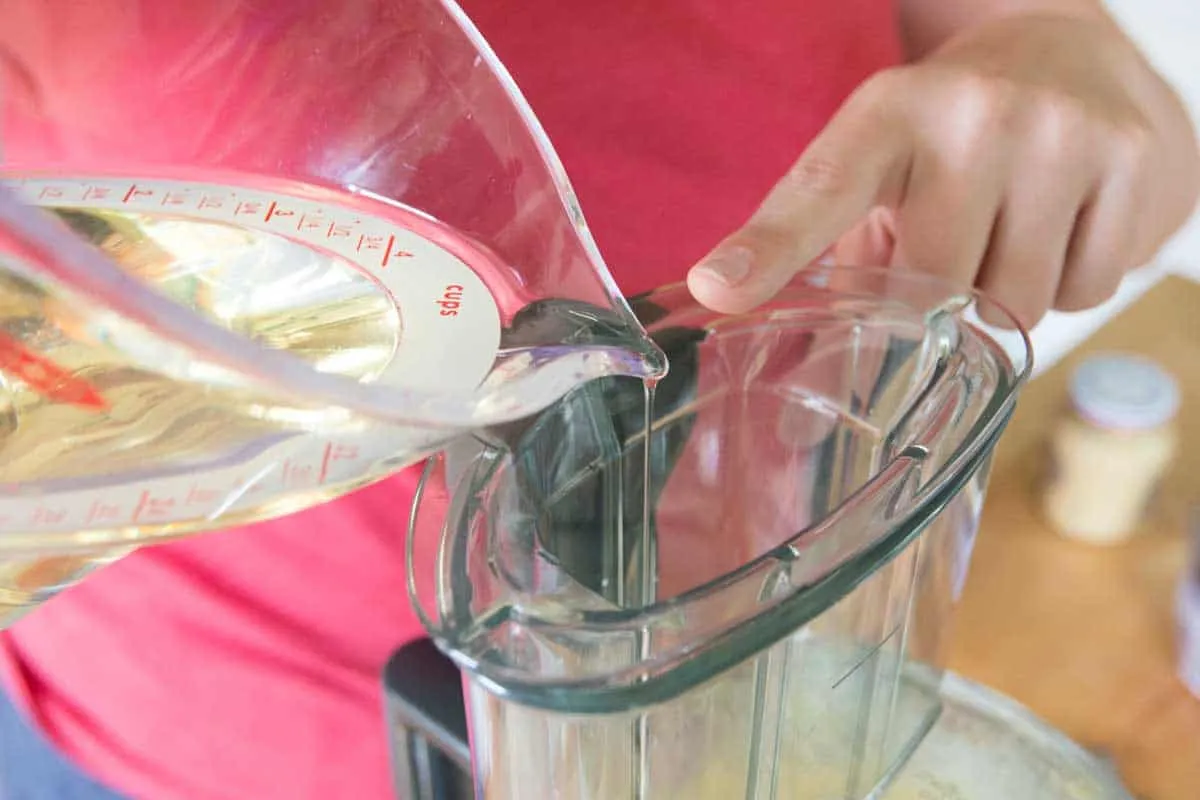
- The slow drizzle: With the food processor running, very slowly drizzle in the oil, a few drops at a time, until about a quarter of it has been incorporated. Patience is key here – this gradual addition is what creates the emulsion!
- Increase the flow: As the mixture begins to thicken and emulsify, you can slightly increase the oil flow to a thin stream.
- Final blend: Once all the oil is incorporated, scrape down the sides and bottom of the bowl and process for an additional 10 seconds.
- Taste and adjust: Now’s the time to fine-tune the flavors! Add more salt, lemon juice, or vinegar to taste.
Immersion Blender Method:
- Combine ingredients: Add all of the mayonnaise ingredients, including the oil, to a tall, narrow jar.
- Blend and emulsify: Insert the immersion blender into the jar and, with the blade fully submerged, blend in short bursts, slowly moving the blender up and down, until the mixture thickens and emulsifies.
Tips from Robert Kline Art: Mastering the Craft
-
Oil Temperature: For optimal emulsification, ensure your oil is at room temperature.
-
Fixing Broken Mayonnaise: Don’t panic if your mayonnaise separates! Simply whisk an egg yolk with a teaspoon of lemon juice or vinegar in a separate bowl. Then, gradually whisk in the broken mayonnaise, a little at a time, until it comes back together.
-
Storage: Store your homemade mayonnaise in an airtight container in the refrigerator for up to two weeks.
Unleashing Your Culinary Creativity
With a batch of homemade mayonnaise in your fridge, you’ll be amazed at the endless possibilities!
-
Sandwiches: Elevate your everyday sandwiches with a dollop of this creamy delight.
-
Salads: Toss it with potatoes, pasta, chicken, or tuna for a flavorful and satisfying meal.
-
Dips: Use it as a base for creamy dips, like this vibrant blue cheese dressing: [link to Homemade Blue Cheese Dressing recipe]
-
Sauces: Transform it into a zesty tartar sauce, a spicy sriracha mayo, or even a tangy ranch dressing.
A Celebration of Handmade Goodness
At Robert Kline Art, we believe that the most rewarding creations are often the ones we make ourselves. This homemade mayonnaise recipe is a testament to that belief – it’s simple, delicious, and infinitely rewarding.
So, gather your ingredients, put on your chef’s hat, and embark on this culinary adventure. I guarantee you’ll be amazed at the difference a touch of homemade goodness can make!
And remember, crafting is about more than just the final product; it’s about the joy of creation and the memories we make along the way. Happy crafting, and bon appétit!
What are your favorite ways to use homemade mayonnaise? Share your culinary creations and tips in the comments below!
Looking for more unique and handmade gift ideas? Explore the exquisite collection on our website!
 Streaming the oil in slowly for mayo
Slowly drizzling the oil is the key to a perfectly emulsified mayonnaise
 Homemade Mayo
The creamy texture of homemade mayonnaise is simply unmatched!
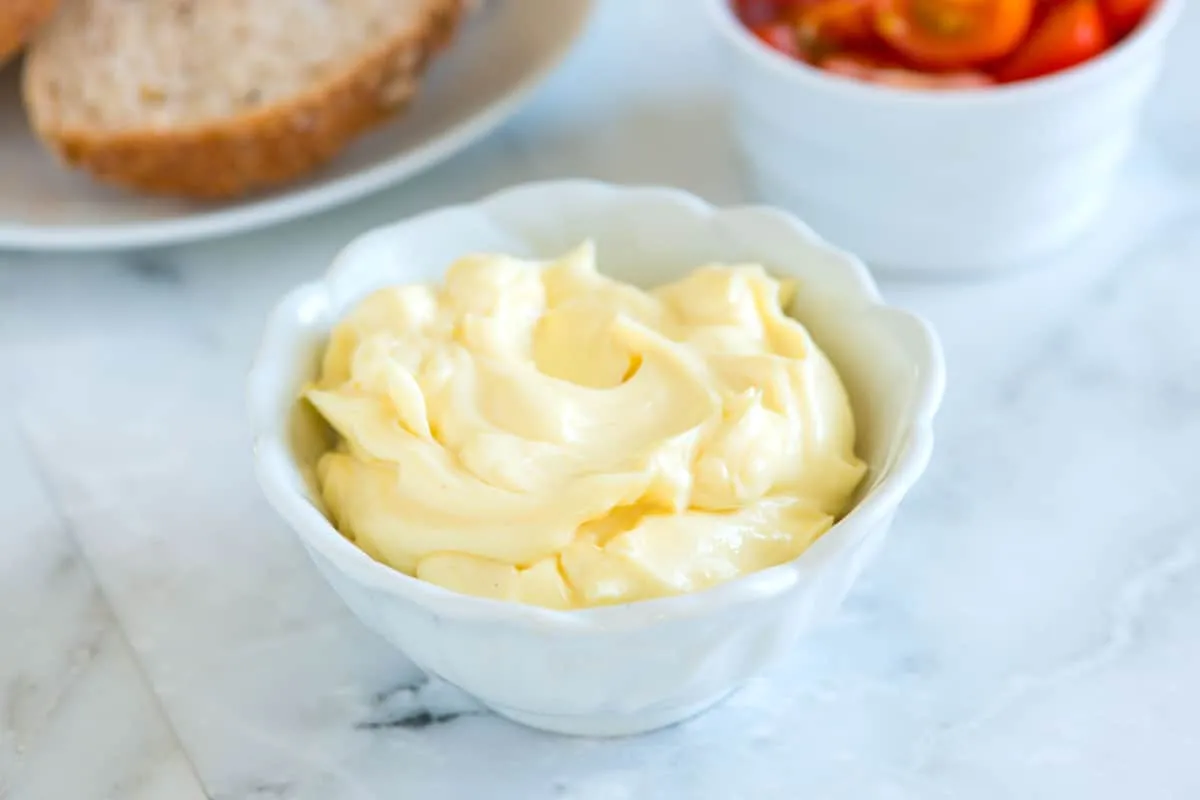
 Homemade Whole Egg Mayonnaise
Fresh, flavorful, and oh-so-creamy!
