Blog
The Art of Transformation: Crafting Homemade Fruit Vinegar

Here at Robert Kline Art, we believe in the magic of transformation, not just in art, but in our kitchens too. That’s why today, we’re diving into the fascinating world of fermentation and exploring how to transform simple fruit scraps into liquid gold: homemade fruit vinegar.
This isn’t just about reducing food waste; it’s about creating something truly unique with your own hands. It’s about experiencing the satisfaction of watching nature work its magic, transforming ordinary ingredients into something extraordinary.
Embracing the Power of Fermentation: Turning Scraps into Treasures
Remember that overflowing fruit bowl in summer? Those apple cores and strawberry tops destined for the compost bin? Well, fret no more, because they hold the key to a flavorful adventure: homemade fruit vinegar.
Fermentation might sound intimidating, but trust me, it’s easier than you think. With just fruit, water, and a little patience, you’ll be crafting delicious, tangy vinegar that puts store-bought to shame.
Gathering Your Supplies: Simple Tools for a Delicious Outcome
You won’t need a fancy chemistry set for this project, just a few basic tools:
- A Clean Glass Jar: A 2-quart jar is ideal, but any size will do.
- Fruit Scraps: Apple cores, berry tops, citrus peels – the possibilities are endless!
- Unchlorinated Water: Filtered or spring water is best.
- Optional Extras: Airlock lids (for keeping out fruit flies), fermenting weights (to keep fruit submerged), herbs, and spices.
 Fill a Jar ¾ Full with Scraps and Herbs.
Caption: Start with a jar filled with your favorite fruit scraps – the foundation of your delicious vinegar.
The Two-Step Fermentation Process: A Journey of Transformation
First Ferment: Infusing Flavor and Life
- Fill your jar ¾ full with fruit scraps and any desired herbs.
- Add water, leaving an inch or two of headspace.
- Cover with an airlock lid or a breathable cover (like a paper towel secured with a rubber band).
- Store in a cool, dark place for 1-2 weeks, pushing down any floating fruit daily.
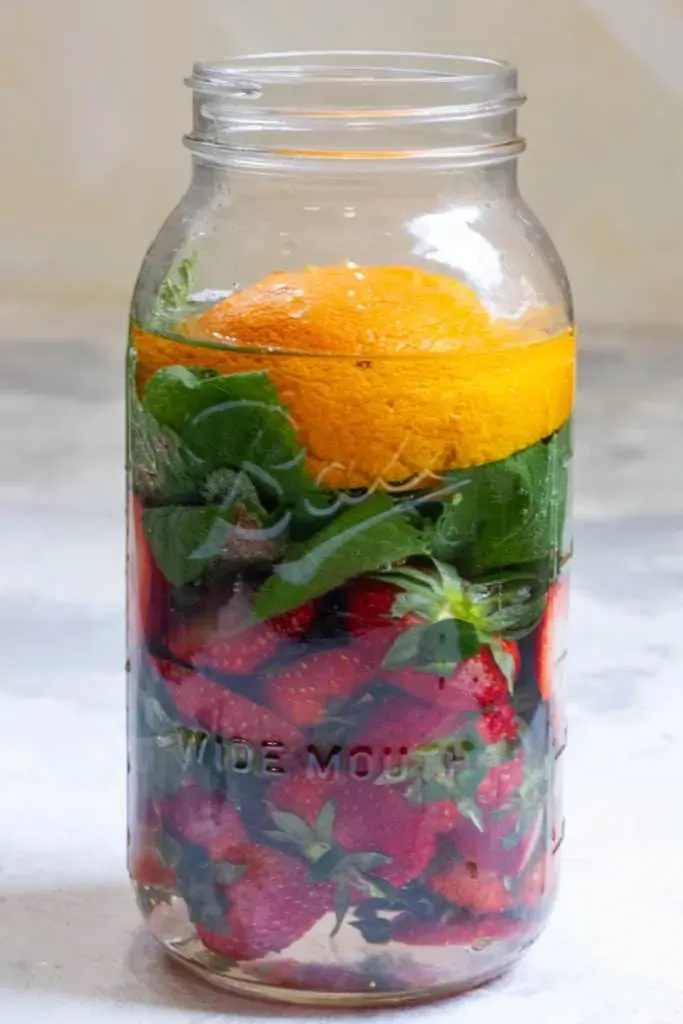 Cover Scraps with Water.
Caption: Water provides the environment for the magical transformation to begin.
The water will transition from clear to cloudy, then back to clear, indicating the completion of the first ferment.
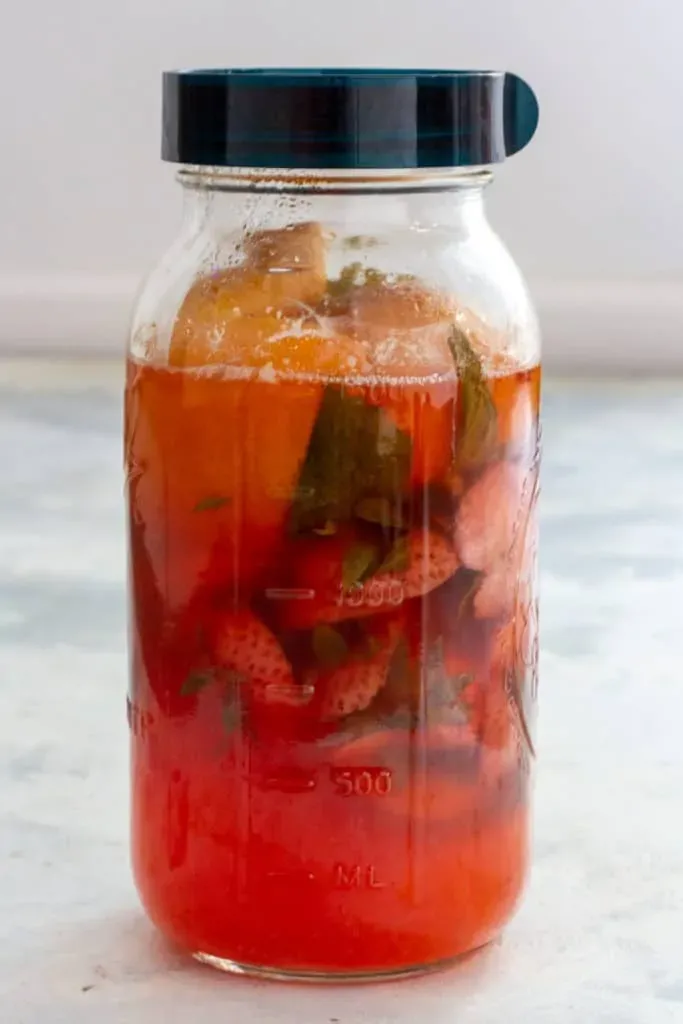 Strawberry Vinegar at the End of the First Ferment.
Caption: The cloudy appearance signifies the active fermentation process.
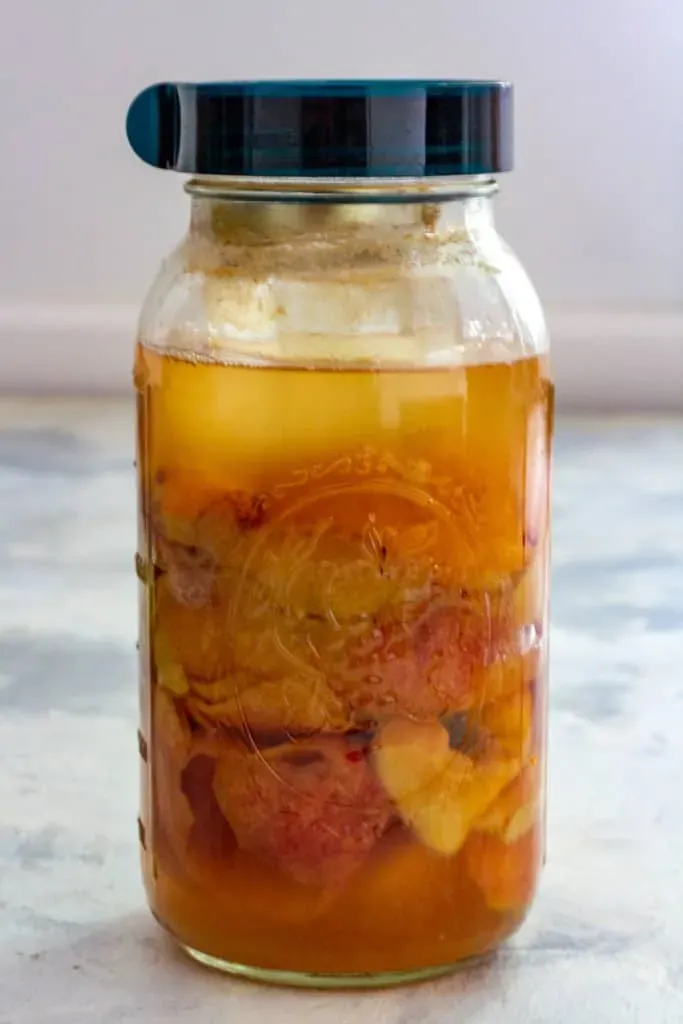 Apple Cider Vinegar at the End of the First Ferment.
Caption: Even after the first ferment, apple cider vinegar often retains a cloudy appearance.
Second Ferment: Developing the Tangy Goodness
- Strain out the fruit scraps, composting them or adding them to your next batch of vinegar.
- Return the strained liquid to the clean jar.
- Cover again and store for at least two more weeks.
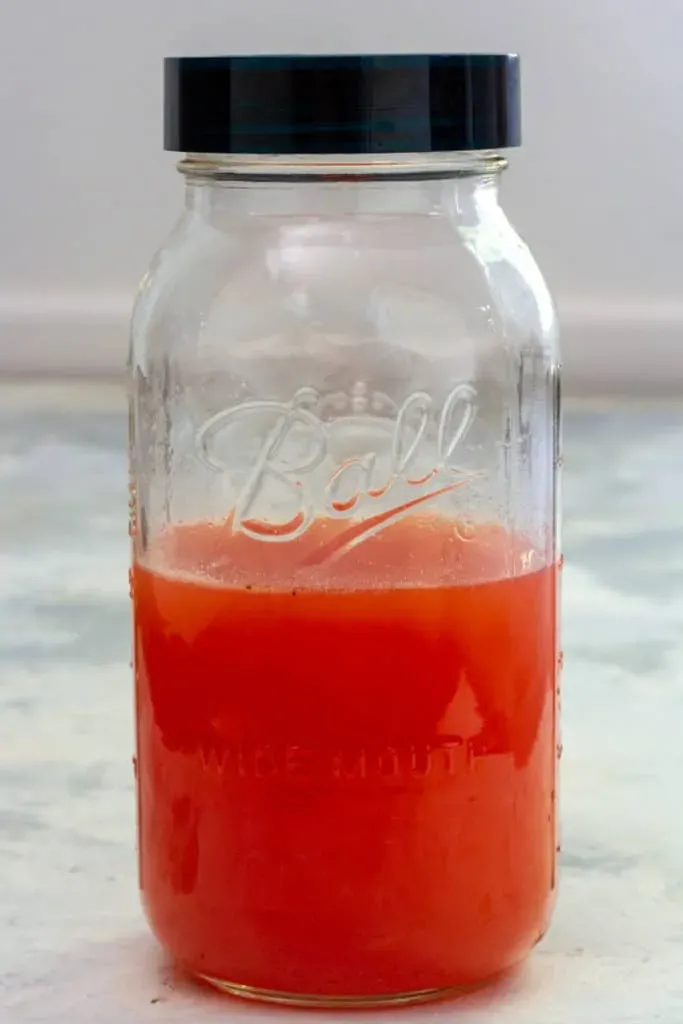 Strawberry Vinegar In the Second Ferment.
Caption: The second ferment refines the flavor, developing the characteristic tang of vinegar.
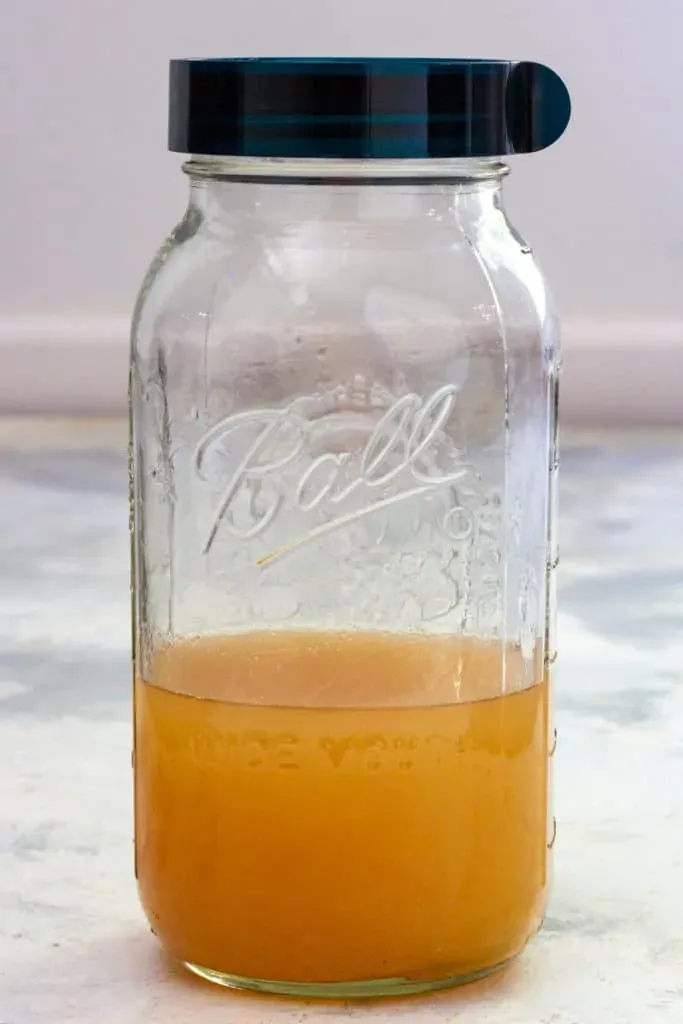 Apple Cider Vinegar In the Second Ferment.
Caption: Patience is key during the second ferment as the vinegar matures.
Storing Your Liquid Gold
Once your vinegar reaches your desired tanginess, store it in a cool, dark place in a bottle with a non-metallic lid. Glass bottles with cork lids are perfect for a touch of rustic charm!
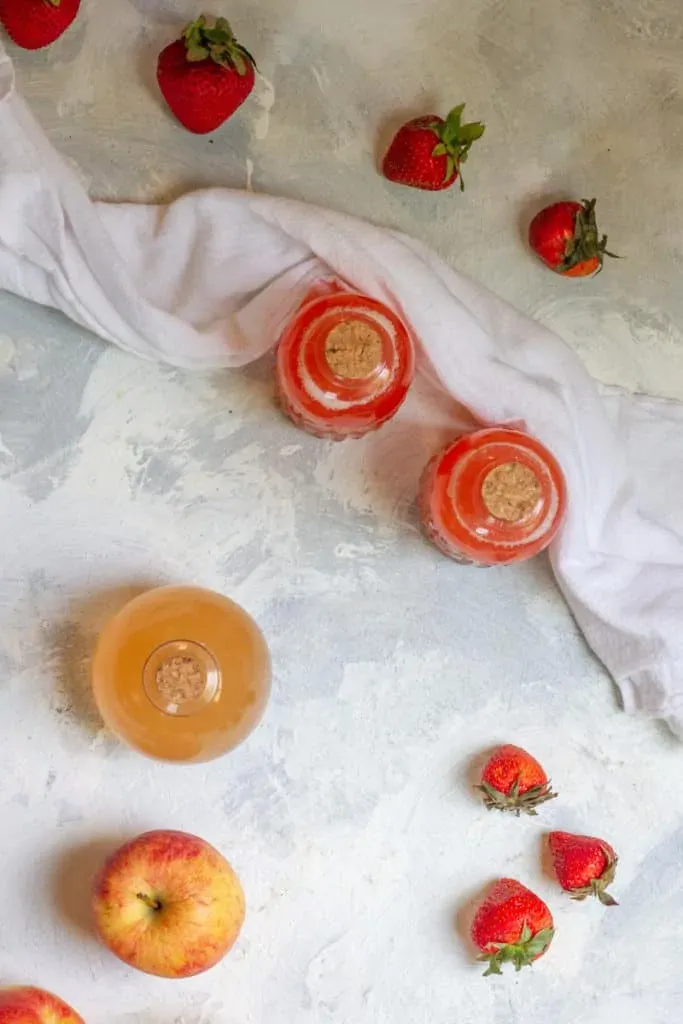 fermented fruit vinegar.
Caption: Your homemade fruit vinegar, beautifully bottled and ready to enhance your culinary creations.
Unleashing the Flavor: Using Your Homemade Vinegar
From salad dressings to marinades, shrubs to sauces, your homemade fruit vinegar is incredibly versatile:
- Culinary Delights: Substitute it for apple cider vinegar or lemon juice in recipes.
- Refreshing Beverages: Create a shrub by mixing a splash with water or seltzer.
- Gardening Boost: Dilute with water for a natural fertilizer.
Troubleshooting and Tips from Robert Kline Art
- Mold Growth: If you notice mold (not just harmless scum), discard the batch. Ensure proper airflow and temperature control for future attempts.
- Temperature Matters: Ideal fermentation temperatures range from 55-75°F. Warmer temperatures speed up fermentation, while cooler temperatures slow it down.
- Trust Your Senses: If your vinegar smells like vinegar, it’s likely fine. If it smells rancid, it’s best to discard it.
Join the Creative Journey at Robert Kline Art
Making homemade fruit vinegar is an art form in itself, transforming simple ingredients into something truly special. We’d love to hear about your fermentation adventures! Share your experiences, tips, and creative uses for fruit vinegar in the comments below.
And don’t forget to explore the rest of the Robert Kline Art website for more inspiring ideas and handcrafted treasures. Who knows what creative endeavors await?
