Blog
Unveiling the Magic of Homemade Butter: A Step-by-Step Guide

There’s something undeniably satisfying about crafting culinary staples from scratch. Here at Robert Kline Art, we believe in embracing creativity in all forms, and that includes the heart of your kitchen. Today, we’re diving into the world of homemade butter, a surprisingly simple yet rewarding endeavor.
Why Make Butter at Home?
You might be wondering, “Why bother when store-bought butter is so accessible?” Well, let me tell you, the experience is transformative:
1. A Connection to Culinary Heritage:
Crafting butter at home is like taking a step back in time, connecting with the roots of food production. It’s fascinating to witness the transformation of cream into butter firsthand.
2. Unparalleled Freshness and Flavor Control:
When you make your own butter, you’re in the driver’s seat. You control the quality of ingredients, the level of saltiness, and even the texture. Want a touch of sweetness? A hint of herbs? The possibilities are endless.
The Science Behind Homemade Butter: From Cream to Culinary Gold
The magic of butter-making lies in the fascinating science of emulsion. Cream, the star of the show, is essentially an emulsion of fat droplets suspended in water. When we whip cream, we’re incorporating air and encouraging those fat molecules to clump together.
But with butter, we take it a step further. Continued agitation, whether by hand or with a mixer, breaks down the emulsion, causing the fat molecules to separate from the liquid (buttermilk). What remains is a solid mass of pure butterfat—our prize.
Essential Ingredients: Simplicity at its Finest
To embark on this butter-making adventure, you only need two key ingredients:
- 2 cups heavy cream: Choose high-quality cream for the best flavor and texture.
- Salt to taste: A pinch of salt enhances the butter’s flavor, but feel free to adjust according to your preference.
A Step-by-Step Guide to Crafting Homemade Butter
Now, let’s transform those simple ingredients into culinary gold:
-
Pour the heavy cream into your trusty electric mixer. Begin whipping on low speed, gradually increasing to medium-high as the cream thickens.
-
Patience is Key: Continue whipping for 5-7 minutes. You’ll witness a magical transformation—the cream will thicken, then separate into butter and buttermilk.
-
Straining and Shaping: Carefully remove the butter from the mixer (don’t discard that precious buttermilk!). Gently squeeze out excess moisture using your hands or a cheesecloth.
-
A Touch of Refinement: Rinse the butter briefly under ice-cold water to remove any remaining buttermilk. Now, add salt to your liking and shape the butter as desired.
-
Storage is Essential: Store your homemade butter in an airtight container or wrapped in parchment paper in the refrigerator. It will keep beautifully for 10-14 days.
Homemade Butter: A Toast to Creativity
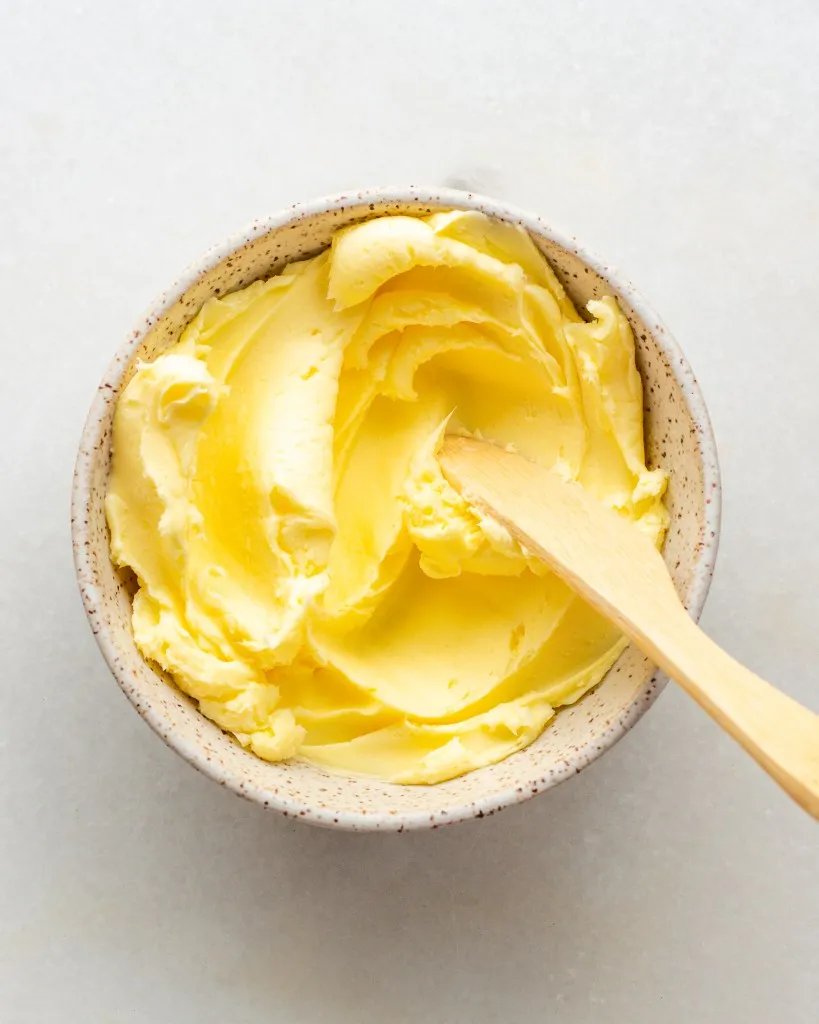
 finished Homemade Butter
Congratulations! You’ve just crafted your very own homemade butter. Spread it on warm toast, slather it on freshly baked bread, or use it to elevate your favorite recipes.
Here at Robert Kline Art, we believe that handmade creations, whether a piece of art or a culinary masterpiece, bring a special touch to our lives.
Share your butter-making triumphs with us! Tag your creations on social media, and let’s celebrate the joy of handmade together.
