Blog
Magnetic Spice Tins: The Ultimate DIY Project for an Organized Kitchen

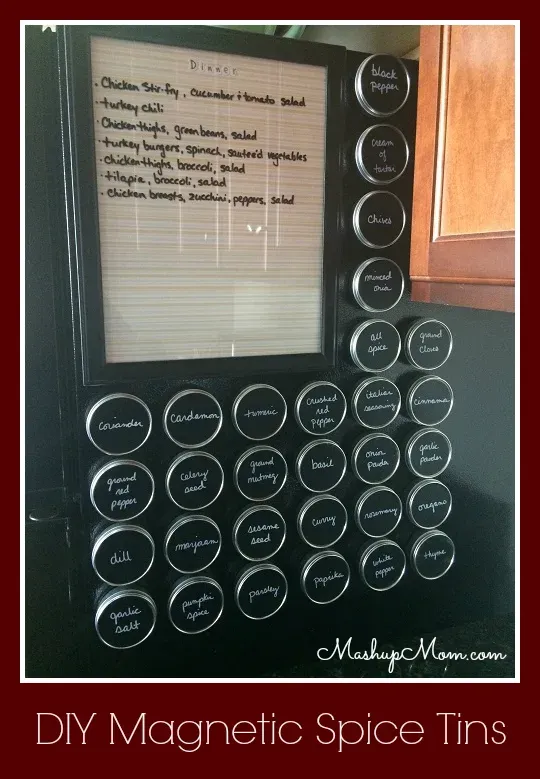
As an artist, I’m always drawn to projects that combine creativity and functionality. And let me tell you, these DIY magnetic spice tins tick both boxes! Not only will they add a touch of handmade charm to your kitchen, but they’ll also free up valuable cupboard space. It’s a win-win!
Why Magnetic Spice Tins?
I recently stumbled across this ingenious storage solution while browsing online, and I couldn’t wait to share it with my fellow craft enthusiasts at Robert Kline Art. Here’s why I think you’ll love it:
- Maximizes space: Perfect for small kitchens or those who simply crave organization, magnetic spice tins free up valuable drawer and shelf real estate. Imagine having an entire cabinet back at your disposal!
- Visually appealing: No more digging through cluttered shelves! With your spices neatly displayed on your fridge, you can easily find what you need at a glance. Plus, the customizable labels add a personalized touch.
- Cost-effective: This DIY project is surprisingly budget-friendly, especially compared to buying pre-made magnetic spice racks. Plus, you can customize the size and quantity of the tins to fit your needs.
Let’s Get Crafting!
Ready to banish kitchen chaos and embrace magnetic magic? Here’s what you’ll need:
Materials:
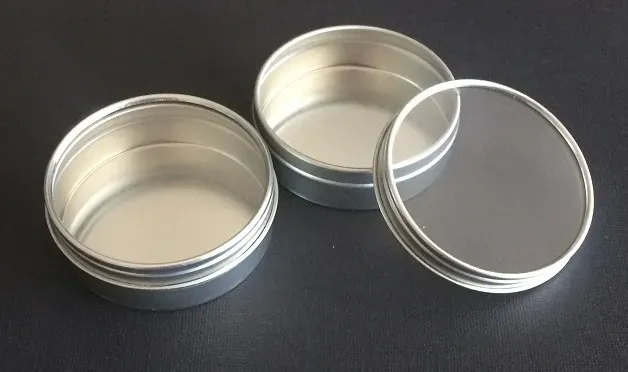
- Spice tins: I recommend 2.5 oz tins for most spices, but you can adjust the size based on your collection. Specialty Bottle is a great source for these.
- Labels: Chalkboard labels look fantastic and can be easily wiped clean and rewritten. A white paint pen creates a bold, chalk-like finish that won’t smudge.
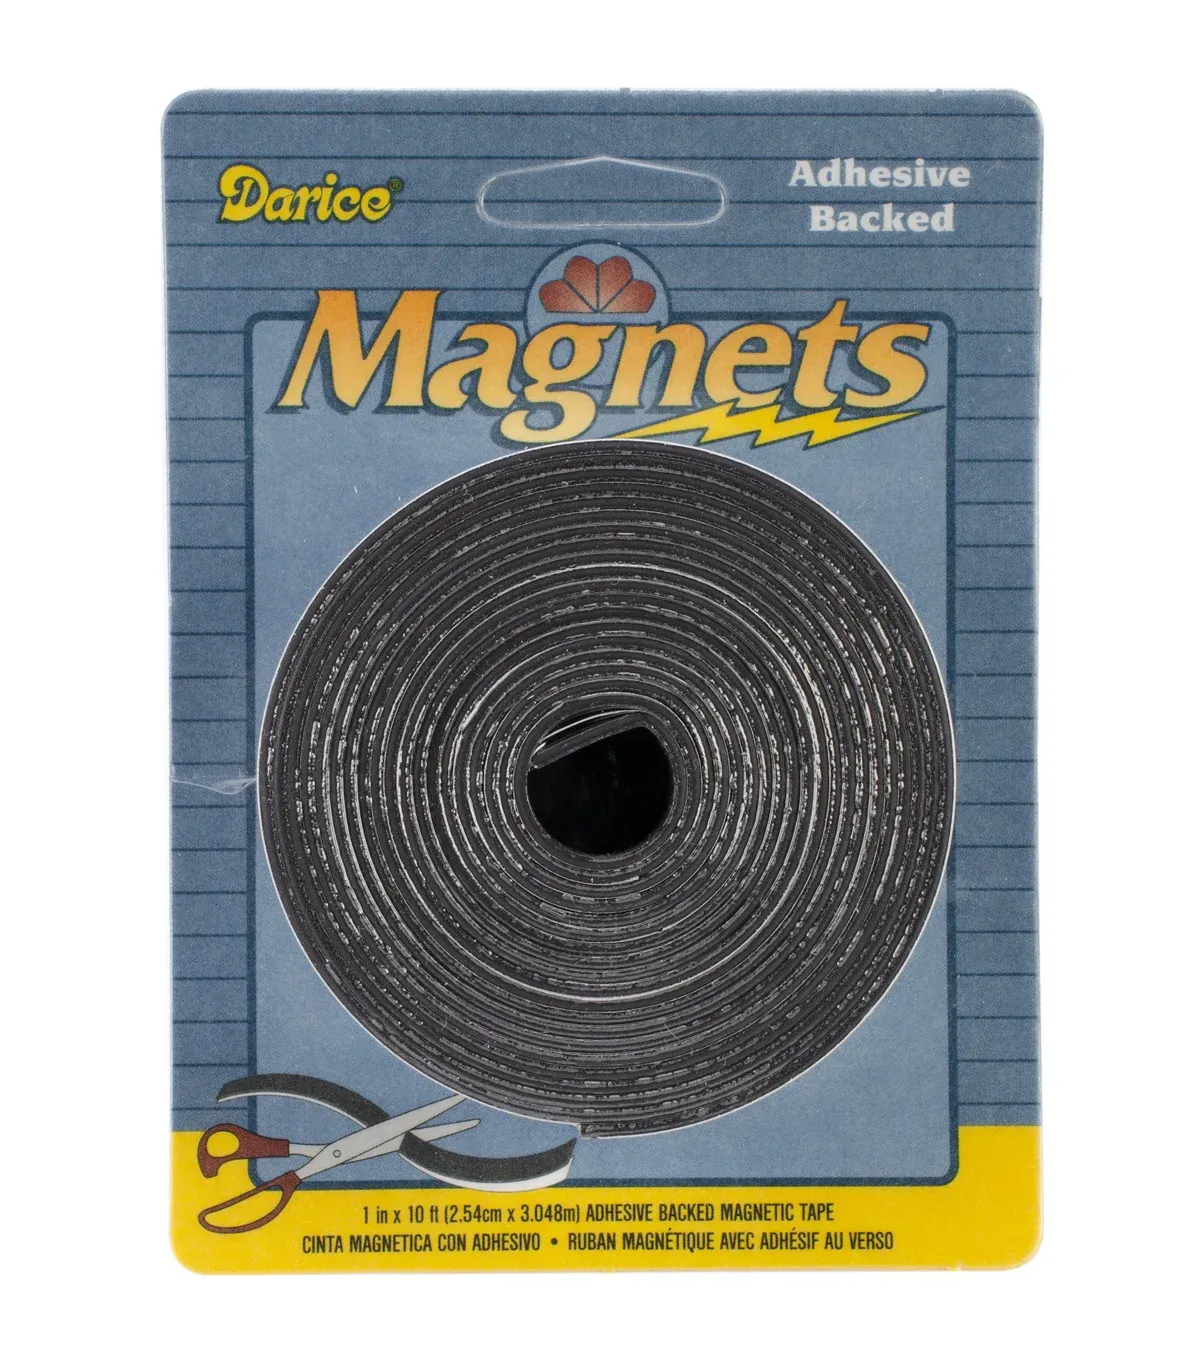
- Magnets: Opt for strong, adhesive magnets to ensure the tins stay securely on your fridge. You can find these at craft stores like JoAnn Fabrics.
- Gorilla Glue: This heavy-duty glue will ensure your magnets are firmly attached.
- White paint pen: For writing on your chalkboard labels.
 MUM Spice Tins 5a
Instructions:
- Prep the tins: Give your spice tins a good cleaning to remove any dust or residue.
- Label it up: Write out your spice names on the chalkboard labels, then carefully attach them to the top of each tin.
- Magnet power: Cut your adhesive magnets to fit the back of your tins. Apply Gorilla Glue to the magnets and firmly press them onto the tins. Make sure to use enough glue for a secure bond.
- Drying time: Allow the glue to dry completely according to the manufacturer’s instructions.
- Fill and arrange: Once the glue is dry, fill your tins with your favorite spices. Arrange them on your fridge, and voila!
 MUM Spice Tins 1
Tips and Tricks:
- Double-check your magnets: I recommend testing a couple of tins on your fridge before filling all of them. This way, you can ensure the magnets are strong enough to hold the weight of the spices.
- Get creative with labels: Don’t be afraid to experiment with different label designs! You can use decorative paper, stickers, or even paint your own.
- Think beyond spices: Magnetic tins are also great for storing other small kitchen essentials, such as paper clips, rubber bands, or toothpicks.
 MUM Magnetic Roll
Conclusion
These DIY magnetic spice tins are a game-changer for any organized kitchen. They’re easy to make, affordable, and add a touch of personalized style. I’ve found they make cooking so much more enjoyable, and I’m sure you will too.
So, what are you waiting for? Gather your supplies and give this project a try! Don’t forget to share your creations and any clever variations you come up with in the comments below.
And for more unique handmade gift and DIY project ideas, be sure to explore the rest of the Robert Kline Art website. Happy crafting!
