Blog
How to Make Herb-Infused Oil in a Crock-pot

Hey there, fellow art enthusiasts! Robert Kline here, and today we’re diving into the captivating world of homemade remedies. I’m going to let you in on a little secret that’s transformed my artistic practice and self-care routine: herb-infused oils.
Imagine the aroma of lavender filling your studio as you craft a soothing skin salve with your own two hands. That’s the magic we’re about to unlock. Infusing oils with the essence of dried herbs is a practice rooted in ancient wisdom, and I’m thrilled to guide you through this fulfilling journey.
Choosing Your Herbal Allies and Oil Base
Before we begin, let’s talk about the stars of our show: the herbs and the carrier oil. The beauty of this craft lies in its versatility.
Which Herbs to Use?
The possibilities are as boundless as your imagination! From calendula’s gentle touch to rosemary’s invigorating spirit, each herb holds a unique key to wellness. I’ve found chamomile and lavender to be particularly delightful for calming the senses, while peppermint and lemon balm offer a refreshing burst of energy. Remember, we’ll be using dried herbs to prevent any unwanted mold or bacteria growth.
How to Choose a Carrier Oil?
Selecting the right carrier oil is like choosing the perfect canvas for your artistic masterpiece. Olive oil is a staple in my pantry, known for its versatility, long shelf life, and nourishing properties. Sunflower, grapeseed, and sweet almond oil are fantastic contenders too.
For those who adore a touch of luxury, jojoba oil is a gift from nature, closely resembling our skin’s natural sebum. And if you, like me, can’t resist the allure of solid coconut oil, its gentle nature blends seamlessly with this low-heat crock-pot method.
Gathering Your Supplies
Now that we’ve explored the world of herbs and oils, let’s gather our tools. Don’t worry; you won’t need an alchemist’s lab for this endeavor!
- Dried herbs of your choice
- Carrier oil of your choice
- Clean, dry Mason jar with lid
- Crock-pot
- Small dishrag
- Cheesecloth or coffee filters
- Fine mesh strainer
The Art of Infusion: A Step-by-Step Guide
With our ingredients prepped and our hearts filled with anticipation, let’s begin the infusion process:
-
Embrace the Herb’s Embrace: Fill your Mason jar about ½ to ¾ full with your chosen dried herbs, leaving room for them to expand as they soak up the carrier oil’s essence.
-
A Gentle Oil Bath: Pour your chosen carrier oil over the herbs, ensuring they’re fully submerged. Aim for at least an inch of headspace from the jar’s top. Seal the jar tightly with its lid.
-
The Crock-Pot’s Warm Embrace: Place a small dishrag at the bottom of your crock-pot, creating a cozy nest for your jar. Gently place the jar on top and add water to the crock-pot, surrounding the jar up to its neck. Leave the crock-pot lid OFF.
-
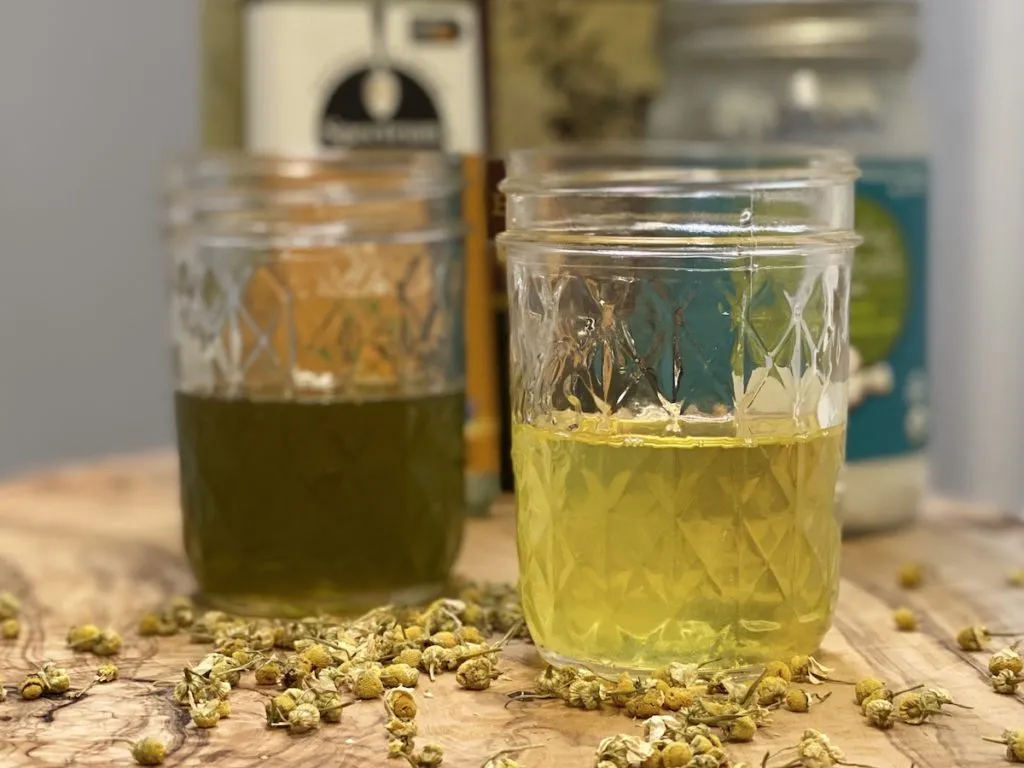
Low and Slow Infusion: Set your crock-pot to its lowest setting (or “warm”) and allow the water to reach approximately 100°F. Let the herbs infuse overnight, or for 8-24 hours, allowing their magic to meld with the oil.
-
Straining the Elixir: Once infused, carefully remove the jar from its warm bath and pat it dry to prevent any water from mingling with your precious oil. Line a fine mesh strainer with cheesecloth or a coffee filter and position it over a clean jar or bowl. Slowly pour the infused oil through the strainer, allowing it to drip patiently. Gently squeeze the cheesecloth or filter to extract every drop of golden goodness.
-
Bottling Your Creation: Pour the strained herb-infused oil into a clean glass jar. Before sealing it tightly with an airtight lid, let the oil cool completely. Find a cool, dry haven for your creation, where it can patiently await its transformation into balms, salves, or culinary delights.
 herb-infused oils letterbox
A Note from Robert: If you’re planning to use your herb-infused oil exclusively for skincare, consider adding a few drops of vitamin E oil per ounce of infused oil. This natural preservative helps extend its shelf life and adds a boost of antioxidant power, keeping your oil fresh and vibrant.
From Infusion to Inspiration: Unleashing Your Creativity
Now that you’ve mastered the art of herb-infused oil, the possibilities are endless! I find immense joy in incorporating these aromatic elixirs into my DIY beauty and skincare recipes.
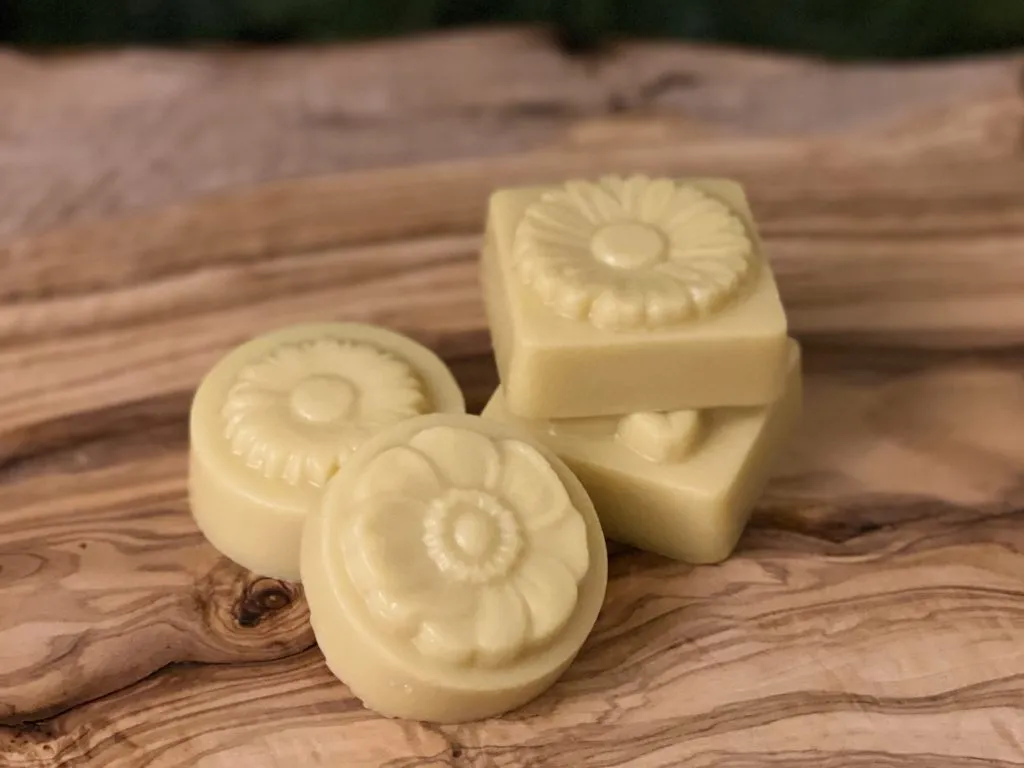
- Soothing Lotion Bars: Imagine chamomile-infused coconut oil melting onto your skin, leaving it soft and supple.
- Nourishing Lip Balm: A touch of peppermint-infused oil can transform a simple lip balm into a refreshing treat for your lips.
- Revitalizing Herbal Balms: Infuse calendula and lavender for a soothing balm to soothe dry, irritated skin.
 Calming Lotion Bars
Feel free to substitute these infused oils for similar oils in your favorite recipes. You can even combine them with essential oils to create truly unique blends that reflect your personal style.
Share Your Creations with Robert Kline Art!
The world of herb-infused oils is a journey of discovery, and I’m eager to see what you create. Share your experiences, ask questions, and let’s inspire each other. You can leave a comment below or tag me on Instagram @thecrunchyginger. Happy crafting!
And don’t forget to explore the exquisite collection of handmade gifts and craft supplies on the Robert Kline Art website. You’ll find everything you need to embark on your artistic adventures!
