Blog
DIY Christmas Gift Tags: Add a Personal Touch to Your Presents
As a lifelong crafter, I’m always looking for ways to make my gifts extra special. What better way to do that than with handmade gift tags? These DIY Christmas gift tags are easy to make from upcycled cardboard and fabric scraps, making them eco-friendly and budget-friendly too! Let’s dive into this fun and creative craft project.
Gather Your Materials
Before we start, let’s gather everything we need:
- Thin Cardboard: Amazon envelope packaging or cereal boxes work perfectly!
- Fabric Scraps: Any size or pattern will do – unleash your creativity!
- Gift Tag Punch: This handy tool creates perfect tag shapes (I recommend this one: [link to your recommended gift tag punch – remember, no code or hashtags allowed!]).
- Scraps of Ribbon or Twine: For that finishing touch.
- Fabric Glue or Kid’s Glue Stick (optional): To secure your fabric pieces.
- Sticky Back Paper or Plain Paper: Use leftover labels or paper from your recycling bin.
- Scissors or Rotary Cutter: Choose your cutting weapon of choice.
 diy christmas gif tags from cardboard
Image Description: Assortment of DIY Christmas gift tags made from cardboard and upcycled fabric scraps.
Let’s Get Crafting!
Step 1: Prepare Your Cardboard Tags
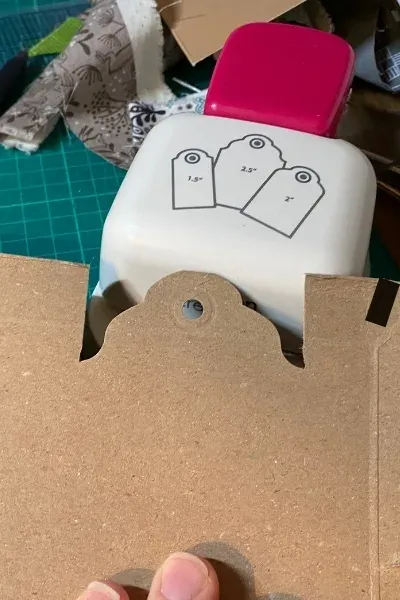
- Cut your cardboard into strips: The width of your strips will depend on the size of your gift tag punch. I used a punch that creates tags in three sizes: 1.5″, 2″, and 2.5″.
- Punch out your tags: Once your strips are ready, use your gift tag punch to create your tag shapes. You can vary the length of your tags to create different looks.
Tip: Experiment with different cardboard textures and colors for a unique touch.
 diy christmas gift tags
Image Description: DIY Christmas gift tags being punched out of upcycled cardboard
Step 2: Unleash Your Inner Artist with Fabric Scraps
This is where the real fun begins! Here are a few ideas to get you started:
- Christmas Tree Gift Tags:
- Fabric Strips: Cut thin fabric strips, gradually decreasing in length. Glue them onto your tag in a tree shape and secure with a straight or zig-zag stitch.
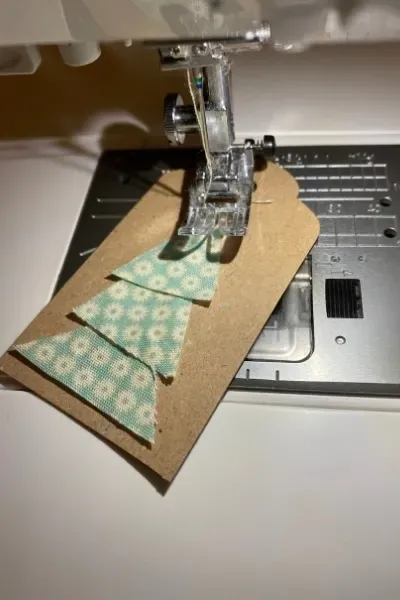
- Scrappy Corners: Layer those leftover fabric triangle scraps to create a whimsical tree. Sew around the edges for a finished look.
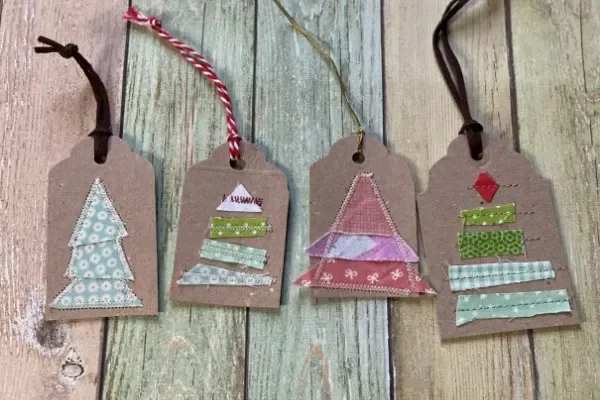 diy christmas tree gift tags with fabric
Image description: Two different styles of Christmas tree gift tags, one made from strips of fabric and one from scrap corners.
- Improv Sewing Christmas Gift Tags:
- Festive Groupings: Arrange small fabric scraps in Christmas colors and stitch them onto your tags.
- Fussy Cut Elements: Cut out specific images or patterns from your fabric scraps and applique them onto your tags.
- Kid-Friendly Designs: Use bright and playful fabric scraps to create tags that are perfect for kids’ gifts.
Tip: Don’t worry about backstitching your fabric pieces – we’ll cover that in the next step.
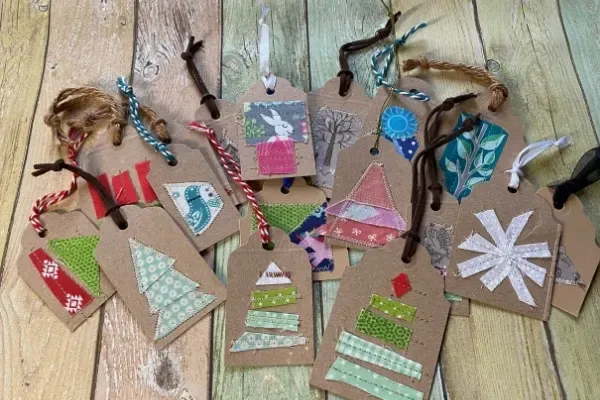
 diy christmas gift tags
Image Description: Variety of DIY Christmas gift tags made from fabric scraps.
- Snowflake Christmas Gift Tag:
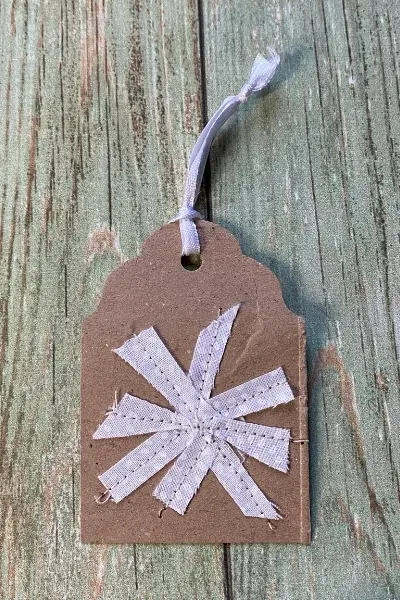
- Cut thin strips of white fabric scraps.
- Arrange them in a snowflake pattern on your tag, securing with a dab of glue.
- Sew a straight stitch from point to point to create your snowflake.
 diy christmas gift tags snowflake
Image Description: Snowflake Christmas gift tag made from white fabric scraps
Step 3: Create Neat and Tidy Backs
- Cover the Back: To hide the stitching on the back of your tags and create a writing surface, use sticky-back paper, leftover labels, or glue on pieces of paper from your recycling bin.
Tip: By covering the back of your tags, you’re essentially trapping the ends of your threads, eliminating the need for backstitching.
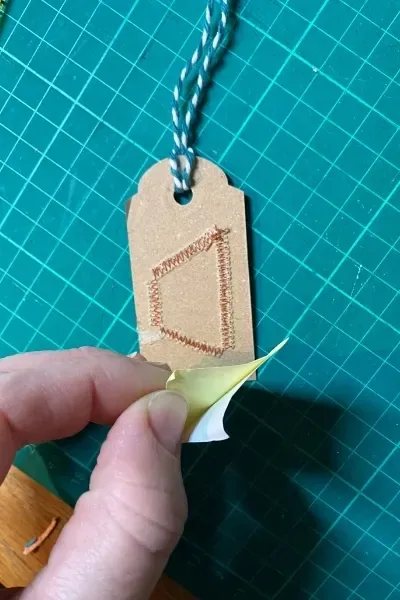 christmas tag backs
Image Description: Back of a Christmas gift tag covered with sticky back paper.
Step 4: Add the Finishing Touch with Hanging Loops
- Choose Your Material: Cut a short length of ribbon, twine, or even thin strips of fabric for your hanging loops.
- Create a Loop: Fold your chosen material in half and tie the ends in a knot.
- Attach to Tag: Thread the folded end of the loop through the hole in your tag and pull it through to secure.
 diy christmas gift tags hanging loops
Image Description: Adding a ribbon loop to a Christmas gift tag.
You Did It!
Congratulations! You’ve created a set of unique and heartfelt Christmas gift tags. These personalized touches are sure to make your gifts even more memorable.
“I love encouraging people to embrace their creativity,” says renowned crafting expert [insert fictional crafting expert name]. “These DIY gift tags are a perfect example of how a little imagination and upcycling can result in something truly special.”
Share Your Creations!
We’d love to see your handmade Christmas gift tags! Share your creations with us in the comments below or tag us on social media @RobertKlineArt.
Looking for more handmade gift ideas? Explore the unique and creative treasures on the Robert Kline Art website – perfect for adding a touch of artistry to your gift-giving. Happy crafting!
