Blog
DIY Flavored Sugar Rimmer Set: A Sweet Touch for Your Celebrations

Here at Robert Kline Art, we love adding unique and personal touches to our creations, and that extends to our celebrations! Imagine serving up dazzling drinks with colorful, flavor-infused sugar rims at your next party – a simple detail that’s sure to impress your guests. The best part? You can easily make these stunning and delicious sugar rimmers right at home. Let’s dive into this easy and fun DIY project that is sure to sweeten up your next gathering!
Crafting Your Own Flavored Sugar Rimmers
What’s better than a plain sugar rim? A flavored one, of course! This simple recipe transforms ordinary sugar into a colorful and flavorful delight.
What You’ll Need:
- White Sugar
- Liquid Food Coloring
- Flavoring Oils (like those found at craft stores)
- Ziplock Sandwich Bags
Step-by-Step Guide:
- Mix and Match: In a Ziplock bag, combine 1/2 cup of sugar with 2 drops of your chosen flavoring oil and 1 drop of food coloring.
- Shake It Up: Seal the bag tightly and shake it vigorously until the sugar, coloring, and flavoring are evenly distributed.
- Taste and Adjust: Open the bag and give your creation a little taste test. Need a bolder flavor? Add another drop of flavoring oil. Want to tone it down? Incorporate a bit more sugar.
- Color Your Way: Gradually add more food coloring, one drop at a time, until you achieve your desired hue. Remember, a little goes a long way!
Pro Tip: Experiment with various flavor and color combinations to create a rainbow of rimming sugars!
 Flavored sugar rimmer set ingredients
The Art of Rimming a Glass
Now that you have your gorgeous flavored sugars ready, it’s time to put them on display!
You’ll Need:
- A citrus fruit (lemon, lime, or orange)
- Your prepared flavored sugar
- Glasses (any type will do – even plastic!)
Let’s Rim:
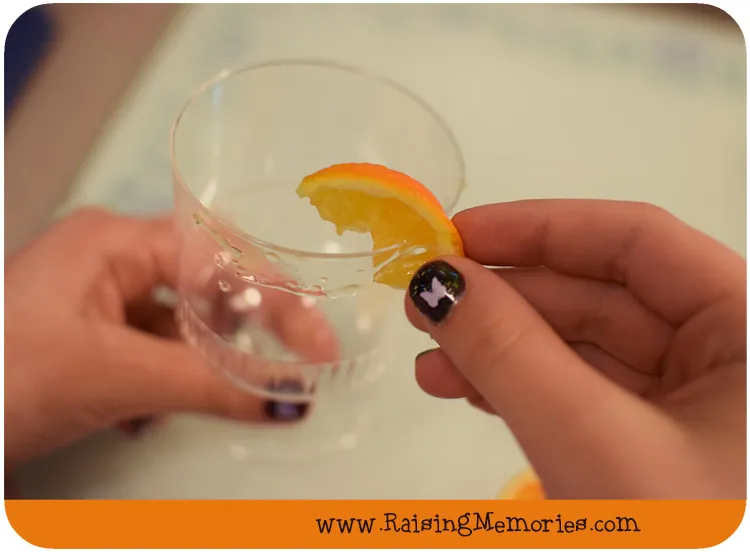
- Prep the Rim: Slice your citrus fruit and run a wedge along the rim of your glass. This creates a sticky surface for the sugar to adhere to.
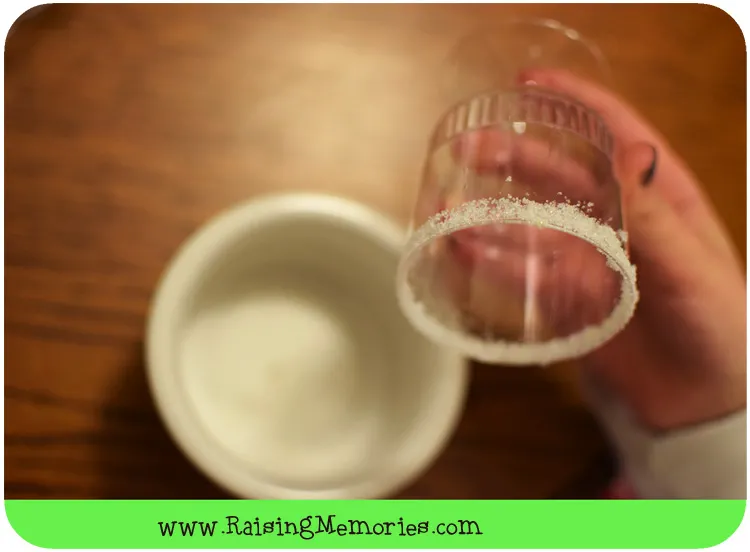
- Dip and Coat: Pour your flavored sugar onto a small plate or shallow dish. Gently invert your glass and twist it in the sugar, ensuring an even coating.
- Dry and Admire: Allow the rim to dry and harden for a few minutes before carefully pouring in your beverage.
 Sugaring the rim of a glass
Beyond the Rim: Creative Serving and Gifting
- Presentation Matters: For an elegant presentation, consider gifting your homemade flavored sugars! Find charming jars or tins at your local craft or home goods store. It’s a thoughtful and personalized gift, perfect for cocktail enthusiasts and DIY lovers.
- Theme It Up: Coordinate your sugar rim colors and flavors with your party theme. From vibrant fiesta hues to elegant wedding pastels, the possibilities are endless!
The Sweetest Finish
Making your own flavored sugar rimmers is a delightful way to infuse creativity and personality into your beverages and celebrations. It’s a simple yet impactful detail that elevates any occasion. Here at Robert Kline Art, we believe that handmade touches make all the difference, transforming ordinary moments into something truly special.
So, why not give it a try? Share your colorful creations with us – we’d love to see them! And be sure to explore Robert Kline Art’s website for more unique and handcrafted items to elevate your everyday life and gift-giving experiences.
