Blog
Homemade Flavored Nut Butters: A Delicious Journey

Hey there, fellow art and craft enthusiasts! Robert Kline here, and today we’re diving into the delicious world of homemade flavored nut butters. I know what you’re thinking: nut butter? What does that have to do with crafting? Well, just like crafting, making your own nut butter allows for endless creativity and customization. Plus, it’s a fun and rewarding experience that results in a delicious treat!
The Beauty of Homemade Nut Butter
I’ve always been a fan of nut butter. It’s a versatile ingredient that can be used in countless ways – on toast, in smoothies, or even straight from the jar (don’t judge!). But I’ll be honest, store-bought nut butters can get a little boring. That’s when I discovered the magic of making my own!
The beauty of homemade nut butter lies in its simplicity. With just a handful of ingredients and a food processor, you can create unique flavor combinations that cater to your taste buds. It’s like having a blank canvas for your culinary imagination!
Banana Bread Pecan Almond Butter: A Match Made in Heaven
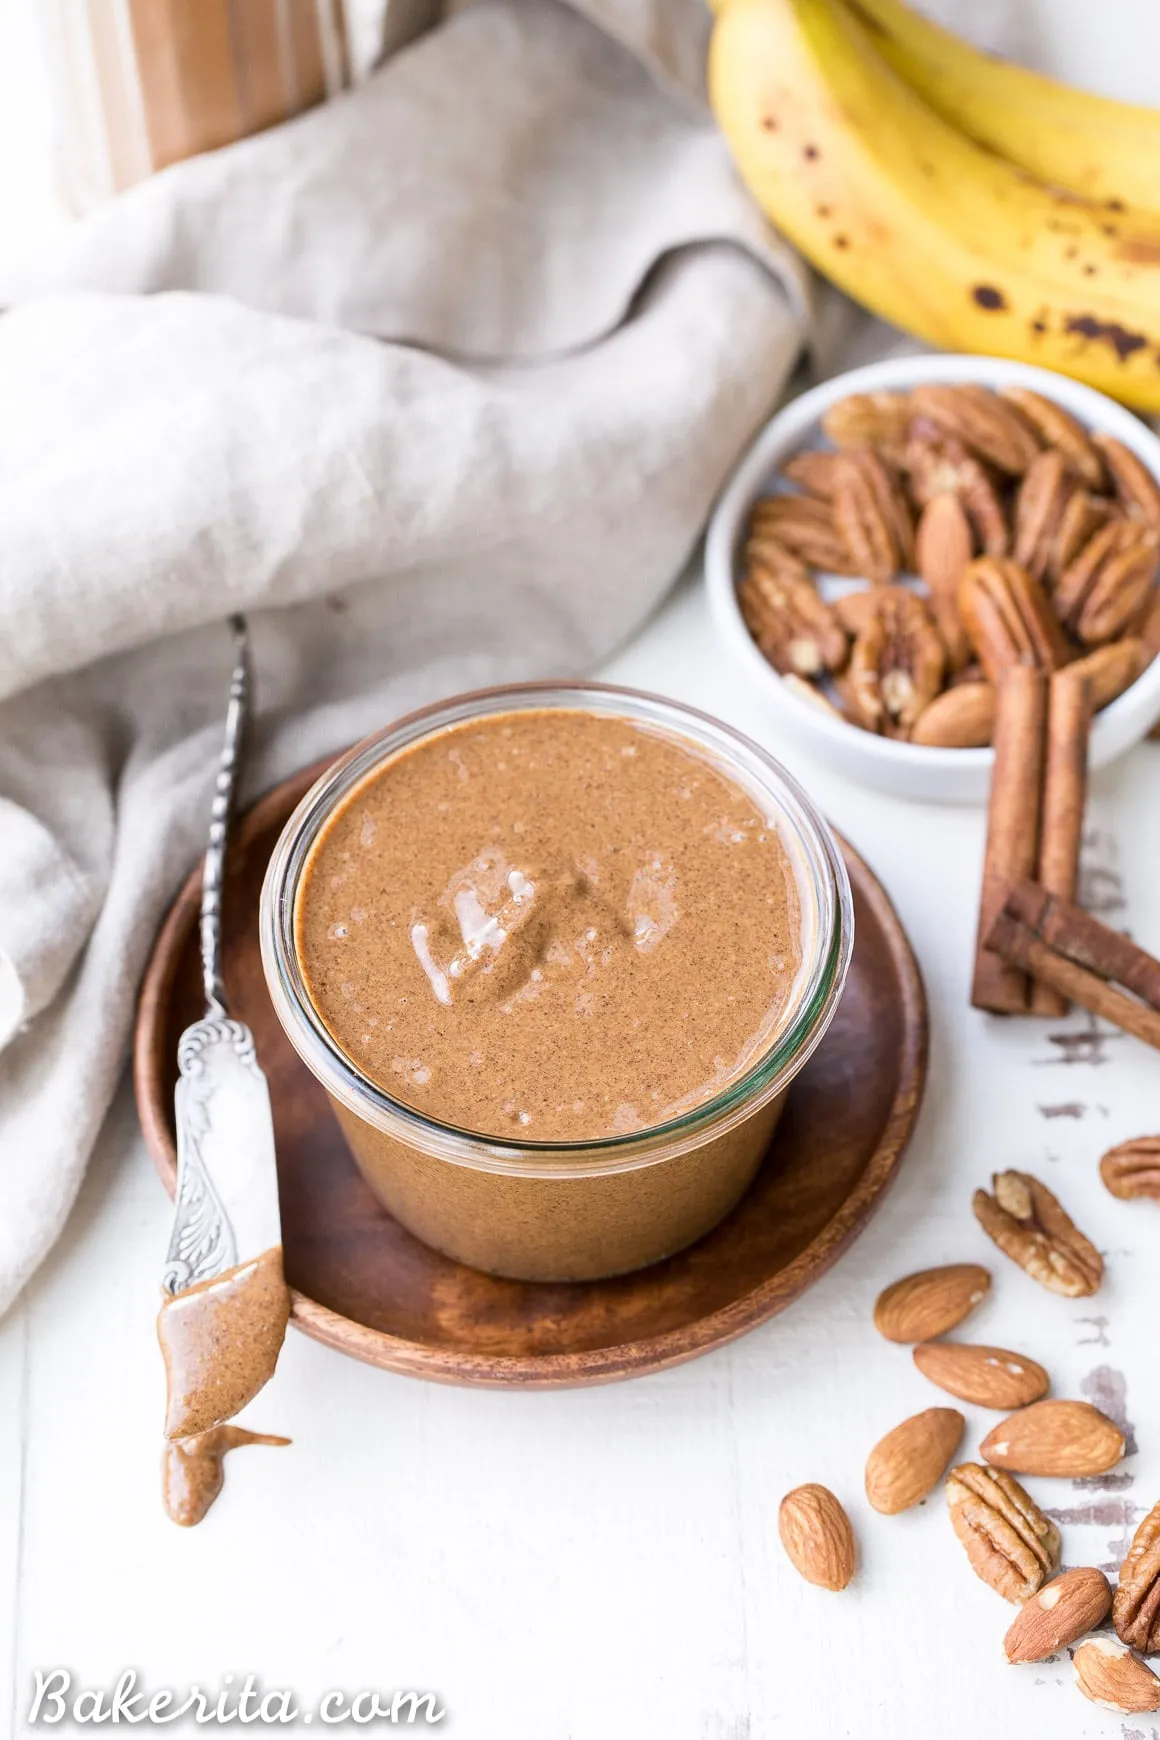
One of my all-time favorite creations is Banana Bread Pecan Almond Butter. It might sound unusual, but trust me on this one. The combination of toasted pecans, creamy almonds, and the warm flavors of banana bread spices is simply divine!
 A spoonful of Banana Bread Pecan Almond Butter
Ingredients:
- 1 ½ cups raw almonds
- 1 ½ cups raw pecans
- ½ cup freeze-dried bananas
- 2 teaspoons ground cinnamon
- ½ teaspoon grated nutmeg
- ½ teaspoon vanilla bean powder or 1 teaspoon vanilla extract
- ½ cup unsweetened dried bananas, chopped
Instructions:
- Preheat your oven to 350°F (175°C) and spread the almonds and pecans on a baking sheet.
- Roast the nuts for about 8 minutes, or until they become fragrant and lightly toasted. Allow them to cool for a few minutes.
- Once cooled, add the nuts to your food processor or high-powered blender.
- Process for 3-6 minutes, scraping down the sides as needed, until you achieve a smooth, creamy butter.
- Add the freeze-dried bananas, cinnamon, nutmeg, and vanilla. Process again until everything is well combined.
- Finally, add the chopped dried bananas and pulse a few times to break them up slightly.
- Transfer your delicious creation into a glass jar and store it in the refrigerator.
Pro Tip: For a thinner consistency, add a tablespoon of coconut oil or melted cocoa butter while blending.
Exploring More Flavors
The beauty of homemade nut butters is that you can let your imagination run wild!
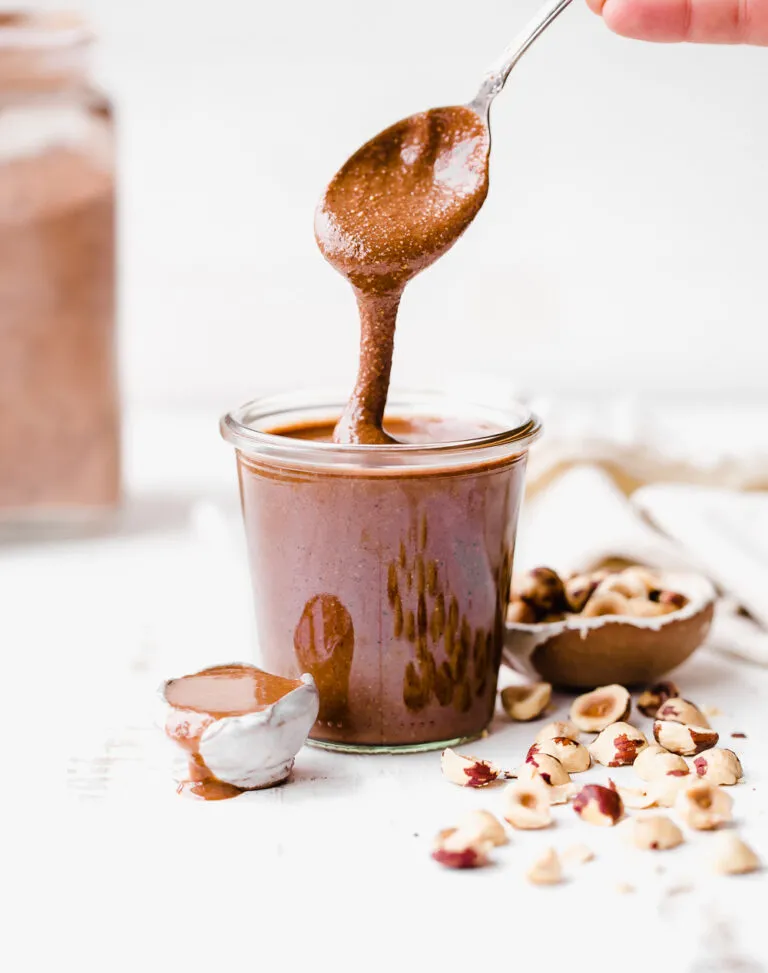
- Chocolate Hazelnut Butter: Indulge your inner chocoholic with this classic combination. Roasted hazelnuts, unsweetened cocoa powder, and a touch of maple syrup create a heavenly spread.
 A jar of Chocolate Hazelnut Butter
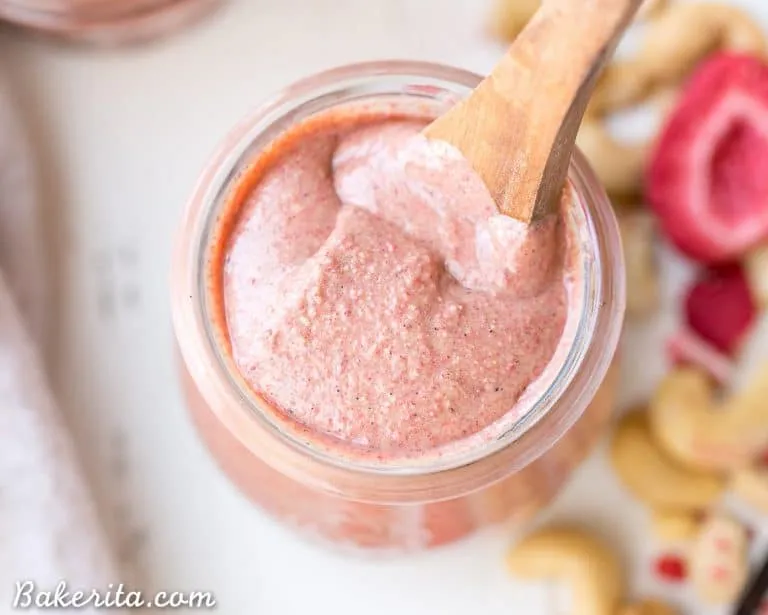
- Strawberry Cashew Butter: Brighten up your morning with this vibrant and fruity nut butter. Freeze-dried strawberries add a burst of sweetness and a beautiful pink hue.
 A jar of Strawberry Cashew Butter
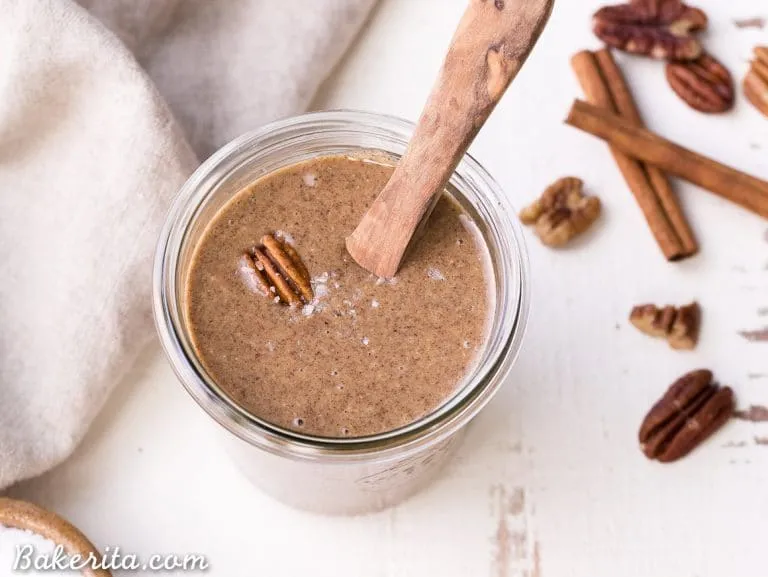
- Vanilla Bean Pecan Butter: This simple yet elegant nut butter lets the natural sweetness of pecans shine. The addition of vanilla bean adds a touch of warmth and sophistication.
 A jar of Vanilla Bean Pecan Butter
These are just a few ideas to get you started. Don’t be afraid to experiment with different nuts, spices, and flavors to create your own signature blends!
Crafting Delicious Gifts
Homemade flavored nut butters aren’t just a treat for yourself; they also make wonderful DIY gifts! Imagine the delight on your loved ones’ faces when they receive a jar of your handcrafted, personalized nut butter. It’s a thoughtful and delicious gift that shows you care.
Embrace the Joy of Handmade
Making your own flavored nut butter is a fun and rewarding experience that goes beyond just the final product. It’s about experimenting, being creative, and enjoying the process. And hey, if it results in a delicious spread that you can enjoy on everything, that’s a bonus!
So why not give it a try? I promise you won’t regret it. And be sure to share your creations with me in the comments below or on the Robert Kline Art social media pages! I can’t wait to see what delicious masterpieces you come up with.
Happy crafting (and snacking)!
