Blog
The Ultimate Guide to Making Delicious Homemade Energy Bars

Tired of those sugary snacks that leave you feeling sluggish? As an artist, I know how important it is to have sustained energy throughout the day to fuel creativity. That’s why I’m excited to share my go-to recipe for homemade energy bars – a healthy and delicious snack that will keep you going strong.
These aren’t your average store-bought energy bars packed with preservatives and artificial ingredients. These are made with simple, wholesome ingredients you can find at your local grocery store. Plus, they’re incredibly easy to make!
Why You Should Ditch Store-Bought and Make Your Own Energy Bars
Making your own energy bars allows you to control the ingredients, ensuring you’re fueling your body with goodness. It’s also a budget-friendly alternative to expensive store-bought options.
“I used to be skeptical about making my own snacks,” says Sarah J., a loyal Robert Kline Art follower, “but this energy bar recipe has completely changed the game. It’s so much cheaper and healthier than anything I could find at the store.”
Essential Ingredients for Homemade Energy Bars
The beauty of this recipe lies in its simplicity. You only need a handful of pantry staples:
- Dates: These provide natural sweetness and act as a binder.
- Nuts: Almonds, cashews, or walnuts add a satisfying crunch and healthy fats.
- Oats: Rolled oats offer a boost of fiber and carbohydrates for sustained energy.
- Nut butter: Peanut butter, almond butter, or cashew butter adds richness and protein.
- Optional add-ins: Chocolate chips, dried fruit, or spices like cinnamon can be incorporated for extra flavor and texture.
Step-by-Step Guide to Energy Bar Perfection
- Combine and process: In a food processor, pulse together dates, nuts, oats, and nut butter until a sticky mixture forms.
- Customize your flavors: Here’s where you can get creative! Stir in your favorite add-ins, like chocolate chips for a touch of indulgence or dried cranberries for a chewy sweetness.
- Press and chill: Transfer the mixture to a lined baking pan, pressing it down firmly. Pop it in the freezer for at least 2 hours to set.
- Slice and enjoy: Once firm, cut into bars and relish in the wholesome goodness you’ve created.
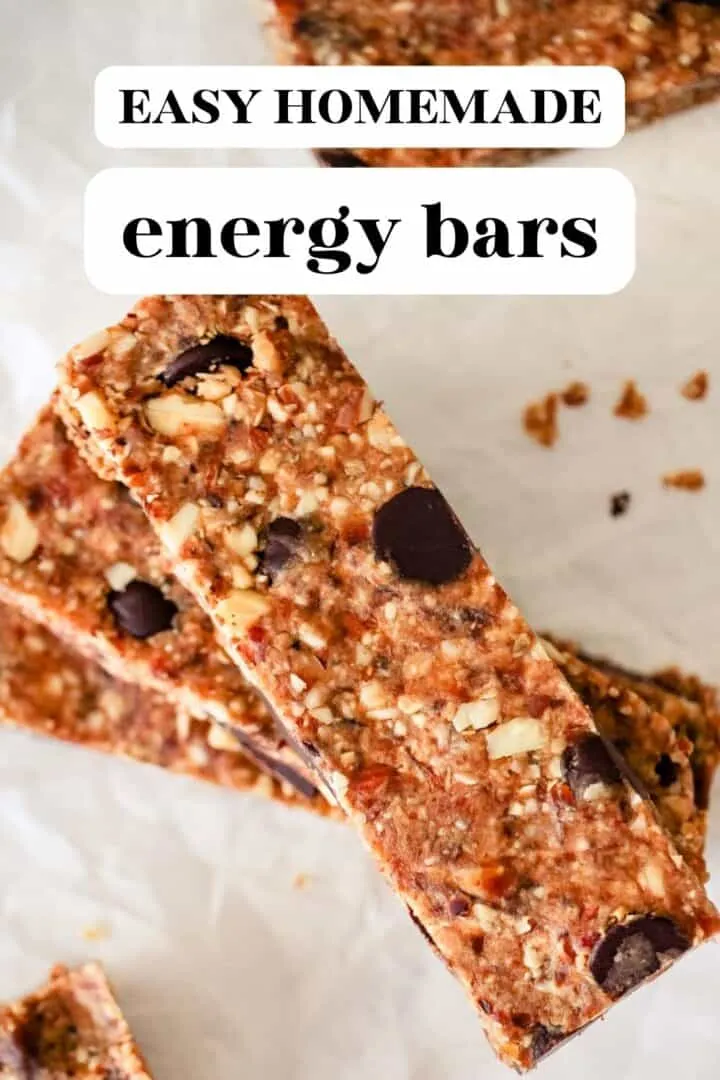
 Easy No-Bake Homemade Energy Bars
Tips and Tricks for Energy Bar Success
- For extra chewiness, try toasting the oats lightly before blending.
- If the mixture feels dry, add a tablespoon of honey or maple syrup.
- Don’t be afraid to experiment with flavors! Get adventurous with ingredients like shredded coconut, chia seeds, or even protein powder.
Storing Your Homemade Energy Bars
Store your energy bars in an airtight container in the refrigerator for up to a week or freeze for longer storage.
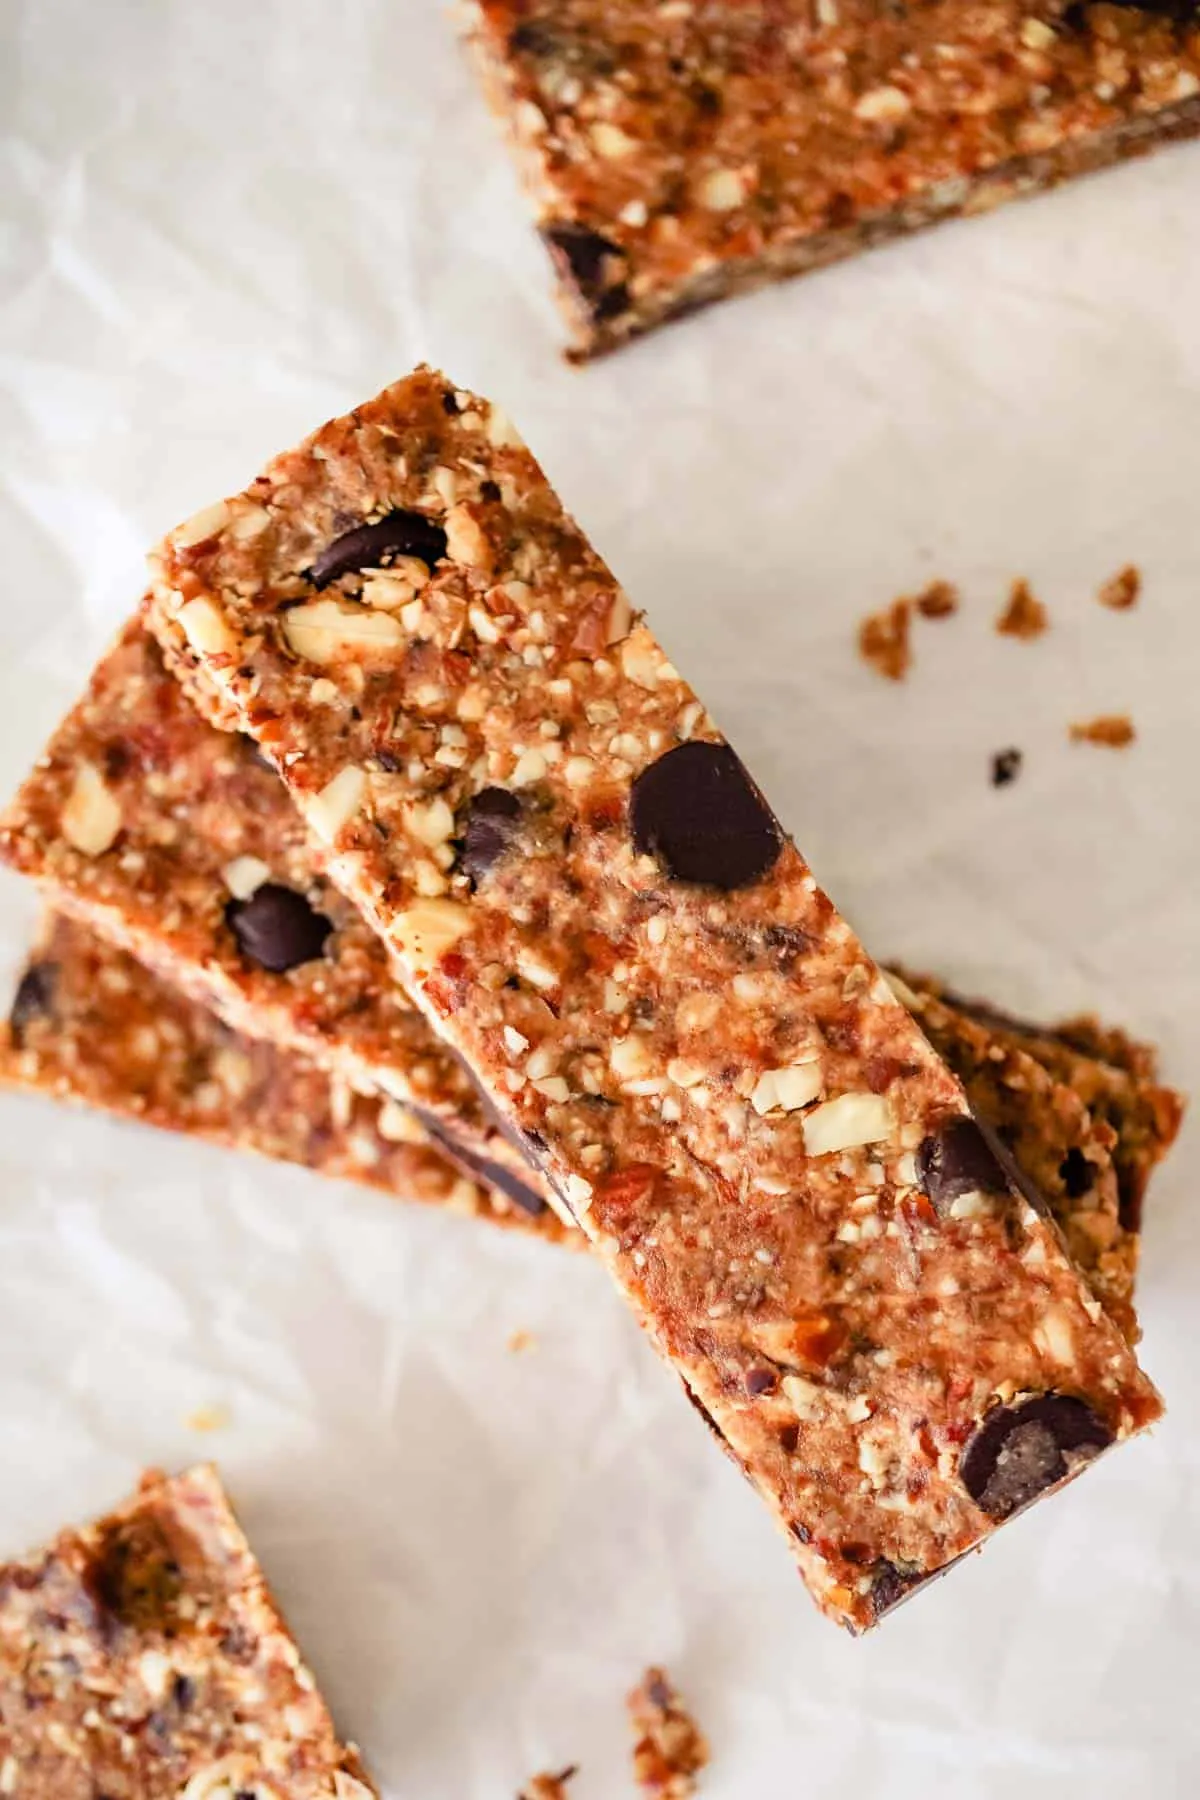
 Stack of homemade energy bars on parchment paper.
Unleash Your Inner Chef and Craft Your Own Energy Bars
Making homemade energy bars is a fun and rewarding experience. It’s a chance to nourish your body with wholesome ingredients while exploring different flavors and textures. So gather your ingredients, put on your creative hat, and craft a batch of energy bars that will fuel your artistic endeavors!
Don’t forget to share your culinary creations with me and the Robert Kline Art community. Leave a comment below and tell us about your favorite energy bar combinations! And for more unique DIY gift ideas and craft inspiration, be sure to explore the rest of the Robert Kline Art website.
