Blog
Handmade Wooden Tea Box: The Perfect Gift for Tea Lovers
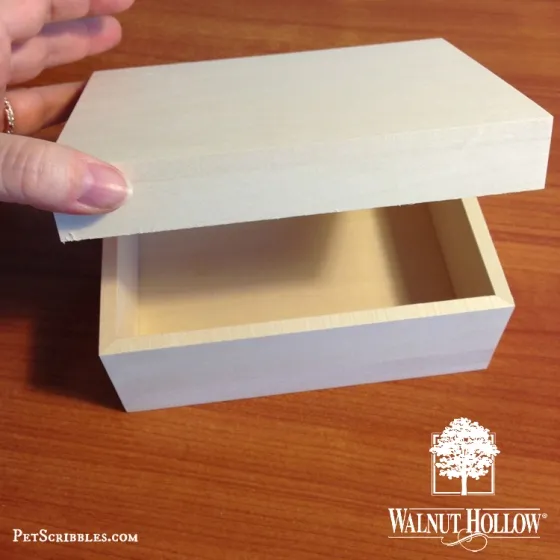
As the air turns crisp and the leaves begin to change, our thoughts turn towards cozy evenings spent indoors with a steaming cup of tea. It’s also the perfect time to start thinking about those special, handmade gifts for the upcoming holiday season. What better way to warm the heart of a tea aficionado than with a beautifully crafted, personalized wooden tea box?
Don’t let the idea of wood burning intimidate you! This project is surprisingly approachable, even for beginners. I, Robert Kline, will guide you through each step of creating a stunning wood burned tea box, sharing my personal tips and tricks along the way. Let’s transform simple wood into a treasured keepsake.
Gathering Your Supplies:
Before we embark on this creative journey, let’s gather our tools and materials. Here’s what you’ll need to create your own wood burned tea box:
- Basswood Classic Box: Basswood is a dream to work with, known for its smooth surface and forgiving nature, making it perfect for wood burning. I recommend Robert Kline Art’s Classic Box for its elegant simplicity.
 Walnut Hollow Basswood Classic Box
-
Wood Burning Tool: A quality wood burning tool is essential for this project. I suggest the Robert Kline Art Creative Versa-Tool® for its versatility and precision.
-
Wood Burning Tips: The Mini Flow Point tip is a favorite of mine for its fine, rounded tip that effortlessly creates delicate lines and details.
-
Paint: DecoArt Dazzling Metallics in Oyster Pearl will add a touch of elegance and shimmer to your finished tea box.
-
Image Transfer: A laser copy of your chosen black and white line art, printed in reverse. Vintage tea sets make charming designs!
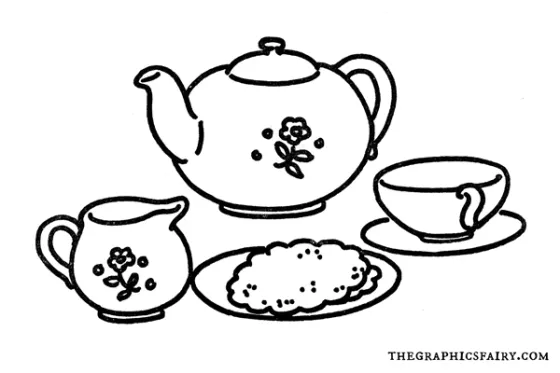 vintage tea set line art
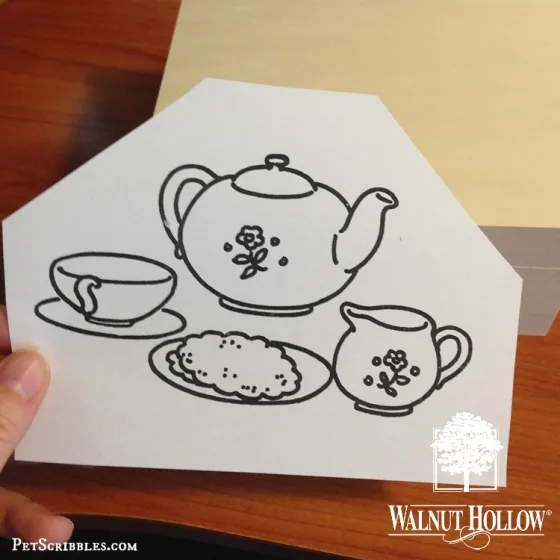 reverse image of tea set
- Additional Supplies: Paintbrushes, wax paper, scissors, masking tape, and a safe workspace are also essential for a smooth and enjoyable crafting experience.
Transferring Your Design:
Now that you have your supplies ready, let’s bring your chosen design onto the wooden surface.
-
Reverse and Print: Ensure you have a laser copy of your chosen image, printed in reverse. This is crucial for the design to transfer correctly onto the wood.
-
Prepare Your Surface: Cut out your reversed image, leaving a small border. Secure it face down onto your wood box using masking tape.
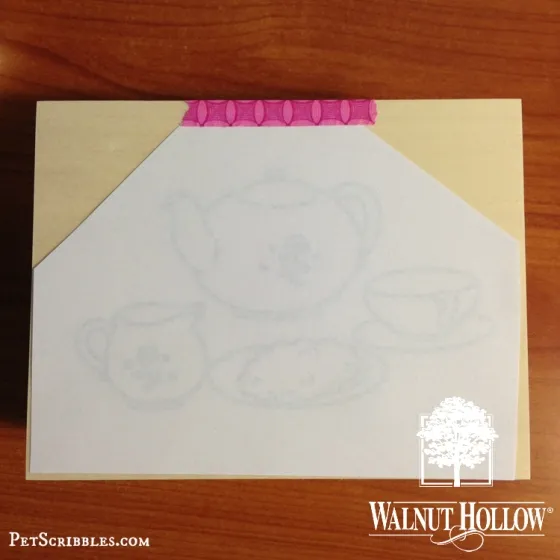 attach copy to box face down
- The Corner Trick: Fold up one or two corners of the paper. This handy tip allows you to lift and check the transfer progress without disturbing the rest of your design.
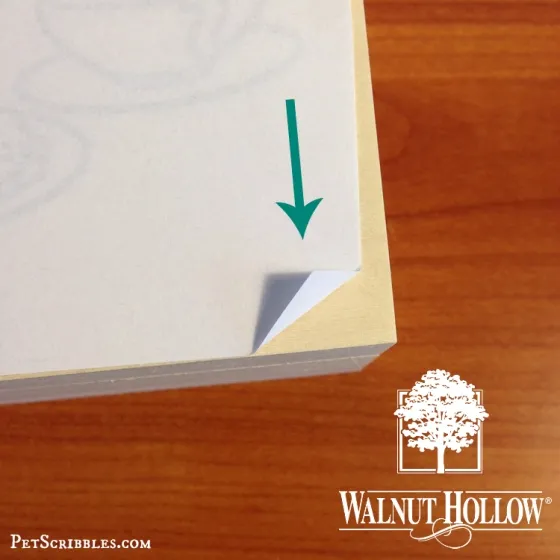 helpful tip for image transfer
- Transfer Time: Attach the Transfer Point to your Robert Kline Art Creative Versa-Tool®. Apply gentle, even pressure as you trace over the lines of your design. Remember, Robert Kline Art has a wealth of knowledge and helpful tutorials on their YouTube channel. Watching a demonstration can make a world of difference.
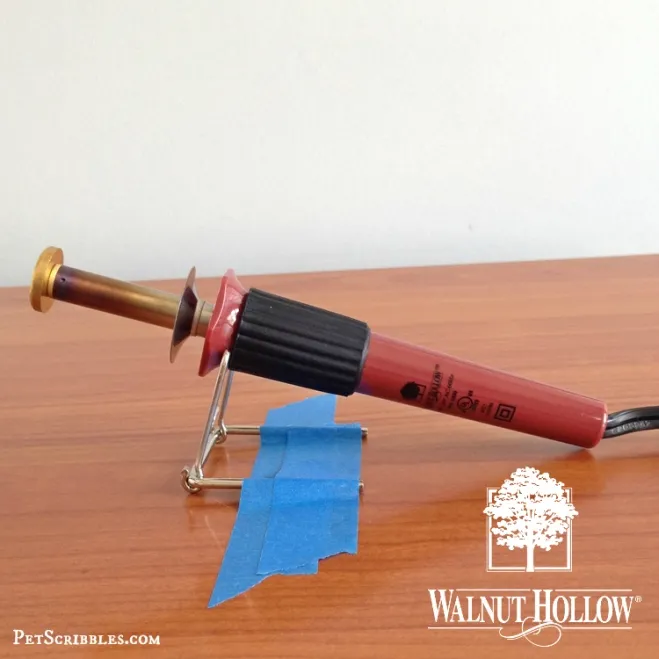 wood burning stand
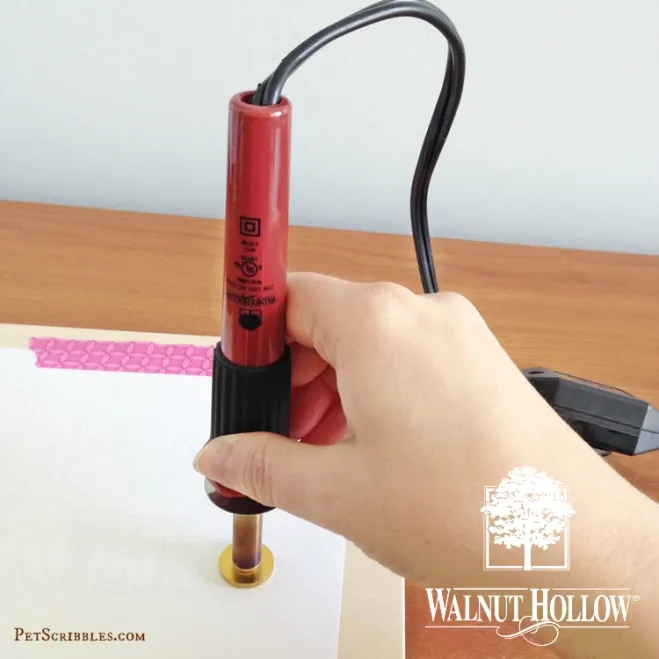 Creative Versa-Tool Transfer Point
- Reveal Your Design: Gently peel back the paper to unveil your transferred design. Don’t be discouraged by any minor imperfections – they add character!
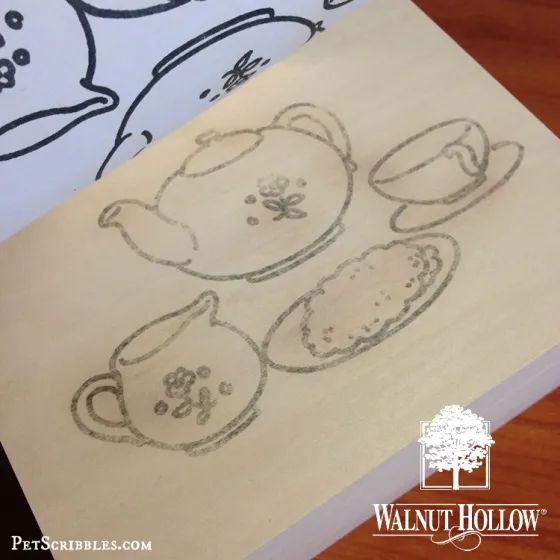 image successfully transferred to wood
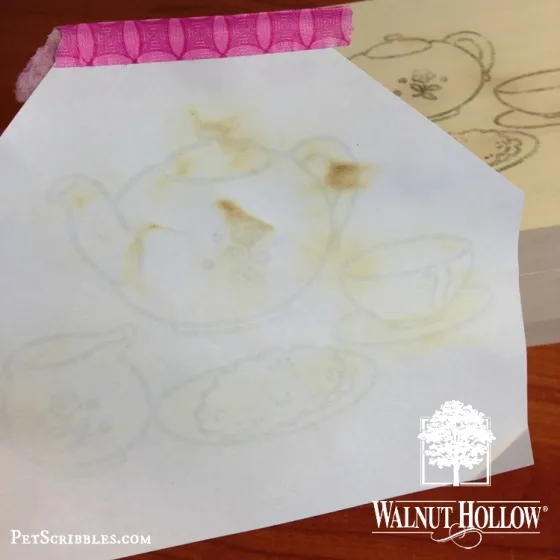 why paper looks like this
The Art of Wood Burning:
Now comes the exciting part – bringing your design to life with the wood burning tool!
-
Safety First: Always work in a well-ventilated area and secure your wood surface to prevent slipping. Remember to tape down your wood burning stand for added stability.
-
The Right Touch: Attach the Mini Flow Point to your tool. It’s all about finding the right temperature and pressure. Practice on a scrap piece of wood to get a feel for it.
-
Smooth and Steady: I find it helpful to wood burn with the grain of the wood for smoother lines. If you’re going for a lighter look, a single pass might suffice. For more defined lines, apply slightly more pressure or go over them a second time.
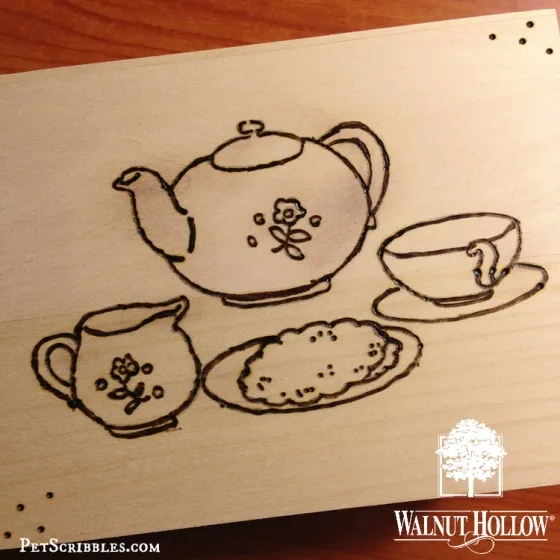 wood burned vintage tea set image
- Embracing Imperfections: Wood burning is about embracing the unique beauty of the craft. Those little imperfections? They tell a story and add a touch of handmade charm.
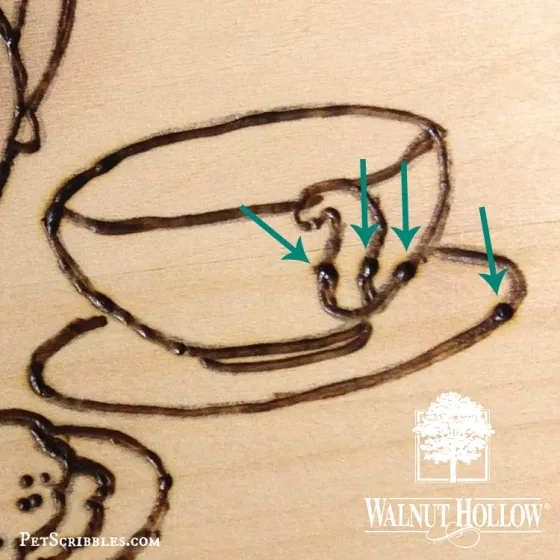 woodburned dots explained
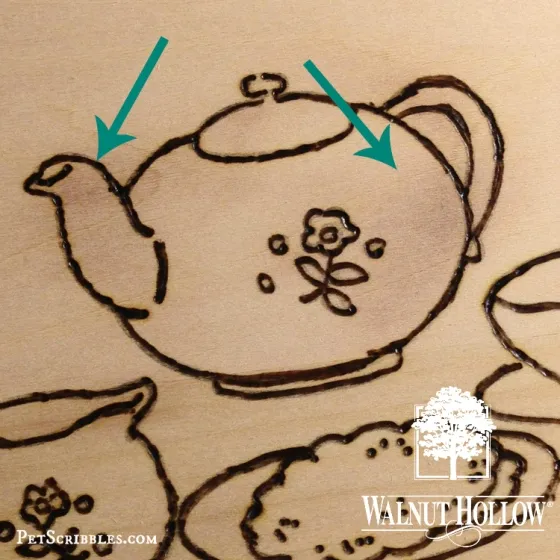 blemishes explained
Adding a Touch of Shimmer:
Let’s elevate our tea box with a touch of metallic elegance.
-
Prepare Your Paint: Give your DecoArt Dazzling Metallics in Oyster Pearl a good stir. This metallic paint provides a beautiful sheen while allowing the wood grain to peek through.
-
Painting Time: Using a small paintbrush, apply two even coats of paint to the inside and outside of your tea box, allowing each coat to dry thoroughly.
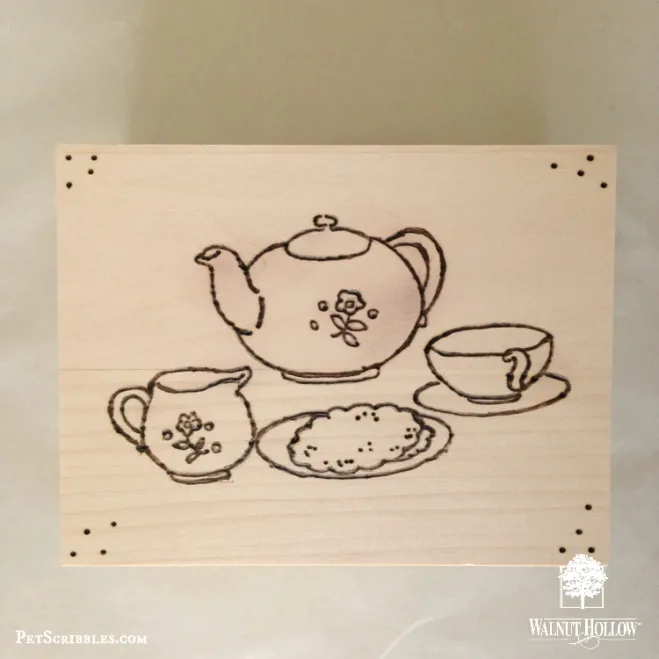 Wood Burned Tea Box
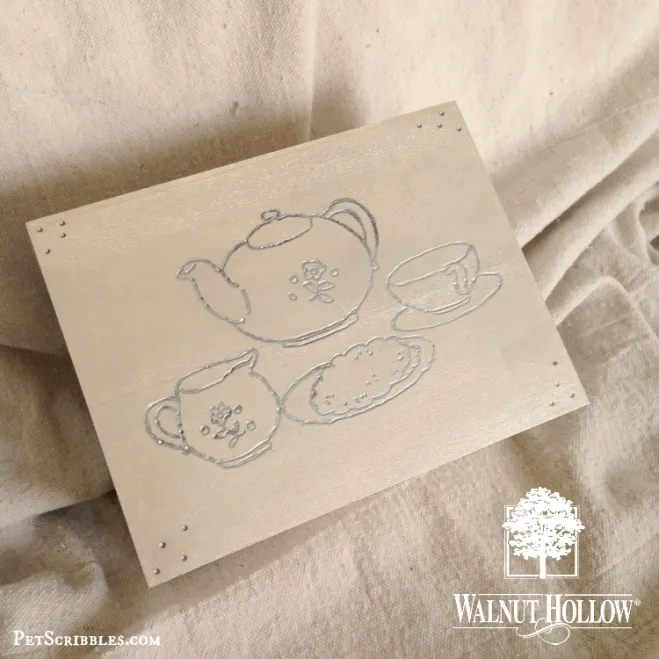 metallic sheen on wood burned tea box
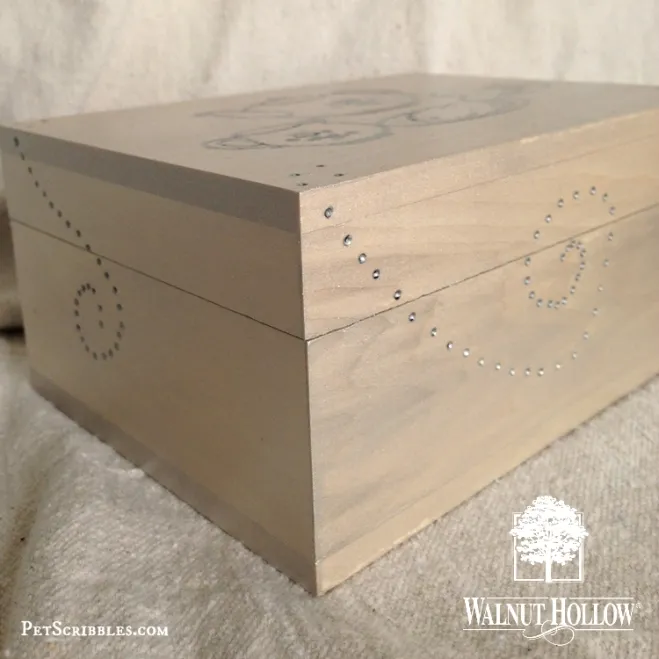 metallic paint on wood burned box
A Gift from the Heart:
Your personalized tea box is now complete – a testament to your creativity and thoughtfulness.
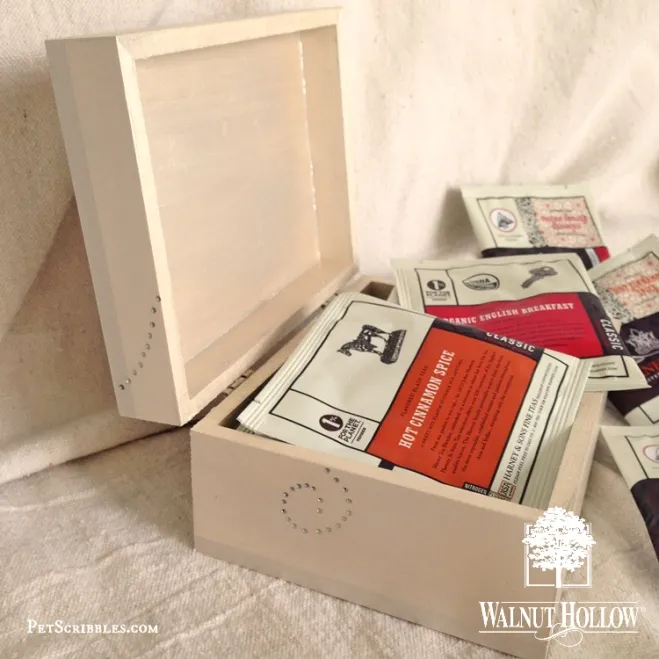 Wood Burned and Painted Tea Box
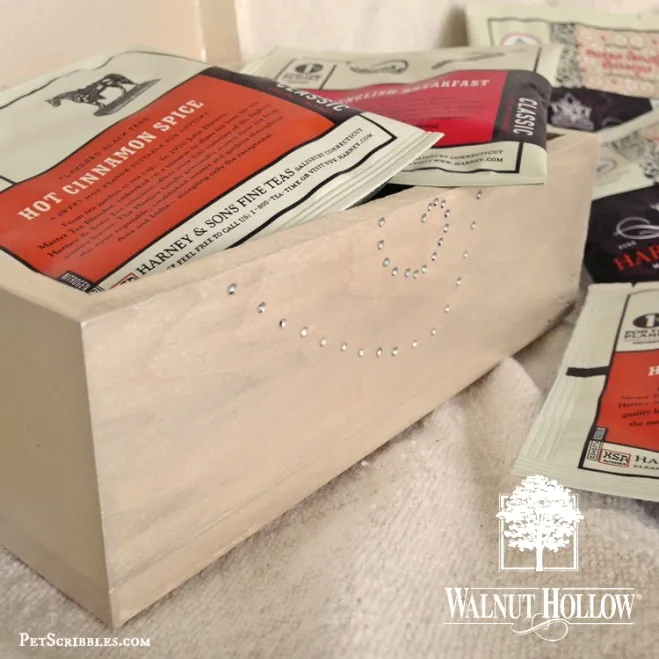 Wood Burned Tea Box with metallic paint
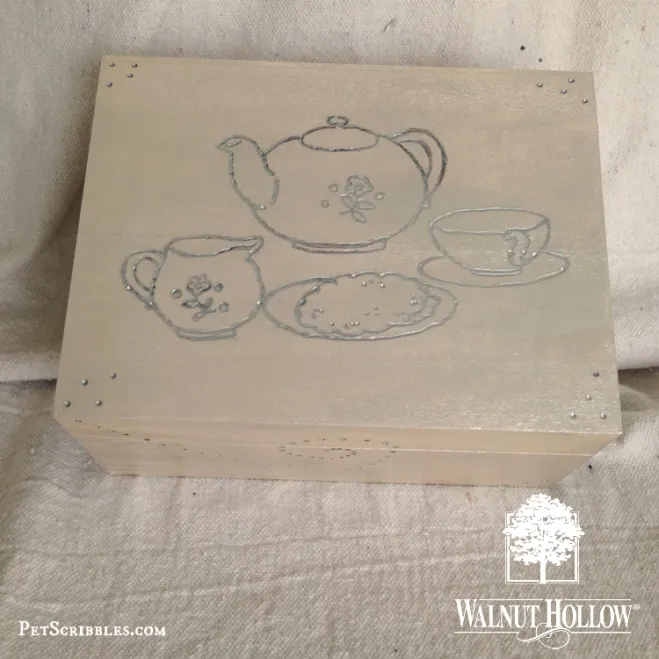 Wood Burned Tea Box Tutorial
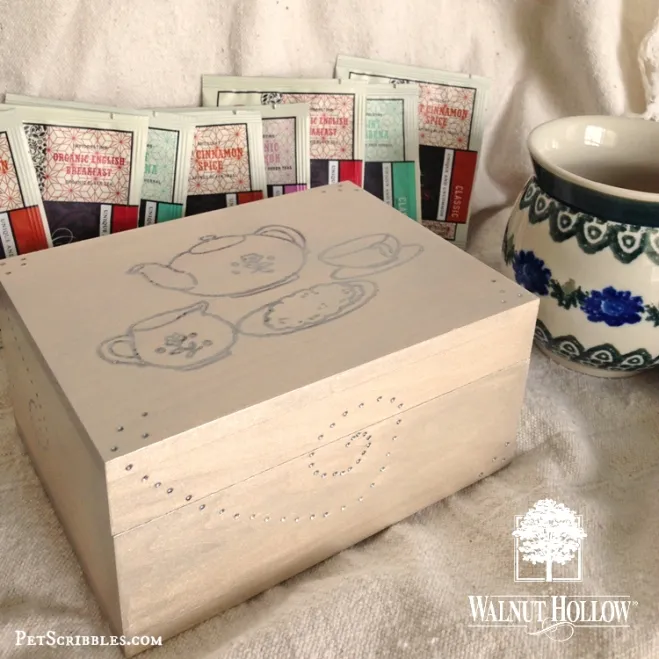 Walnut Hollow Tutorial wood burned tea box
Fill it with an assortment of aromatic tea bags, perhaps adding a few handmade touches like personalized tea bag labels or a charming handwritten note. This unique and heartfelt gift is sure to be cherished for years to come.
I encourage you to give wood burning a try! It’s a wonderfully relaxing and rewarding craft that allows you to tap into your creativity and create something truly special. Explore the world of handmade gifts and discover the joy of giving a piece of your heart. Don’t forget to share your creations with us in the comments below! And for more unique, handmade gift ideas, be sure to visit the Robert Kline Art website.
