Blog
Handmade Paper Flower Wall Art: A Touch of DIY Elegance

There’s a unique charm to handmade decor. It brings a personal touch, a story, a sense of warmth to your living space. And few things embody this like handmade paper flower wall art. Imagine vibrant, delicate blooms gracing your walls, each petal a testament to your creativity. Intrigued? Let’s explore the world of paper flower crafting together!
Gathering Your Materials: The Building Blocks of Beauty
Every masterpiece starts with the right tools. For paper flower wall art, you’ll need:
1. Paper: The heart of your creation. Tissue paper offers a delicate, ethereal look, while crepe paper brings texture and versatility. Cardstock can be used for sturdier flowers. Experiment with different types and colors to find your perfect bloom!
2. Scissors: Sharp scissors are essential for precise cuts and shaping your petals.
3. Glue: Choose a glue suitable for paper, like a glue stick or craft glue. Hot glue is great for a quick and sturdy bond.
4. Floral Wire (Optional): For adding stems and shaping your flowers.
5. Floral Tape (Optional): To wrap floral wire and create a more realistic stem.
6. Embellishments: Let your creativity blossom! Add beads, glitter, or buttons for a personal touch.
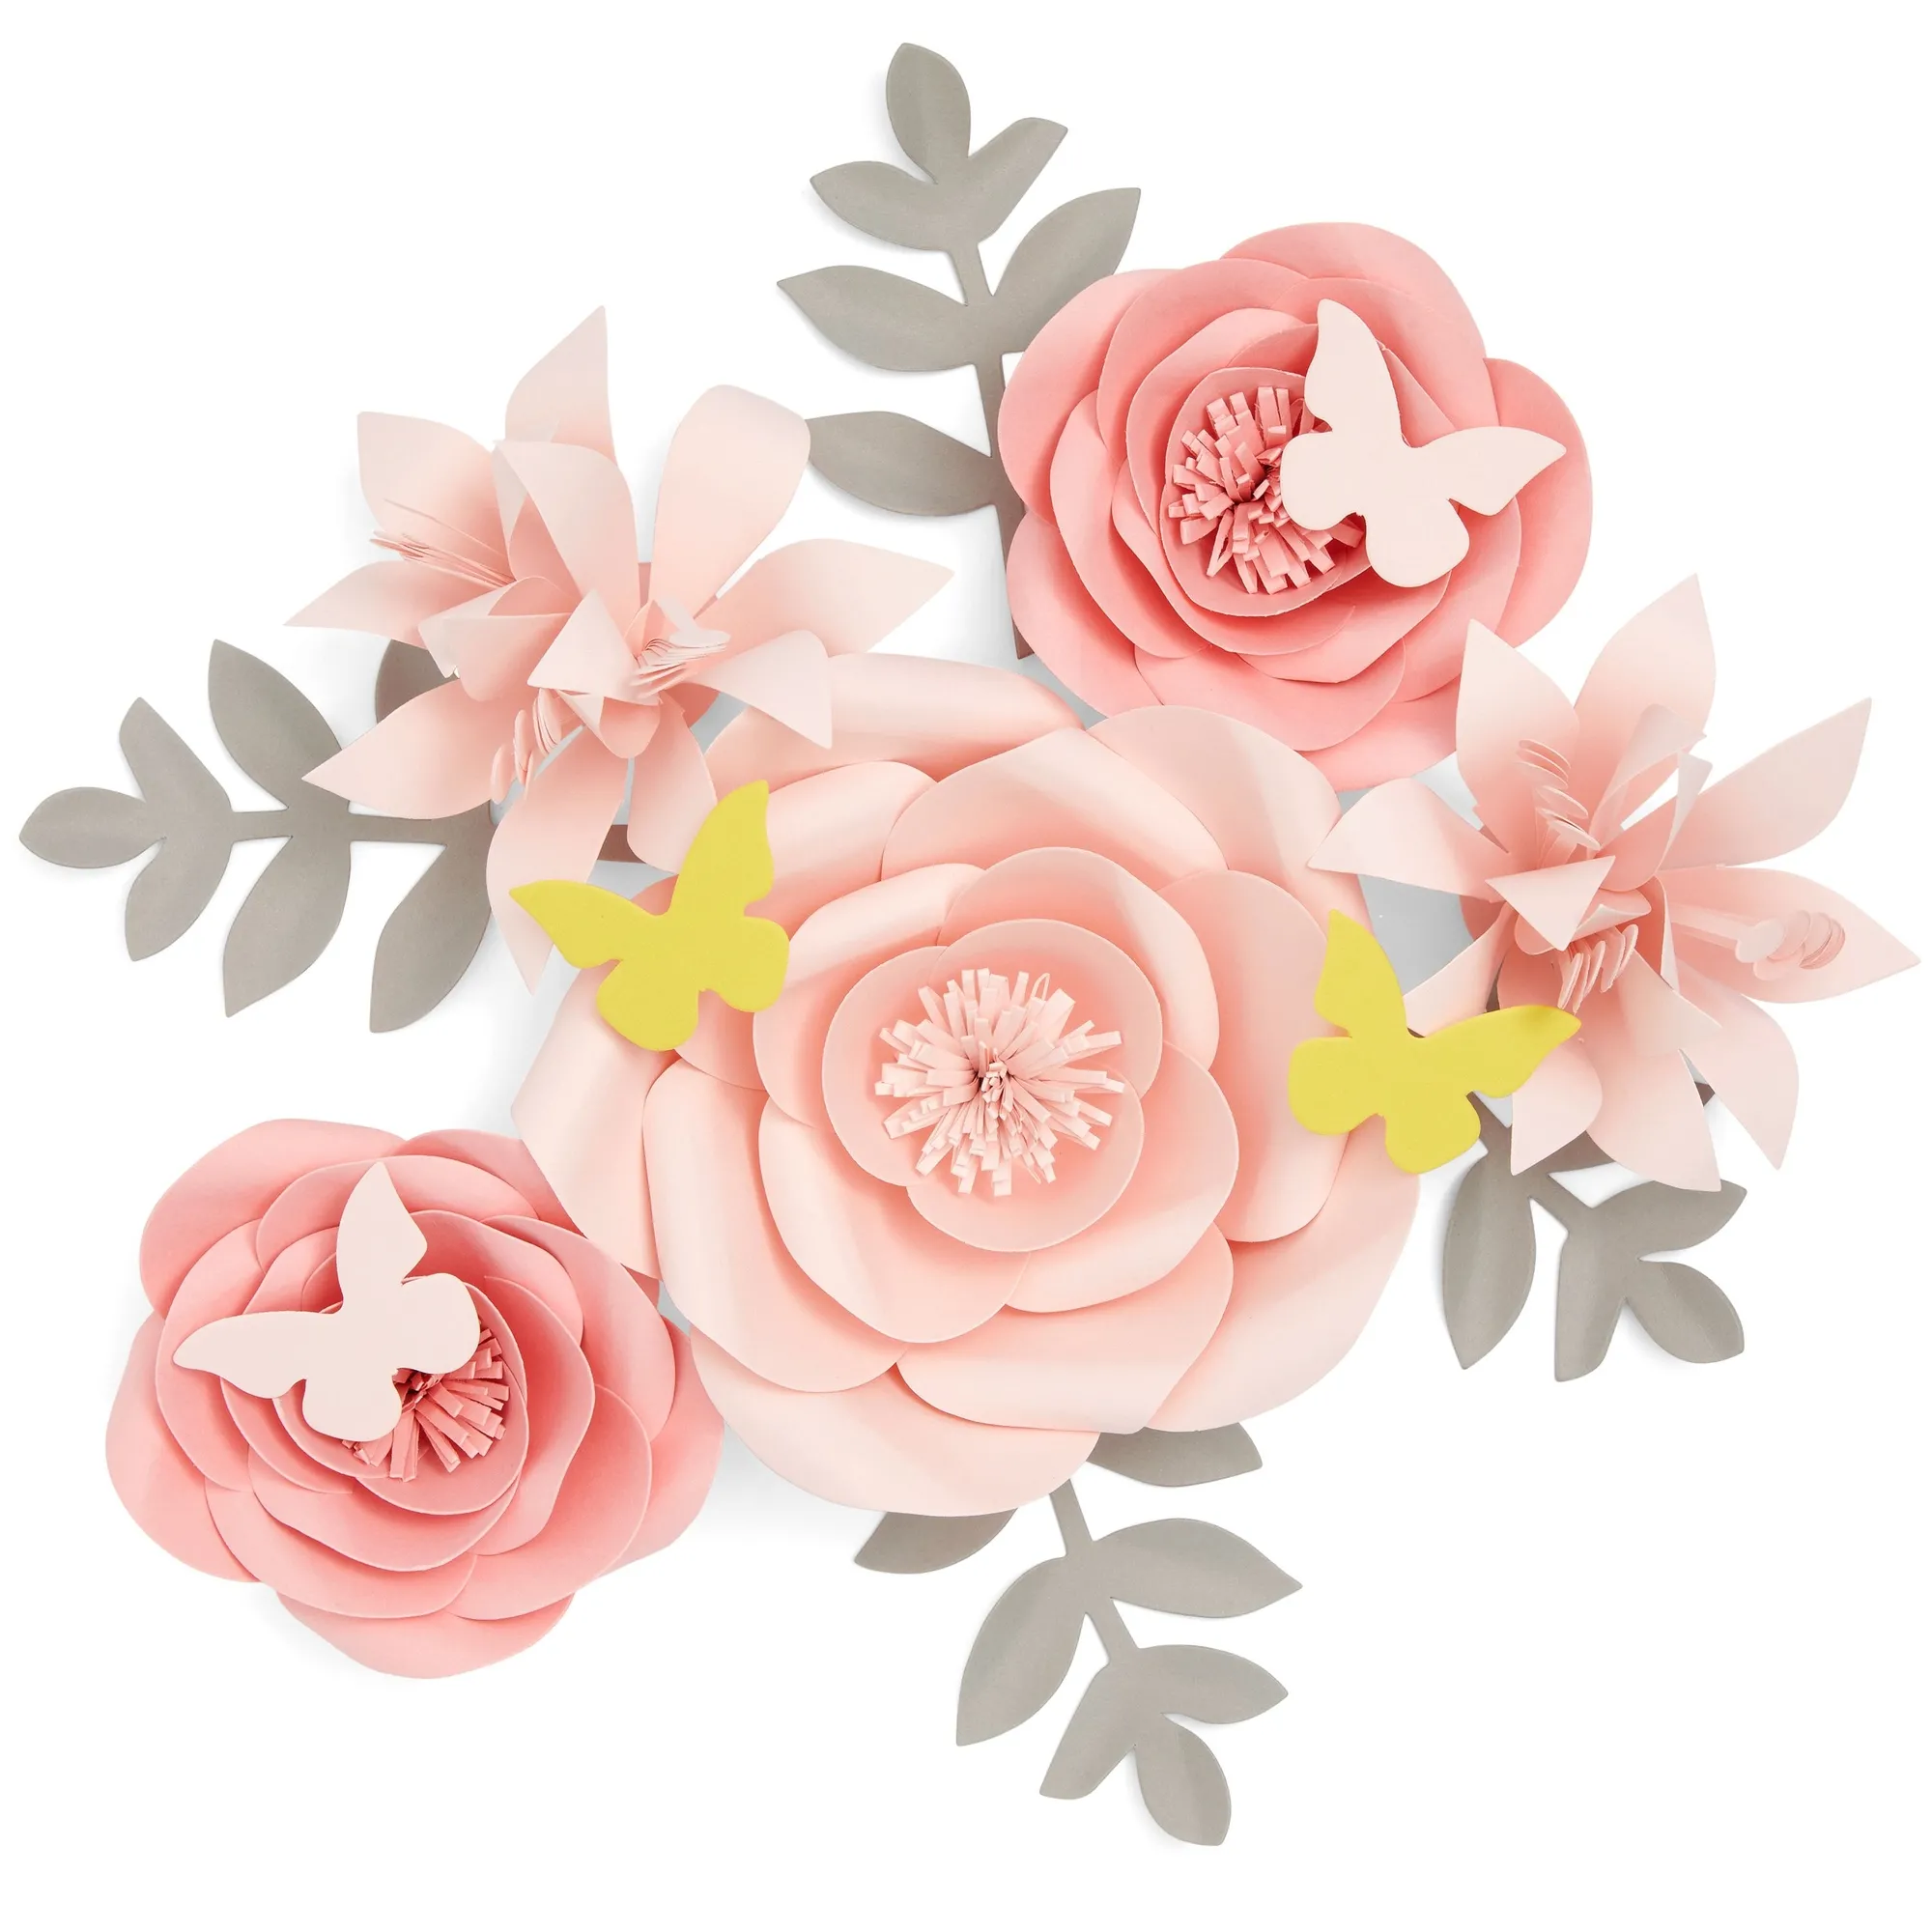
 Various paper flowers in a variety of colors
Crafting Your Paper Flowers: Where Creativity Takes Shape
Now for the fun part – bringing your flowers to life! There are endless ways to craft paper flowers, from simple to intricate designs. Here’s a basic technique to get you started:
1. Cut Petals: Start by cutting out your petals. You can find templates online or freehand your own. Remember, imperfections add character!
2. Shape the Petals: Gently curve and shape each petal to give them a more realistic look. Use your fingers or a rounded tool.
3. Layer and Assemble: Layer multiple petals on top of each other and secure them with glue at the base.
4. Create the Center: Scrunch a small piece of paper into a ball for a simple center or explore other options like buttons or beads.
5. Add Stems (Optional): Attach floral wire to the base of your flower using floral tape to create stems.
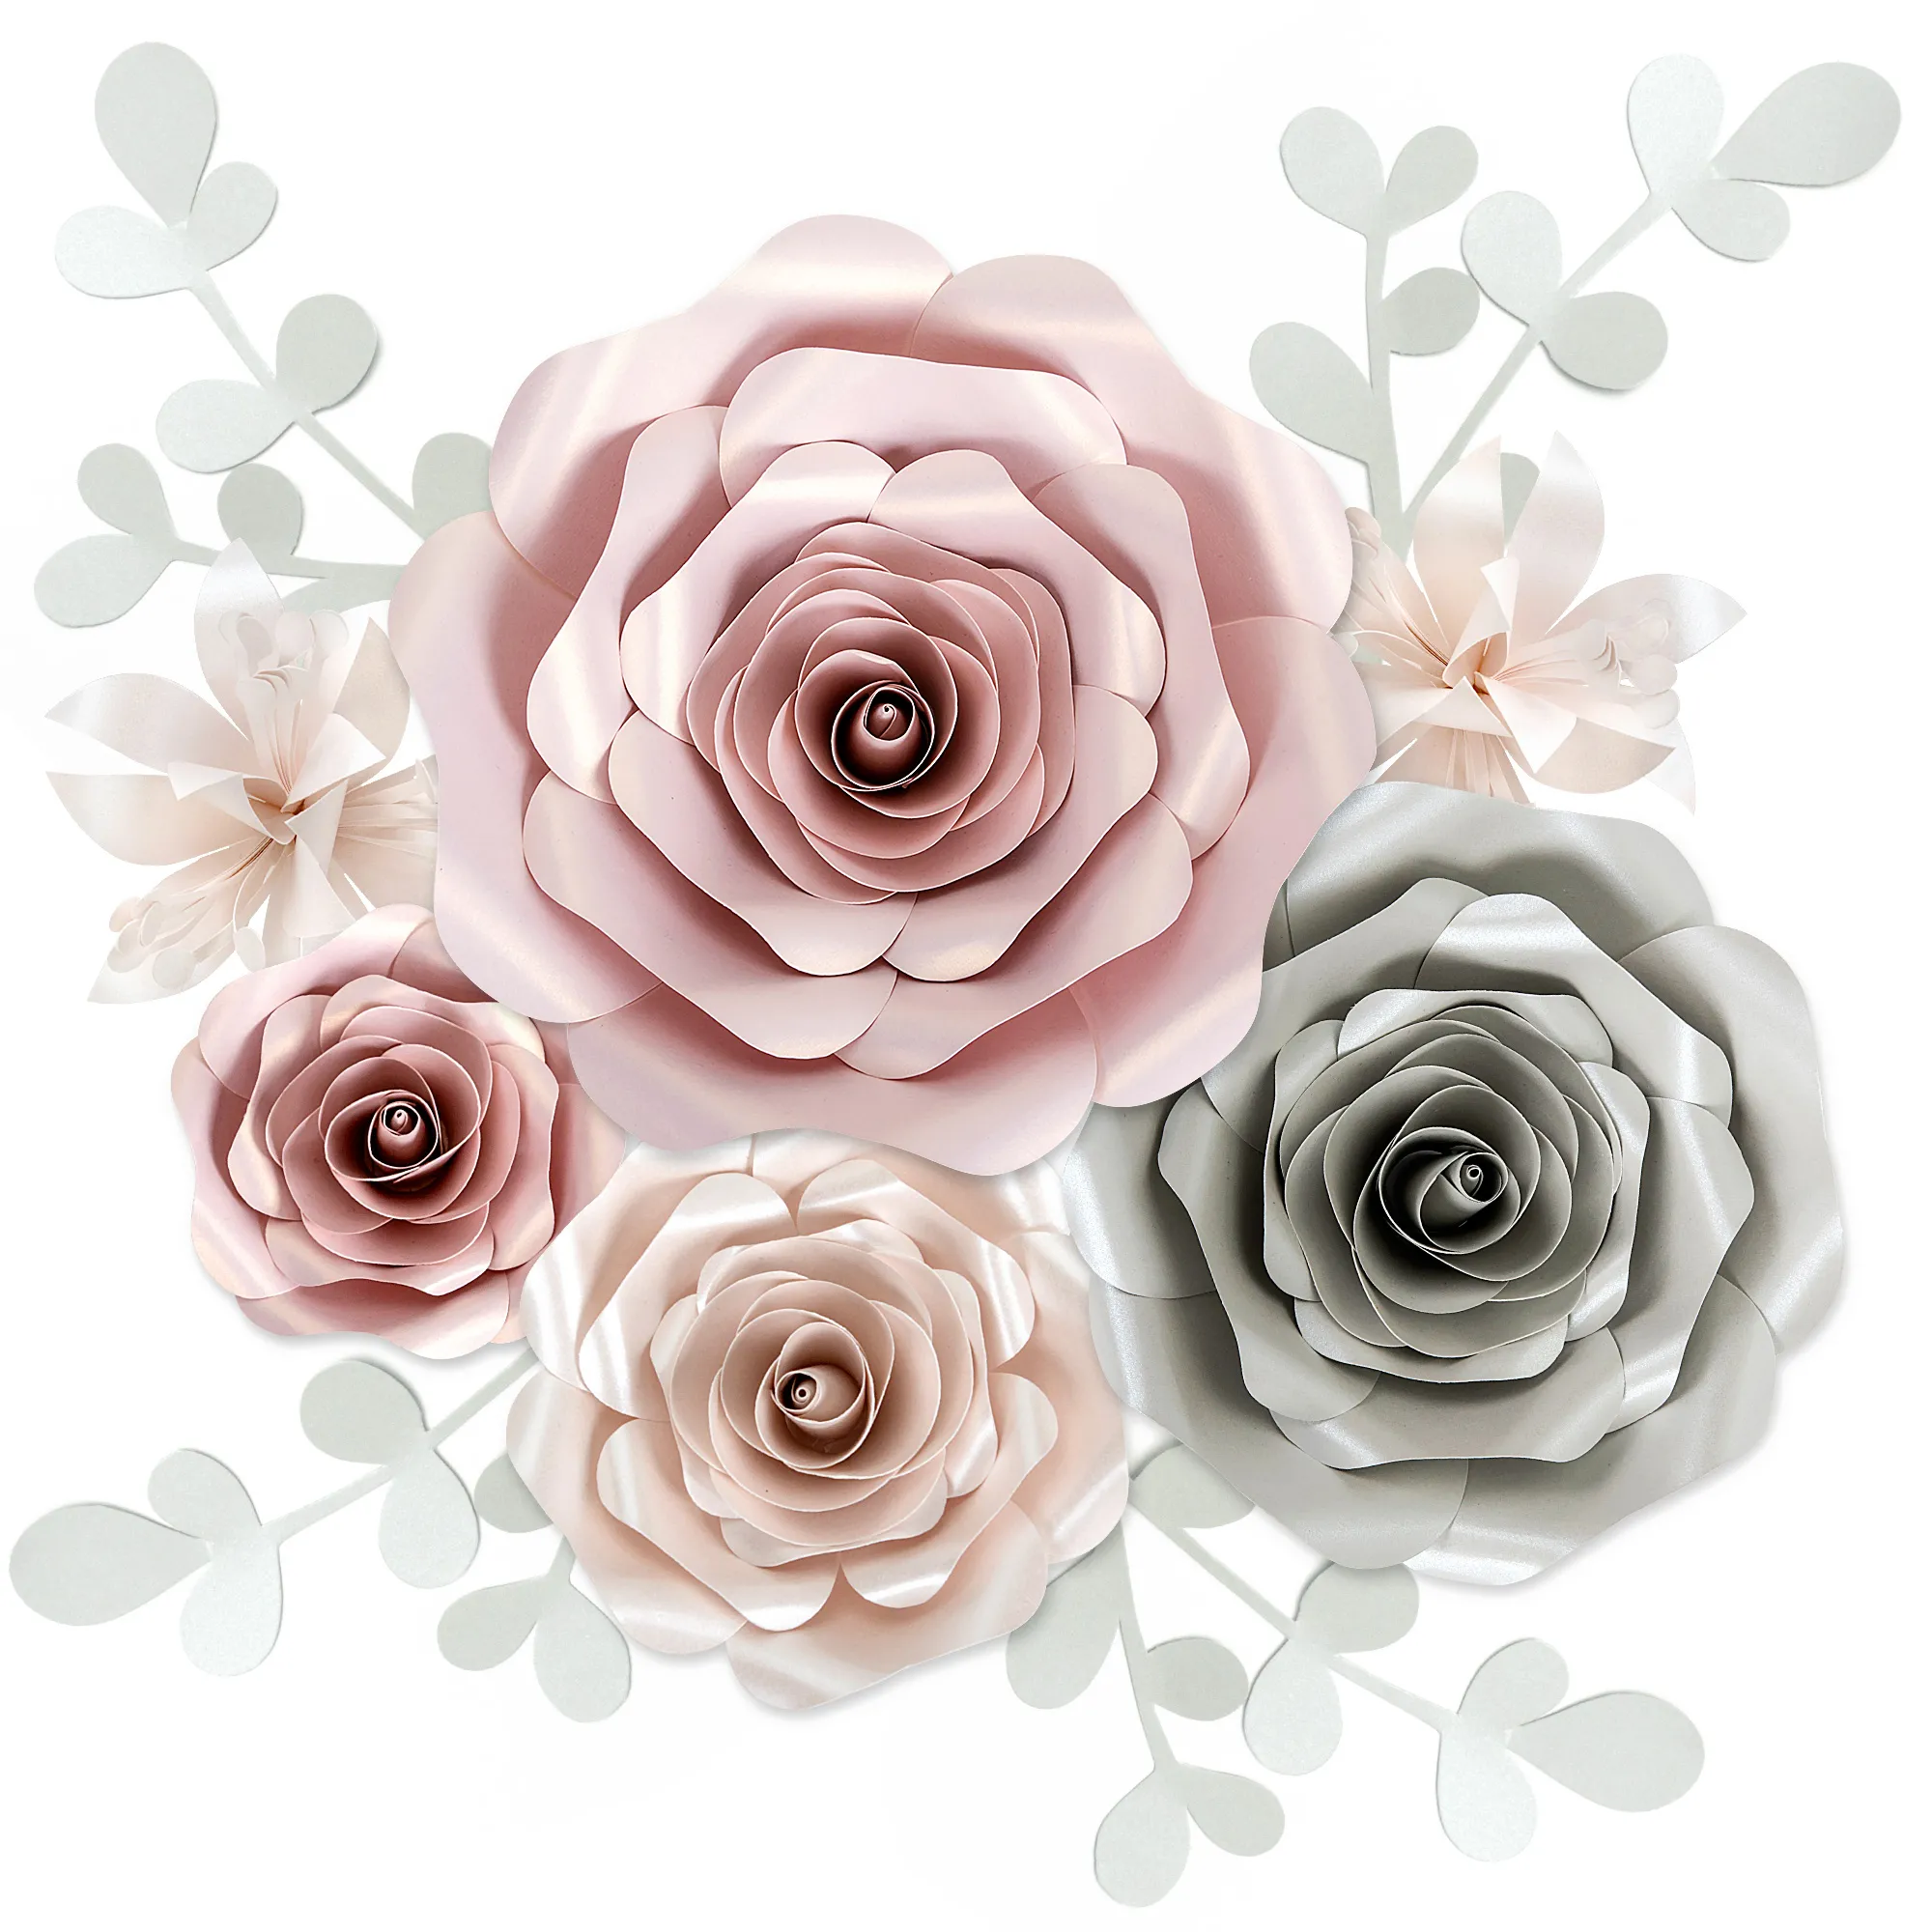
 Pink paper flower arrangement
Designing Your Wall Art: Putting it All Together
With your beautiful paper flowers ready, it’s time to design your wall art:
1. Choose Your Layout: Experiment with different arrangements on the floor before committing to the wall. Consider clusters, garlands, or even a full floral wall covering.
2. Secure to the Wall: Use removable adhesive strips, tacks, or even frame your flowers for a polished look.
3. Add Finishing Touches: Incorporate leaves, vines, or other embellishments to enhance the visual appeal.
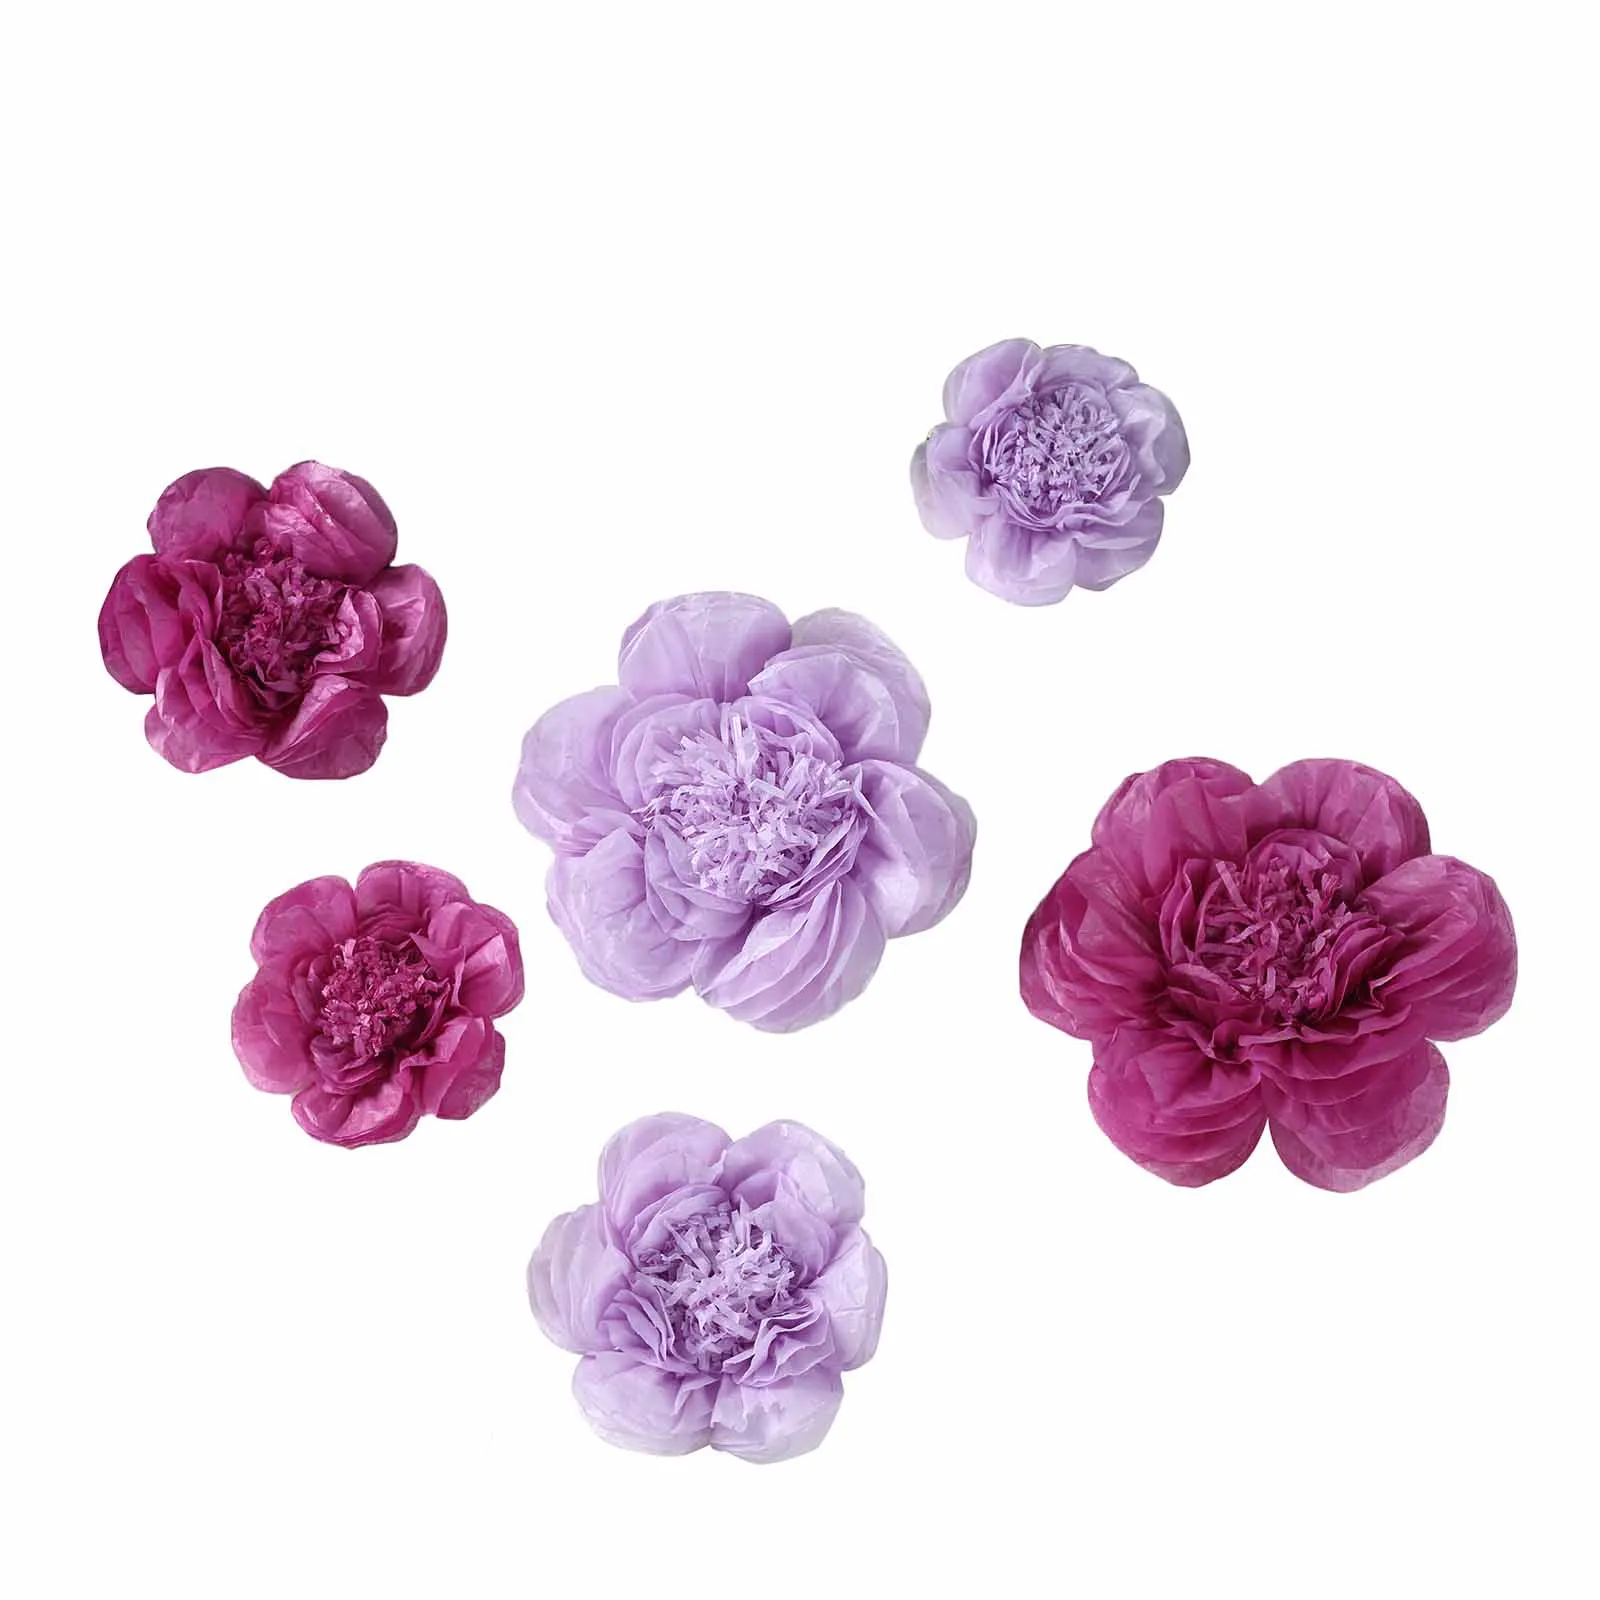
 Purple and Pink paper flower arrangement
Tips from Robert Kline Art:
- Don’t be afraid to experiment! Mix and match colors, textures, and sizes for a dynamic look.
- Incorporate found objects like twigs or dried flowers for a rustic touch.
- Use a low-temperature hot glue gun to prevent burns and allow for adjustments.
- Seal your finished flowers with a clear acrylic sealant to protect them from dust and fading.
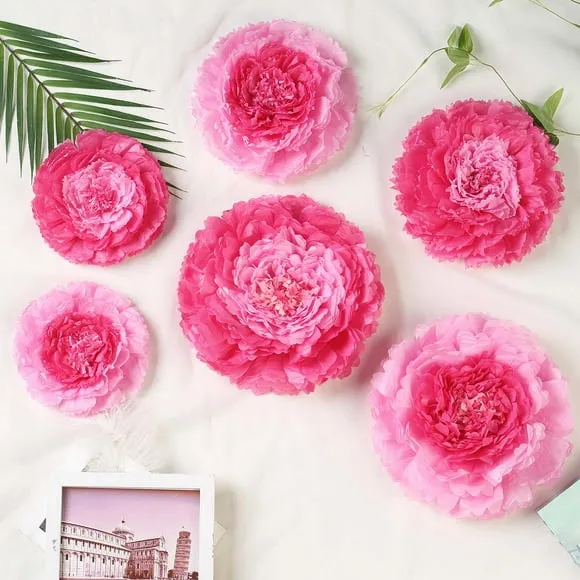
 Pink and orange paper flower arrangement
Conclusion:
Handmade paper flower wall art is more than just decoration—it’s an expression of your creativity and a way to infuse your home with personality. So gather your materials, let your imagination bloom, and enjoy the journey of crafting your own unique floral masterpiece!
Don’t forget to share your creations with me on the Robert Kline Art website or social media. I can’t wait to see what you come up with! And for more unique, handcrafted gift ideas, browse the curated collection on our website.
