Blog
The Art of Gifting: Elevate Your Presents with a Handmade Paper Flower Topper

As the holiday season approaches, our thoughts turn to thoughtful gifts for our loved ones. At Robert Kline Art, we believe that the most meaningful gifts come from the heart and are infused with a personal touch. That’s why we’re excited to share this delightful DIY project that transforms ordinary gifts into extraordinary expressions of affection: a handmade paper flower gift topper.
Why Choose a Handmade Touch?
In a world of mass-produced presents, a handmade gift stands out as something truly special. It speaks volumes about the care and effort you put into making your loved one feel appreciated.
“A handmade gift demonstrates a level of thoughtfulness that store-bought items often lack,” says renowned craft expert Emily Carter. “It shows that you took the time to create something unique and personal, making the gesture even more meaningful.”
Crafting Your Own Paper Flower Topper
This project blends the elegance of a paper flower with the indulgent delight of Ferrero Rocher chocolates – a match made in gift-giving heaven! Let’s gather our materials and embark on this creative journey.
Materials You’ll Need:
-
For the Flower:
- Green, yellow, and orange embroidery thread
- Pom pom maker
- Floral wire
- Floral tape (white and dark green)
- Folded crepe paper (pink and optional additional colors)
- Water
- Food coloring
-
For the Leaves:
- Floral wire
- Dark green and light green floral tape
- Brown floral tape
-
For Assembly:
- Ferrero Rocher chocolates
- Gift box
- Confetti (optional)
Step-by-Step Guide:
Creating the Flower:
-
Form the Center: Using the pom pom maker, wrap green embroidery thread, followed by yellow, and finally orange, ensuring each color layer completely covers the previous one. Close the arms, snip the threads along the guided line, and tie a secure knot. Gently pull apart the pom pom maker to reveal the fluffy center.
 DIY Paper Flower Gift Topper
Caption: Creating the Vibrant Center of Your Paper Flower
-
Secure with Floral Wire: Fold a length of floral wire in half, loop it around the pom pom center, leaving a two-inch tail. Twist the wire to hold the threads firmly, and fluff the threads to create a rounded shape.
-
Craft the Petals: Draw petal shapes on folded crepe paper – one large and one smaller – ensuring the base of the petal aligns with the folded edge. Cut out the petals without detaching the base. Make a small slit from the base upwards into each petal.
-
Add a Touch of Color: Dip the smaller petals in water, then partially submerge them in diluted food coloring. Allow them to dry flat, blending the color transition for a natural look.
-
Assemble the Flower: Once the petals are dry, thread them onto the wire stalk through the slit, arranging them around the pom pom center. Layer the larger petals on top, adjusting their positions to create a full, balanced bloom.
-
Secure the Base: Wrap the stem beneath the petals with white floral tape, stretching it slightly to activate its adhesive properties. Cover the white tape with dark green tape for a polished look.
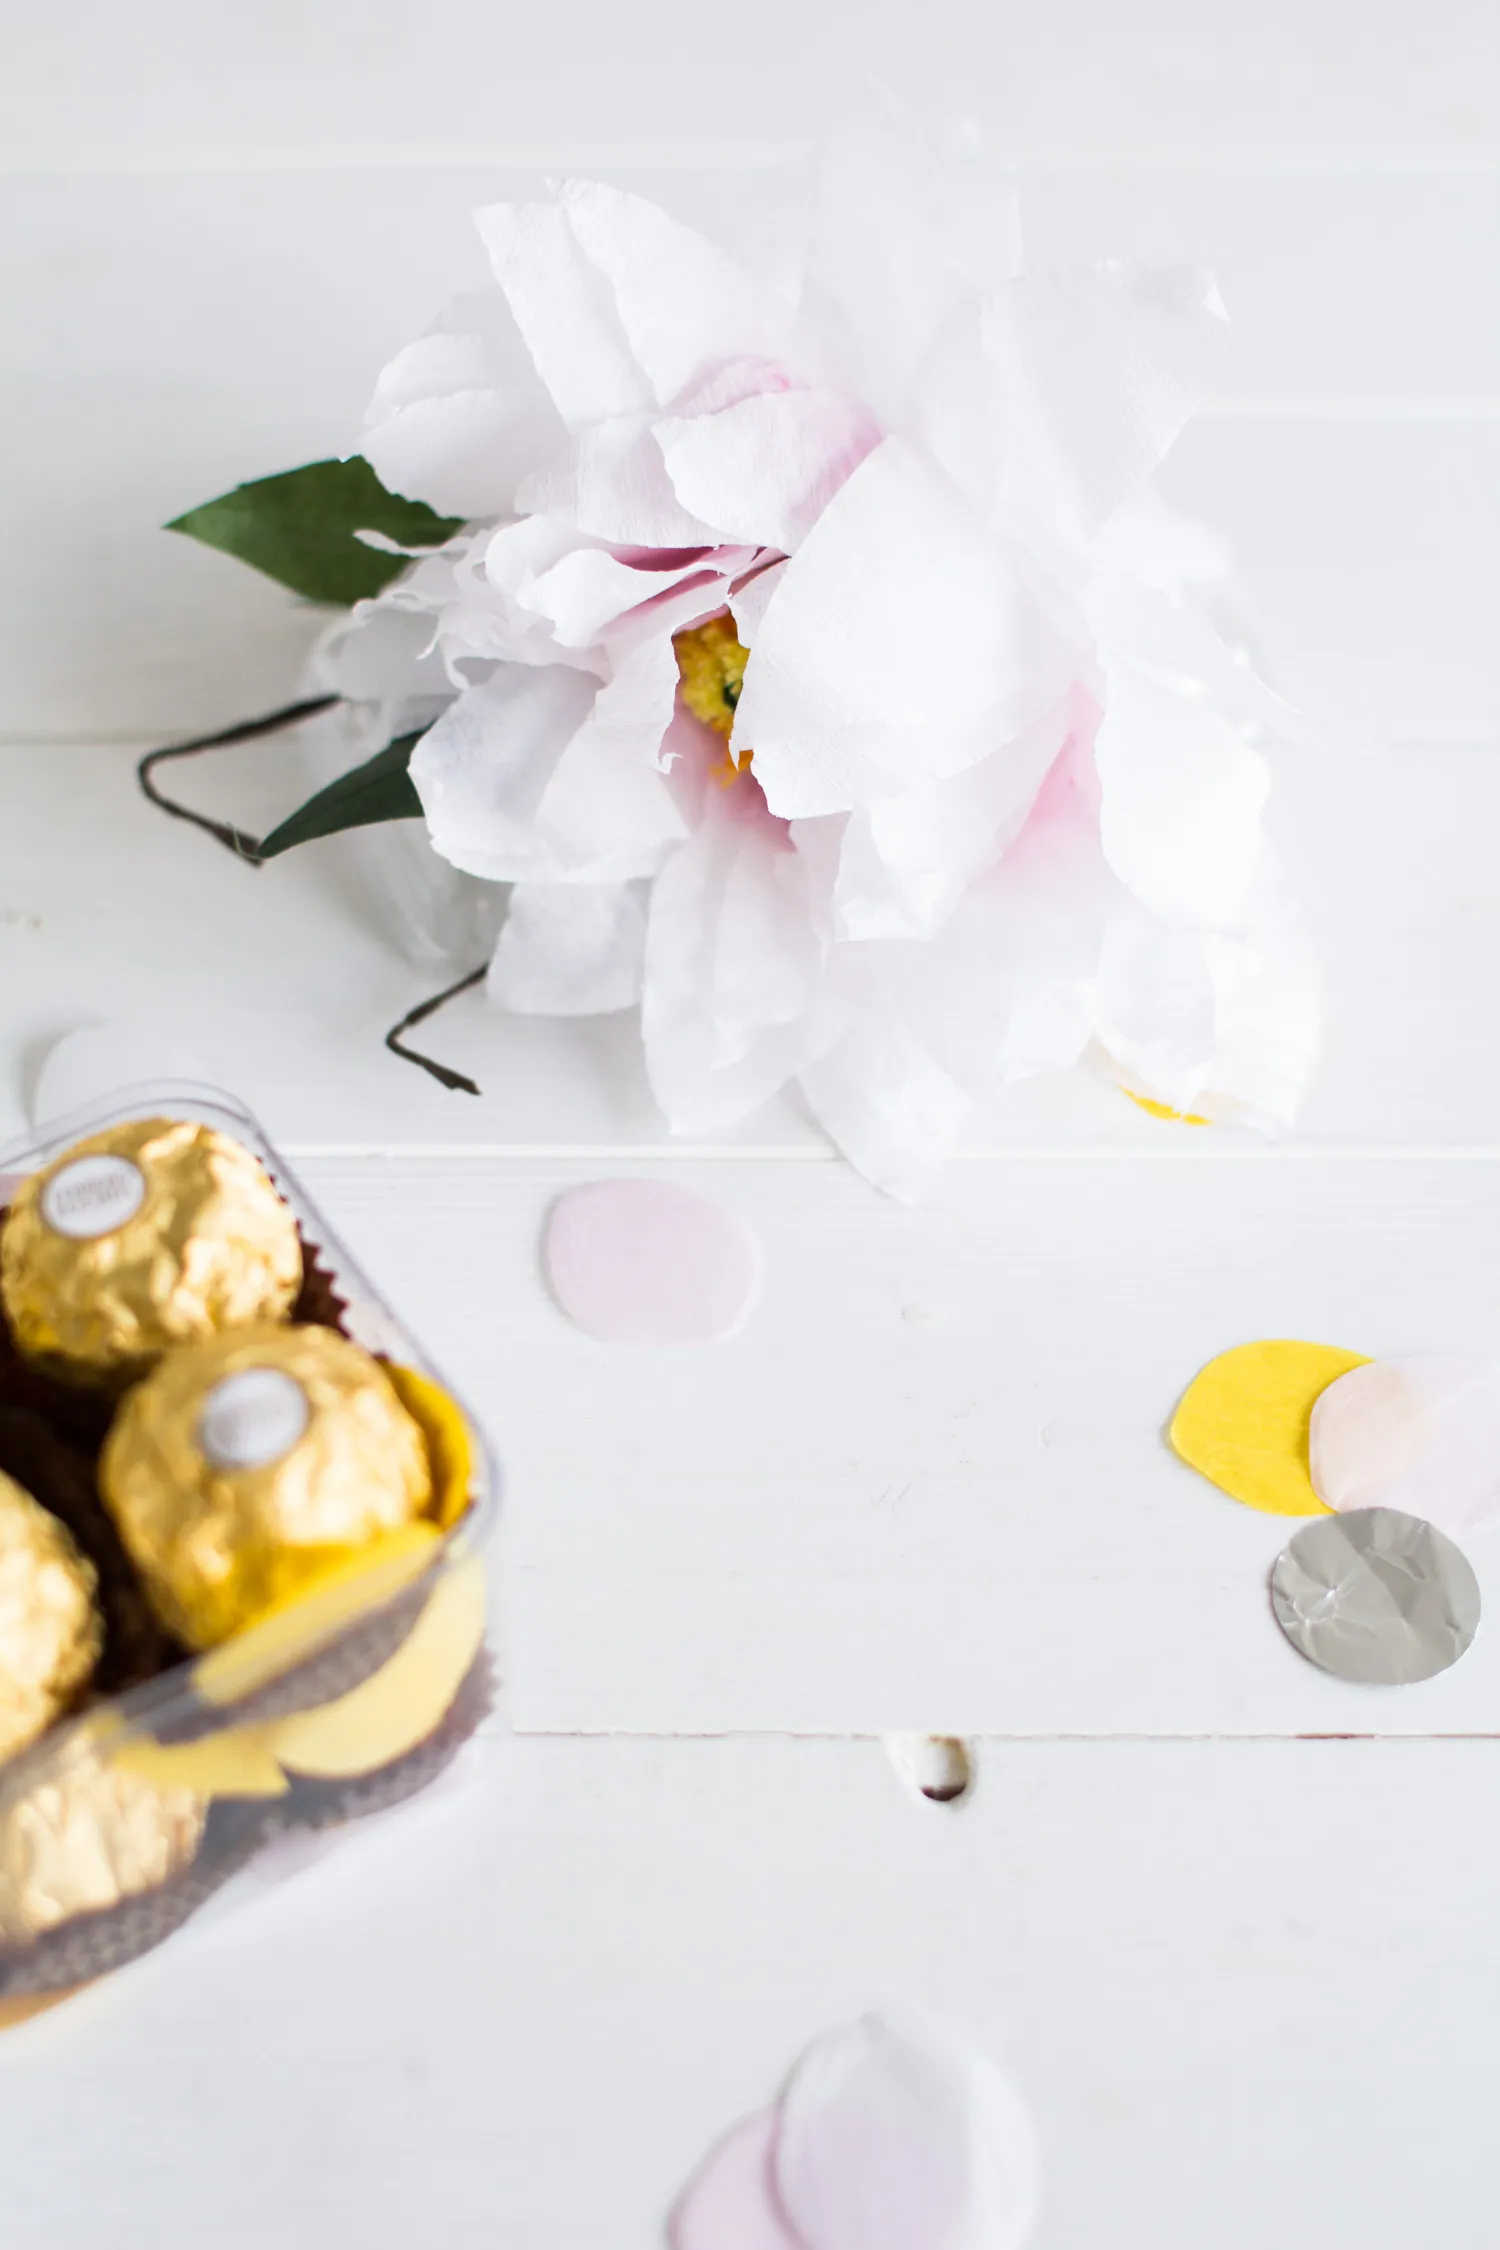
 DIY Paper Flower Gift Topper: Petals and Center
Caption: Adding Delicate Petals to Your Flower
Fashioning the Leaves:
- Prepare the Wire: Fold a piece of floral wire in half. Cut three strips each of dark green and light green floral tape, approximately two inches long.
- Create a Leaf Base: Sandwich one end of the wire between a strip of dark green and light green tape, sticky sides facing inwards. Stretch and smooth the tapes to adhere them together.
- Shape the Leaf: Stretch and press another piece of tape onto the base, creating a larger surface area. Cut this into a leaf shape, then pinch the base for dimension.
- Repeat for Additional Leaves: Craft three more leaves using the same technique.
- Curl the Leaves (Optional): Cut a strip of brown tape, stretch and twist it into an uneven roll, then wrap it around your finger. Gently pull it off to create a coil for added visual interest.
Final Touches:
-
Assemble the Topper: Arrange the flower, leaves, and any additional decorative elements you desire, securing them with dark green floral tape. Cover any sharp edges for a polished finish.
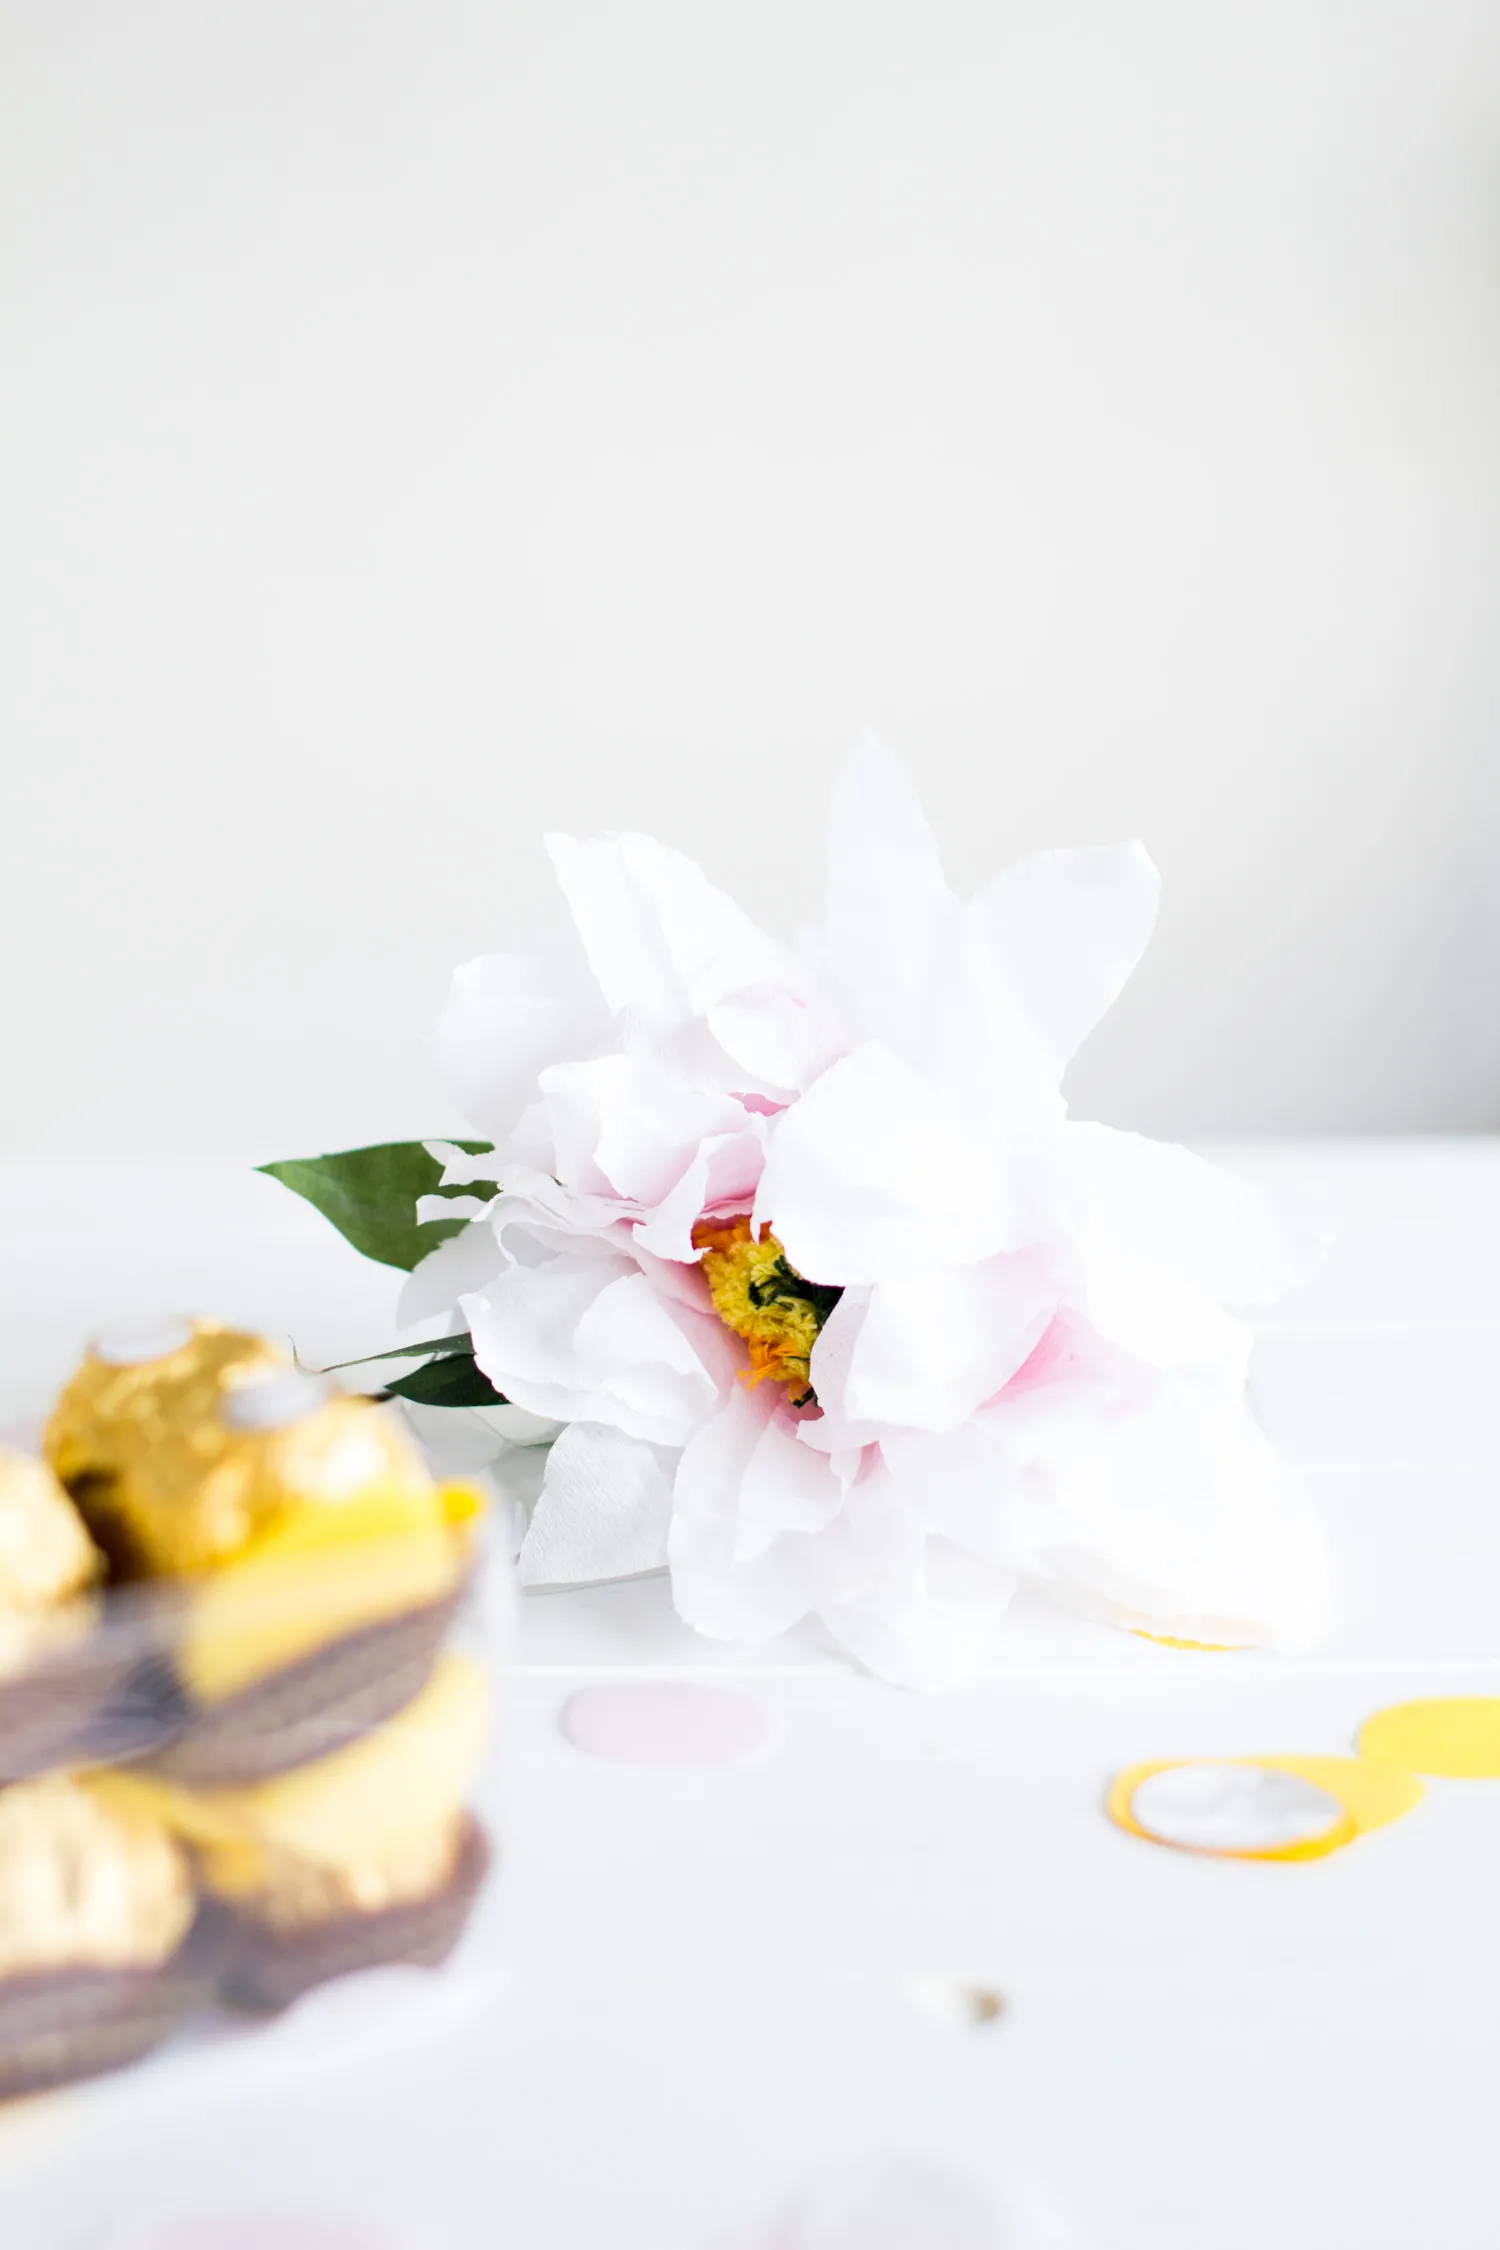
 DIY Paper Flower Gift Topper: Assembling the Elements
Caption: Bringing the Flower and Leaves Together
-
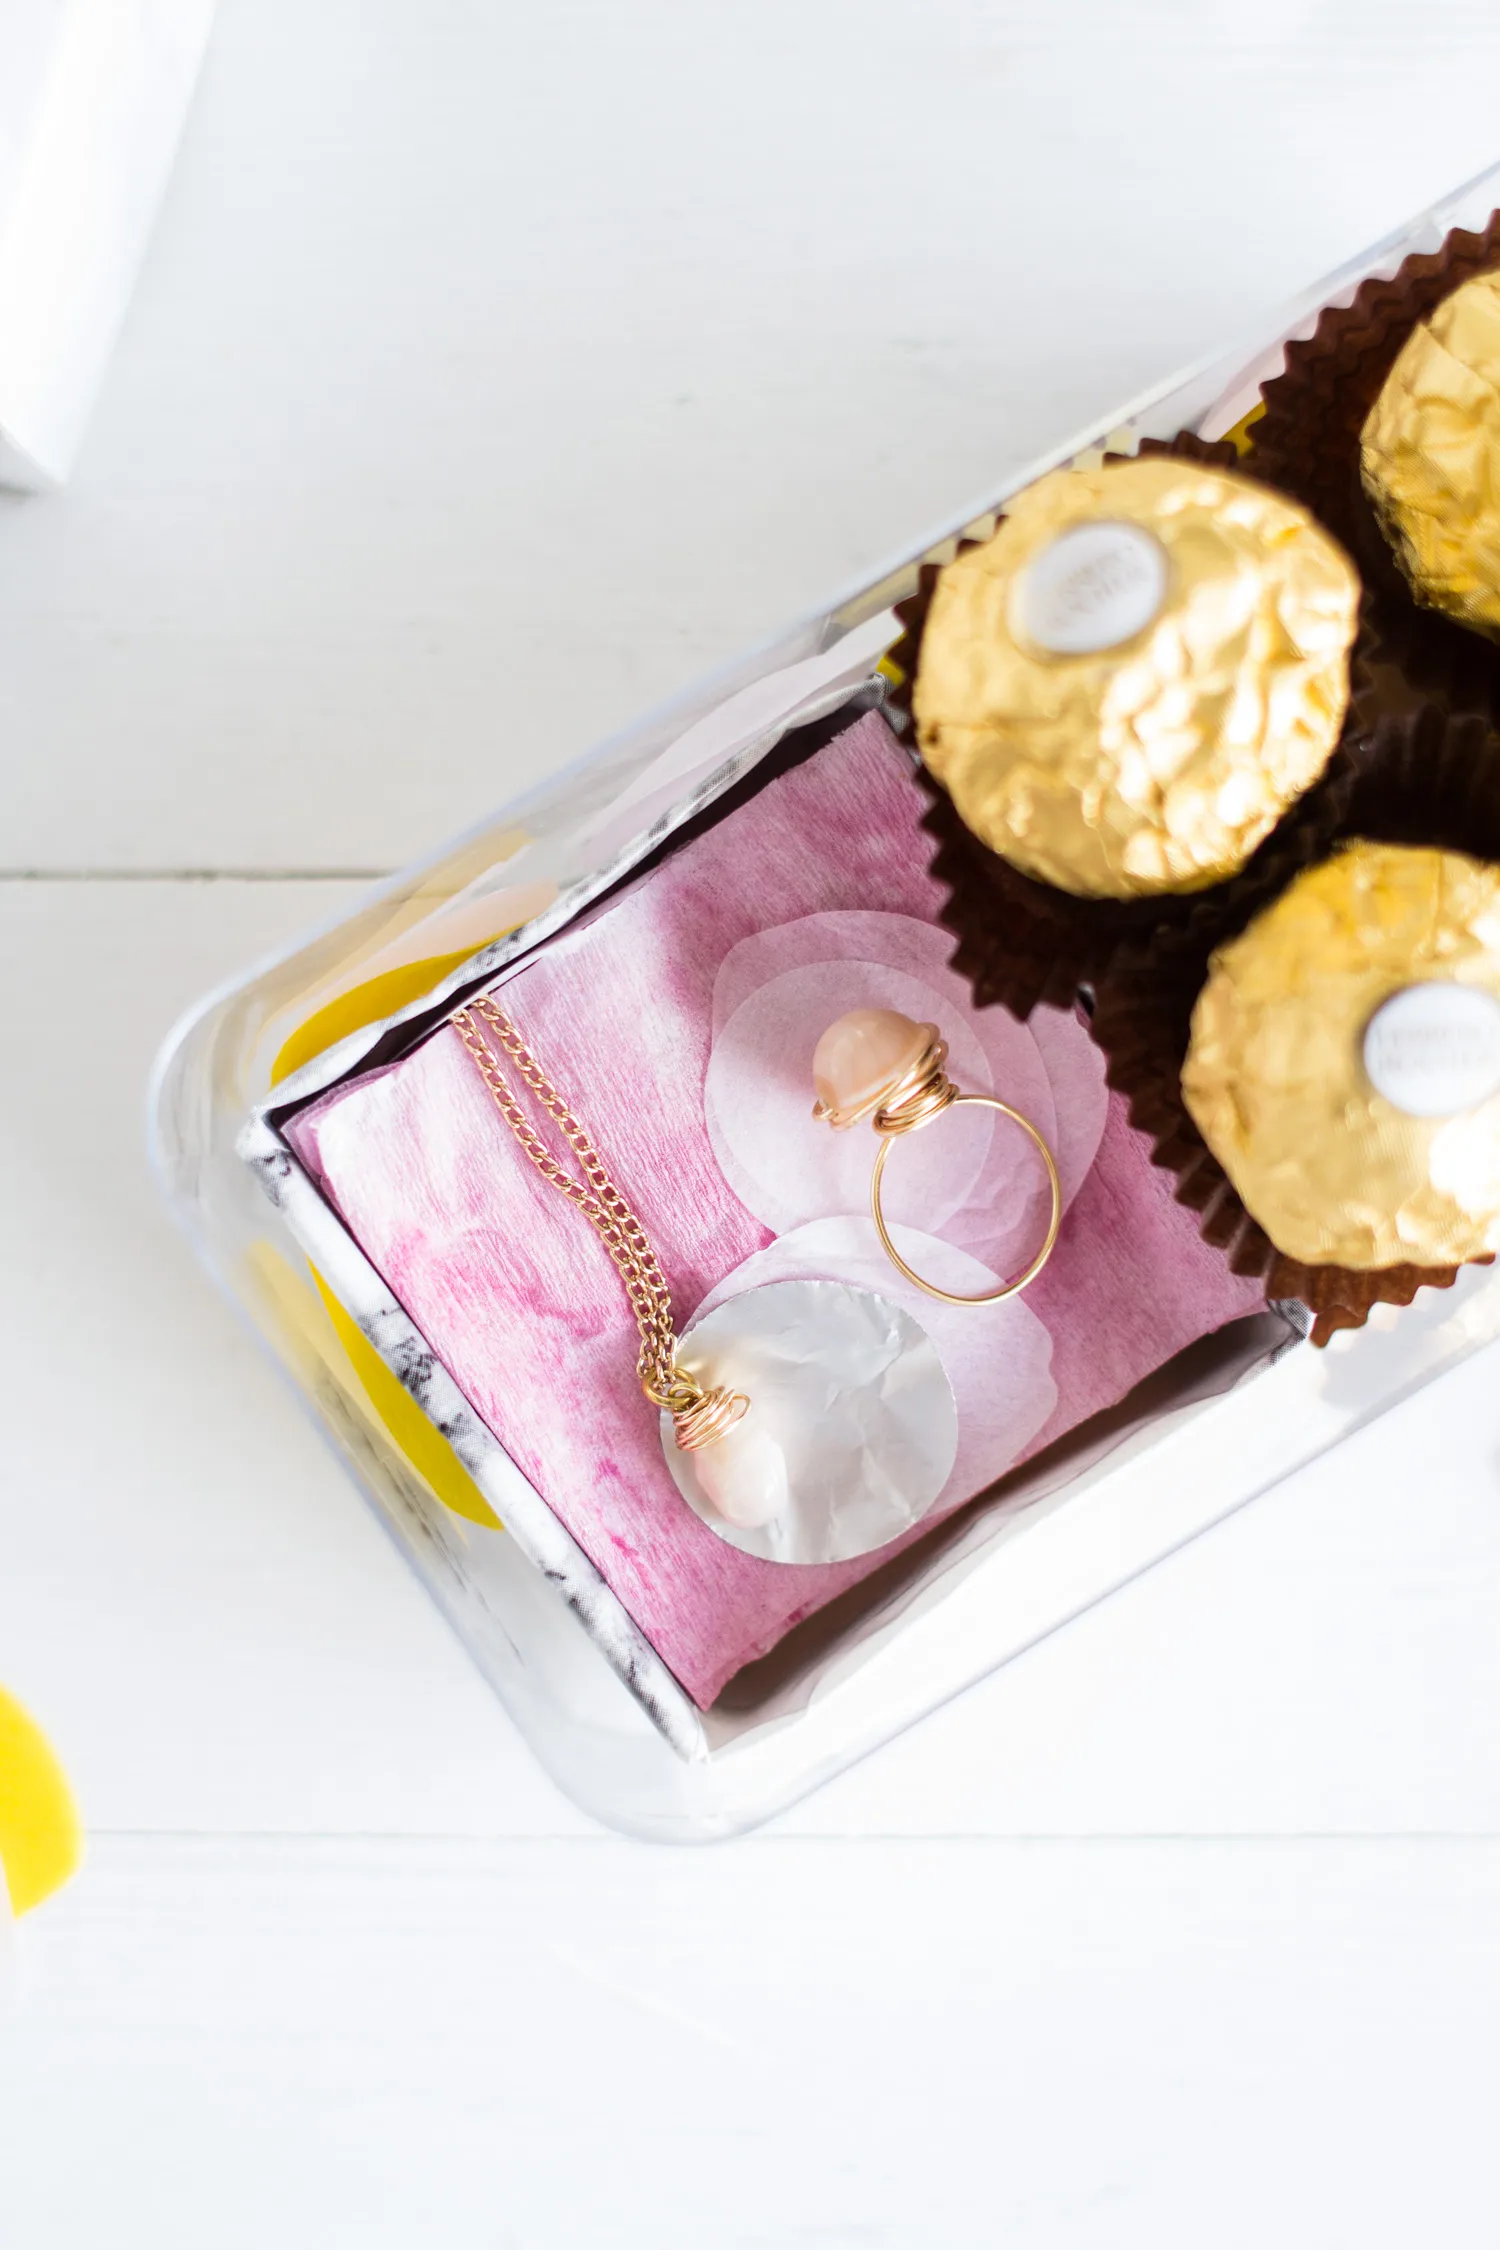
Prepare the Gift Box: Place a few chocolates aside, reserving them as a sweet treat for yourself. Add confetti to the box for an extra festive touch.
-
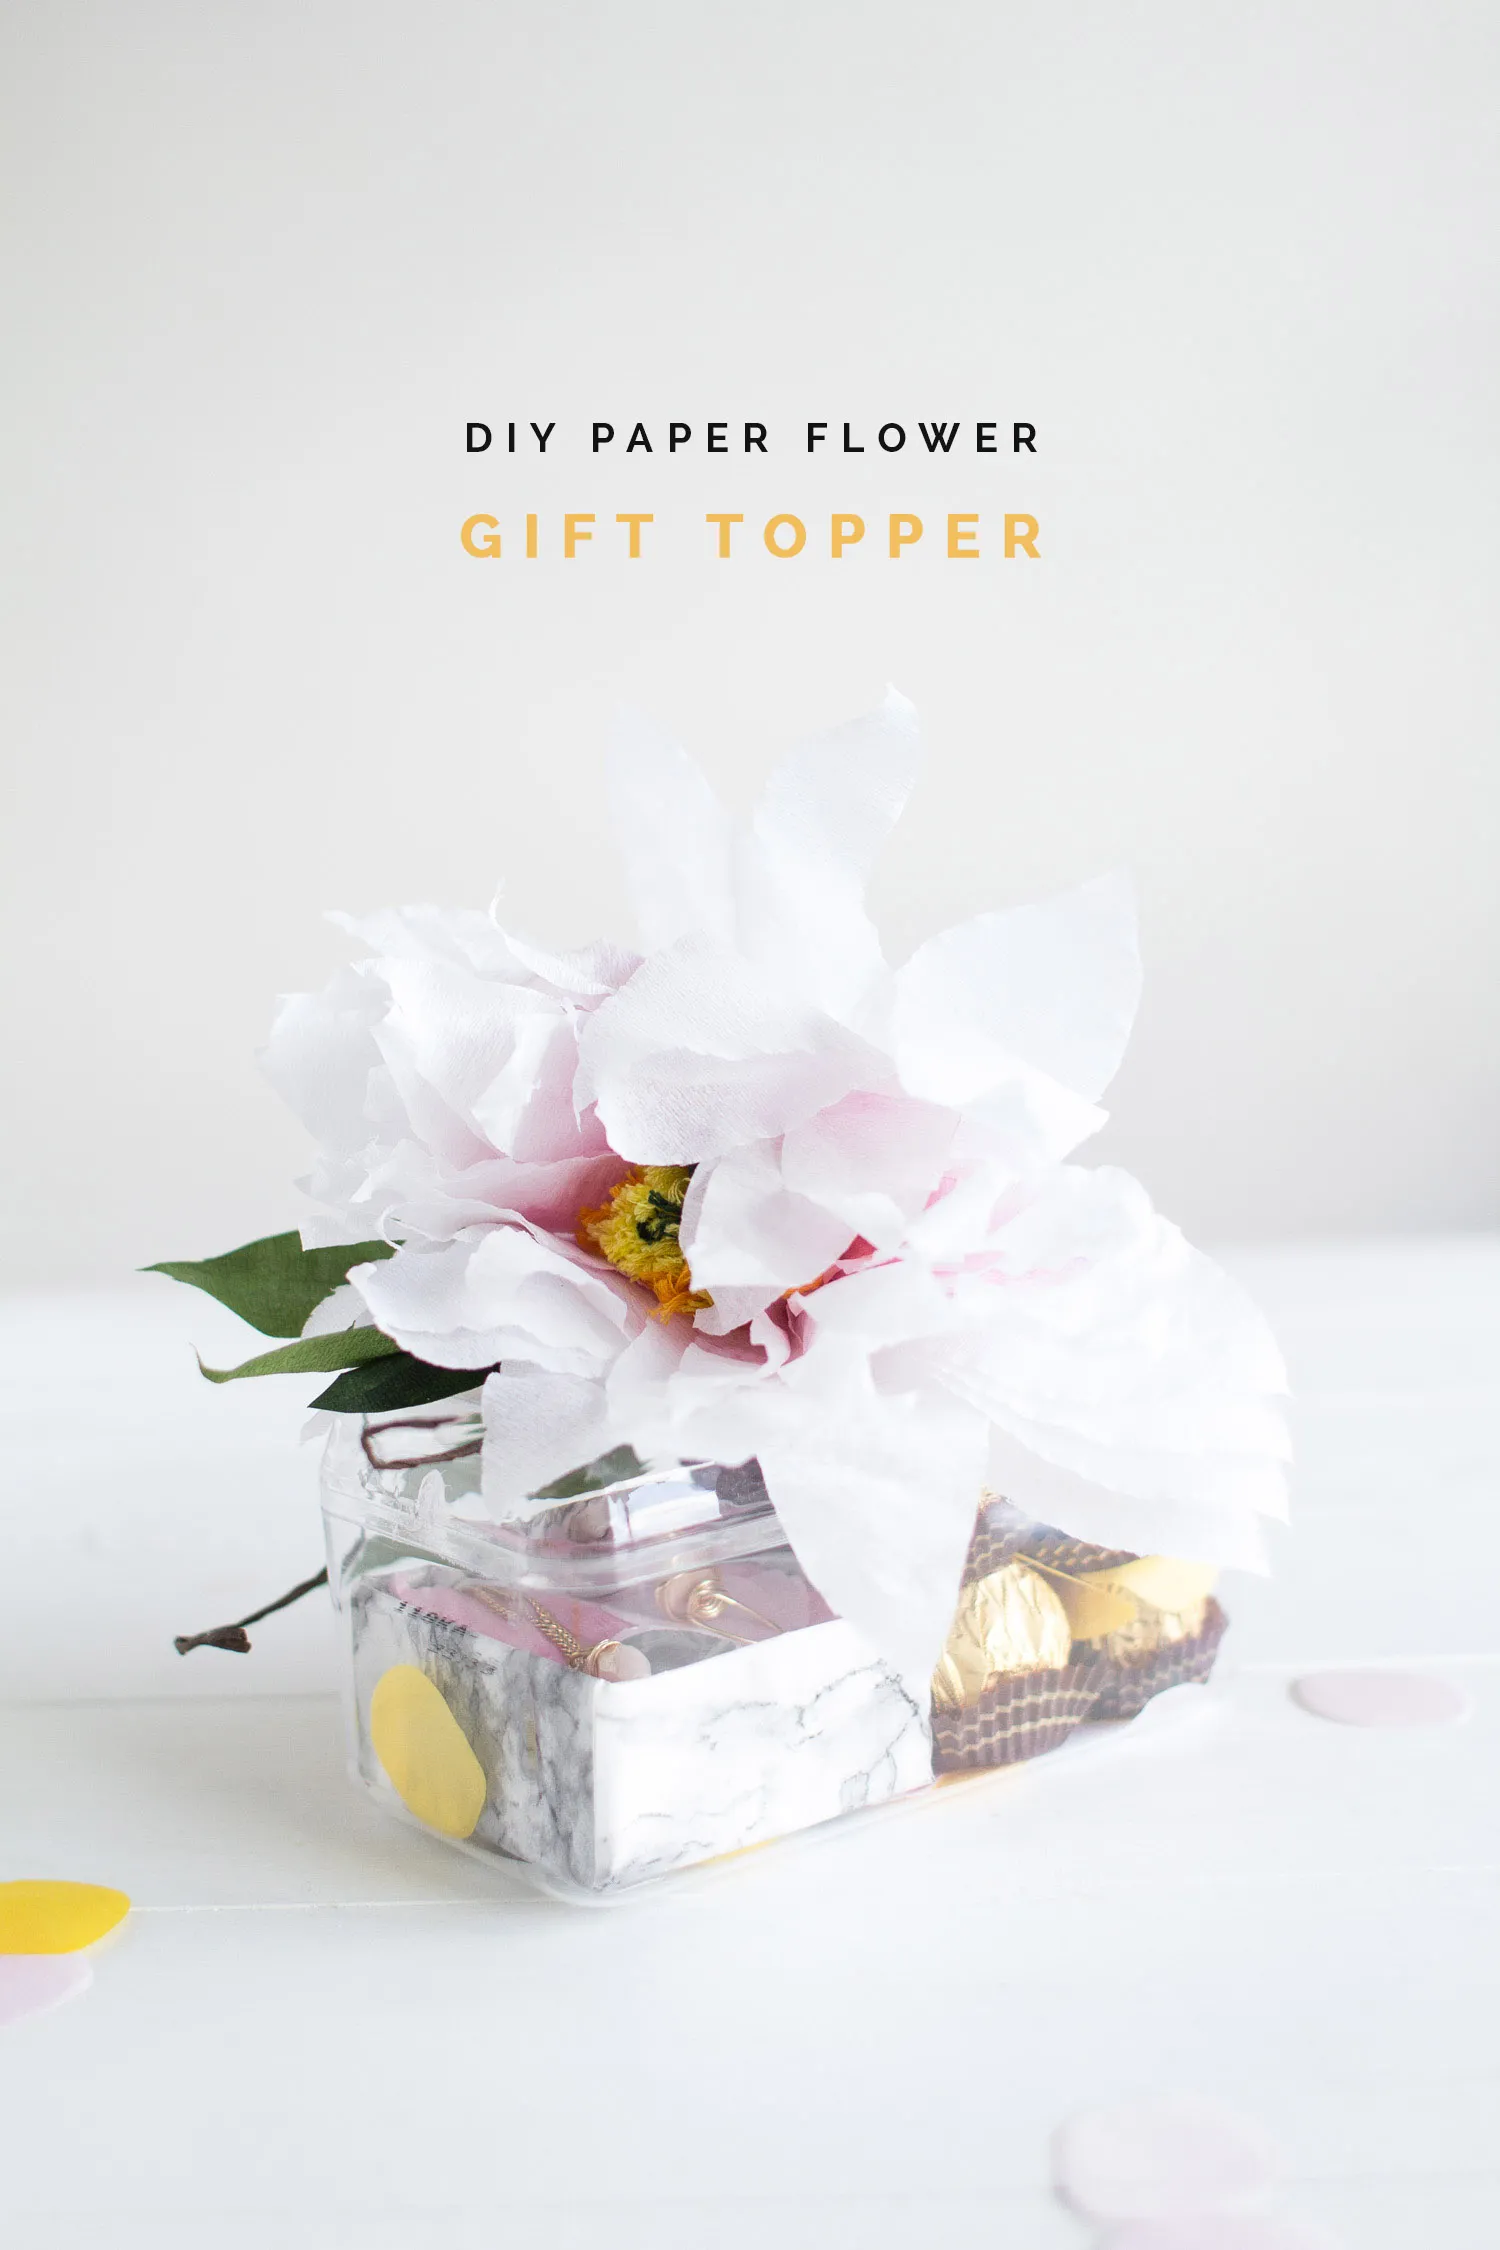
Attach the Topper: Arrange the remaining chocolates in the box and secure the flower topper to the lid using tape.
 DIY Paper Flower Gift Topper: The Final Gift
Caption: Your Stunning Handmade Gift Topper
A Gift That Speaks Volumes
This handmade paper flower gift topper is more than just a decoration; it’s a testament to your thoughtfulness and creativity. It elevates a simple box of chocolates into a personalized and memorable gift.
“The beauty of handmade gifts lies in their imperfections,” adds Emily Carter. “Each one is unique and reflects the maker’s personality, making them all the more special.”
So, this holiday season, skip the generic gifts and embrace the joy of crafting something truly special. Share your creations with us by tagging your photos with #RobertKlineArt on social media – we can’t wait to see your unique spins on this festive project.
