Blog
How to Craft a Whimsical Paper Flower Crown
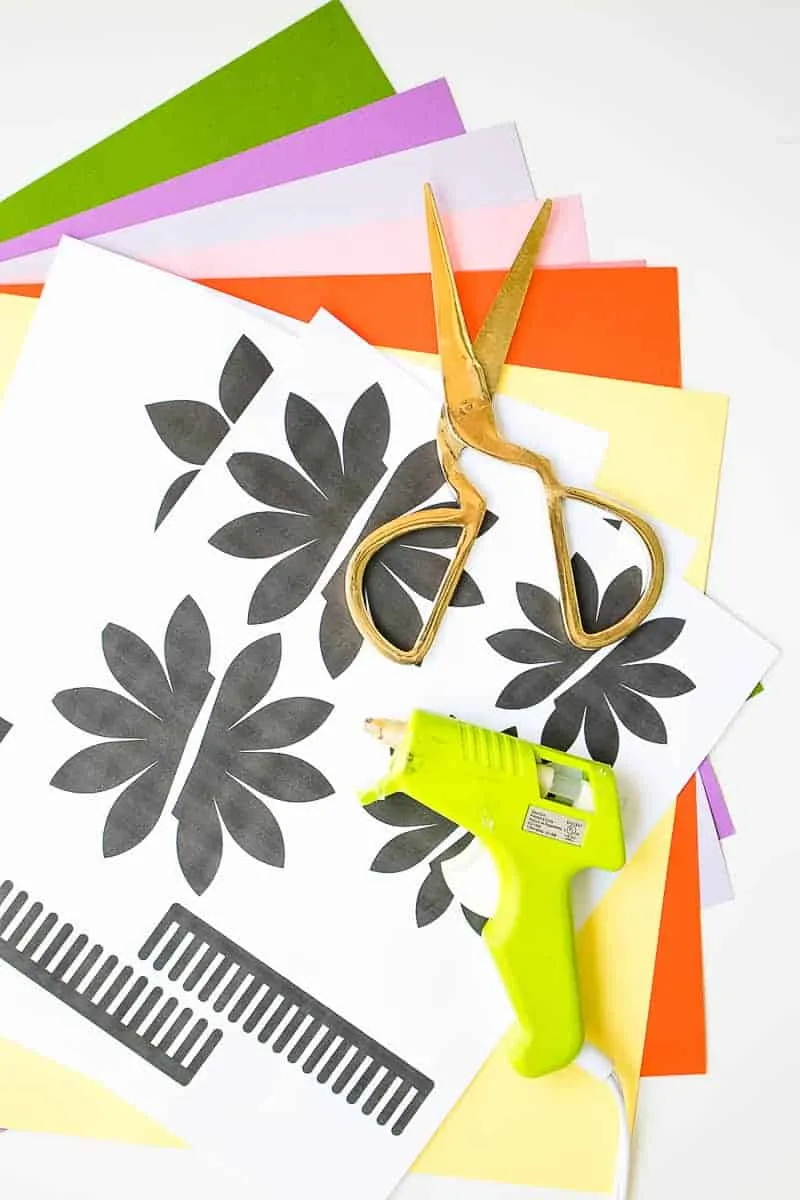
Hey there, fellow craft enthusiasts! Robert Kline here, and today we’re diving headfirst into a project that’s near and dear to my heart: crafting stunning paper flower crowns. Whether you’re a seasoned DIY guru or just starting out, these vibrant creations are the perfect way to infuse a touch of whimsy and charm into any occasion.
 DIY Paper Flower Crown Make Your Own Colourful Fun Headpiece Papercraft-1
From weddings and festivals to everyday adventures, a splash of floral fancy can brighten your day and turn heads wherever you go. I’ve always been captivated by the allure of flower crowns, and the beauty of working with paper is that the creative possibilities are limitless. Today, we’ll be exploring a design that’s as fun to make as it is to wear, bursting with vibrant colors and a touch of playful elegance.
This project comes to us from the talented Holly of Club Crafted, a true artisan when it comes to all things handmade. She’s generously shared her step-by-step guide to crafting these stunning crowns, and I’m thrilled to pass on her wisdom to you.
Gather Your Materials: A Crafter’s Toolkit
Before we embark on our paper flower journey, let’s gather our essential supplies. Don’t worry, we won’t need anything too fancy! Here’s what you’ll need to get started:
- Colored cardstock: Choose a palette that speaks to your soul! Think vibrant pinks, sunny yellows, and lush greens. Don’t forget a sheet of white for the crown base.
- Scissors: A trusty pair of scissors will be your best friend throughout this project.
- Glue gun and glue sticks: For a strong and lasting bond, a hot glue gun is a must-have.
- Paper flower templates: You can find Holly’s easy-to-use templates online, or feel free to unleash your inner artist and create your own!
Crafting Your Floral Masterpiece: A Step-by-Step Guide
Now that we’re armed and ready, let’s dive into the heart of our project. Follow these steps carefully, and remember, patience is a virtue, especially when it comes to crafting.
Step 1: Petals and Leaves
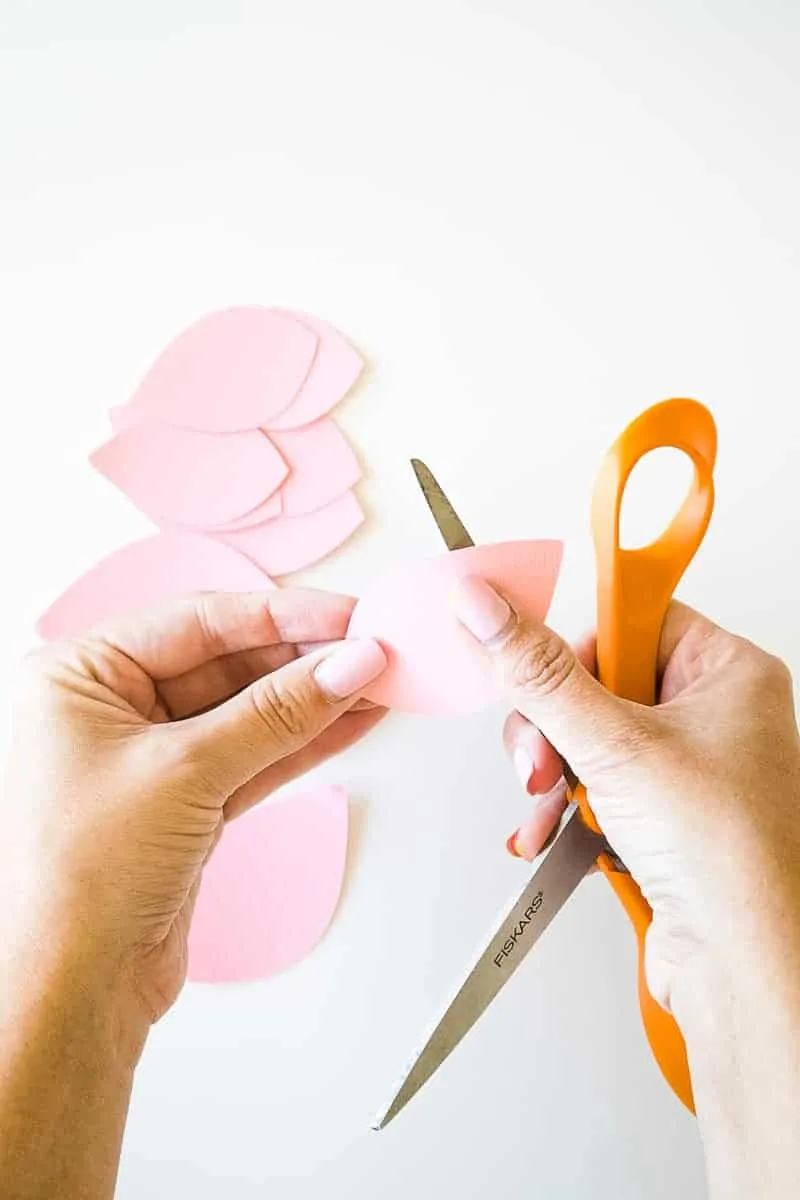
- Print and cut: If you’re using Holly’s templates, print them out in your desired size. Use them as a guide to cut out your flower petals from the colored cardstock.
- Size matters: Aim for one-piece flowers around 4 inches wide. For individual petals, the large ones should be around 2 inches wide, and the smaller ones 1.5 inches (you’ll need 5 of each size per flower).
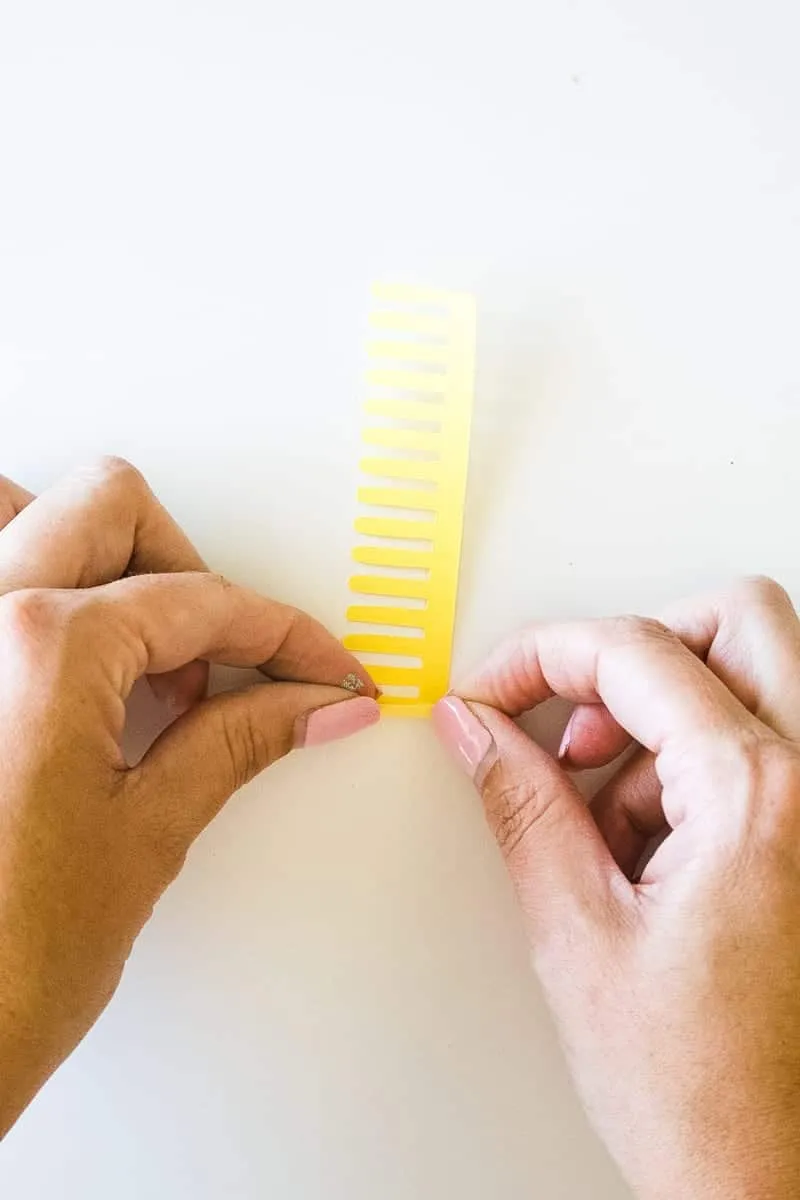
- Don’t forget the greenery: Cut out some leaf shapes from your green cardstock and prepare some comb-like pieces from yellow or a similar color to form the flower centers.
 DIY Paper Flower Crown Make Your Own Colourful Fun Headpiece Papercraft-2
Step 2: Creating the Crown Base
- Cut and glue: Cut two strips of white cardstock, each measuring 11 inches long and 1.5 inches wide. Glue them together lengthwise to create a longer strip.
- Form the crown: Carefully wrap the long strip around your head to determine the right size. Trim any excess and glue the ends together to form a ring.
Step 3: Assembling the Large Petal Flowers
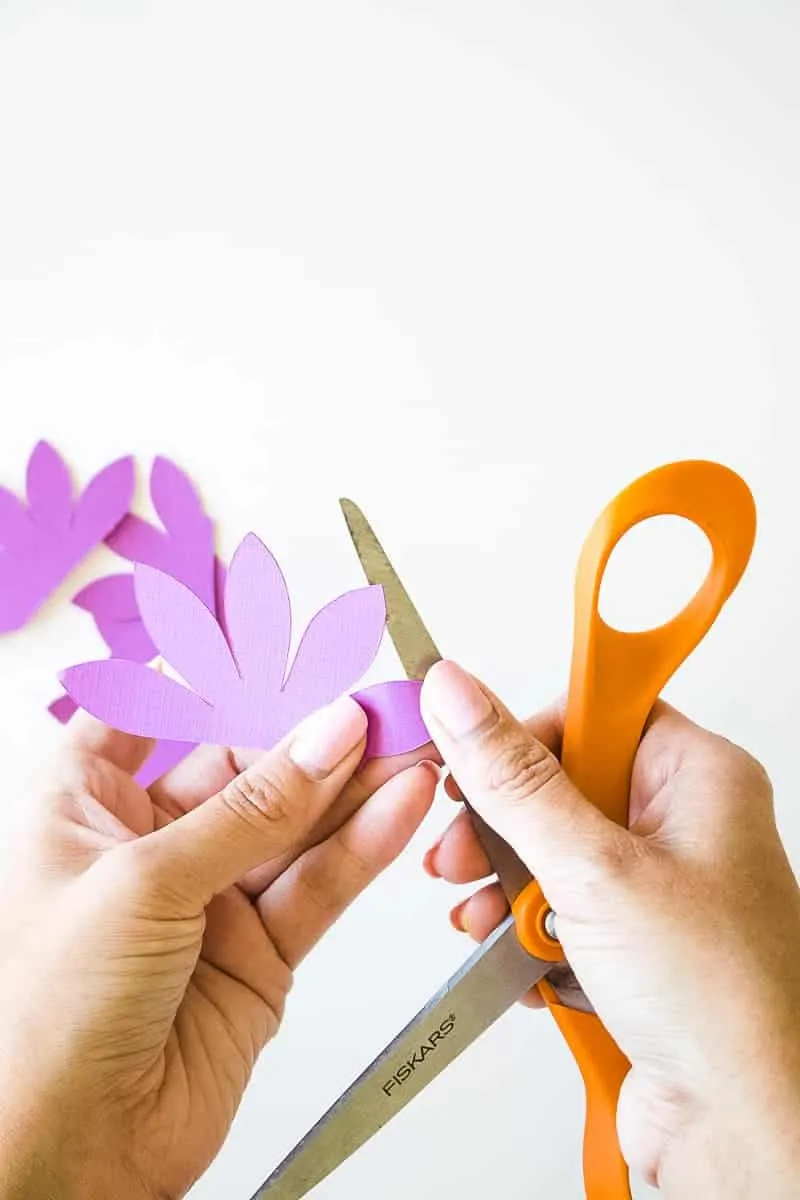
- Curl and pinch: Take 5 large petals, 5 small petals, and one comb-shaped middle piece. Gently curl the ends of each petal outward using your scissors. Pinch the opposite end of each petal to create a slight dip.
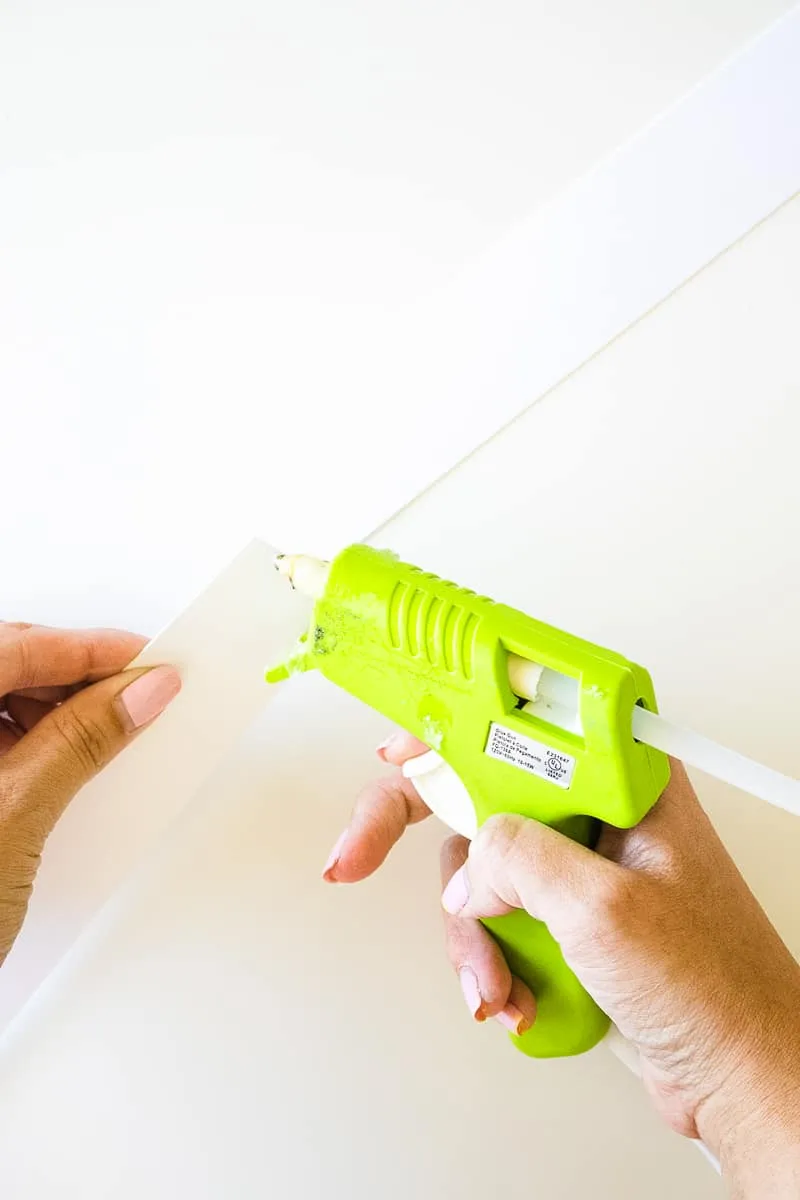
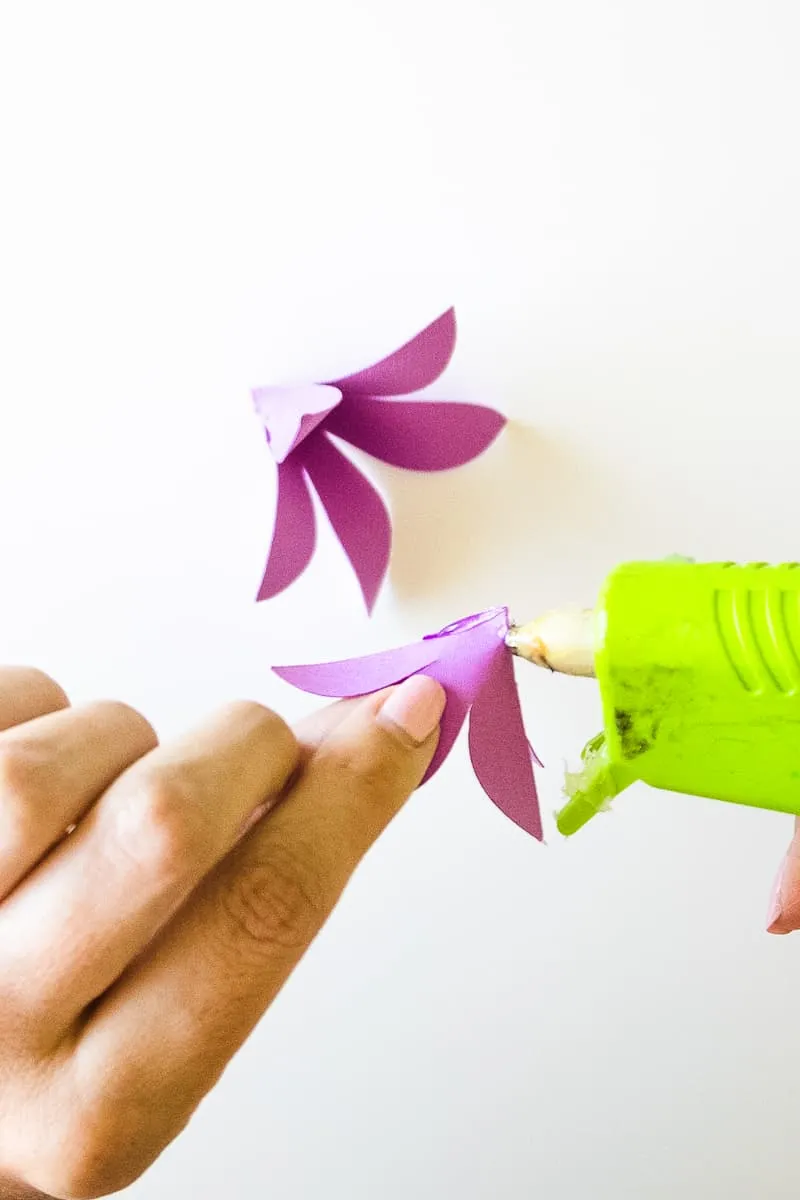
- Glue the petals: Apply a small amount of hot glue to the dipped end of a petal and attach it to the center of the comb piece. Continue adding petals in a circular pattern, overlapping the dips slightly to create a full, layered effect.
 DIY Paper Flower Crown Make Your Own Colourful Fun Headpiece Papercraft-3
Step 4: Layering the Petals
- Repeat and attach: Repeat the gluing process with the smaller petals, attaching them to the center of the larger petals in a slightly offset pattern for a more dynamic look.
Step 5: Adding the Finishing Touch
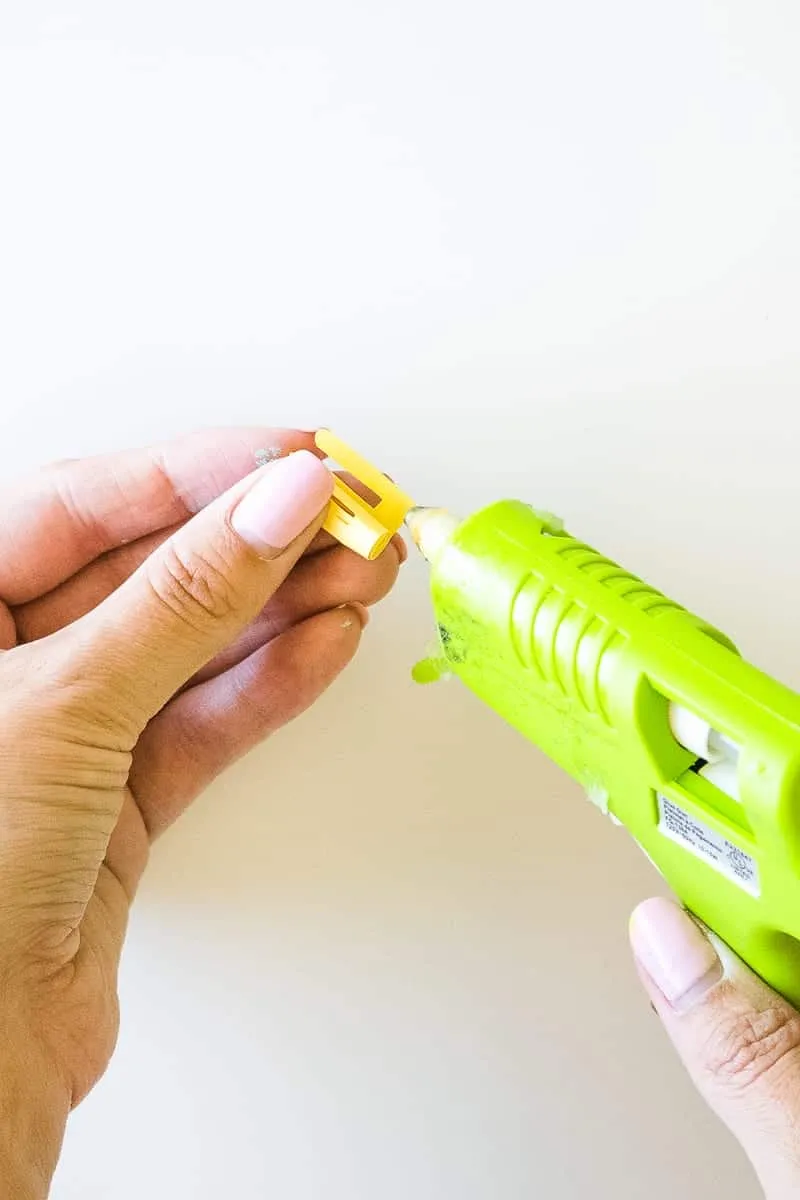
- Roll and fan: Roll the comb piece tightly and secure the end with a dab of glue. Gently fan out the individual pieces to create the flower’s center. Glue this center to the middle of the smaller petals.
- Repeat for a blossoming bouquet: Create at least three more large flowers using different colored cardstock.
 DIY Paper Flower Crown Make Your Own Colourful Fun Headpiece Papercraft-4
Step 6: Crafting the One-Piece Flowers
- Curl and assemble: Take one large one-piece flower shape, one smaller one, and a comb-shaped middle piece. Curl the petals of both flower shapes in the same direction using your scissors.
- Form the layers: Wrap the larger flower shape around itself and glue the ends together, ensuring the petals fan outward. Repeat with the smaller flower shape and glue it inside the larger one, offsetting the petals for visual interest.
Step 7: Completing the One-Piece Flowers
- Add the center: As with the larger flowers, roll the comb piece tightly, secure it with glue, and fan out the individual pieces. Glue this center to the middle of the smaller flower shape.
- Create a floral abundance: Craft around 8-10 of these smaller flowers using various colored cardstock.
 DIY Paper Flower Crown Make Your Own Colourful Fun Headpiece Papercraft-5
Step 8: Preparing the Leaves
- Curl for a lifelike touch: Curl the green leaf shapes outward using your scissors, just as you did with the flower petals.
Step 9: Assembling Your Crown
- Arrange the blooms: It’s time to bring your floral vision to life! Begin by gluing the large flowers to the crown base, spacing them evenly. I recommend starting with four flowers, placing them on opposite sides of the crown.
Step 10: Adding Greenery
- Fill in with leaves: Glue leaves next to each large flower, varying their direction to conceal the white base and create a natural look.
 DIY Paper Flower Crown Make Your Own Colourful Fun Headpiece Papercraft-6
Step 11: Completing Your Masterpiece
- Nestle the smaller blooms: Fill the spaces between the large flowers with the smaller blooms, gluing them at different angles for a more organic feel. Add more leaves as needed to complete the look.
- Final touches: Once you’re happy with the arrangement, carefully remove any stray glue strings.
 DIY Paper Flower Crown Make Your Own Colourful Fun Headpiece Papercraft-7
A Crown Fit for Royalty
And there you have it – your very own handmade paper flower crown, bursting with color and personality! It’s a testament to your creativity and a unique accessory you can cherish for seasons to come.
This project is a wonderful way to explore different color combinations, experiment with flower shapes, and let your imagination run wild. Whether you’re crafting for a special occasion, a gift for a loved one, or simply for the joy of creation, remember: the most beautiful crafts are those made with love and a touch of personal flair.
Share Your Creations with Robert Kline Art
I’d love to see your stunning paper flower crown creations! Share photos of your finished masterpieces on social media and tag @RobertKlineArt. And don’t forget to explore the Robert Kline Art website for more inspiring DIY projects and unique handmade gifts.
