Blog
How to Transform a Plain Vase with Fabric Decoupage
Have you ever found yourself with beautiful fabric scraps you just couldn’t bear to throw away? Or maybe you’re looking for a unique way to breathe new life into an old vase? Let me introduce you to the wonderful world of fabric decoupage!
This crafting technique allows you to adorn vases with vibrant patterns and textures, turning them into stunning decorative pieces for your home. Trust me, it’s easier than you think, and the results are incredibly rewarding. As a seasoned crafter, I’m excited to guide you through the process, sharing tips and personal anecdotes along the way.
Gathering Your Supplies
Before we begin our creative journey, let’s gather the necessary tools. You’ll need:
- An old vase: Larger, simply shaped vases work best for showcasing the fabric’s design. Don’t worry if you don’t have one on hand; thrift stores are treasure troves for unique finds!
- Fabric scraps: Choose lightweight cotton fabrics with busy patterns or small prints, like those from Kaffe Fassett or Liberty. Old shirts or blouses can also be upcycled for this purpose.
- Mod Podge: This all-in-one glue, sealer, and finish is perfect for decoupage. I prefer the matte finish, but you can choose your favorite.
- Velvet ribbon: Select a color that complements your fabric to create a polished rim.
- Glue sponge: This will help you apply the Mod Podge evenly.
- Scissors: Sharp scissors are essential for precise fabric cutting.
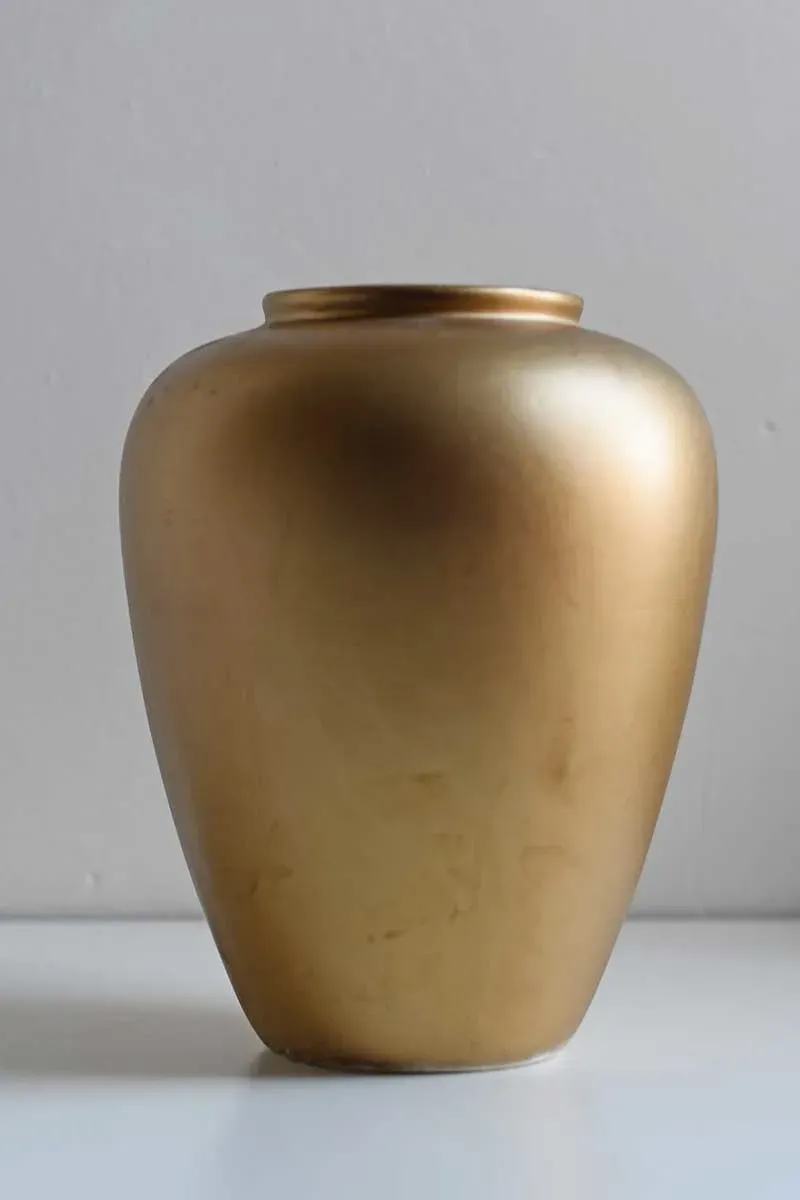
 Vase before
A simple vase awaits its fabric transformation.
Step-by-Step Decoupage Guide
Now that we have our materials, let’s dive into the transformation process:
1. Preparing the Vase
Begin by giving your vase a good wash with hot, soapy water. Ensure it’s completely dry before moving on to the next step. This will allow the Mod Podge to adhere properly.
2. Planning Your Design
Lay out your fabric scraps to get a sense of how you want to arrange the colors and patterns on the vase. This is also a good time to make sure you have enough fabric to cover the entire surface.
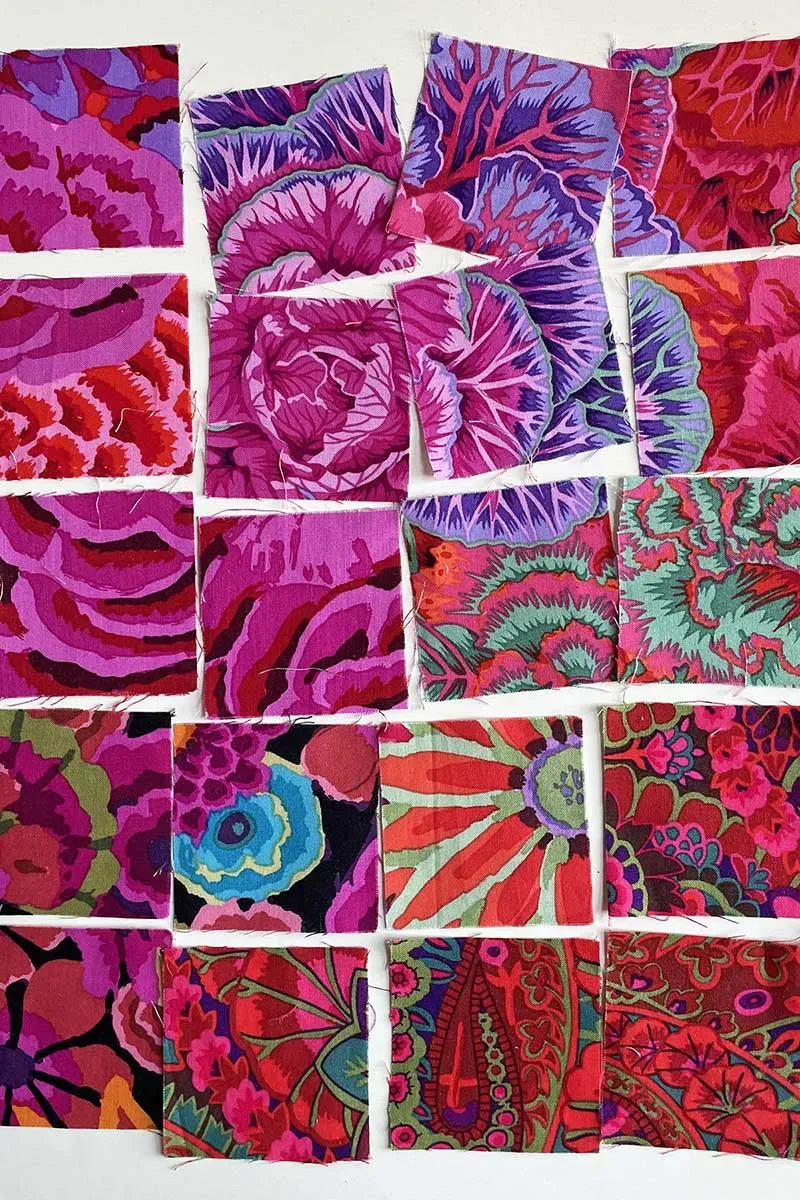 Kaffe Fassett fabric squares in pinks and reds
Vibrant Kaffe Fassett fabrics are perfect for this project.
3. Applying the Fabric
Apply a generous coat of Mod Podge to the vase. Trim any loose threads from your fabric scraps and then carefully adhere them to the vase, smoothing out any wrinkles or air bubbles with your fingers.
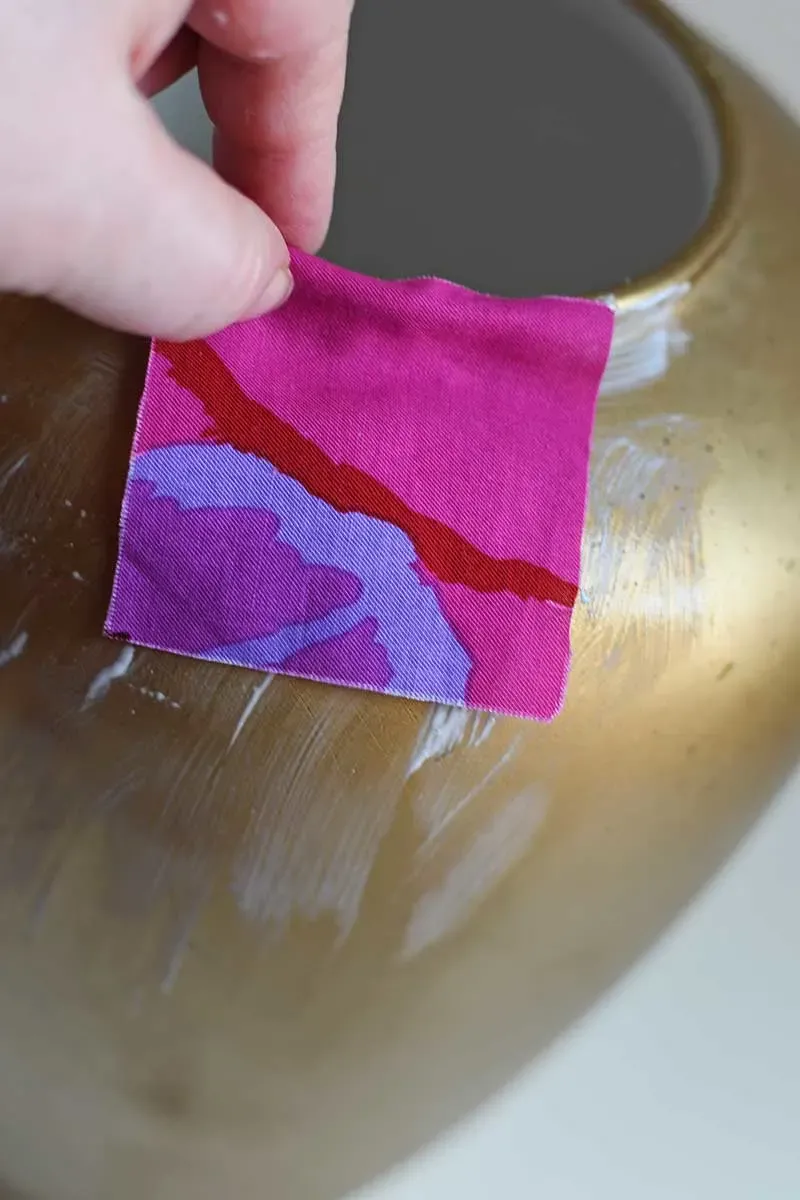 Pasting fabric to vase
Carefully adhere the fabric to the vase.
4. Mastering Curves and Gaps
If your vase has curves, work with smaller fabric scraps for easier application. Don’t be afraid to overlap the pieces slightly. For cylindrical vases, you can use a single piece of fabric to wrap around the entire surface.
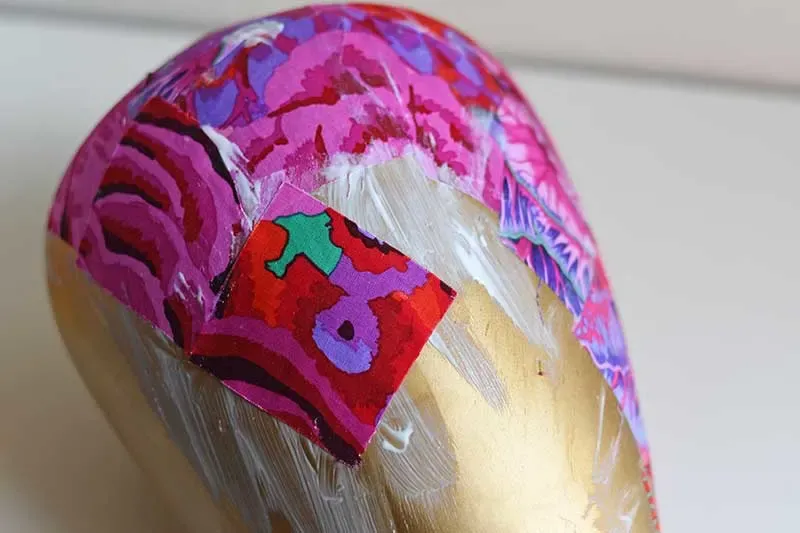 Decopaging in a vase with fabric.
Working in sections helps achieve a smooth finish.
5. Adding a Polished Rim
To give your decoupage vase a professional touch, measure and cut a length of velvet ribbon to fit around the vase’s rim. Apply glue to the ribbon and carefully attach it to the rim, using pegs to hold it in place until the glue dries.
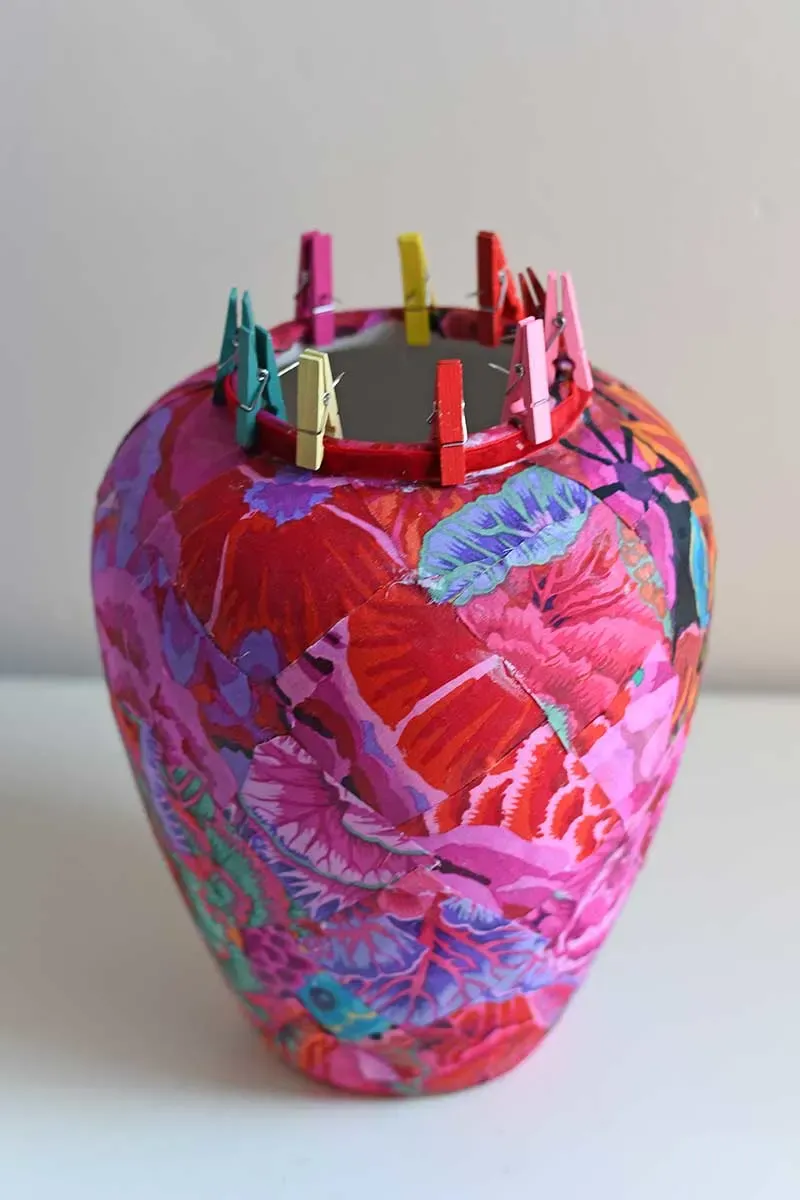 Adding ribbon trim to decoupage vase
A velvet ribbon adds a touch of elegance.
6. Sealing Your Masterpiece
Once the fabric is completely dry, apply a final coat of Mod Podge over the entire vase to seal and protect your design. This will give it a beautiful, polished finish.
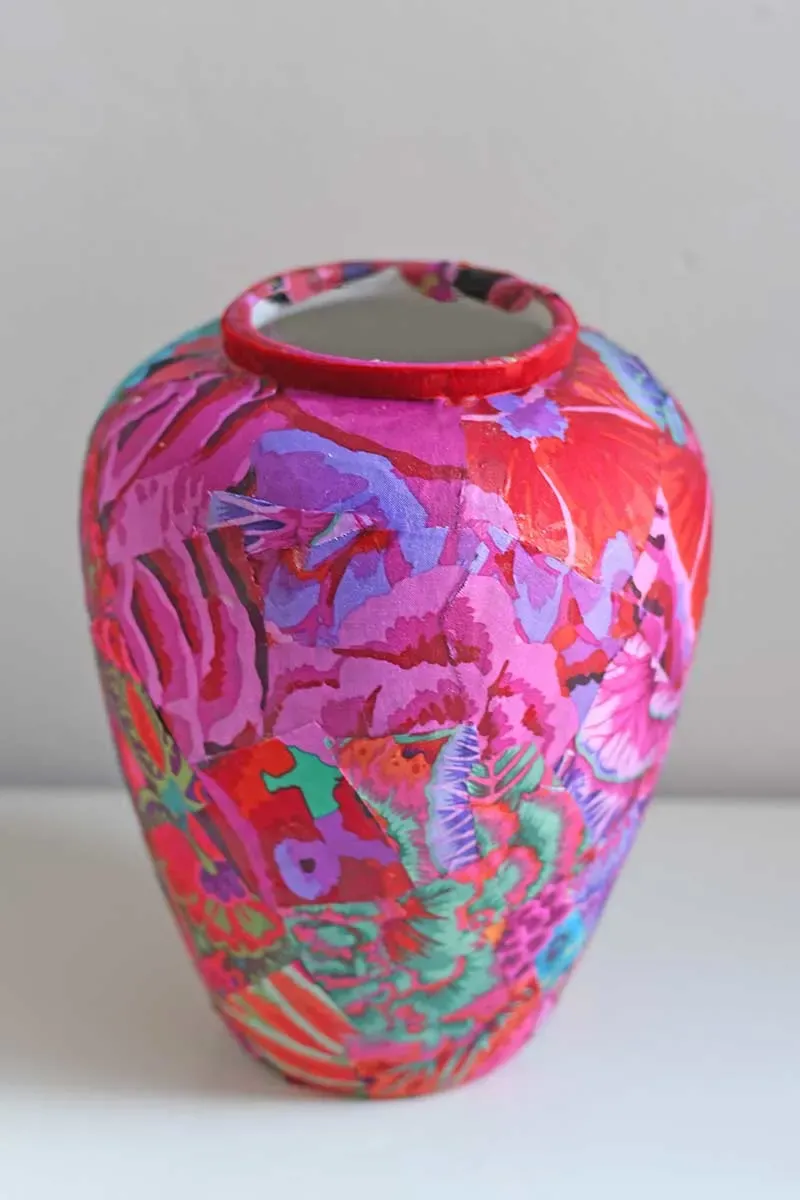 Kaffe Fassett decoupage vase.
The finished vase is ready to display!
Showcasing Your Upcycled Vase
Your fabric decoupage vase is now ready to be admired! The vibrant fabric and textured surface will add a touch of handmade charm to any room.
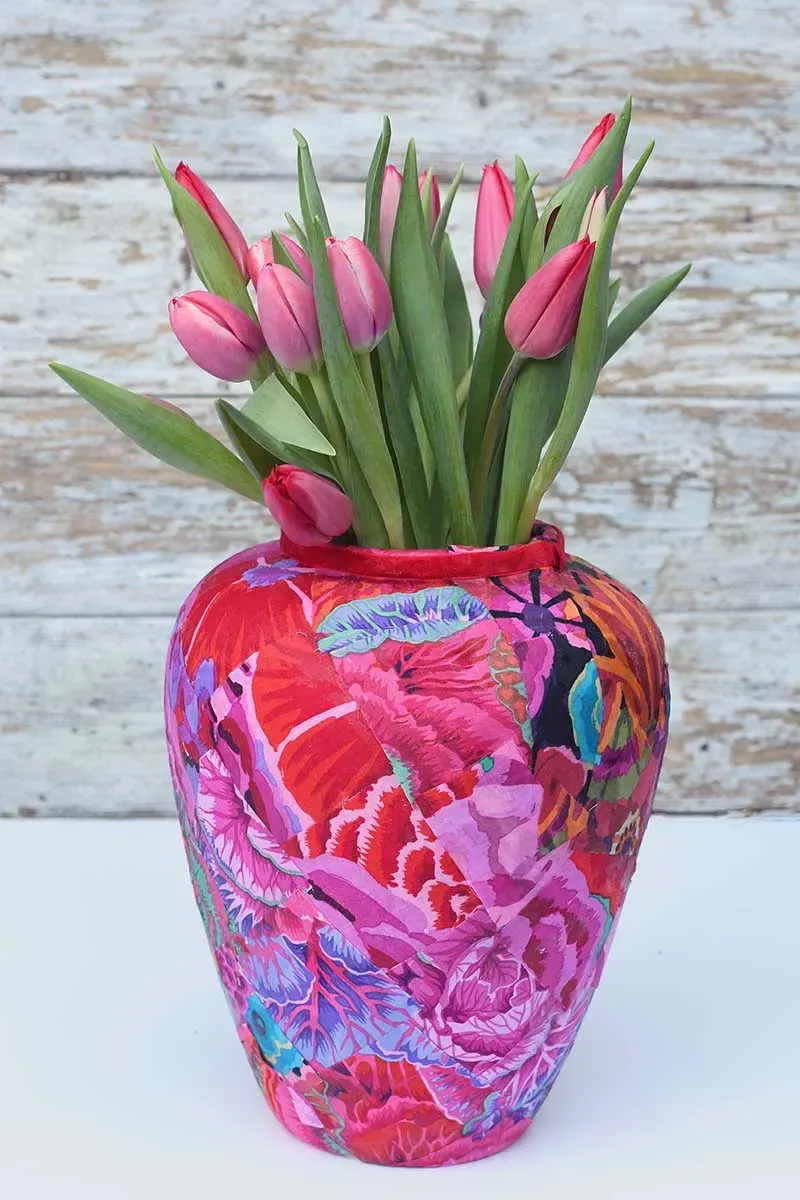 Decoupage fabric vase with tulips
Fresh flowers complement the vibrant design.
Display it with fresh flowers, dried arrangements, or even as a standalone statement piece. You can also experiment with different fabric combinations and vase shapes to create a collection that reflects your unique style.
Tips and FAQs
Here are some additional tips and answers to frequently asked questions to help you achieve decoupage success:
-
Can I decoupage glass vases with fabric? Absolutely! Fabric decoupage works beautifully on various surfaces, including glass, ceramic, plastic, and wood.
-
Should I prepare the vase beforehand? If your vase has a dark color or a busy pattern that might show through the fabric, consider applying a coat of primer before starting the decoupage process.
-
Can I use any type of fabric? While you can experiment with different fabrics, lighter weight cottons tend to work best for decoupage. Heavier fabrics can be more challenging to apply and may not adhere as well.
-
Do I have to use Mod Podge? Mod Podge is a popular choice for decoupage, but other decoupage glues or even PVA glue can also work well.
-
How can I prevent fabric fraying? If you’re working with a large piece of fabric, coat it with Mod Podge and let it dry completely before cutting out your shapes. This will help prevent the edges from fraying.
Embrace the Joy of Crafting
Fabric decoupage is a fantastic way to personalize your home decor with unique and eye-catching pieces. It’s a simple and rewarding craft that allows you to transform ordinary objects into extraordinary works of art. So gather your supplies, unleash your creativity, and enjoy the process of creating something beautiful and one-of-a-kind.
Don’t forget to share your decoupage creations and explore other inspiring craft projects on Robert Kline Art. Let’s continue to inspire each other on our artistic journeys!
