Blog
How to Make Easy Reversible Placemats in Under 30 Minutes!

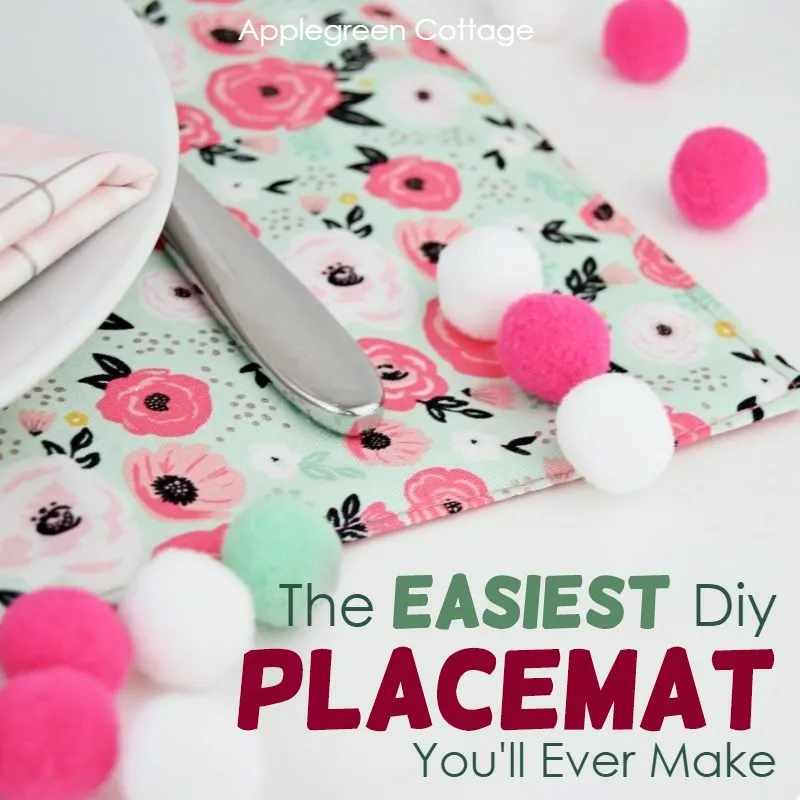
Hey there, fellow craft enthusiasts! Robert Kline here, and I’m excited to share a super simple project that will add a touch of handmade charm to your dining table: reversible fabric placemats. These placemats are incredibly easy to make – we’re talking two stitching lines simple! – and they’re perfect for sewing beginners. Plus, they make fantastic handmade gifts.
Let’s dive into this quick and fun project!
Choosing Your Materials
Before we get started, let’s gather our supplies. Here’s what you’ll need:
- Fabric: You’ll need two fat quarters or half a yard of fabric per placemat. I love using quilting cotton because it’s durable, washable, and comes in a wide variety of colors and prints. You can also experiment with linen, canvas, or chambray for a different look.
- Fusible Fleece: This provides a layer of structure and stability to your placemats. You’ll need half the fabric size for each placemat.
- Matching Thread
- Sewing Machine
- Iron
- Pins or Sewing Clips
- Scissors
Pro Tip from Robert: I also recommend using a rotary cutter, quilting ruler, and a self-healing cutting mat for faster and more accurate cutting.
Let’s Get Sewing!
For this tutorial, I’ll guide you through making one placemat. Remember, placemats look even more stunning when made in sets, so feel free to multiply the materials and create a cohesive look for your dining table.
Step 1: Cut Fabric and Fusible Fleece
Start by cutting two rectangles of fabric measuring 18 inches by 14 inches. Then, cut one rectangle of fusible fleece measuring 17 inches by 13 inches (one inch smaller than the fabric on all sides).
 how to make a placemat
Step 2: Apply Fusible Fleece
Place the fusible fleece on the wrong side of one fabric rectangle, ensuring it’s centered and there’s a one-inch border of fabric on all sides. Following the manufacturer’s instructions, fuse the fleece to the fabric using a hot iron.
Robert’s Tip: If you’re new to working with fusible interfacing, you can find helpful tutorials on my website, Robert Kline Art.
Step 3: Sew the Placemat
Place the two fabric rectangles right sides together, sandwiching the fusible fleece in between. Pin or clip the fabric in place. Using a ½-inch seam allowance, sew around the entire placemat, leaving a 3-4 inch opening on one of the short sides for turning.
Step 4: Clip Corners and Turn Right Side Out
To create neat and professional corners, clip the corners of your placemat diagonally, being careful not to cut through the stitching. Turn the placemat right side out through the opening. Use a chopstick or a point turner to gently push out the corners for a crisp finish.
Step 5: Press and Topstitch
Give your placemat a good press with a hot iron, ensuring the edges are nice and crisp. Press the raw edges of the opening inwards, aligning them with the sewn seam. Topstitch around the entire placemat using a ¼-inch seam allowance. This step closes the opening and adds a polished touch.
Robert’s Design Tip: For a more decorative look, you can add a second row of topstitching ½ inch away from the first row or even further out for a bolder statement. Experiment with different stitch lengths for a unique touch.

And there you have it! A beautiful, reversible placemat ready to add a touch of handmade love to your dining experience.
Tips for Success
-
Choosing Interfacing: I used fusible fleece for this tutorial because it’s easy to work with. You can also use medium-weight fusible interfacing for a stiffer placemat or quilting batting for a softer, more quilted feel. If you want a heat-resistant placemat, consider using Insul-Bright, a special interfacing used for potholders and oven mitts.
-
Placemat Size: The standard rectangular placemat size is 18 inches by 14 inches, but you can adjust the size to fit your table and personal preference.
-
Get Creative: This basic placemat pattern is a blank canvas for your creativity. Add decorative stitches, embellishments, or even try different quilting techniques to make it your own.
Conclusion
Creating your own handmade placemats is a simple and rewarding way to personalize your dining area and impress your guests. Plus, these placemats make thoughtful and unique gifts for friends and family.
I hope you enjoyed this tutorial. I would love to see your creations! Share your finished placemats with me on social media by tagging @RobertKlineArt. Happy sewing!
