Blog
DIY Fabric Storage Boxes: The Perfect Solution for a Clutter-Free Home
As an artist, I thrive on creativity, and nothing sparks joy like transforming ordinary objects into beautiful, functional pieces. Today, I’m excited to share my passion for DIY with a step-by-step guide on creating stunning fabric storage boxes. These boxes are not only practical for organizing any space but also a testament to the fact that handmade items add a touch of warmth and personality that store-bought ones simply can’t replicate.
The Quest for the Perfect Storage Solution
Like many of you, I’m always searching for clever storage solutions to tame the ever-growing piles of stuff that inevitably accumulate. While designing my coffee bar, I knew I wanted storage boxes that were both functional and aesthetically pleasing.
Finding the right size proved to be a challenge. Most ready-made boxes were either too big or too small for the space I envisioned. Determined to make my vision a reality, I decided to embrace the power of DIY and create custom-sized fabric storage boxes.
Why Choose DIY Fabric Storage Boxes?
Before we dive into the how-to, let’s talk about why you’ll love this project:
- Customization: You’re the designer! Choose fabrics that complement your decor and create a cohesive look.
- Budget-Friendly: Repurposing cardboard boxes is a cost-effective alternative to expensive storage solutions.
- Sustainability: Give cardboard boxes a new lease on life and reduce waste.
- Sense of Accomplishment: Experience the satisfaction of creating something beautiful and functional with your own two hands.
Gathering Your Supplies
Here’s what you’ll need to embark on this creative journey:
Materials:
- Cardboard boxes (any size)
- Fabric of your choice
- 1-inch wide webbing
- Permanent spray adhesive
- Fabric glue (I recommend Fabri-Tac for its strong bond)
- Decorative brads
- Ribbon
Tools:
- Scissors
- Iron
- Sewing machine (optional, for adding a decorative stitch)
- Seam gauge (optional, for precise fabric folding)
- Quilter’s rulers (optional, for accurate cutting)
- Rotary cutter (optional, for smooth fabric cutting)
Let’s Get Crafting: Step-by-Step Guide
Step 1: Prepare Your Cardboard Boxes
- If your cardboard boxes aren’t the desired size, don’t worry! You can easily resize them:
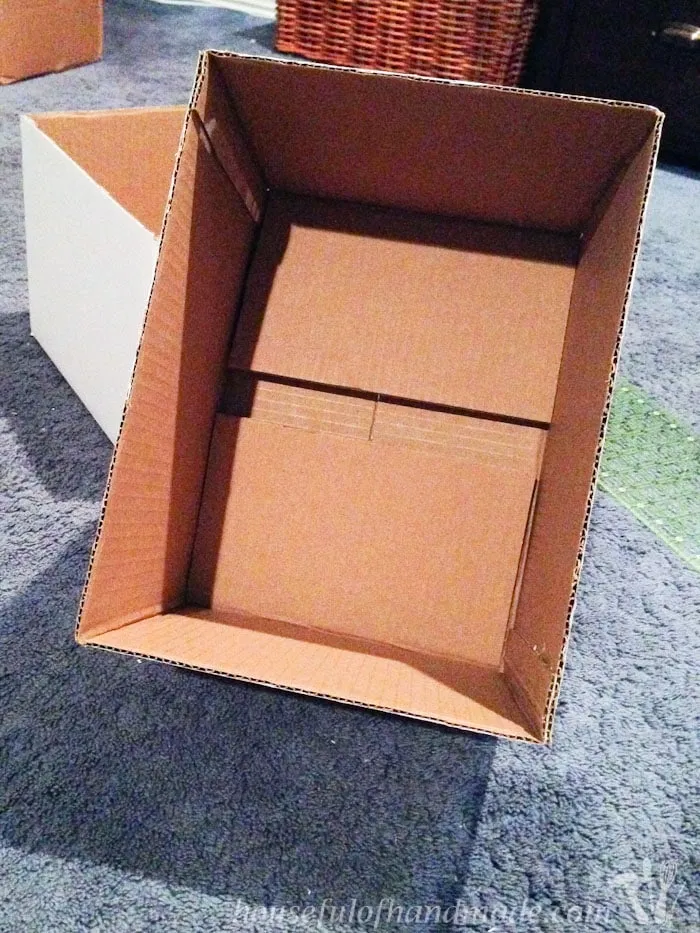
- Carefully cut open the tape at the bottom of the box.
- Cut the box apart at opposite corners.
- Trim the front, back, and side panels to your desired size, adding a couple of inches for tabs.
- Fold over the tabs and glue them to the inside of the box using hot glue.
- Re-tape the bottom of the box.
Step 2: Cut Your Fabric
- For each box, you’ll need to cut three pieces of fabric:
- One piece for the front, bottom, and back combined. Measure the length of these three sides together, adding 2-3 inches. The width should be the width of the box front plus 1 inch.
- Two pieces for the sides. Each piece should be the height of your box plus 2-3 inches, and the depth of your box plus 2-3 inches.
 empty card board box to be used for diy storage boxes
Expert Tip: Using a rotary cutter and quilter’s rulers can help you achieve straight, precise cuts.
Step 3: Add a Decorative Touch (Optional)
- For an extra touch of sophistication, consider adding a decorative stitch along the edges of the front/bottom/back fabric piece.
- Fold over 1/2 inch on each side of the fabric and press with an iron.
- Using a contrasting thread color, sew a straight stitch or a decorative stitch 1/4 inch from the folded edge.

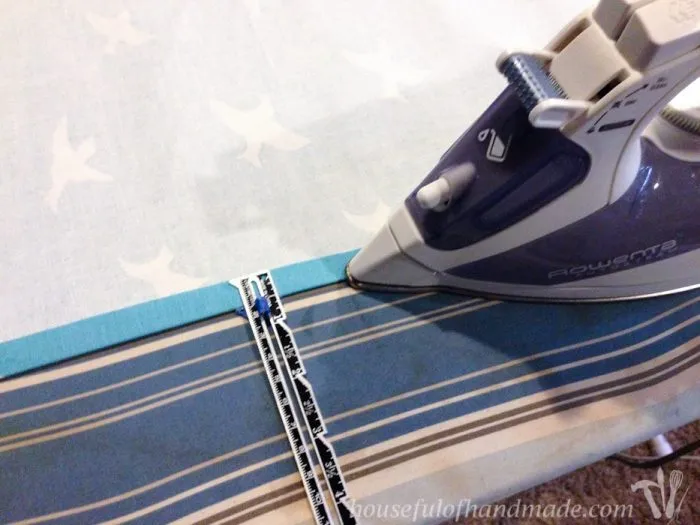 cut fabric shown being ironed
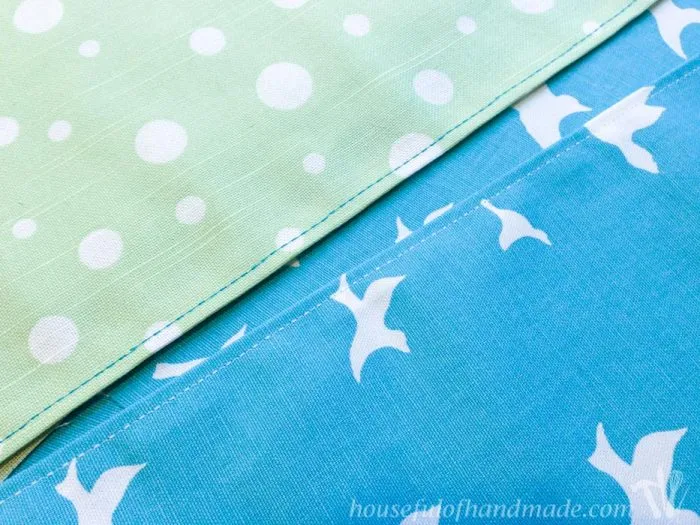 two pieces of fabric shown after being stitched
Step 4: Adhere Fabric to the Box
- Working with one side piece at a time, apply spray adhesive to the back of the fabric. Be careful not to get any on the front side.
- Carefully align the fabric with the top edge of the box and smooth it down, pressing firmly to ensure a strong bond.
- Wrap the excess fabric around the sides and bottom of the box, securing it with fabric glue.
- Repeat for the other side piece.
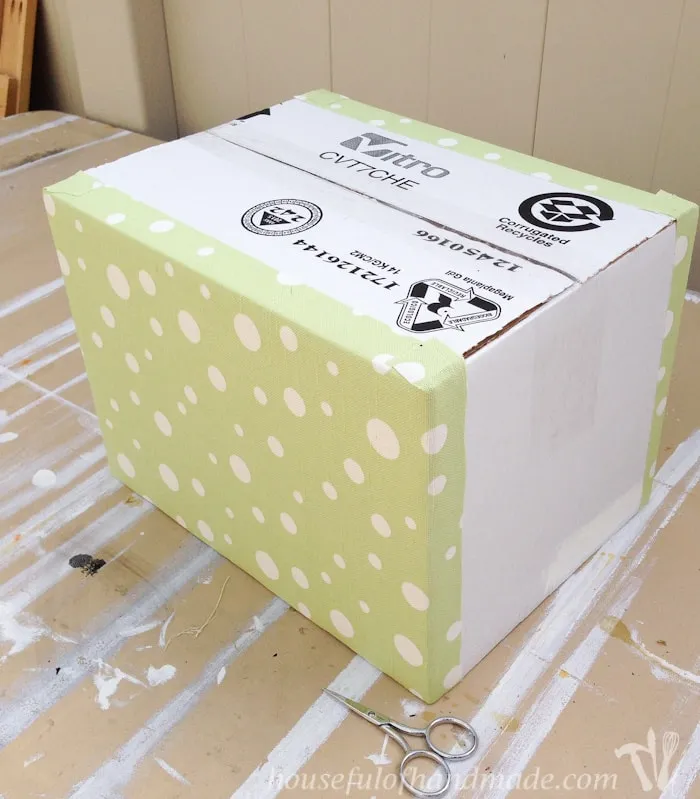 cardboard box shown with fabric on two sides
Safety Tip: Always work in a well-ventilated area when using spray adhesive.
Step 5: Attach the Front/Bottom/Back Piece
- Apply spray adhesive to the back of the remaining fabric piece.
- Carefully center the fabric on the box, ensuring it covers the front, bottom, and back.
- Smooth out any wrinkles or bubbles, pressing firmly to adhere the fabric.
- Wrap the excess fabric inside the box and secure it with fabric glue.
Step 6: Add Handles and Finishing Touches
- Attach handles to the front of the box using decorative brads. I recommend checking out Joanne’s tutorial for detailed instructions on creating sturdy and stylish handles.
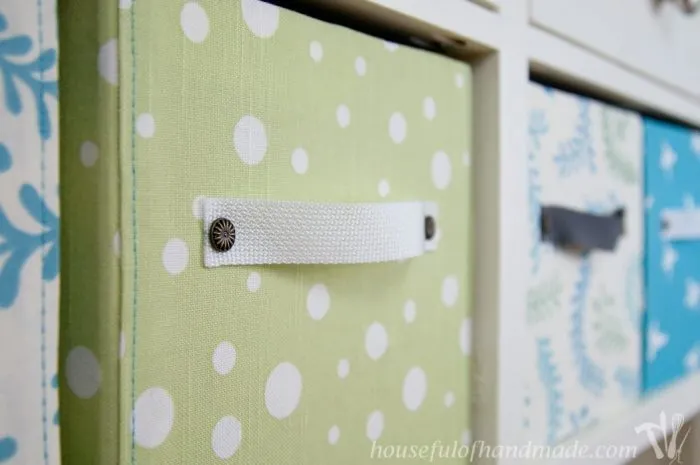 close up of fabric covered diy storage boxes with handles
- To conceal the raw edges inside the box and add a polished look, glue a ribbon along the top edge. A 3/8-inch wide ribbon is a forgiving choice for this step.
Step 7: Admire Your Handiwork!
Congratulations! You’ve transformed simple cardboard boxes into stunning storage solutions.
Styling Your DIY Fabric Storage Boxes
These versatile boxes can be used to organize any room in your home. Here are a few ideas:
- Living Room: Store blankets, magazines, or electronics.
- Bedroom: Organize clothing, accessories, or keepsakes.
- Bathroom: Keep toiletries, towels, and other essentials tidy.
- Office: Tame paperwork, art supplies, or craft materials.
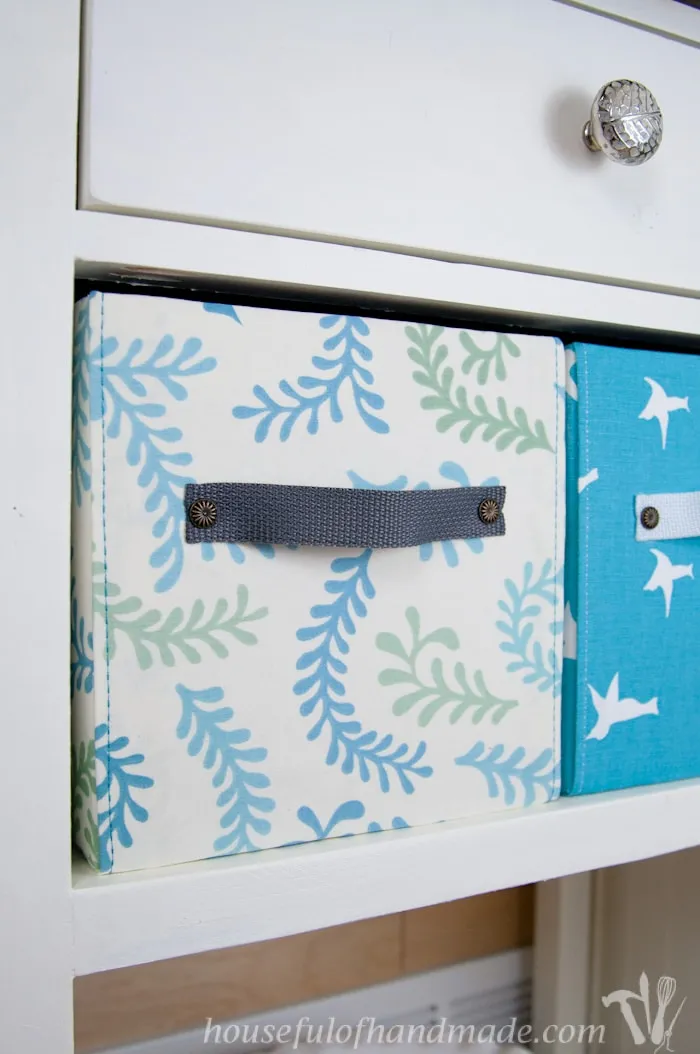 finished diy fabric storage boxes shown on shelf
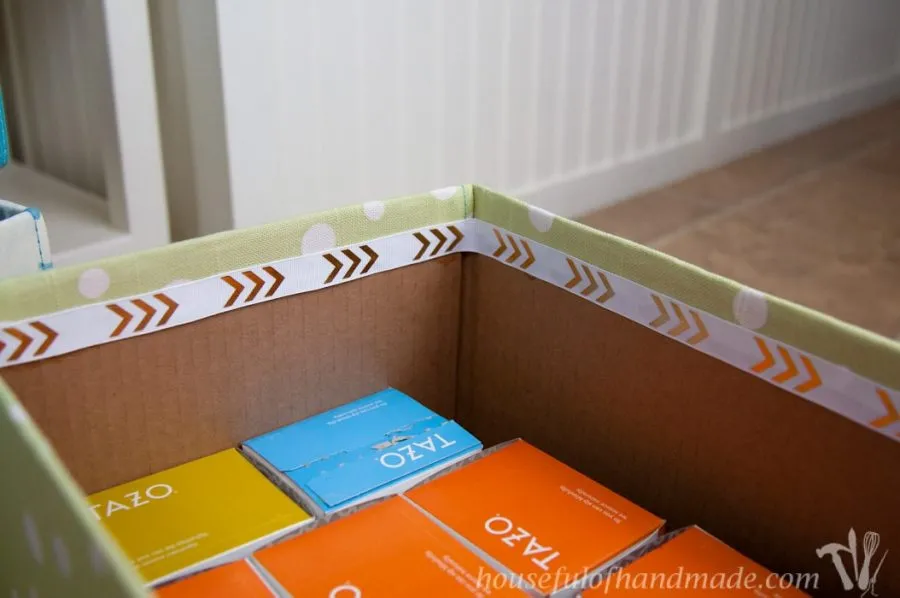 diy fabric covered boxes shown filled with boxes of coffee
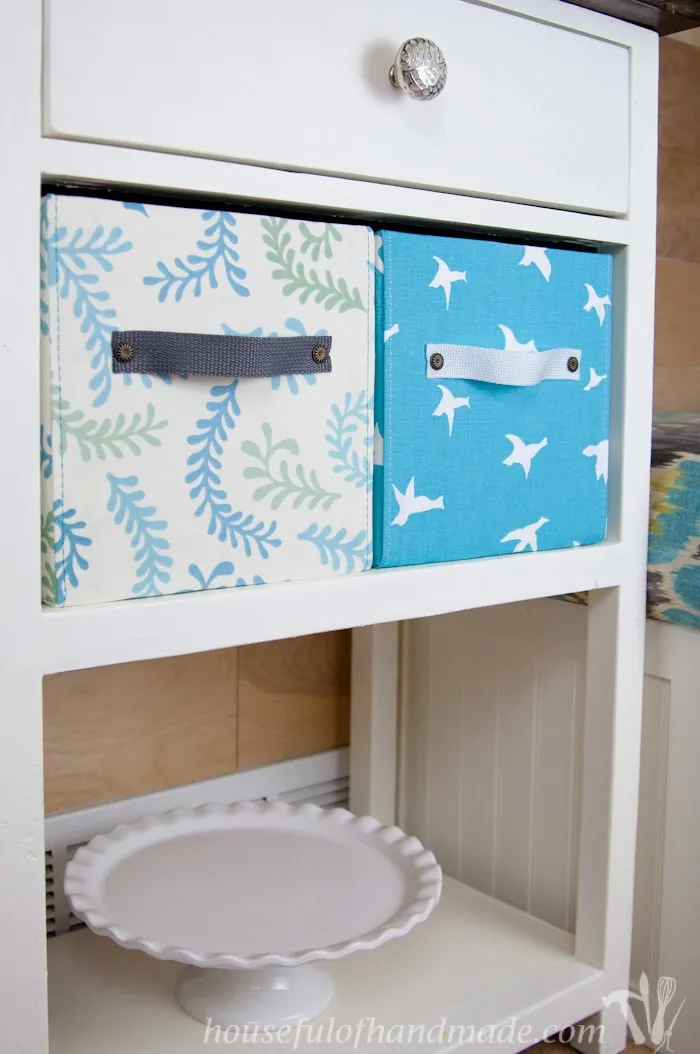 set of two fabric covered diy boxes shown in coffee station
Embrace the Joy of Handmade
Creating your own DIY fabric storage boxes is a rewarding experience that allows you to personalize your space while showcasing your creativity. Remember, the beauty of handmade lies in the imperfections. Don’t be afraid to experiment, add your own personal flair, and most importantly, have fun!
Now it’s your turn! I encourage you to give this project a try and share your creations with me. Tag your photos on social media with #RobertKlineArt. I can’t wait to see what you come up with!
And don’t forget to explore the Robert Kline Art website for more unique handmade gifts and inspiration.
